Are your built-in cabinets in the living room starting to feel more like a burden than a benefit? Maybe they no longer fit your style, or you need to create more space for new furniture and decor.
Whatever your reason, removing these cabinets can seem like a big, overwhelming task. But what if you could tackle it step-by-step, with clear guidance and simple tips? You’ll discover exactly how to remove built-in cabinets safely and efficiently—without damaging your walls or making a huge mess.
Keep reading, and you’ll be one step closer to transforming your living room into the space you’ve always wanted.

Credit: www.diybeautify.com
Tools And Materials Needed
Removing built-in cabinets in your living room takes the right tools and materials. Prepare these items before starting to make the job easier.
Using proper tools helps protect your walls and cabinets during removal. Gather everything you need to work safely and efficiently.
Hand Tools
Hand tools help you carefully detach cabinets without causing damage. Keep these tools close during the process.
- Screwdriver set (flathead and Phillips)
- Pry bar or crowbar
- Hammer
- Utility knife
- Measuring tape
- Level
Power Tools
Power tools speed up the removal but require care and safety gear. Use them to cut or unscrew fasteners quickly.
- Cordless drill with drill bits
- Reciprocating saw
- Oscillating multi-tool
Safety Gear
Protect yourself while removing cabinets. Wear safety gear to avoid injuries from sharp edges or dust.
| Item | Purpose |
| Safety glasses | Protect eyes from dust and debris |
| Work gloves | Protect hands from splinters and sharp nails |
| Dust mask | Prevent breathing dust particles |
| Knee pads | Comfort when working on the floor |
Materials For Repairs
After removing cabinets, you may need materials to fix walls or floors. Have these ready for a smooth finish.
- Spackle or joint compound
- Putty knife
- Sandpaper
- Paint and brushes
- Wood filler
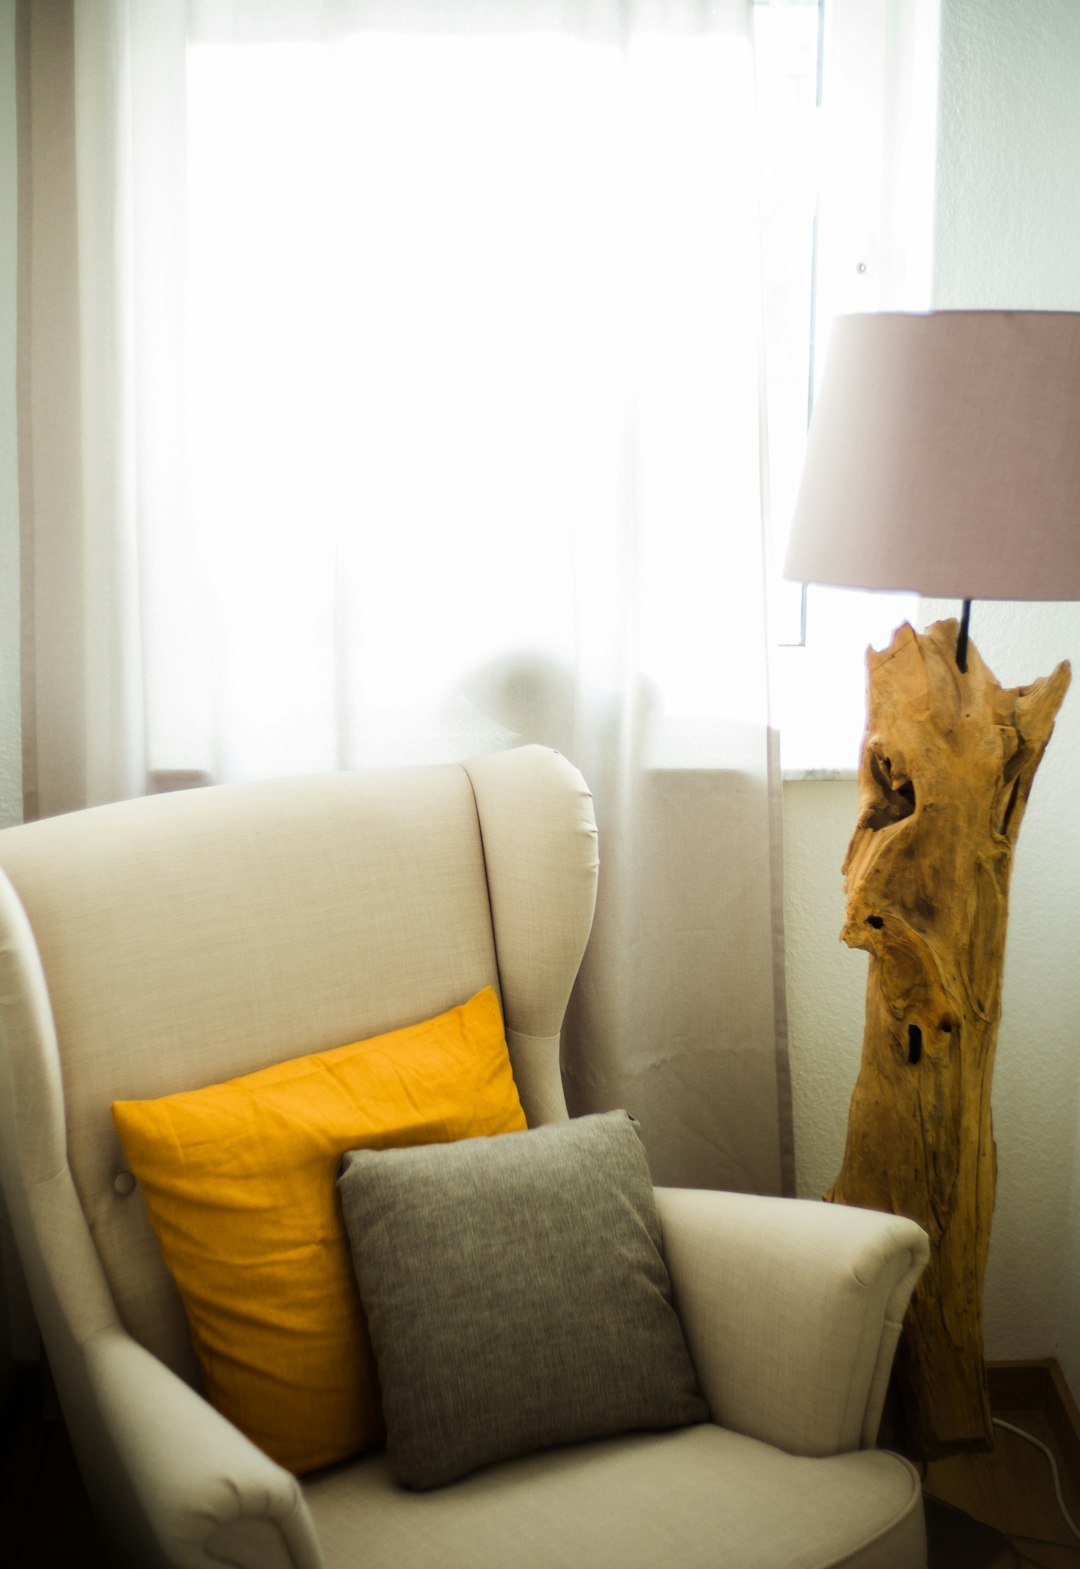
Credit: crystelmontenegrohome.com
Preparing The Workspace
Removing built-in cabinets in your living room needs a safe and clean workspace. Preparing the area helps avoid damage and accidents.
Take time to clear the space and protect your floors and walls before starting the removal process.
Clearing The Area
Remove all furniture, rugs, and decorations near the cabinets. This creates room to work freely and prevents damage to your items.
Keep a clear path for moving tools and debris out of the room.
Protecting Floors And Walls
Cover floors with drop cloths or old sheets to catch dust and debris. Use painter’s tape to secure the covers in place.
Protect walls near the cabinets with cardboard or foam panels. This prevents scratches and dents during removal.
- Use thick drop cloths or plastic sheeting
- Secure covers with painter’s tape
- Place cardboard on walls near cabinets
- Check for fragile wall finishes before work
Turning Off Power And Utilities
Turn off power to outlets and switches near the cabinets. This stops electric shocks or short circuits during removal.
If your cabinets have plumbing or gas lines, shut off those utilities too. Call a professional if you are unsure how to do this safely.
Removing Cabinet Doors And Shelves
Removing built-in cabinets in your living room can refresh the space. Start by taking off the cabinet doors and shelves carefully.
This guide explains how to unscrew hinges and take out shelves safely and easily.
Unscrewing Hinges
Begin by opening the cabinet doors fully. Use a screwdriver to remove all screws from the hinges. Keep the screws in a container to avoid losing them.
- Open the cabinet door completely.
- Locate all screws on each hinge.
- Use a screwdriver to unscrew them carefully.
- Hold the door while removing the last screws.
- Place screws and hinges in a safe container.
Taking Out Shelves
After removing the doors, take out the shelves to clear the cabinet space. Shelves are usually supported by pegs or brackets.
| Type of Support | How to Remove |
|---|---|
| Shelf Pegs | Lift the shelf gently off the pegs and remove the pegs if needed. |
| Fixed Brackets | Unscrew the brackets from the cabinet walls, then remove the shelf. |
Handle each shelf carefully to avoid damage. Store shelves safely if you plan to reuse them.
Detaching Trim And Molding
Removing built-in cabinets often requires taking off the trim and molding first. This step makes it easier to detach the cabinet without damage.
Trim and molding hide nails and gaps. Carefully removing them helps keep walls and trim reusable.
Locate Nails And Fasteners
Trim and molding are attached with nails or screws. Look closely to find where they are placed.
Use a flashlight if needed. This helps you avoid breaking the wood when removing it.
- Check corners and edges carefully
- Look for small nail heads or screws
- Use a flashlight for better visibility
Use A Utility Knife To Cut Caulk
Trim and molding often have caulk along their edges. Cut the caulk with a utility knife to loosen the trim.
Cutting caulk stops paint and seal from pulling off the wall or cabinet.
- Run the knife along edges where trim meets wall
- Be gentle to avoid wall damage
- Cut all sides before prying
Pry Trim Gently With A Putty Knife
Start loosening the trim by sliding a putty knife behind it. This protects the wall and trim from damage.
Work the putty knife around the trim to create space for a pry bar.
- Insert putty knife carefully under the trim
- Move it gently to loosen the hold
- Do this along the whole trim length
Use A Pry Bar To Remove Trim
After loosening the trim with a putty knife, use a pry bar to pull it off. Place wood blocks behind the pry bar to protect walls.
Pull slowly to avoid breaking the trim or wall surface.
- Position wood blocks between pry bar and wall
- Apply slow, steady pressure
- Remove nails or screws as trim comes off
Remove Remaining Nails Or Screws
Once the trim is off, check for leftover nails or screws in the wall or molding. Remove them to prevent damage later.
Use a hammer or screwdriver to pull out nails and screws carefully.
- Look for small nails left behind
- Use pliers or claw hammer to pull nails
- Unscrew screws with the correct screwdriver
Removing Cabinet Frame
Removing built-in cabinets in your living room can change the space. The cabinet frame is often the first part to tackle.
Start by understanding how the cabinet is put together. This helps in taking it apart safely and efficiently.
Locating Fasteners
Fasteners hold the cabinet frame together. Finding them is the first step in removal.
Check all visible areas for screws or nails. Sometimes they are hidden under paint or trim.
- Look inside the cabinet for screws
- Check the corners for hidden nails
- Use a flashlight to see inside dark areas
Using Pry Bars Safely
Pry bars help in loosening the cabinet frame. It is important to use them carefully.
Insert the pry bar gently between the frame and the wall. Use slow, steady pressure to avoid damage.
- Wear gloves to protect your hands
- Use a small pry bar for tight spaces
- Work slowly to prevent damage to walls
Handling Stubborn Sections
Some parts of the cabinet may be hard to remove. Patience is key when dealing with these sections.
Apply gentle pressure with the pry bar. If needed, use a hammer to tap it further in. This can help loosen stubborn areas.
- Check for missed fasteners
- Use a utility knife to cut through paint
- Do not force sections; they may break

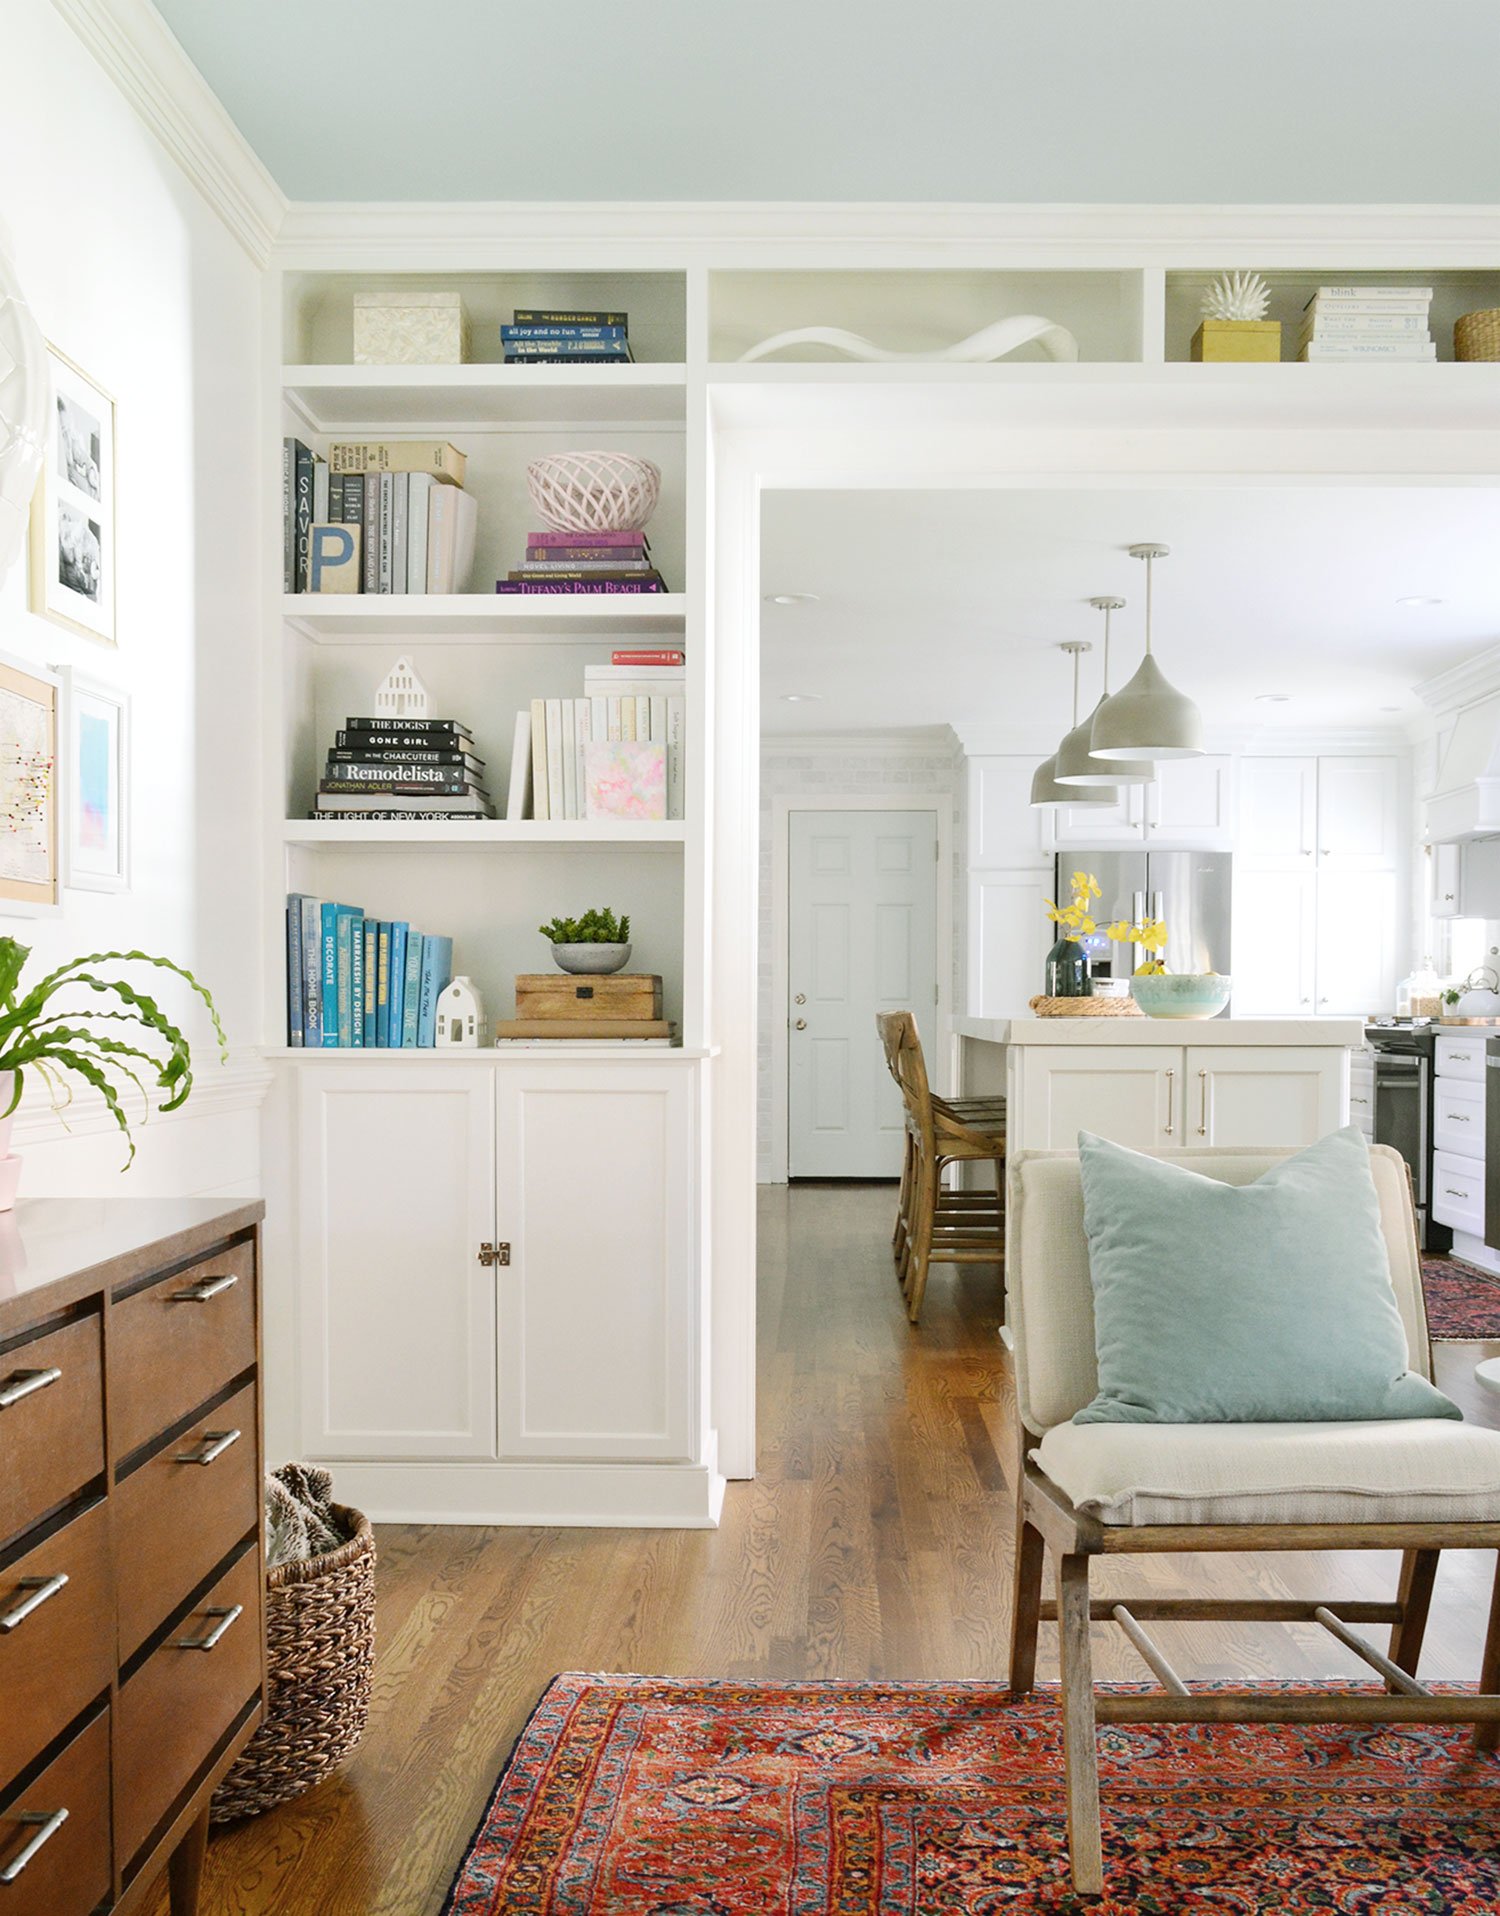
Credit: ikeahackers.net
Dealing With Wall Damage
Removing built-in cabinets can leave marks and holes on your living room walls. Fixing these issues helps your wall look clean and smooth.
Taking time to repair the wall properly makes painting or redecorating easier later on.
Patching Holes
Start by cleaning any dust or loose debris from the holes left by nails or screws. Use a putty knife to apply spackle or wall filler into the holes.
Press the filler firmly and smooth the surface. Let the patch dry completely before moving to the next step.
- Clean the holes first
- Use a putty knife to apply filler
- Fill holes fully and smooth surface
- Let the filler dry well
Sanding And Smoothing
After the filler dries, use fine-grit sandpaper to smooth the patched areas. Sand gently until the wall is even and blends with the rest of the surface.
Wipe off dust with a clean cloth before painting or priming the wall. This step ensures a neat, professional finish.
Cleaning Up After Removal
Removing built-in cabinets from your living room can leave a mess. Proper cleanup is important to maintain a tidy space.
Once the cabinets are out, there will be dust and debris. Taking care of this is the next step in your project.
Gather Necessary Cleaning Supplies
Start by gathering all the cleaning supplies you will need. Having everything ready makes the job easier.
- Broom and dustpan for sweeping
- Vacuum cleaner for fine dust
- All-purpose cleaner for surfaces
- Microfiber cloths for wiping
Sweep And Vacuum The Floor
Begin by sweeping the floor to remove larger debris. Follow up with a vacuum to catch the dust.
This ensures that all particles are removed. A clean floor is essential for a neat living room.
Clean The Walls And Surfaces
Use an all-purpose cleaner to wipe down the walls. Microfiber cloths are best for this task.
Cleaning the walls removes any lingering dust. This helps keep the air in your home fresh.
Dispose Of Debris Responsibly
Gather all the debris and place it in trash bags. Make sure to dispose of them properly.
Check with local waste management for disposal guidelines. This keeps the environment clean and safe.
Final Touches
Once everything is clean, look around for missed spots. Pay attention to corners and hidden areas.
Double-check your work to ensure a spotless space. A final glance helps maintain a pristine living room.
Disposal And Recycling Tips
Removing built-in cabinets from your living room creates a lot of waste. Proper disposal helps protect the environment.
Recycling parts of the cabinets reduces landfill waste and can save resources. Follow these tips for disposal and recycling.
Sort Materials Before Disposal
Cabinets are made from different materials like wood, metal, and plastic. Sorting these materials makes recycling easier.
- Separate wood panels from metal handles and hinges
- Remove glass inserts carefully for recycling
- Sort screws and nails into a small container
- Check for any hazardous materials, like paint or varnish
Find Local Recycling Centers
Many recycling centers accept wood, metal, and glass. Search online or call local centers to confirm what they take.
Some centers also offer pickup services for large items like cabinets.
Donate Or Repurpose Usable Parts
If parts of the cabinets are still in good shape, consider donating them. Shelves, doors, or knobs can be useful for others.
Repurpose wood panels for crafts or small furniture projects to reduce waste.
Disposal Options And Fees
| Disposal Method | Description | Possible Fees |
|---|---|---|
| Municipal Waste Pickup | Curbside pickup by city services | Usually free or low cost |
| Transfer Station Drop-Off | Bring materials to local waste facility | May charge by weight or item |
| Private Junk Removal | Hire a service to remove cabinets | Higher cost, quick service |
| Recycling Center | Drop off sorted materials for recycling | Usually free |
Safety Tips During Disposal
- Wear gloves to protect hands from sharp edges
- Use safety goggles when dismantling cabinets
- Lift heavy parts with help to avoid injury
- Keep children and pets away during removal
Frequently Asked Questions
How Do I Safely Remove Built-in Cabinets?
Turn off power and water near the cabinets first. Remove doors and shelves carefully. Unscrew cabinet frames from walls gently to avoid damage.
What Tools Are Needed To Remove Built-in Cabinets?
You will need a screwdriver, pry bar, hammer, utility knife, and a drill. Safety gear like gloves and goggles is essential for protection.
Can I Remove Built-in Cabinets Without Damaging Walls?
Yes, by carefully unscrewing and prying cabinets away slowly. Use a utility knife to cut caulk or paint seals to prevent wall damage.
How Long Does It Take To Remove Built-in Cabinets?
Typically, it takes 2 to 4 hours depending on cabinet size and fastening method. Complex installations may require more time and professional help.
Conclusion
Removing built-in cabinets can refresh your living room’s look. Take your time and follow each step carefully. Use the right tools to avoid damage. Safety matters—wear gloves and eye protection. After removal, clean the area well before adding new decor.
This simple process helps create more space and a fresh feel. You can enjoy a new style without major construction. Ready to start your living room makeover?