Is your round back living room chair looking tired or worn out? You don’t have to replace it just yet.
Imagine turning that old chair into a fresh, stylish piece that fits perfectly in your space. You’ll save money, add a personal touch, and give your room a whole new vibe. In this guide, you’ll discover simple, step-by-step tips to recover your chair like a pro—even if you’ve never done it before.
Ready to bring your chair back to life? Keep reading, and let’s get started!

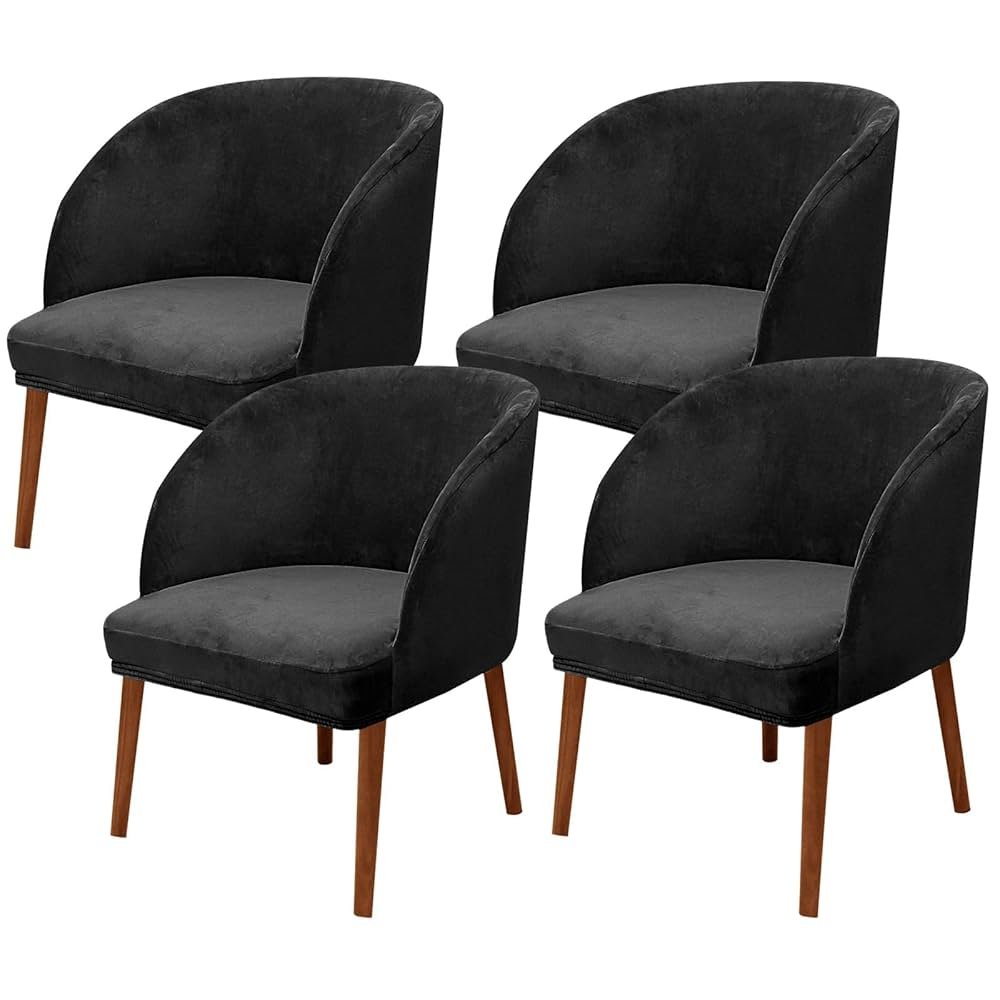
Credit: www.amazon.com
Tools And Materials Needed
Recovering a round back living room chair requires the right tools and materials. These help you work efficiently and get good results. This guide covers what you need before starting.
Gathering your supplies ahead of time makes the process smooth. You will find details about essential tools, fabric and padding options, and extra items to have ready.
Essential Tools
These tools help you remove old fabric and attach new material securely. They are basic but important for upholstery work on your chair.
- Staple remover or flathead screwdriver
- Upholstery staple gun
- Scissors or fabric shears
- Measuring tape
- Needle-nose pliers
- Hammer
- Chalk or fabric marker
- Work gloves
Choosing Fabric And Padding
Select fabric that fits your style and is strong enough for daily use. Padding adds comfort and helps shape the chair. Both affect the final look and feel.
| Material | Description | Tip |
| Heavyweight cotton | Durable and easy to clean | Good for families with kids |
| Linen blend | Breathable and soft | Use for casual or formal rooms |
| Foam padding | Provides firm support | Choose high-density foam for durability |
| Batting | Softens edges and adds smoothness | Layer over foam for extra comfort |
Additional Supplies
Extra supplies help finish your chair with clean details. They make the upholstery process easier and more professional.
- Fabric glue or spray adhesive
- Decorative trim or piping
- Replacement buttons or tufting materials
- Dust mask for protection
- Small brush for cleaning
Preparing The Chair
Recovering a round back living room chair starts with good preparation. This makes the process easier and ensures a better finish.
Focus on these three key steps: removing old upholstery, inspecting and repairing the frame, and cleaning the chair frame.
Removing Old Upholstery
Take off the old fabric carefully to avoid damaging the frame. Use pliers to pull out staples or tacks. Remove all padding if it is worn out or dirty.
- Start at the bottom or back of the chair
- Work slowly to keep fabric pieces intact for patterns
- Save any usable fabric as a template
- Remove cushions and foam if needed
- Dispose of old materials safely
Inspecting And Repairing Frame
Check the frame for loose joints, cracks, or broken parts. Make sure the chair feels solid when you press or shake it.
| Issue | How to Fix | Tools Needed |
| Loose joints | Apply wood glue and clamp until dry | Wood glue, clamps |
| Cracks in wood | Fill with wood filler and sand smooth | Wood filler, sandpaper |
| Broken frame parts | Replace or reinforce with screws | Screwdriver, screws, replacement wood |
Cleaning The Chair Frame
Clean the frame to remove dirt, dust, and old glue. Use a soft brush or cloth with mild soap and water. Avoid soaking the wood.
Tips for cleaning:
- Test cleaning solution on a small spot first
- Wipe gently to protect the wood finish
- Dry the frame fully before starting upholstery
Cutting And Attaching New Padding
Replacing the padding on a round back living room chair brings comfort and a fresh look. This guide shows how to cut and attach new padding properly.
Follow these simple steps carefully to make sure the chair feels soft and looks neat.
Measuring And Cutting Foam
Start by measuring the chair seat and back where you want to add padding. Use a tape measure to get the exact width and length.
- Write down the dimensions of each padded area.
- Choose foam with the right thickness for comfort.
- Place the foam on a flat surface and mark the measurements on it.
- Use a sharp knife or electric cutter to cut the foam along the marks.
- Check the foam pieces by placing them on the chair frame.
Securing Padding To Frame
Attach the foam padding firmly to the chair frame to prevent shifting. Use a strong adhesive spray or staple gun for this task.
| Method | Materials Needed | Tips |
|---|---|---|
| Adhesive Spray | Spray glue, protective gloves | Apply evenly on foam and frame |
| Staple Gun | Staple gun, staples | Staple around edges every 3-4 inches |
Choose the method that fits your tools and skills best. Make sure the padding stays flat and tight on the frame.
Adding Batting For Softness
Cover the foam with batting to make the chair softer and hide any foam edges. Batting also helps the fabric fit smoothly.
- Cut the batting larger than the foam piece.
- Wrap the batting around the foam and chair edges.
- Secure the batting under the chair frame using staples.
- Smooth out wrinkles before stapling.
- Trim extra batting for a neat finish.
Fabric Cutting And Layout
Recovering a round back living room chair can refresh your space. The first steps involve fabric cutting and layout. Here, you will learn how to measure, cut, and arrange fabric for a perfect fit.
These steps ensure the fabric fits snugly and enhances the chair's look. Follow this guide for a seamless process.
Measuring Fabric Dimensions
Accurate measurements are key to a smooth fit. Use a measuring tape to find the chair's dimensions. Measure the back, seat, and sides separately.
Write down each measurement to avoid mistakes. Add a few extra inches for seams and tucking.
- Measure the chair back's height and width
- Measure the seat's depth and width
- Measure around the chair's sides
Cutting Fabric Pieces
Use your measurements to cut the fabric. Lay the fabric on a flat surface. Use sharp scissors for clean cuts.
Cut each piece according to your notes. Remember to cut extra for seams.
- Cut fabric for the chair back
- Cut fabric for the seat
- Cut fabric for the sides
Arranging Fabric On Chair
Start arranging the fabric on the chair. Place the back piece first. Smooth it over the chair back.
Next, arrange the seat fabric. Tuck it neatly around the edges. Finally, arrange the side pieces.
| Chair Part | Fabric Placement |
| Back | Smooth over the chair back |
| Seat | Tuck neatly around edges |
| Sides | Arrange last for a snug fit |
Stapling Fabric To Chair
Recovering a round back living room chair can give it a fresh look. Stapling new fabric is a key part of this process. Let's explore how to do it step by step.
Follow these instructions to ensure your chair looks professional and stays durable. We will focus on starting with the seat, covering the backrest, and ensuring the fabric is smooth and tight.
Starting With The Seat
Begin by preparing the seat of the chair. Remove the old fabric carefully. Use a staple remover or pliers to take out old staples.
- Cut the new fabric slightly larger than the seat.
- Center the fabric on the seat cushion.
- Start stapling from the center of each side, moving towards the corners.
Covering The Backrest
Next, focus on the backrest. This requires precision to ensure a snug fit. Align the fabric correctly before stapling.
| Task | Tip |
| Align fabric | Use pins to hold it in place |
| Staple | Start from the top and work downwards |
| Check fit | Ensure no creases |
Ensuring Smooth And Tight Fabric
It's crucial to make sure the fabric is smooth and tight. This adds a polished finish to your chair. Work slowly and carefully for the best results.
- Pull fabric taut while stapling
- Check for even tension
- Trim excess fabric after stapling

Credit: www.amazon.com
Finishing Touches
Finishing touches make your round back living room chair look neat and complete. These final steps improve the chair’s comfort and style.
Pay attention to details like fabric trimming and decorations. These small actions create a polished appearance.
Trimming Excess Fabric
Cut away any extra fabric to avoid bulk and lumps. Use sharp scissors to get clean edges without fraying.
Leave a small margin near the staples or tacks for safety. Trimming fabric helps the chair’s shape stay smooth and tidy.
Adding Decorative Elements
Decorative details add charm to your recovered chair. Choose buttons, trims, or nailhead accents that match your style.
Attach decorations securely to avoid damage or loss. These elements give your chair a unique and finished look.
- Use fabric-covered buttons for a soft touch
- Add nailhead trim along the edges for a classic look
- Apply decorative ribbons or piping to hide seams
Final Inspection And Adjustments
Check all parts of the chair carefully. Look for loose fabric, wrinkles, or uneven decorations.
Make small fixes like tightening staples or smoothing fabric. A careful final check ensures your chair looks its best and lasts longer.
Maintenance Tips
Keeping your round back living room chair in good shape helps it last longer. Regular care prevents damage and keeps it looking fresh.
These maintenance tips focus on cleaning, protecting, and knowing when to reupholster your chair.
Cleaning Upholstery
Clean the upholstery often to remove dirt and dust. Use a vacuum with a soft brush to avoid damage.
For stains, use a mild soap and water solution. Test on a small area first to check for color changes.
- Vacuum weekly to remove dust
- Blot spills quickly with a clean cloth
- Use mild soap and water for stains
- Avoid harsh chemicals that can damage fabric
Protecting From Wear And Tear
Protect your chair by placing it away from direct sunlight. Sun can fade fabric and weaken fibers.
Use armrest covers or throws to reduce friction. Rotate cushions regularly to spread out wear.
- Keep chair out of strong sunlight
- Use covers on high-contact areas
- Rotate cushions every few months
- Avoid sharp objects near fabric
When To Reupholster Again
Reupholster your chair when fabric looks worn or torn. Loose springs or padding can also mean it is time.
Check the chair yearly to catch damage early. Reupholstering extends its life and improves comfort.
- Fabric shows holes or tears
- Padding feels flat or uneven
- Chair frame feels loose or squeaky
- Fading or discoloration is severe

Credit: www.amazon.com
Frequently Asked Questions
How Do I Choose Fabric For A Round Back Chair?
Select durable, stain-resistant fabric with a tight weave. Consider color and texture that match your room’s style. Measure the chair carefully to buy enough material for full coverage and cushioning.
What Tools Are Needed To Recover A Living Room Chair?
You'll need fabric scissors, staple gun, upholstery tacks, hammer, screwdriver, and foam padding. These tools help remove old fabric and securely attach the new one for a neat finish.
Can I Recover A Round Back Chair Myself?
Yes, with patience and proper tools, DIY recovery is possible. Follow step-by-step instructions, take your time removing old fabric, and carefully reattach new fabric for best results.
How Do I Remove Old Fabric Without Damaging The Chair?
Use a staple remover or flat screwdriver to gently lift staples. Avoid pulling fabric roughly to protect the wood frame. Work slowly to preserve chair structure and reuse parts if needed.
Conclusion
Recovering a round back living room chair can bring new life to your space. The steps are simple and clear to follow. Choose the right fabric and tools for the best results. Take your time and work carefully for a neat finish.
Enjoy the satisfaction of fixing your chair yourself. This project saves money and adds a personal touch to your home. Keep practicing, and your skills will improve over time. A fresh chair can brighten any room instantly.