Are you looking to add more storage and style to your living room? Building your own cabinets might sound tricky, but it’s easier than you think—and it gives you full control over how they look and fit your space.
Imagine having custom cabinets that perfectly match your style and keep your room clutter-free. In this guide, you’ll discover simple steps to create beautiful, sturdy cabinets without needing to be a pro. Ready to transform your living room and impress your guests?
Let’s get started!
Planning Your Cabinet Project
Building cabinets in your living room can improve storage and style. Careful planning helps you create cabinets that fit well and look great.
Start by thinking about materials, space, and design. These parts are key to a successful cabinet project.
Choosing The Right Materials
Select strong and lasting materials for your cabinets. Wood is common, but there are other options too.
Pick materials that match your room’s style and fit your budget.
- Solid wood is sturdy and looks natural
- Plywood offers strength at a lower cost
- MDF is smooth and good for painting
- Metal can add a modern touch
- Laminate is easy to clean and comes in many colors
Measuring Your Space
Measure the area where you want to install cabinets carefully. Accurate measurements prevent fitting problems.
Write down the height, width, and depth. Also, note any obstacles like vents or outlets.
- Use a tape measure for precise results
- Measure twice to avoid mistakes
- Check floor and ceiling levels
- Consider space for cabinet doors to open
- Account for any baseboards or trim
Designing Cabinet Layout
Plan how your cabinets will look and fit in the room. Think about function and style together.
Decide where shelves, drawers, and doors should go to meet your needs.
- Group similar items for easy access
- Leave space for decorations or electronics
- Choose door styles that match your room
- Make sure the layout suits daily use
- Balance storage with open spaces
Essential Tools And Supplies
Building cabinets in your living room needs the right tools and supplies. These items help you work safely and get good results.
This guide covers the basic carpentry tools, safety equipment, and finishing materials you will need.
Basic Carpentry Tools
Basic carpentry tools help you measure, cut, and join wood pieces. Having the right tools makes the job easier and more accurate.
- Measuring tape for accurate dimensions
- Carpenter’s square to check right angles
- Hand saw or circular saw to cut wood
- Power drill for making holes and screws
- Clamps to hold wood pieces together
- Hammer for nails and adjustments
- Screwdrivers for tightening screws
- Wood glue to strengthen joints
Safety Equipment
Safety equipment protects you during cabinet building. Always use these items to avoid injuries.
- Safety glasses to protect your eyes
- Work gloves to guard your hands
- Dust mask to avoid breathing sawdust
- Ear protection if you use loud tools
- Proper clothing that fits well
Finishing Materials
Finishing materials give your cabinets a smooth and polished look. They also protect the wood from damage.
- Sandpaper to smooth rough surfaces
- Wood stain or paint for color
- Brushes or rollers to apply finishes
- Clear sealant to protect the surface
- Rags for wiping off excess stain
Cutting And Preparing Wood
Cutting and preparing wood is a key part of building cabinets. You need to measure, cut, and smooth the wood pieces carefully. This makes sure the cabinet fits well and looks good.
Use the right tools and follow safety rules. Taking time at this stage helps avoid problems later in the project.
Marking And Measuring Cuts
Start by measuring the wood pieces you need. Use a tape measure and a pencil to mark the cuts. Double-check your marks before cutting. Accurate marks help you avoid mistakes.
- Measure twice to be sure
- Mark straight lines with a square tool
- Use a sharp pencil for clear marks
- Label each piece to keep track
Using Saws Safely
Choose the right saw for your cuts. Keep your hands away from the blade. Always wear safety glasses and ear protection. Work on a stable surface to control the saw better.
- Check the saw blade for damage
- Secure the wood firmly before cutting
- Cut slowly and steadily
- Turn off the saw before moving it
Sanding And Smoothing
After cutting, sand the wood to remove rough edges. Smooth surfaces help paint or stain stick better. Use different sandpaper grits, starting coarse and finishing fine.
| Sandpaper Grit | Use |
| 60-80 | Remove saw marks and rough spots |
| 120-150 | Smooth the surface before finishing |
| 220 | Final smooth finish for painting or staining |

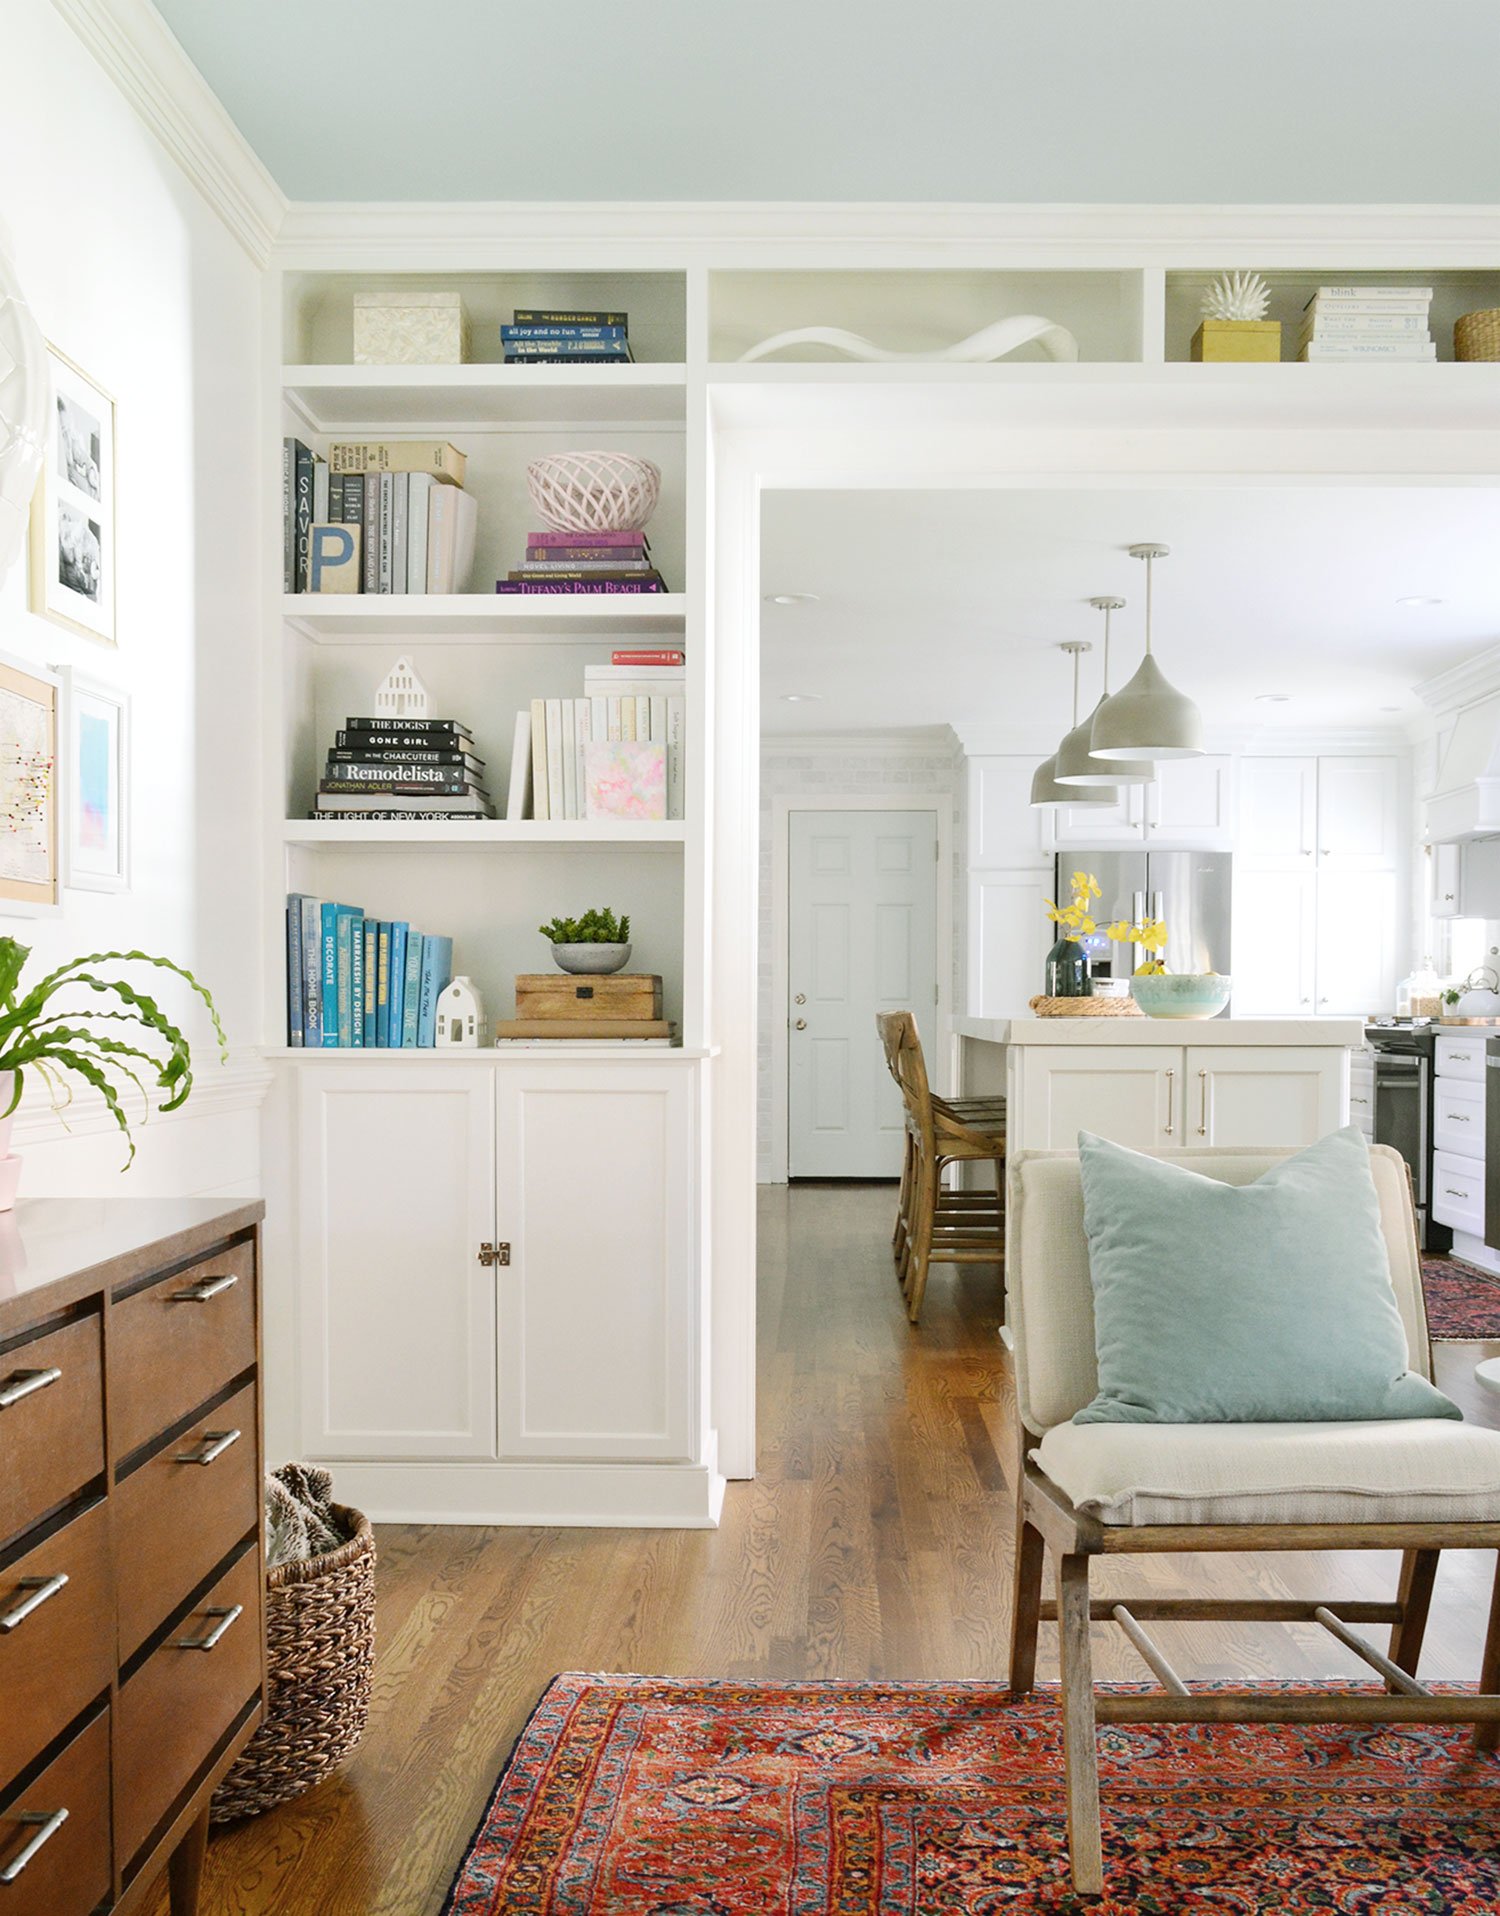
Credit: www.stonehillcabinetry.com
Assembling The Cabinet Frame
Building a cabinet frame in your living room can be a fun project. It requires careful planning and precise work.
In this guide, we will focus on assembling the cabinet frame, which is the backbone of your cabinet structure.
Joining Techniques
Joining techniques are crucial for a sturdy cabinet frame. They ensure the pieces fit securely together.
- Use dowels for strong wooden connections.
- Consider pocket holes for hidden joint strength.
- Try mortise and tenon for classic sturdy joints.
Securing Joints
Securing the joints properly is essential for the durability of the cabinet. It prevents the frame from becoming loose over time.
Checking For Squareness
Ensuring the frame is square is vital for the cabinet's stability. It affects the alignment of doors and shelves.
| Tool | Use |
| Carpenter's Square | Check right angles |
| Tape Measure | Verify equal diagonals |
Adding Shelves And Doors
Building cabinets in your living room can enhance storage space and add style. Learn how to add shelves and doors for a complete look.
This guide will help you install shelves, hang doors, and attach hardware with ease.
Installing Shelves
Shelves provide space for books, decorations, and more. Proper installation is important for safety and stability.
Measure the height you want for each shelf. Use a level to ensure straight lines.
- Mark the wall where shelves will go
- Drill holes for screws
- Attach brackets securely
Hanging Doors
Doors keep your items hidden and the room tidy. Hanging them correctly is key for smooth operation.
Choose doors that match your room's style. Use hinges that fit the door type and weight.
- Position hinges on the door
- Screw hinges into place
- Align door with cabinet opening
- Secure door to cabinet frame
Attaching Hardware
Hardware like knobs or handles makes cabinets easy to use. Choose simple designs for a classic look.
Install hardware at a comfortable height. Test to ensure smooth opening and closing.
- Mark spots for knobs or handles
- Drill holes for screws
- Attach hardware tightly
Credit: crystelmontenegrohome.com
Finishing Touches
Finishing your living room cabinets adds beauty and protects the wood. The right finish helps your cabinets last longer. This guide covers painting, sealing, and inspecting your work.
Each step takes care and patience. Follow these tips for smooth and strong results.
Painting Or Staining
Choose paint or stain based on your room style. Paint covers wood fully. Stain shows the wood grain. Always work in a well-ventilated area.
- Sand the surface with fine grit paper for smoothness.
- Apply a primer if painting to help paint stick better.
- Use even brush strokes or a spray for a clean finish.
- Allow each coat to dry fully before applying the next.
- Apply at least two coats for good coverage.
Sealing Surfaces
Sealing protects your cabinets from water and wear. It also makes cleaning easier. Use a clear sealant suitable for wood furniture.
| Sealant Type | Best Use | Dry Time |
| Polyurethane | High durability, indoor use | 4-6 hours |
| Water-Based Polycrylic | Low odor, fast drying | 1-2 hours |
| Shellac | Natural finish, easy to repair | 30 minutes - 1 hour |
| Lacquer | Glossy finish, quick drying | 15-30 minutes |
Apply sealant with a clean brush. Use thin coats and sand lightly between coats.
Final Inspection
Check your cabinets carefully before use. Look for rough spots, drips, or missed areas. Fix any problems you find.
- Run your hand over all surfaces to feel for smoothness.
- Look at the finish under good light for even color and coverage.
- Test doors and drawers for smooth opening and closing.
- Clean off any dust or debris before placing items inside.
- Make small touch-ups if needed using matching paint or stain.
Tips For Maintaining Your Cabinets
Keeping your living room cabinets in good shape helps them last longer. Regular care prevents damage and keeps them looking nice.
These tips will help you clean, fix, and improve your cabinets easily.
Cleaning And Care
Clean cabinets often to avoid dirt buildup. Use a soft cloth and mild soap with water. Avoid harsh chemicals that can damage the finish.
Wipe spills quickly to stop stains. Dry cabinets after cleaning to prevent water damage.
- Use microfiber cloths for dusting
- Clean greasy spots with warm soapy water
- Polish wood cabinets once a month
Handling Repairs
Fix small damages quickly to stop them from getting worse. Check hinges, handles, and doors often for loose parts.
Use wood filler for small holes or scratches. Tighten screws with a screwdriver to keep doors working well.
- Replace broken hinges or handles
- Fill cracks with wood putty
- Sand rough spots before repainting
Upgrading Hardware
Changing cabinet hardware can refresh the look without much work. Choose handles and knobs that fit your room style.
Make sure new hardware fits the old holes or be ready to drill new ones. This keeps the installation simple and clean.
- Pick sturdy hardware for daily use
- Match finishes with other room elements
- Use a level to install handles straight

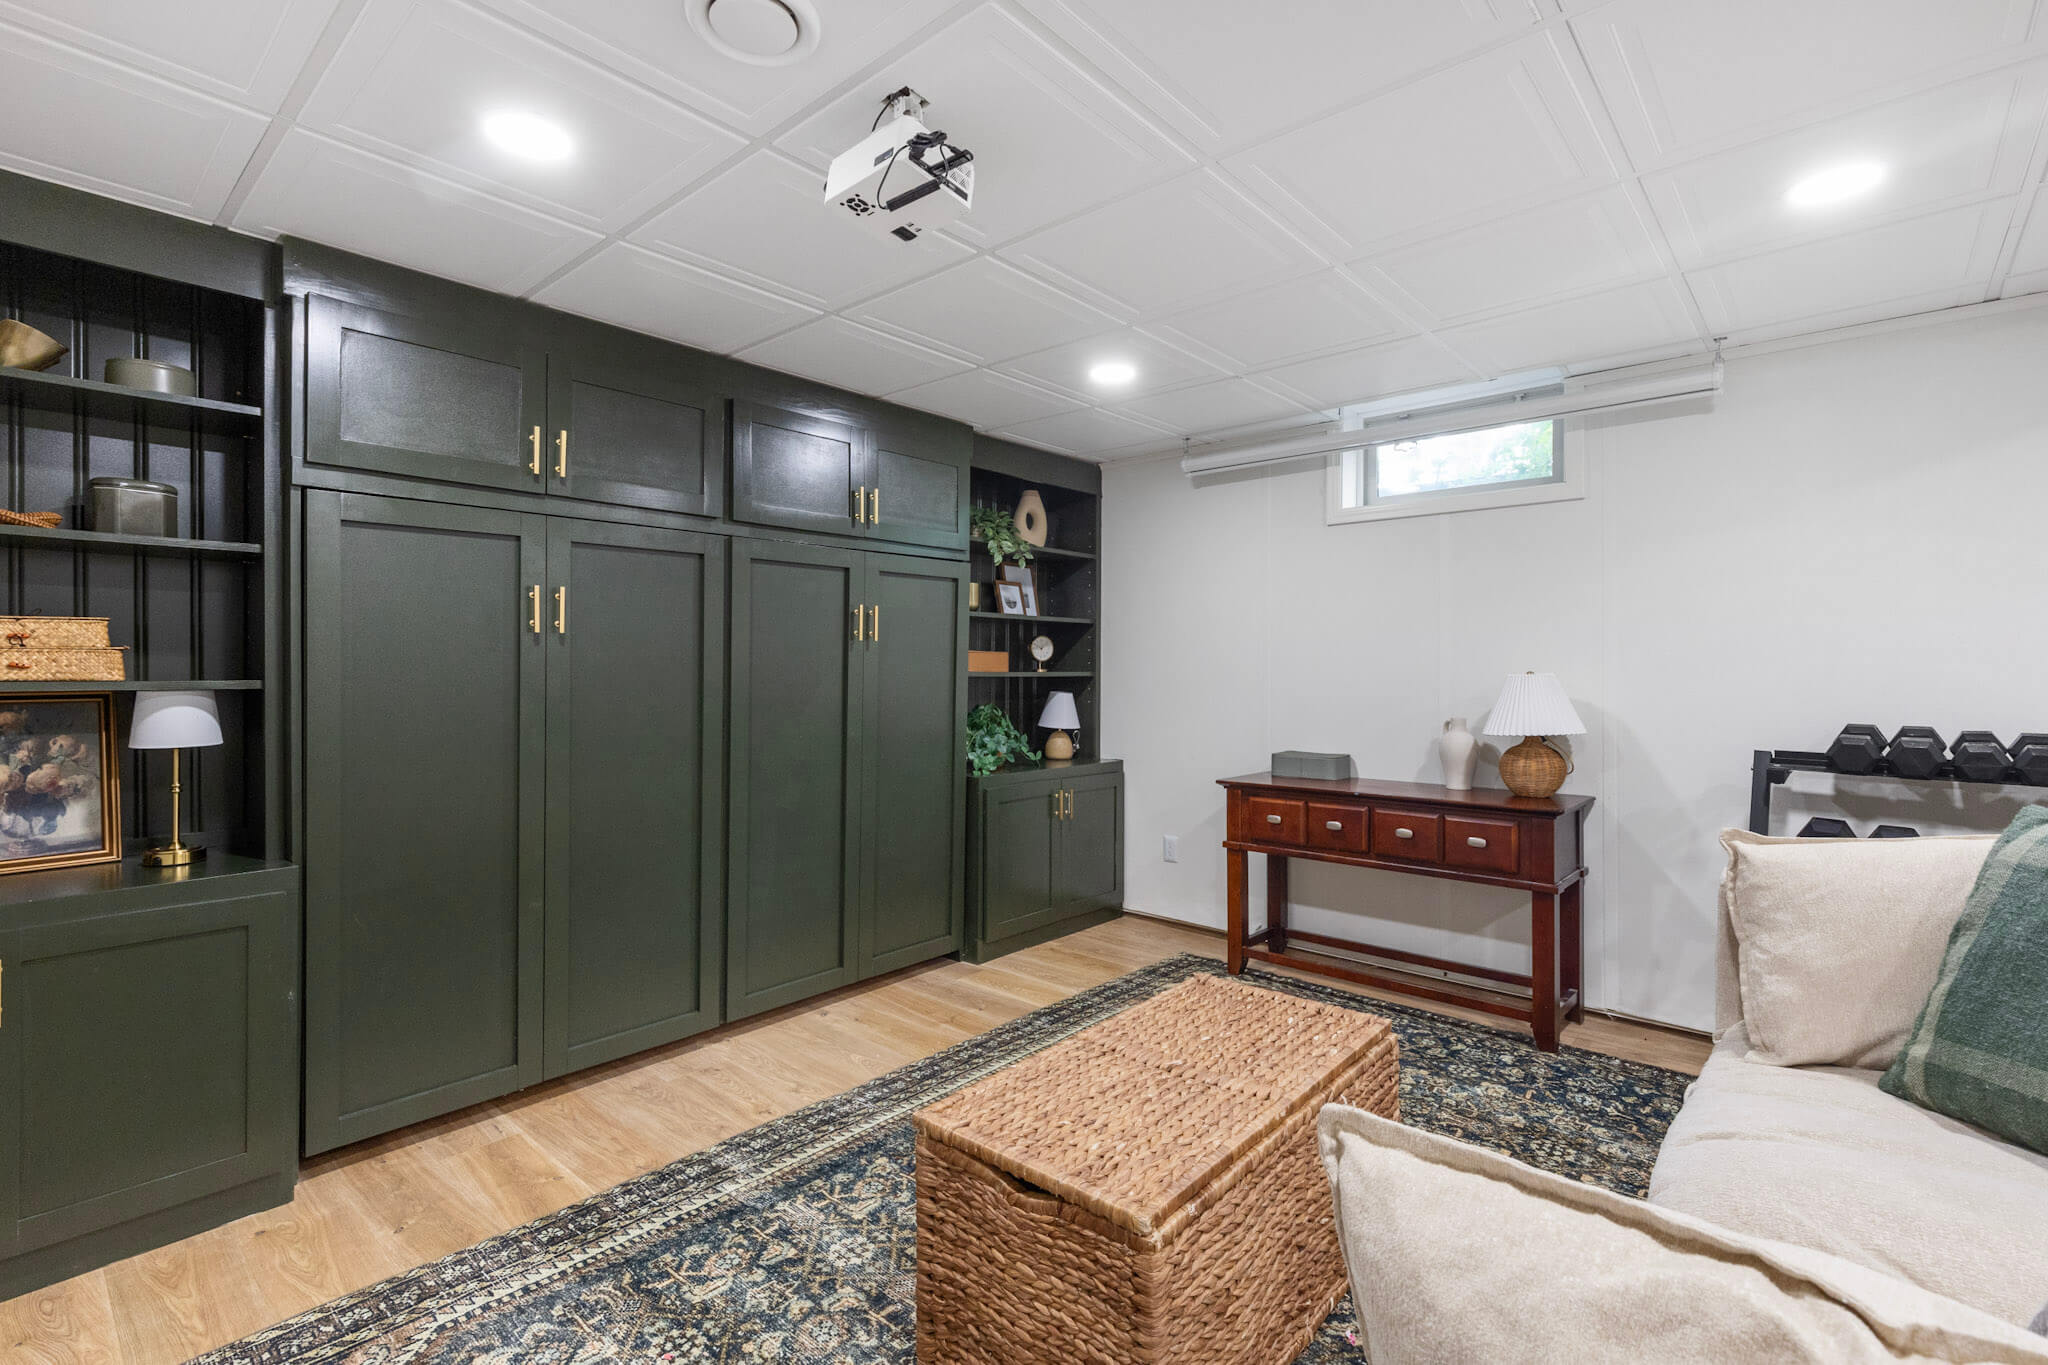
Credit: www.hgtv.com
Frequently Asked Questions
What Materials Are Best For Building Living Room Cabinets?
Plywood and MDF are ideal for durability and smooth finishes. Use hardwood for visible parts to enhance aesthetics and strength. Choose moisture-resistant materials for longevity in living spaces.
How Do I Measure Space For Living Room Cabinets?
Measure the wall width, height, and depth accurately. Allow extra space for doors and ventilation. Consider room flow and furniture placement to avoid overcrowding.
What Tools Are Needed To Build Cabinets At Home?
Essential tools include a saw, drill, screwdriver, measuring tape, and clamps. Sandpaper and wood glue are also necessary for finishing and assembly. Safety gear is recommended.
How Can I Finish Cabinets For A Modern Look?
Use smooth paint or wood stain in neutral colors like white, gray, or black. Matte or semi-gloss finishes create a sleek, modern appearance. Add minimalist hardware for a clean style.
Conclusion
Building cabinets in your living room adds both style and storage. Start with a clear plan and measure your space carefully. Choose materials that fit your budget and skill level. Take your time cutting and assembling each piece. Paint or stain the cabinets to match your room’s look.
Small steps lead to big results. Enjoy the satisfaction of creating something useful and beautiful. Your living room will look neater and feel more organized. Keep practicing, and your skills will grow with each project.