Have you ever wanted to create your own colorful modeling clay right at home? Imagine having a fun, safe, and affordable way to craft endless shapes and figures whenever you like.
Making modeling clay yourself is easier than you think, and it lets you control exactly what goes into it—no strange chemicals, just simple ingredients you probably already have. Keep reading, and you’ll discover a step-by-step guide that will turn your kitchen into a creative playground.
Ready to bring your ideas to life with your own homemade clay? Let’s get started!
Ingredients Needed
Making modeling clay at home is simple and fun. You only need a few common ingredients.
This guide will help you gather the right supplies for your clay project.
Basic Supplies
The basic supplies create the clay’s soft and moldable texture. These items are easy to find.
- 1 cup all-purpose flour
- 1/2 cup salt
- 1/2 cup water
- 1 tablespoon vegetable oil
- Optional: 1 tablespoon cream of tartar (for extra elasticity)
Mixing these ingredients creates a dough that is safe and easy to shape.
Optional Additives
Optional additives can improve color, texture, and durability of your clay. They add variety.
- Food coloring to tint the clay
- Lemon juice to help preserve the clay
- Glitter for a sparkly effect
- Essential oils for a pleasant smell
- White glue for a smoother texture
Adding these extras lets you customize your clay for different projects.

Credit: www.youtube.com
Step-by-step Instructions
Making modeling clay at home is easy and fun. You only need a few simple ingredients.
Follow these steps to create your own soft and colorful clay for crafting.
Mixing Ingredients
Gather all ingredients before you start. Mixing them well is important for smooth clay.
- 1 cup of flour
- 1/2 cup of salt
- 1 tablespoon of cream of tartar
- 1 cup of water
- 1 tablespoon of vegetable oil
- Food coloring (optional)
Cooking The Dough
Cook the dough gently to get the right texture. Stir often to avoid lumps.
- Mix flour, salt, and cream of tartar in a pot.
- Add water and oil to the dry mix.
- Stir the mixture on medium heat.
- Keep stirring until the dough thickens.
- Remove from heat once it forms a ball.
Cooling And Kneading
Let the dough cool before handling. Kneading makes the clay soft and smooth.
| Step | Action |
|---|---|
| Cooling | Let the dough rest for 10 minutes until warm. |
| Kneading | Work the dough with your hands for 5 minutes. |
| Optional | Add food coloring while kneading for color. |
Tips For Best Results
Making modeling clay at home can be fun and easy. Following some simple tips helps you get the best clay texture.
Good clay feels soft but firm. It should not be sticky or crumbly. Let’s look at how to adjust consistency and add color.
Consistency Adjustments
Clay consistency changes with ingredients and moisture. You can fix it if the clay feels too dry or too sticky.
To fix dry clay, add small amounts of water and knead well. For sticky clay, add a little flour or cornstarch and mix.
- Add water slowly to avoid making it too wet.
- Use flour or cornstarch to reduce stickiness.
- Knead the clay until smooth and even.
- Rest the clay wrapped in plastic to keep moisture balanced.
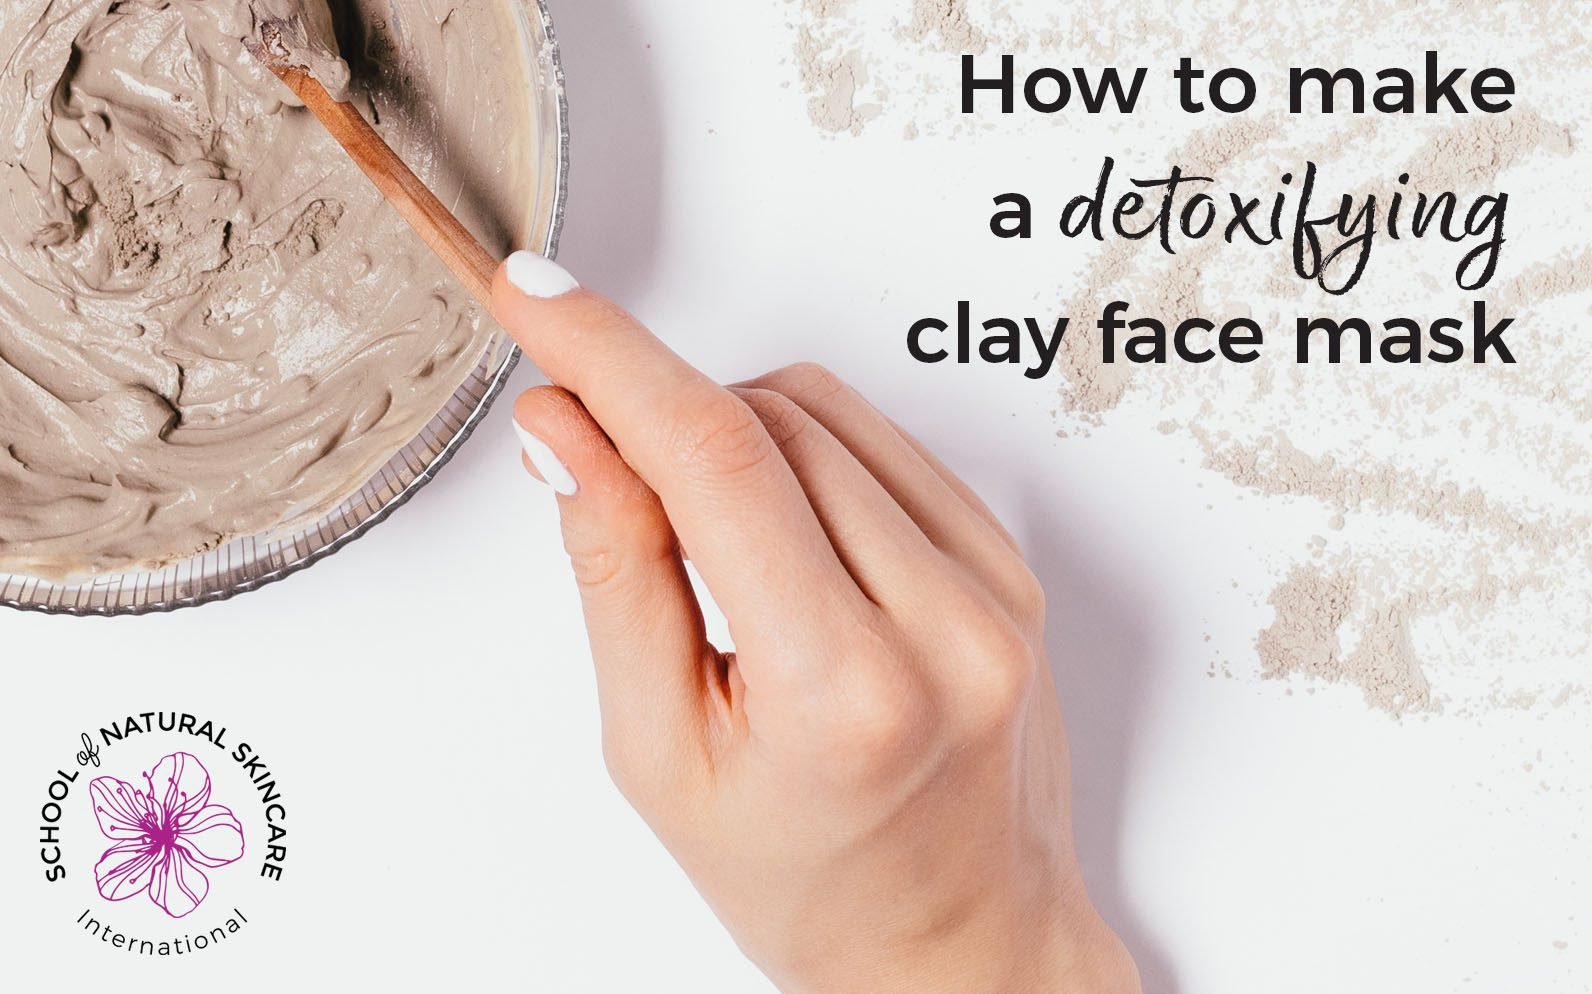
Coloring The Clay
You can color your homemade clay with food coloring or natural dyes. Adding color makes your projects more fun and creative.
Mix the coloring into the clay while kneading. Use gloves to avoid staining your hands. Start with a few drops and add more if needed.
- Use liquid food coloring for bright colors.
- Try natural colors from spices like turmeric or beetroot powder.
- Mix colors to create new shades.
- Store colored clay in airtight containers to keep colors fresh.

Credit: www.youtube.com
Safety Precautions
Making modeling clay at home can be fun and creative. Safety is very important during the process.
This guide covers key safety tips for handling hot mixtures and storing the clay properly.
Handling Hot Mixtures
Hot mixtures can cause burns if not handled carefully. Always protect your skin and eyes.
- Use oven mitts or heat-resistant gloves when stirring hot clay mixture.
- Keep children away from the stove or hot surfaces.
- Stir slowly to avoid splashing hot liquid.
- Work in a well-ventilated area to avoid breathing steam.
- Have a bowl of cold water nearby in case of accidental burns.
Storage Guidelines
Proper storage keeps your homemade clay fresh and safe to use later.
| Storage Tip | Reason |
| Store clay in airtight containers | Prevents drying out and contamination |
| Label containers with the date made | Helps track freshness and usage time |
| Keep containers in a cool, dry place | Maintains clay texture and quality |
| Avoid freezing the clay | Freezing can change the texture and cause cracks |
Creative Uses For Homemade Clay
Making modeling clay at home is fun and easy. You can use it for many creative projects.
Homemade clay is safe and great for kids and adults. It helps develop skills and ideas.
Craft Ideas
You can use homemade clay to make many crafts. Try creating small figures, jewelry, or decorations.
Clay is easy to shape and paint once dry. It makes unique gifts and fun room decorations.
- Make animal or doll figures
- Create beads for necklaces or bracelets
- Design fridge magnets or keychains
- Shape holiday ornaments or decorations
Educational Activities
Homemade clay is a great tool for learning. It helps teach shapes, letters, and colors in a fun way.
Using clay improves hand skills and creativity. It also supports teamwork and problem-solving.
- Practice forming letters and numbers
- Build models of plants or animals
- Explore colors by mixing different clays
- Work in groups to create projects

Credit: www.gatheringbeauty.com
Frequently Asked Questions
What Ingredients Are Needed To Make Modeling Clay At Home?
You need flour, salt, water, and oil. Some recipes add cream of tartar for extra elasticity. These common kitchen ingredients make a safe, non-toxic modeling clay.
How Long Does Homemade Modeling Clay Last?
Homemade modeling clay lasts for several weeks if stored properly. Keep it airtight in a sealed container. Avoid exposure to air to prevent drying.
Can Homemade Modeling Clay Be Colored?
Yes, you can add food coloring or natural dyes. Mix colors thoroughly into the dough for vibrant results. This makes your clay more fun and creative.
Is Homemade Modeling Clay Safe For Children?
Homemade modeling clay is generally safe for children. It uses non-toxic ingredients. However, supervise young kids to avoid ingestion or choking hazards.
Conclusion
Making modeling clay at home is simple and fun. You need just a few common ingredients. Mix them well, and you get soft, moldable clay. This homemade clay is safe for kids to use. You can create many shapes and figures.
It also saves money compared to store-bought clay. Try different colors by adding food coloring. Store the clay in an airtight container to keep it fresh. Enjoy crafting and sharing your creations with friends and family. A great way to boost creativity at home!