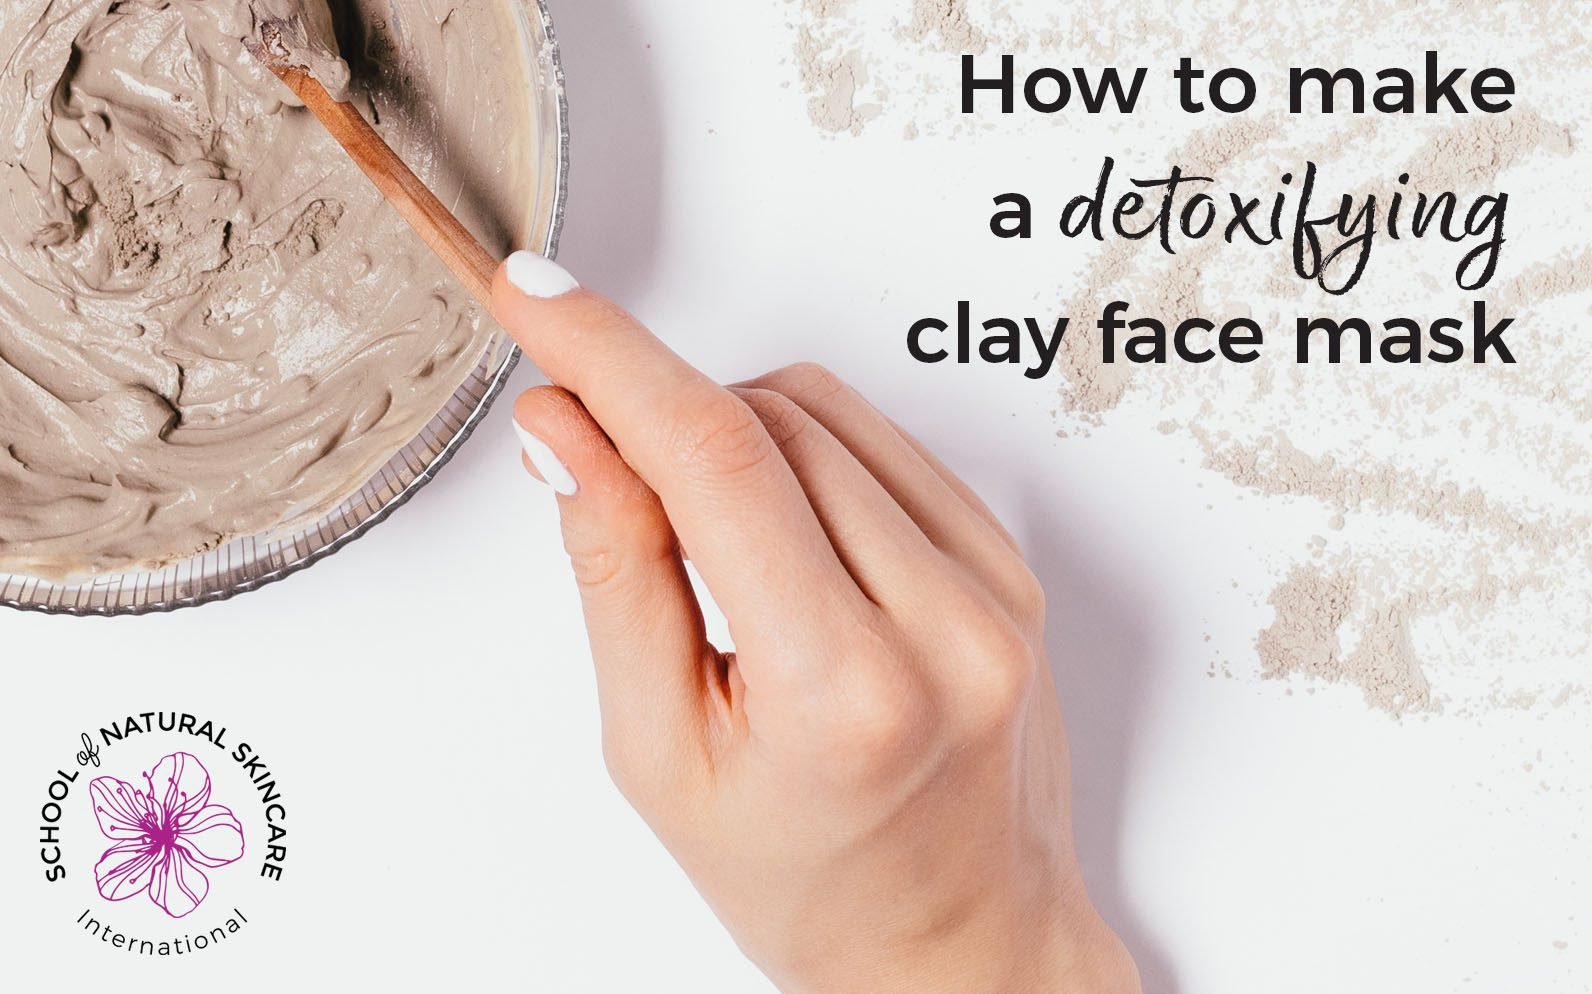
Are you looking for a simple way to refresh your skin without spending a fortune? Making a clay mask at home is easier than you think, and it can work wonders for your face.
Imagine using natural ingredients that suit your skin perfectly, giving you a glowing, smooth complexion. In this guide, you’ll discover step-by-step how to create your own clay mask with just a few easy-to-find items. By the end, you’ll have a personalized skincare boost that feels like a mini spa treatment—right in your own home.
Ready to unlock the secret to healthier skin? Let’s get started!

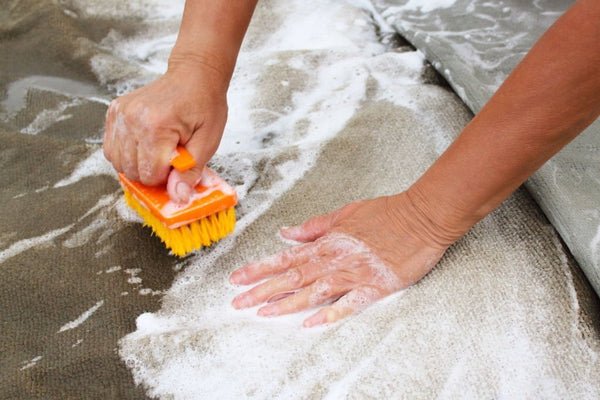
Credit: www.amazon.com
Benefits Of Clay Masks
Clay masks clean your skin deeply. They remove dirt, oil, and dead skin cells.
These masks help reduce acne and make your skin look fresh and smooth.
Types Of Clay For Skin
Different clays suit different skin needs. Each type has unique minerals and benefits.
- Bentonite Clay:Absorbs oil and cleans pores deeply.
- Kaolin Clay:Gentle on skin, good for sensitive types.
- French Green Clay:Removes toxins and tightens skin.
- Rhassoul Clay:Hydrates and softens dry skin.
- Fuller's Earth:Lightens dark spots and controls oil.
Skin Types And Clay Selection
Choose clay based on your skin type for the best results. The right clay balances your skin.
- Oily Skin:Use Bentonite or Fuller's Earth to control oil.
- Dry Skin:Rhassoul clay adds moisture and softens skin.
- Sensitive Skin:Kaolin clay soothes without irritation.
- Combination Skin:French Green clay helps balance oily and dry areas.
- Acne-prone Skin:Bentonite clay clears pores and reduces breakouts.
Essential Ingredients
Making a clay mask at home is easy and fun. You only need a few simple ingredients.
The right ingredients help clean your skin and make it glow.
Common Clay Varieties
Clay is the main ingredient for a mask. Different clays suit different skin types.
Choose the clay that fits your skin needs for the best results.
- Bentonite Clay:Good for oily and acne-prone skin. It cleans deeply.
- Kaolin Clay:Gentle on sensitive skin. It soothes and cleans.
- French Green Clay:Great for normal to oily skin. It tightens pores.
- Rhassoul Clay:Rich in minerals. It softens and smooths skin.
- Fuller's Earth:Helps lighten dark spots and remove oil.
Natural Additives For Glow
Add natural ingredients to your clay mask for extra glow and care. These ingredients help hydrate and brighten skin.
Use fresh and organic additives for the best effect.
- Honey:Moisturizes skin and fights bacteria.
- Aloe Vera Gel:Soothes and hydrates dry skin.
- Turmeric Powder:Brightens skin and reduces redness.
- Yogurt:Adds gentle exfoliation and smoothness.
- Rose Water:Refreshes skin and adds a light scent.
Tools Needed
Making a clay mask at home is simple. You need a few basic tools to mix and store your mask.
Using the right tools helps keep your mask clean and easy to apply.
Mixing Bowls And Brushes
You need a small bowl to mix your clay mask ingredients. Choose a non-metal bowl to keep the clay pure.
Use a brush to apply the mask smoothly on your face. A soft, flat brush works best for even coverage.
- Non-metal mixing bowl (glass, ceramic, or plastic)
- Soft flat brush for applying the mask
- Spoon or spatula for stirring ingredients
Storage Containers
Store your homemade clay mask in an airtight container. This keeps the mask fresh and stops it from drying out.
Small glass jars or plastic containers with lids work well for storage.
- Airtight glass jars
- Plastic containers with secure lids
- Label your container with the date made
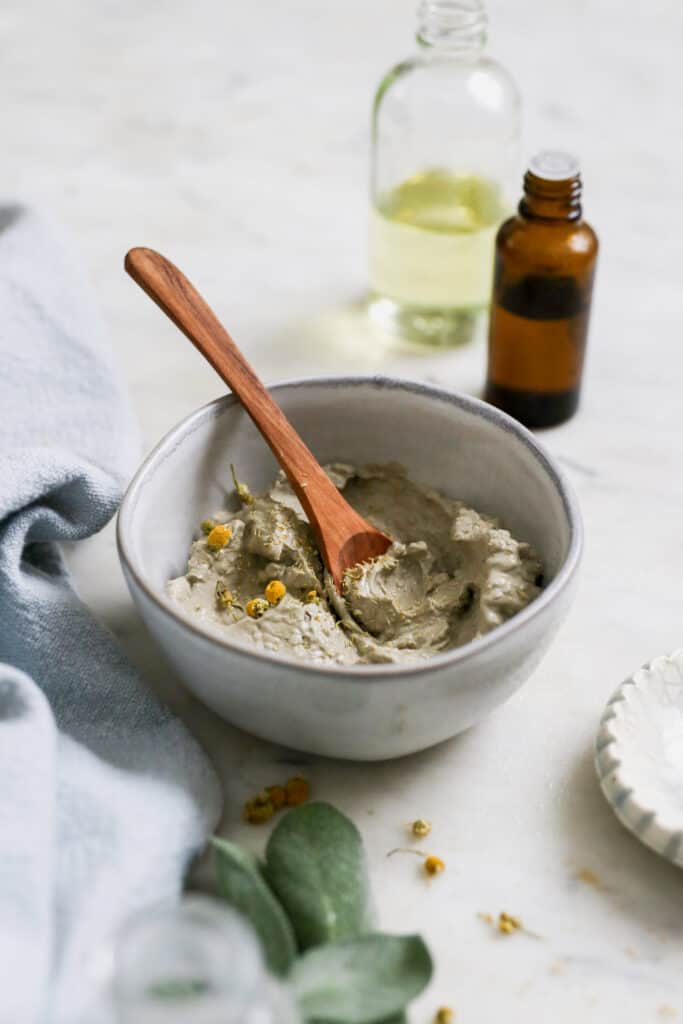
Step-by-step Clay Mask Recipe
Making a clay mask at home is simple and fun. You can control what goes on your skin.
This guide shows easy steps to prepare, add ingredients, and mix your clay mask.
Preparing The Clay Base
Start by choosing the right clay for your skin type. Bentonite and kaolin are good options.
- Measure 2 tablespoons of your chosen clay powder
- Place the clay in a clean bowl
- Keep the bowl dry and free from moisture
Adding Ingredients
Enhance your clay mask by adding natural ingredients. These help nourish your skin.
| Ingredient | Benefit |
| Water or rose water | Mixes the clay smoothly |
| Honey | Moisturizes and soothes |
| Tea tree oil | Fights acne and bacteria |
| Aloe vera gel | Calms irritated skin |
Mixing Techniques
Mix the ingredients carefully to get a smooth paste. Avoid lumps for easy application.
- Add 1 tablespoon of water or rose water to the clay
- Stir slowly using a non-metal spoon
- Add 1 teaspoon of honey or aloe vera gel
- Mix until you reach a creamy texture
- Use immediately for best results
Application Tips
Applying a clay mask correctly helps your skin get the best results. This guide shares easy tips for smooth application.
Follow these steps to apply the mask evenly and know how long to keep it on before removal.
How To Apply Evenly
Start with clean skin to help the mask stick well. Use your fingers or a brush to spread the mask.
Apply a thin, even layer over your face. Avoid putting too much in one spot.
- Use gentle, upward strokes
- Cover all areas except eyes and lips
- Keep the layer smooth and consistent
Mask Duration
Leave the clay mask on your face for about 10 to 15 minutes. Do not let it dry completely hard.
Pay attention to how your skin feels. If it feels too tight or itchy, wash it off sooner.
- 10-15 minutes is enough for most skin types
- Do not exceed 20 minutes to avoid dryness
- Adjust time if you have sensitive skin
Mask Removal
Remove the mask with lukewarm water. Use a soft cloth or your hands to gently wash it away.
Pat your face dry with a clean towel. Follow with a moisturizer to keep skin soft.
- Use gentle circular motions to remove the mask
- Do not scrub hard to avoid irritation
- Moisturize after drying your skin
Credit: helloglow.co
Aftercare For Glowing Skin
Making a clay mask at home is easy and fun. After using your mask, it is important to take care of your skin for the best results.
Proper aftercare ensures your skin stays healthy and glowing. Here are some tips to follow after using a clay mask.
Moisturizing Post Mask
After rinsing the clay mask, your skin may feel tight. It is important to apply a gentle moisturizer to keep your skin hydrated.
Choose a moisturizer that suits your skin type. This helps to lock in moisture and maintain softness.
- Use a cream for dry skin
- Opt for a gel moisturizer if you have oily skin
- Look for products with natural ingredients
Frequency Of Use
Using a clay mask too often can dry out your skin. It is best to use it once or twice a week.
Pay attention to how your skin reacts. Adjust the frequency if you notice any irritation or dryness.
- Once a week for sensitive skin
- Twice a week for normal to oily skin
- Always follow with a moisturizer
Troubleshooting Common Issues
Making a clay mask at home can be tricky. Sometimes, you might face issues. Here, we discuss common problems and how to fix them.
Understanding these can help you achieve the best results for your skin. Let's explore ways to handle sensitivity and adjust consistency.
Handling Skin Sensitivity
Some people have sensitive skin. This can cause redness or irritation. Testing a small area first is important.
Use mild ingredients like aloe vera or oatmeal. These can soothe the skin and reduce reactions.
- Test on a small patch first
- Use soothing ingredients
- Avoid harsh additives
Adjusting Consistency
The right consistency is key for a clay mask. It should not be too thick or too runny. Adjusting it is simple.
If it's too thick, add more liquid. If too runny, add more clay. Mix until you get a paste that stays on your face.
| Problem | Solution |
| Too Thick | Add more liquid |
| Too Runny | Add more clay |
Diy Variations For Different Skin Needs
Making clay masks at home lets you control the ingredients. You can choose the right recipe for your skin type.
Different skin needs require different ingredients. This guide shows easy DIY clay mask variations.
Oily Skin Formulas
Oily skin needs a clay mask that removes extra oil and cleans pores. Bentonite clay works well for this.
Add ingredients that balance oil and reduce shine without drying out your skin.
- 2 tablespoons bentonite clay
- 1 tablespoon apple cider vinegar
- 1 teaspoon tea tree oil (optional)
- Water to mix
Dry Skin Boosters
Dry skin needs gentle masks that add moisture. Use white or pink clay to avoid harsh effects.
Mix in natural oils and hydrating ingredients to nourish your skin deeply.
- 2 tablespoons white clay
- 1 tablespoon honey
- 1 tablespoon aloe vera gel
- 1 teaspoon jojoba oil
Sensitive Skin Options
Sensitive skin needs calming ingredients to avoid redness or irritation. Use gentle clays like kaolin.
Add soothing elements such as chamomile or oatmeal to protect your skin.
- 2 tablespoons kaolin clay
- 1 tablespoon chamomile tea (cooled)
- 1 teaspoon colloidal oatmeal
- 1 teaspoon rose water

Credit: www.racheladawson.com
Frequently Asked Questions
What Ingredients Are Needed To Make A Clay Mask At Home?
You need natural clay like bentonite or kaolin, water, and optional additives like honey or aloe vera. These ingredients help purify and soothe your skin effectively.
How Do I Choose The Right Clay For My Skin Type?
Bentonite clay suits oily skin, kaolin is gentle for sensitive skin, and French green clay works well for normal skin types. Choose based on your skin’s needs for best results.
How Often Should I Use A Homemade Clay Mask?
Use a clay mask 1-2 times per week. This frequency cleanses pores without over-drying or irritating your skin.
Can I Add Essential Oils To My Clay Mask?
Yes, essential oils like tea tree or lavender can enhance benefits. Add just a few drops to avoid skin irritation.
Conclusion
Making a clay mask at home is simple and fun. You only need a few natural ingredients. Mixing them yourself helps you know exactly what goes on your skin. It saves money and lets you customize the mask for your skin type.
Try different clays and add-ons to find what works best. Your skin will feel fresh and clean after each use. Start making your own clay mask today and enjoy healthy skin naturally.