Looking to add a warm, cozy glow to your space without spending a lot? You can create a beautiful paper lamp right at home, using simple materials you probably already have.
Imagine the soft light filling your room, crafted by your own hands. It’s easier than you think, and you’ll feel proud every time you switch it on. Keep reading, and you’ll discover step-by-step how to make your very own paper lamp that brightens your home and sparks your creativity.

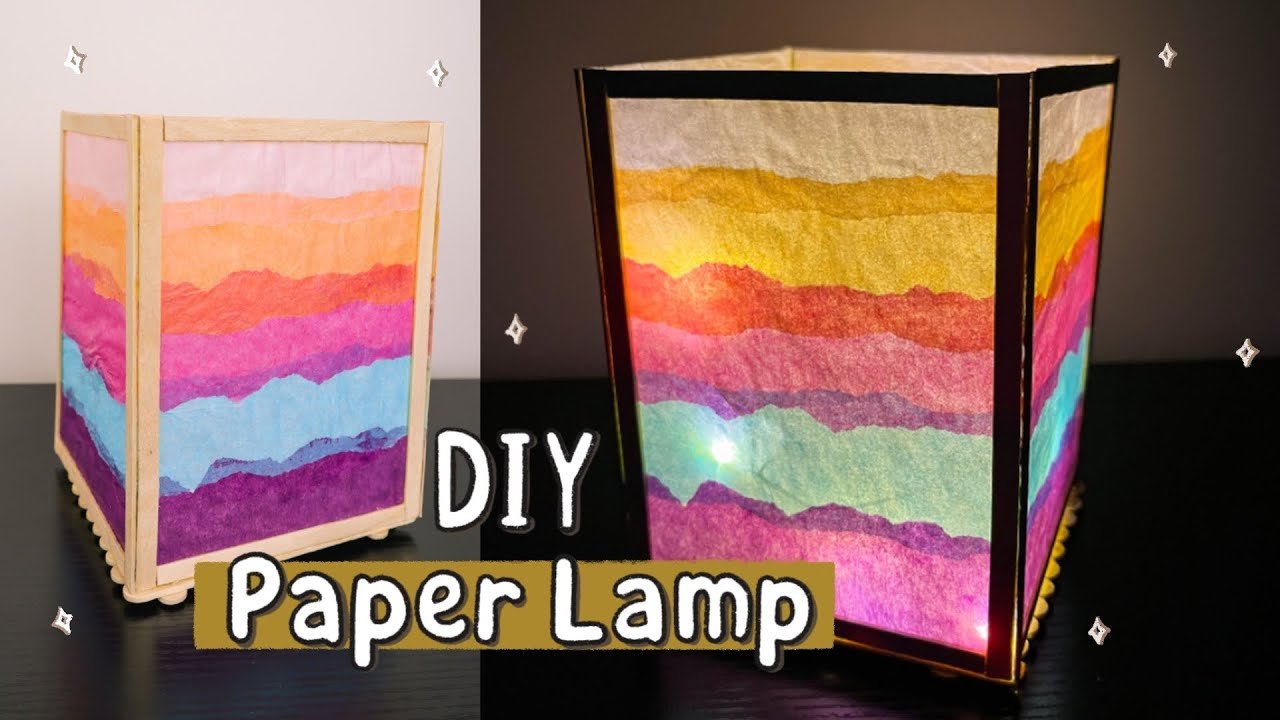
Credit: www.youtube.com
Materials Needed
Making a paper lamp at home is a fun and easy craft project. You only need a few simple materials.
Gathering the right supplies helps your lamp look great and work safely.
Types Of Paper
Choosing the right paper is important for your lamp’s look and durability. Some papers let light shine through softly.
- Rice paper: Thin and translucent, good for soft light.
- Cardstock: Thick and sturdy, shapes well.
- Wax paper: Water-resistant and glowing effect.
- Tracing paper: Smooth and translucent, easy to fold.
Additional Supplies
You will need some extra items to build and light your paper lamp safely.
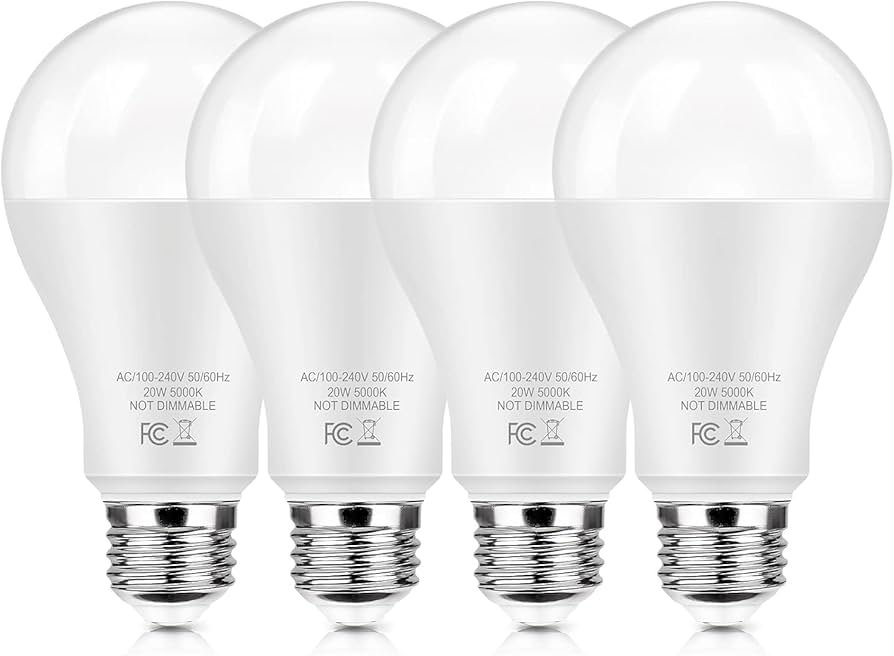
- LED light bulb or LED string lights (cool to touch)
- Glue or double-sided tape
- Scissors or craft knife
- Ruler and pencil for measuring
- Wire or string to hang the lamp
- Cardboard base for support (optional)
Safety Precautions
Safety is very important when making a paper lamp. Paper can catch fire easily if you use the wrong light.
Use LED lights only. They stay cool and do not cause fires. Avoid regular bulbs that get hot.
- Keep the lamp away from open flames.
- Do not leave the lamp on unattended.
- Use battery-powered LED lights to avoid electrical risks.
- Make sure the lamp is stable and won’t fall.
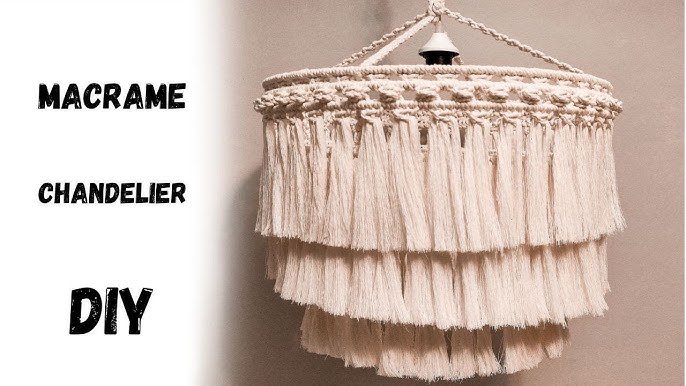
Choosing Your Lamp Design
Picking a design is the first step to making a paper lamp. The style you choose sets the mood and look of your lamp.
Think about where you will place your lamp and what kind of light you want it to give off. This will help guide your design choice.
Simple Shapes
Simple shapes like squares, circles, and triangles are easy to cut and fold. They work well for beginners.
These shapes create clean, modern lamps that fit many rooms. You can make them small or large depending on your space.
- Square lamps give a neat, boxy look
- Round lamps offer soft, gentle light
- Triangle shapes add a unique style
Decorative Patterns
Decorative patterns make your lamp more interesting. You can cut shapes like stars, flowers, or geometric designs.
These patterns let light shine through in different ways. They create fun shadows and add charm to your lamp.
- Star patterns create a night sky effect
- Floral patterns add a natural touch
- Geometric designs give a modern feel
Customizing Colors
Colors change how your lamp looks and feels. Use colored paper or paint your lamp for a special touch.
Choose colors that match your room or mood. Soft colors create calm light. Bright colors make the lamp stand out.
- Use pastel colors for a gentle glow
- Bright colors add energy and fun
- Mix colors for a creative design
Step-by-step Assembly
Making a paper lamp at home is a fun and creative project. It adds a warm light to any room.
This guide will show you how to prepare, cut, fold, and assemble your paper lamp.
Preparing The Paper
Choose thick, sturdy paper for your lamp. Thin paper may tear or let light pass too easily.
Cut your paper into equal squares or rectangles. Make sure the edges are smooth and straight.
- Use cardstock or craft paper
- Measure and mark before cutting
- Use a ruler and sharp scissors or a craft knife
Cutting And Folding Techniques
Use precise cuts to create clean edges. Fold the paper carefully to form sharp creases.
Practice folding along the lines first. Avoid folding back and forth to prevent damage.
- Score fold lines lightly with a blunt tool
- Fold slowly and press down firmly
- Use a bone folder or ruler edge for sharper folds
Assembling The Lamp Structure
Start by joining folded pieces with glue or tape. Attach edges to build the lamp shape.
Make sure the structure is stable and holds its form. Leave space for the light bulb or LED.
- Apply glue on tabs or edges only
- Hold pieces together until dry
- Test fit the light source before final assembly
Installing The Light Source
Adding a light source to your paper lamp makes it both beautiful and useful. This guide helps you install the light safely and correctly.
Use LED lights to keep the lamp cool and energy-efficient. Follow wiring and safety tips to avoid damage or accidents.
Selecting Led Lights
Choose LED lights because they produce less heat and use less power. Pick small LED bulbs or LED strips that fit inside your paper lamp.
- Use warm white LEDs for a cozy glow
- Select low voltage LEDs for safety
- Check the size to fit your lamp design
- Choose battery-powered or plug-in LEDs
Wiring And Safety Tips
Make sure to handle wiring carefully. Follow these tips to keep your lamp safe from fire and electric shock.
| Tip | Description |
| Use insulated wires | Prevents short circuits and shocks |
| Secure connections | Keep wires tight and stable |
| Avoid water contact | Protect the lamp from moisture |
| Use a fuse or switch | Controls power safely |
Testing The Lamp
Test your paper lamp before final use. Check the light and wiring to make sure everything works well and is safe.
- Turn on the LED light source
- Look for bright, even light inside the lamp
- Check for any flickering or loose wires
- Feel the lamp surface to ensure it stays cool
- Switch off and unplug after testing
Decorating Your Paper Lamp
Decorating your paper lamp makes it unique and beautiful. You can use many simple ideas to add style and color.
Try painting, adding decorations, or using patterns to make your lamp special. Each way changes how your lamp looks.
Painting And Coloring
Painting your paper lamp is an easy way to add color. Use watercolors or acrylic paints for best results.
Choose light colors to let the lamp light shine through. Dark colors can block the light and make it dim.
- Use a soft brush for smooth paint
- Paint thin layers to avoid paper damage
- Allow each layer to dry before adding more
- Try blending colors for a soft look
Adding Embellishments
Embellishments add texture and interest to your lamp. You can glue small items on the paper surface.
Try using beads, ribbons, or paper cutouts. These decorations make your lamp look creative and fun.
- Glue beads carefully with craft glue
- Attach ribbons around the lamp edges
- Use paper shapes to create patterns
- Keep decorations light to avoid tearing
Using Stencils And Patterns
Stencils help you paint neat shapes on your lamp. You can find simple shapes or create your own stencil.
Patterns give your lamp a repeated design. Use a sponge or brush to apply paint over the stencil carefully.
- Choose stencil shapes that match your style
- Hold stencil firmly to avoid paint bleeding
- Use light paint coats for clear edges
- Try layering patterns for a textured look

Credit: www.youtube.com
Maintenance And Care
Keeping your paper lamp in good condition ensures it lasts longer and looks great. Proper care involves regular cleaning, timely bulb replacement, and safe storage.
Follow these easy steps to maintain your paper lamp and keep it shining bright.
Cleaning Tips
Clean your paper lamp gently to avoid damage. Dust and dirt can make it look dull and worn.
- Use a soft, dry cloth to wipe the surface.
- Avoid using water or cleaning sprays.
- For stubborn dirt, use a gentle brush.
Replacing Light Bulbs
Replacing light bulbs is essential for maintaining brightness. Always choose the right bulb for your lamp.
Ensure the lamp is unplugged before changing the bulb.
Check the bulb wattage to avoid overheating.
Storage Advice
When not in use, store your paper lamp properly. This prevents damage and keeps it in good shape.
| Storage Tip | Details |
| Avoid Humidity | Store in a dry place to prevent mold. |
| Use a Box | Keep in a sturdy box to avoid crushing. |
| Avoid Sunlight | Keep away from direct sunlight to prevent fading. |
Troubleshooting Common Issues
Making a paper lamp at home can be fun. But sometimes, problems arise. Here are solutions to common issues you might face.
These tips will help keep your lamp looking good and working well.
Fixing Tears And Rips
Papers can tear easily, especially thin ones. Fixing these tears is simple with some basic steps.
- Use clear tape to mend small tears.
- For larger rips, use glue or adhesive paper.
- Reinforce edges with washi tape for extra strength.
Preventing Overheating
Overheating is a common issue. It can damage the lamp and be a fire hazard. To prevent this, follow these guidelines.
Ensure there is enough space between the bulb and the paper. This allows heat to escape.
Use LED bulbs, which produce less heat.
Improving Light Brightness
If your lamp is too dim, there are ways to improve brightness. A brighter lamp can enhance the room's ambiance.
| Solution | Effect |
| Use brighter bulbs | Increases overall light output |
| Choose lighter paper colors | Allows more light to pass through |
| Remove any dust buildup | Prevents light obstruction |

Credit: www.youtube.com
Frequently Asked Questions
What Materials Do I Need To Make A Paper Lamp At Home?
You need paper, glue, scissors, a light bulb, a lamp holder, and a power source. Choose sturdy paper for durability and safety. Optional decorations can enhance the lamp’s look. Ensure the materials are heat-resistant and safe for electrical use.
How Can I Safely Use A Paper Lamp Indoors?
Place the paper lamp away from flammable objects and avoid high-wattage bulbs. Use LED bulbs as they produce less heat. Always check electrical connections for safety. Never leave the lamp unattended while turned on to prevent fire hazards.
Can I Customize The Design Of My Paper Lamp?
Yes, you can create unique shapes, colors, and patterns. Use colored paper, cutouts, or paint to personalize your lamp. Experiment with folding techniques like origami for creative designs. Customization adds charm and suits your home décor.
How Long Does A Homemade Paper Lamp Last?
The lifespan depends on paper quality and usage. With careful handling and low-heat bulbs, it can last months or longer. Avoid moisture and physical damage to maintain its condition. Regularly inspect for wear and replace parts if needed.
Conclusion
Making a paper lamp at home is simple and fun. You need just a few materials and some patience. This project lets you create a unique light for your room. It also helps save money compared to store-bought lamps. You can change the design anytime you want.
Try different colors and shapes to fit your style. Enjoy the soft glow your lamp gives. Crafting like this brings joy and creativity. Give it a try and brighten your space today!