Have you ever wanted to create a warm, glowing oil lamp right at home? Making your own oil lamp is easier than you think, and it brings a cozy, charming light to any room.
Imagine the soft flicker of a homemade lamp brightening your space while you relax or enjoy a quiet evening. In this guide, you’ll discover simple steps and easy materials that you probably already have. By the end, you’ll not only have a beautiful lamp but also a sense of satisfaction from crafting something with your own hands.
Ready to light up your home in a unique way? Let’s get started!

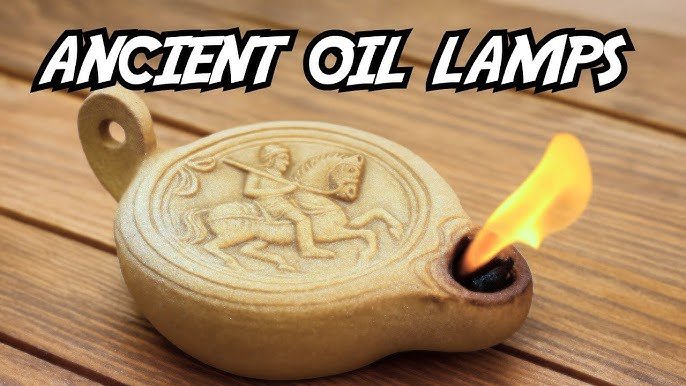
Credit: www.youtube.com
Materials Needed
Making an oil lamp at home is simple and needs just a few items. You can use things found around the house.
Choosing the right materials helps your lamp burn safely and well. Let’s look at what you need.
Choosing The Right Container
The container holds the oil and wick. It should be heat-resistant and stable.
Glass jars, metal tins, or small ceramic bowls work well. Avoid plastic or thin materials that can melt.
- Glass jars with wide openings
- Metal tins or cans
- Ceramic bowls or cups
- Containers with stable bases
Selecting Oil Types
Use oils that burn clean and steady. Cooking oils and lamp oils are good choices.
Vegetable oil, olive oil, or coconut oil work well. Avoid oils that produce a lot of smoke or smell bad.
- Vegetable oil
- Olive oil
- Coconut oil
- Commercial lamp oil (if available)
Wicks And Additional Supplies
The wick draws oil up to burn. Cotton wicks are best because they burn evenly.
You also need scissors to cut the wick and a lighter or matches to light the lamp.
- Cotton wick or cotton string
- Scissors
- Lighter or matches
- Optional: metal holder for wick stability
Preparing The Lamp Base
Making an oil lamp at home starts with a clean and sturdy base. This base holds oil and supports the wick. Preparing it well helps the lamp burn safely and steadily.
Two main tasks are needed: cleaning the container and securing the wick. Each step ensures your lamp works well and lasts longer.
Cleaning The Container
First, choose a container that can safely hold oil. It should be free from cracks and leaks. Clean it thoroughly to remove dust, dirt, or old oil.
- Wash the container with warm soapy water.
- Rinse it well to remove all soap.
- Dry the container completely with a clean cloth.
- Check for any damage or sharp edges.
Securing The Wick
The wick draws oil up for burning. Fix it properly to keep the flame steady. Use a holder or clip to keep the wick in place.
| Wick Placement | Reason |
| Center of container | Even burning and steady flame |
| Firmly secured | Prevents slipping or falling |
| Exposed tip above oil | Allows easy lighting and flame control |
Filling The Lamp
Filling your oil lamp properly keeps it safe and working well. Use clean oil and avoid spills to prevent accidents.
Pay attention to the wick length after filling. This helps the flame burn steady and bright without smoke.
Pouring The Oil Safely
Pour the oil slowly into the lamp to avoid overflow. Use a funnel or a small container with a spout for better control.
- Place the lamp on a flat surface before pouring.
- Keep oil below the maximum fill line to prevent spills.
- Wipe any oil drops immediately to avoid slippery surfaces.
- Use lamp oil made for indoor use to reduce smoke and odor.
- Keep the lamp away from children and pets during filling.
Adjusting Wick Length
| Wick Length | Effect on Flame | Adjustment Tip |
|---|---|---|
| Too Short | Small or weak flame | Pull wick up slowly to increase flame size |
| Optimal | Steady, bright flame without smoke | Keep wick length about 1/4 inch above oil |
| Too Long | Smoke and soot build-up | Trim wick to reduce length |

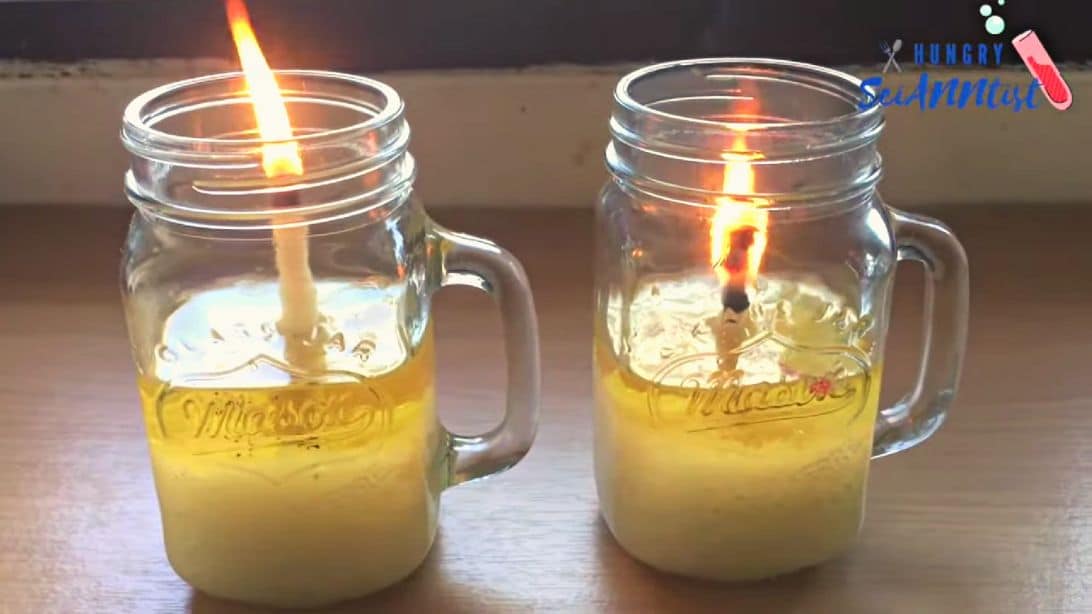
Credit: food52.com
Lighting The Lamp
Making an oil lamp at home is a fun project. Lighting the lamp is an essential part of the process. It requires careful attention to ensure safety and effectiveness.
Once your lamp is ready, you need to ignite it properly. Follow these steps to light the lamp safely and efficiently.
Igniting The Wick
Ensure the wick is properly soaked in oil. This helps it burn smoothly and consistently.
Use a long match or lighter to ignite the wick. This keeps your hands safe from the flame.
- Wait for the wick to fully catch fire.
- Adjust the wick height for a steady flame.
- Ensure the flame is not too high.
Safety Precautions
Always keep a fire extinguisher nearby when lighting the lamp. Safety is very important.
Place the lamp on a stable, non-flammable surface. This prevents accidental tipping and fire hazards.
- Never leave the lamp unattended.
- Keep flammable objects away from the lamp.
- Extinguish the lamp if you leave the room.
Maintaining Your Oil Lamp
Keeping your oil lamp in good shape helps it burn safely and brightly. Regular care makes your lamp last longer.
Follow simple steps to refill oil, change the wick, and clean the lamp. This keeps your lamp working well.
Refilling Oil
Always use clean oil to refill your lamp. Fill the reservoir slowly to avoid spills.
Do not fill the oil too high. Leave space to prevent overflow when the wick is inserted.
- Check oil level before lighting
- Use vegetable or lamp oil only
- Refill in a well-lit area
Replacing The Wick
Replace the wick if it is burnt or too short. A fresh wick helps the lamp burn better.
Cut the wick straight across for an even flame. Insert it firmly but not too tight.
- Remove old wick carefully
- Trim new wick to fit your lamp
- Check wick length regularly
Cleaning Tips
Clean your oil lamp regularly to avoid soot and dirt buildup. This keeps the flame clear and bright.
Use a soft cloth and mild soap to clean the outside. Avoid harsh chemicals that can damage the lamp.
- Clean the glass chimney after each use
- Remove oil spills immediately
- Check for cracks or damage
Creative Variations
Making an oil lamp at home can be a fun and creative project. You can try different styles to match your space and mood. Let’s explore some ideas to customize your oil lamp.
Using unique containers, adding scents, or following themes can change the look and feel of your lamps. These ideas help you personalize your lamps easily.
Decorative Containers
Choosing a container is the first step to making your oil lamp special. You can use many household items to create a charming lamp.
- Small glass jars with colored stones
- Teacups or small ceramic bowls
- Old candle holders or metal tins
- Shells or hollowed-out fruits like coconuts
- Clay pots painted with bright colors
Scented Oils
Adding scents to your oil lamp can create a warm and inviting atmosphere. You can mix essential oils with the lamp oil for a gentle aroma.
| Essential Oil | Effect | Best Use |
| Lavender | Calming | Bedroom or living room |
| Lemon | Refreshing | Kitchen or workspace |
| Cinnamon | Warmth | Dining area or winter nights |
| Eucalyptus | Refreshing and clear | Bathroom or study |
Seasonal Themes
Changing your oil lamp’s look according to the season adds a festive touch. You can decorate lamps with natural or colorful items that fit the time of year.
Try these ideas for seasonal decoration:
- Spring: Attach small flowers or green leaves to the container.
- Summer: Use bright colors and seashells around the lamp.
- Autumn: Wrap the lamp with twine and add small pinecones.
- Winter: Add red ribbons or tiny ornaments for a holiday feel.
Troubleshooting Common Issues
Making an oil lamp at home can be fun. Sometimes, issues may arise that need troubleshooting.
This guide will help you fix common problems like smoke, lighting issues, and leaks.
Smoke And Odor Problems
If your oil lamp produces smoke or odor, there could be several reasons. It's important to address these to ensure a pleasant experience.
- Use high-quality, clean oil to reduce smoke.
- Trim the wick to an appropriate length.
- Avoid using synthetic wicks as they may smell.
Wick Not Lighting
A wick that won't light can be frustrating. Here's what you can do to solve this problem.
Ensure the wick is properly soaked in oil. Check that the oil reservoir is full enough. Adjust the wick height to catch the flame.
Oil Spills And Leaks
Oil spills can create a mess and are potentially hazardous. Proper maintenance can prevent leaks.
| Problem | Solution |
| Loose seals | Tighten all parts securely |
| Overfilled reservoir | Fill to the recommended level |
| Cracked container | Replace with a new container |
Credit: diyjoy.com
Frequently Asked Questions
How Can I Make An Oil Lamp At Home Easily?
To make an oil lamp, use a small container, fill it with oil, and place a cotton wick inside. Light the wick carefully for a steady flame. Choose oils like olive or mustard for better burning.
What Materials Are Needed To Create A Homemade Oil Lamp?
You need a heat-resistant container, oil (such as vegetable or olive oil), a cotton wick, and a lighter or matches. Ensure the container is stable and safe to avoid accidents.
Which Oils Work Best For Homemade Oil Lamps?
Olive oil, mustard oil, and vegetable oil burn cleanly and steadily. Avoid synthetic oils as they can emit harmful fumes. Natural oils are safer and eco-friendly for indoor use.
Is It Safe To Use Homemade Oil Lamps Indoors?
Yes, if you use natural oils and keep the lamp away from flammable items. Always place it on a stable surface and never leave it unattended while lit.
Conclusion
Making an oil lamp at home is simple and fun. You only need a few basic items. The steps are easy to follow and safe. This lamp can light up small spaces well. It also adds a warm, cozy touch to your room.
Try making one today and enjoy the soft glow. You’ll feel proud of your handmade lamp. Keep it away from children and flammable materials. Enjoy the calm light and a peaceful atmosphere. Simple, useful, and beautiful. What more could you ask for?