Setting up your home theater system can feel confusing, especially when it comes to connecting the audio to your receiver. But what if you could get crystal-clear sound without the guesswork?
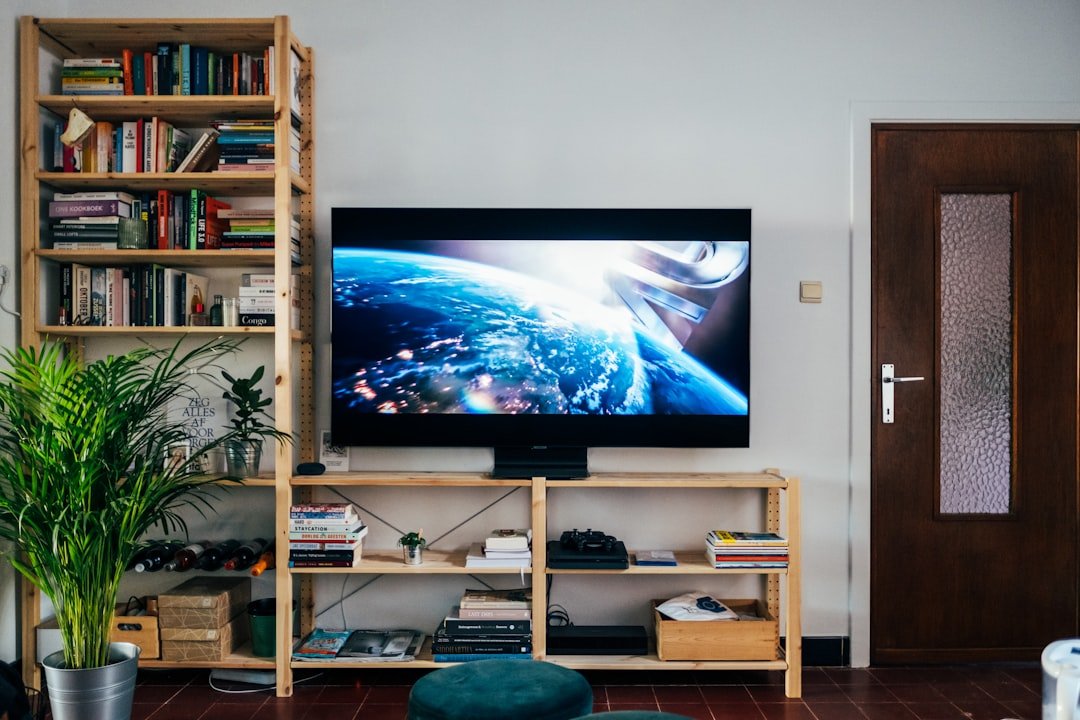
Imagine sitting back and enjoying movies, music, and games with rich, immersive audio that makes every moment unforgettable. In this guide, you’ll learn exactly how to connect your home theater system to your receiver step by step. By the end, you’ll have the confidence to create a powerful sound experience right in your living room.
Keep reading—you’re just a few easy steps away from transforming your entertainment setup.

Credit: www.theaterseatstore.com
Choosing The Right Receiver
Choosing the right receiver is important for your home theater system. It helps you get the best sound and connect all your devices easily.
A good receiver matches your speakers and supports the audio formats you need. It also has enough power to fill your room with sound.
Matching Receiver To Speakers
Your receiver should work well with your speakers. Check the number of channels and speaker types it supports.
If you have 5 speakers, choose a receiver with at least 5 channels. Make sure it supports your speaker’s impedance, usually 6 or 8 ohms.
- Match the number of channels
- Check speaker impedance compatibility
- Consider the size and type of speakers
Checking Power Ratings
Power rating shows how much power the receiver can send to your speakers. It is measured in watts per channel.
Choose a receiver with power ratings close to or higher than your speakers’ ratings. This avoids distortion and protects your equipment.
| Speaker Power Rating | Recommended Receiver Power |
|---|---|
| 50 watts | 50 to 75 watts per channel |
| 100 watts | 100 to 150 watts per channel |
| 150 watts | 150 to 200 watts per channel |
Supported Audio Formats
Receivers support different audio formats to play surround sound correctly. Check which formats your receiver handles.
Popular formats include Dolby Digital, DTS, and newer ones like Dolby Atmos. Choose a receiver that supports the formats you want for movies and music.
- Dolby Digital for basic surround sound
- DTS for high-quality audio
- Dolby Atmos for 3D sound effects

Credit: soundcertified.com
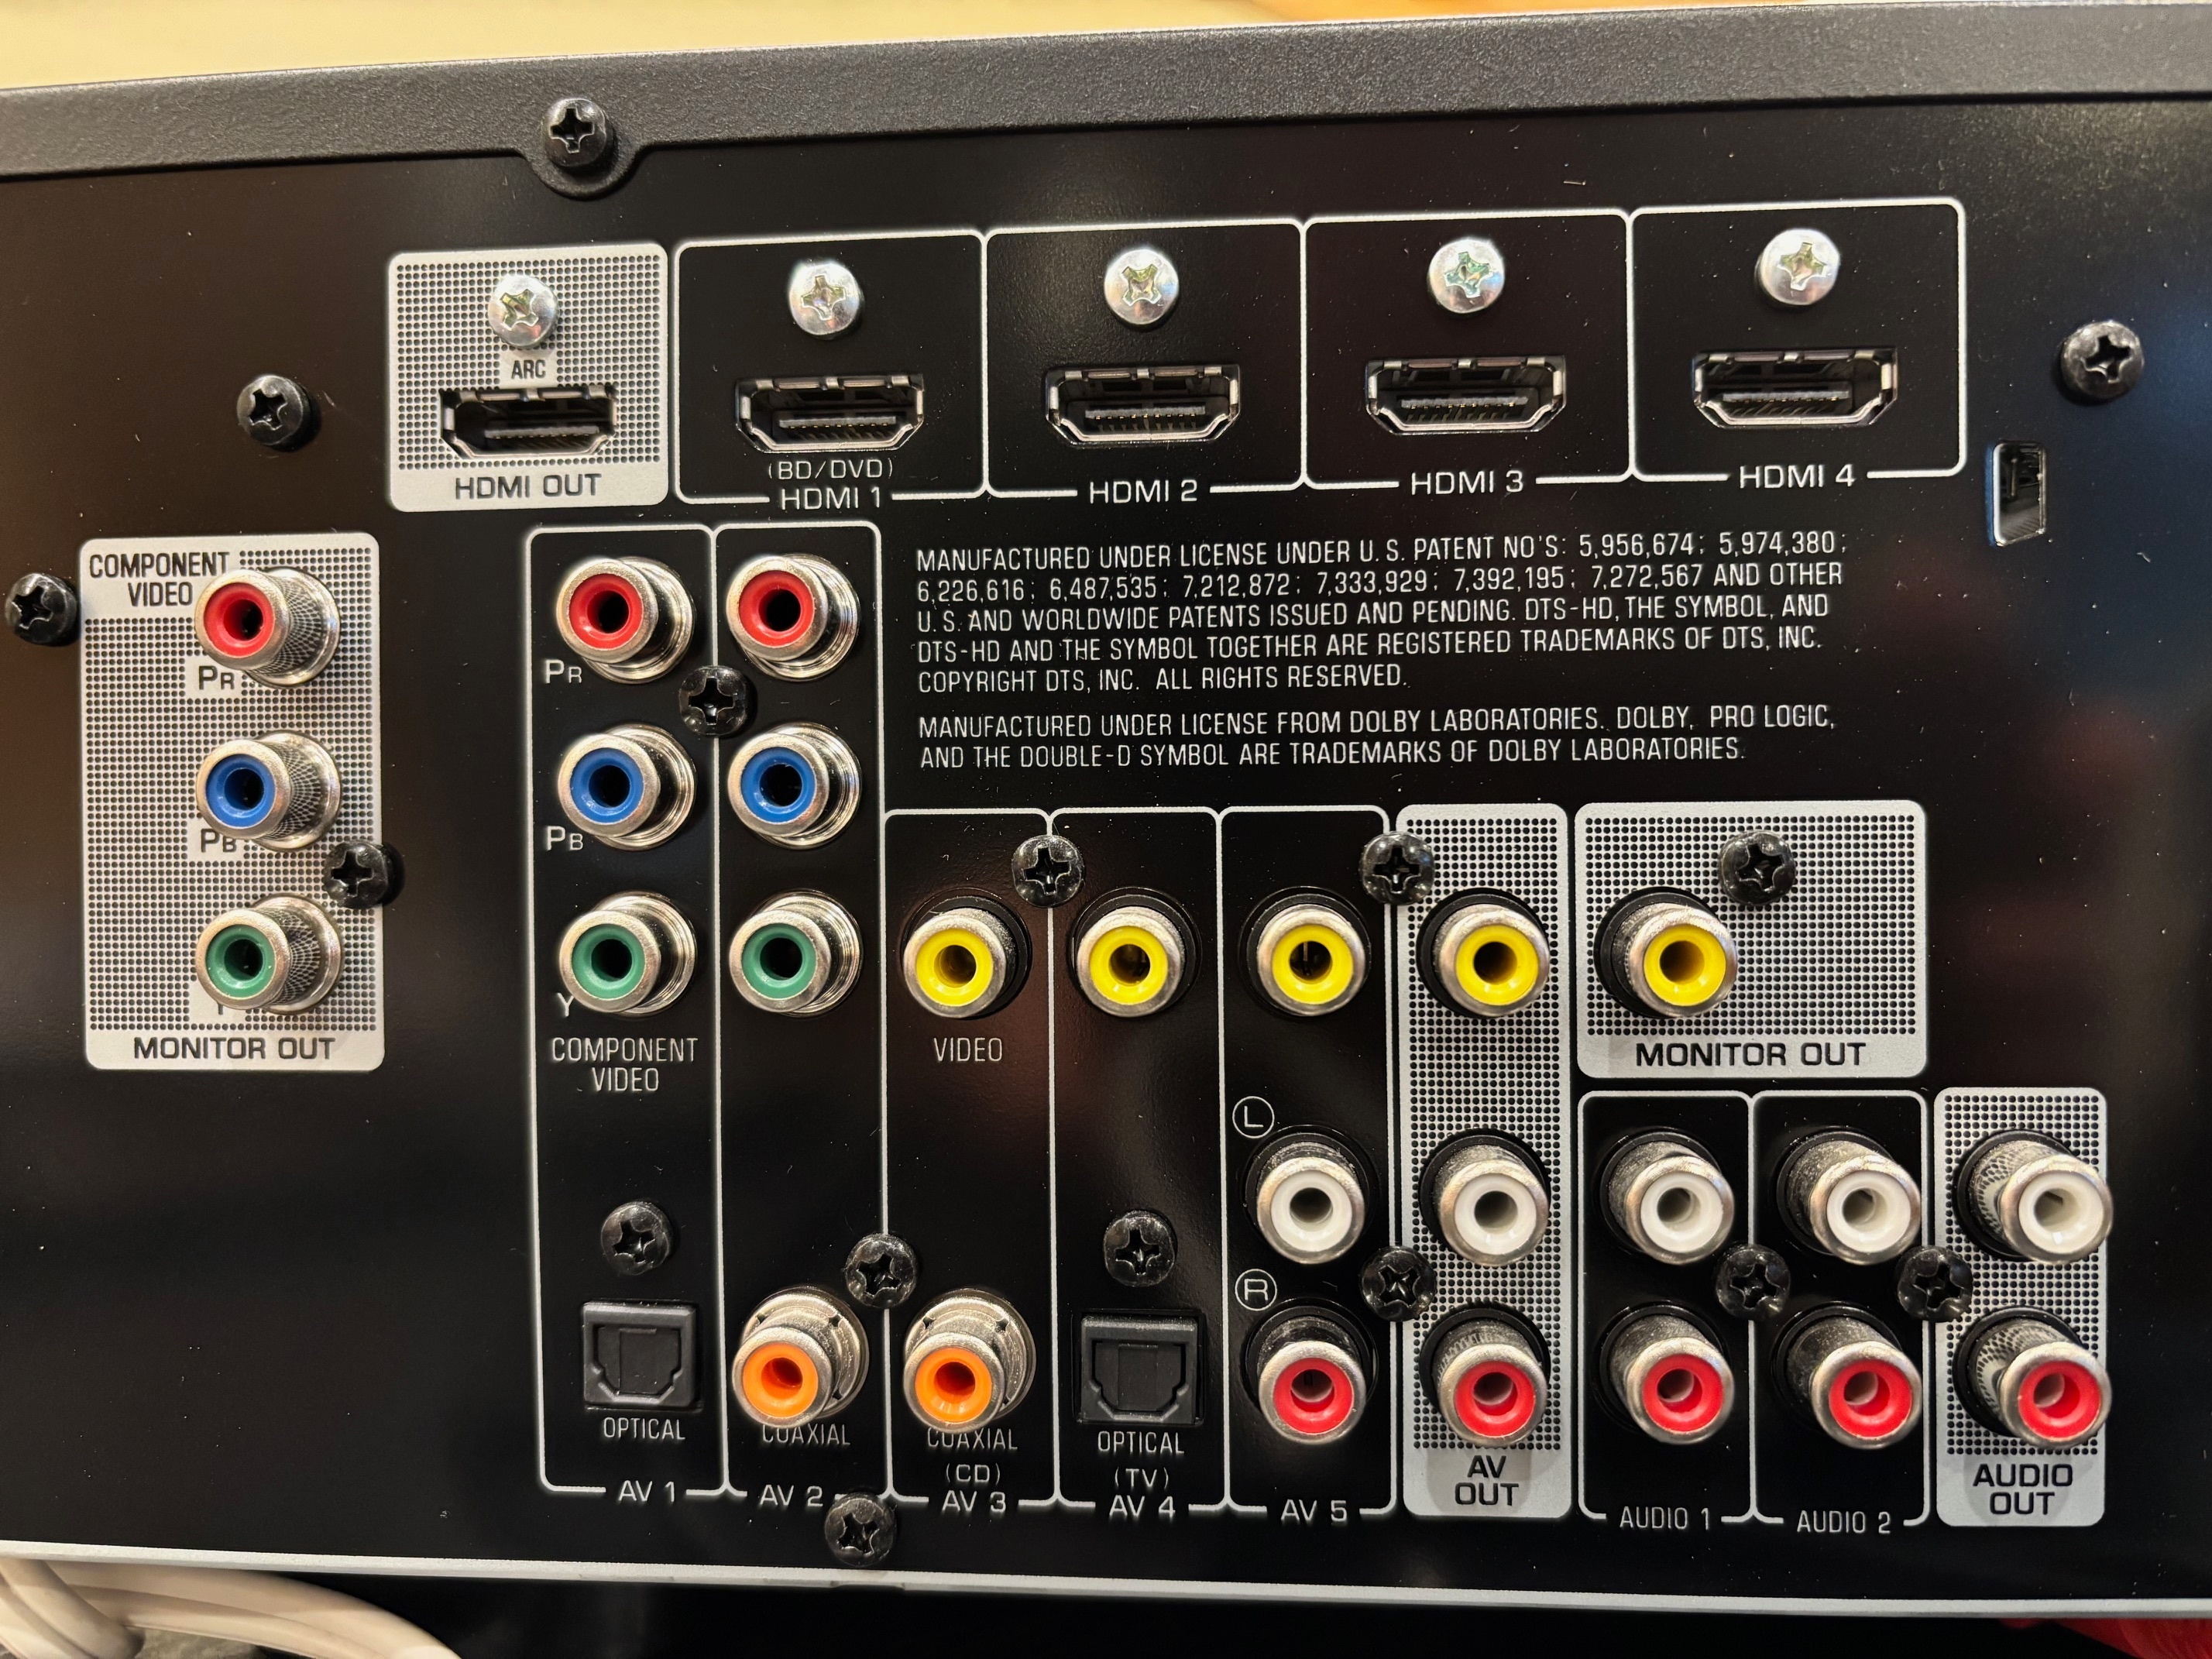
Types Of Connections
Connecting a home theater system to a receiver requires choosing the right cable type. Different cables carry audio signals in unique ways.
This guide covers three main connection types: HDMI, optical and coaxial cables, and analog audio connections.
Hdmi Connections
HDMI cables carry both audio and video signals in one cable. They support high-definition sound formats like Dolby TrueHD and DTS-HD Master Audio.
Most modern receivers and home theater systems have HDMI ports for easy connection. Using HDMI ensures the best audio quality and simple setup.
Optical And Coaxial Cables
Optical and coaxial cables are digital audio connections. They carry high-quality sound but do not transmit video.
- Optical Cables:Use light to transmit audio signals. They are immune to electrical interference.
- Coaxial Cables:Use electrical signals over a copper wire. They can carry slightly better bass frequencies.
Both types support surround sound formats but may not handle the newest audio technologies like HDMI can.
Analog Audio Connections
Analog audio connections use cables with red and white plugs. They transmit stereo sound only.
| Connection Type | Audio Quality | Use Case |
| RCA Cables (Red and White) | Standard stereo | Older devices, basic setups |
| 3.5mm to RCA | Standard stereo | Connecting phones or tablets |
These connections are common on older equipment. They do not support surround sound or high-definition audio.
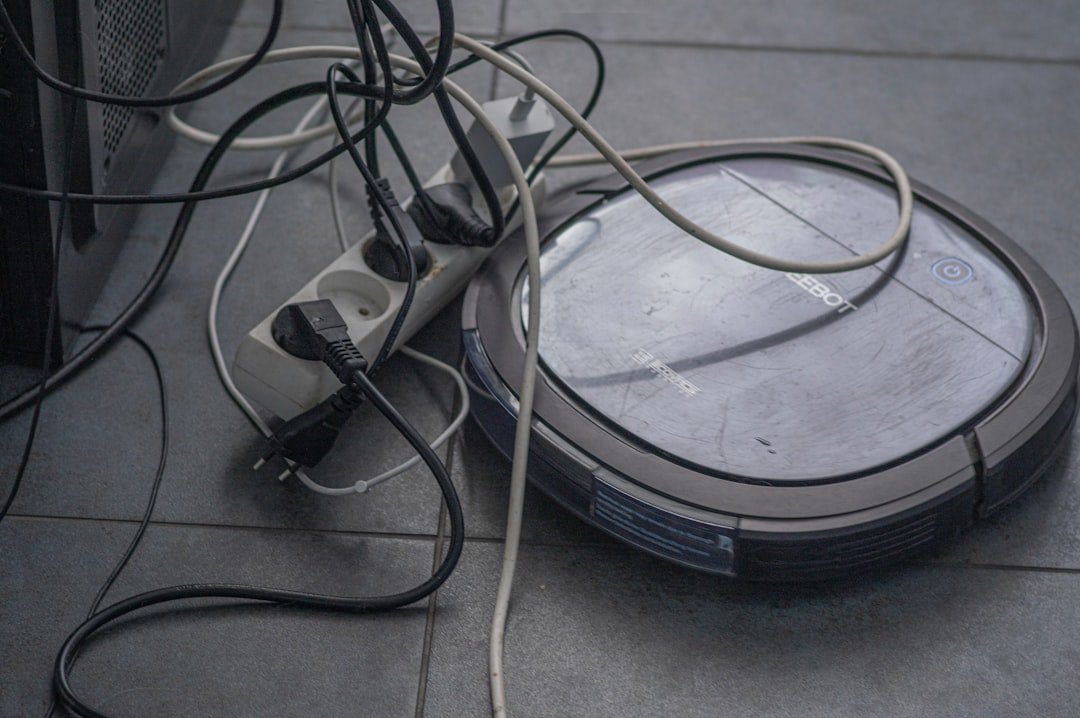
Preparing Your Equipment
Connecting your home theater system to the receiver audio needs careful preparation. Getting your equipment ready helps avoid issues later.
Follow these steps to prepare your gear before making any connections.
Unpacking And Placement
Start by unpacking all parts from the boxes. Check for all components and cables.
Place the receiver and speakers in their planned spots. Make sure there is enough space around the receiver for ventilation.
- Unpack the receiver, speakers, remote, and cables
- Choose a flat, stable surface for the receiver
- Keep speakers near your viewing area
- Leave space for airflow to avoid overheating
Power Off Before Connecting
Always turn off and unplug your receiver and other devices. This stops damage from electric shocks or short circuits.
Do not connect or disconnect cables while devices are powered on. Wait until everything is off and unplugged.
- Switch off the receiver and all components
- Unplug the power cords from the wall outlet
- Handle cables only when power is off
Gathering Necessary Cables
Collect all cables you will need to connect your system. Use the right cables for audio signals.
Common cables include HDMI, optical audio, and speaker wires. Check your receiver and speaker manuals to know which cables to use.
- HDMI cables for video and audio signals
- Optical or coaxial cables for digital audio
- Speaker wires with correct gauge and length
- Power cords for all devices
Credit: en.community.sonos.com
Connecting Speakers To Receiver
Setting up a home theater system involves connecting your speakers to a receiver. This ensures you get the best audio experience possible.
Follow these steps to connect your speakers safely and securely.
Identifying Speaker Terminals
Speaker terminals are the connectors on the back of your speakers and receiver. They are usually color-coded for easy identification.
- Red terminals are for positive connections.
- Black terminals are for negative connections.
Connecting Speaker Wires
Use the right speaker wires to connect your speakers to the receiver. Make sure to match the red and black wires with the correct terminals.
For example, connect the red wire to the red terminal and the black wire to the black terminal for both the speaker and the receiver.
Ensuring Secure Connections
Ensure all connections are tight and secure to avoid any audio issues. Loose connections can lead to poor sound quality.
| Check | Action |
| Loose wires | Tighten all connections |
| Incorrect terminals | Reconnect to correct terminals |
Linking Source Devices
Connecting your source devices to the receiver is key for sound and video. This lets you enjoy movies, games, and music with clear audio.
Each device needs the right cables and ports to link properly. Let’s look at common source devices and how to connect them.
Connecting Blu-ray Players
Blu-ray players usually connect using HDMI cables. HDMI carries both video and audio signals in one cable.
Plug the HDMI cable from the Blu-ray player’s HDMI OUT port to the receiver’s HDMI IN port. Use the same HDMI port on the receiver for video output to the TV.
- Use a high-speed HDMI cable for best quality
- Set the receiver input to the correct HDMI port
- Check the Blu-ray player’s audio settings for best sound
Hooking Up Gaming Consoles
Gaming consoles also use HDMI cables to connect to receivers. This keeps both sound and video in one cable.
Connect the console’s HDMI OUT to the receiver’s HDMI IN. Then connect the receiver’s HDMI OUT to your TV. This setup sends game audio through the receiver’s speakers.
- Use HDMI 2.0 or higher for smooth gaming
- Choose the correct receiver input for the console
- Adjust audio settings on the console for surround sound
Integrating Streaming Devices
Streaming devices like Roku or Apple TV connect with HDMI cables. This gives you clear video and sound through the receiver.
Plug the streaming device’s HDMI output to the receiver’s HDMI input. Then, connect the receiver’s HDMI output to the TV. This lets you control sound from your home theater system.
- Use HDMI cables that support HDCP for streaming
- Select the right HDMI input on the receiver
- Configure the streaming device’s audio for best sound quality
Configuring Receiver Settings
Connecting your home theater system to the receiver is only the first step. Properly configuring the receiver settings ensures the best audio experience. This guide will help you adjust key settings for clear sound and smooth operation.
We will cover selecting input sources, adjusting speaker levels, and setting audio modes. Each part is important for a balanced and immersive sound setup.
Selecting Input Sources
Choose the correct input source on your receiver to match the device connected. This step allows your receiver to process the audio from the right component.
- Use the receiver’s remote control or front panel buttons.
- Match the input label (e.g., HDMI 1, AUX) with the connected device.
- Double-check cables are firmly connected before selecting input.
- Test sound from the selected device to confirm the input.
Adjusting Speaker Levels
Balancing speaker levels helps create clear and even sound throughout your room. Use the receiver’s menu to measure and set each speaker’s volume.
| Speaker | Recommended Level Setting |
| Front Left | 0 dB (reference level) |
| Front Right | 0 dB (reference level) |
| Center | -2 to 0 dB |
| Surround Left | -3 to -1 dB |
| Surround Right | -3 to -1 dB |
| Subwoofer | Adjust by ear for bass balance |
Setting Audio Modes
Audio modes optimize sound for different content. Use the mode that fits your media and room for the best experience.
Common audio modes include:
- Stereo:Two-channel sound for music and simple sources.
- Surround:Multi-channel sound for movies and games.
- Dolby Atmos:3D sound with height effects, if supported.
- Night Mode:Lowers loud sounds for quiet listening.
Troubleshooting Common Issues
Connecting your home theater system to a receiver can sometimes cause problems. This guide helps you fix common audio issues.
Check these tips to solve no sound, poor audio quality, and sync problems between audio and video.
No Sound Problems
If you hear no sound from your home theater system, first check all cable connections. Make sure the receiver is on the correct input source.
- Verify that all cables are firmly connected to the receiver and speakers.
- Check if the receiver volume is muted or set too low.
- Ensure your source device (TV, Blu-ray player) is playing audio.
- Try switching the input source on the receiver to match your device.
- Restart the receiver and source device to reset settings.
Poor Audio Quality
Poor audio quality can be caused by wrong settings or damaged cables. Adjust your receiver and check speaker placement.
| Issue | Possible Cause | Fix |
| Distorted sound | Speaker wires loose or damaged | Check and replace wires |
| Low volume on some speakers | Balance setting incorrect | Adjust speaker balance in receiver menu |
| Humming or buzzing noise | Interference or ground loop | Use shielded cables and ground loop isolator |
| Audio cuts out | Overheating receiver | Turn off for a while to cool down |
Sync Issues Between Audio And Video
Audio and video may not match, causing sync issues. This can happen with some HDMI connections or streaming devices.
Try these fixes:
- Use the receiver’s audio delay or lip-sync setting to adjust timing.
- Check for firmware updates on your receiver and source device.
- Switch to a different HDMI port or cable.
- Reduce video processing on your TV or receiver.
Optimizing Sound Experience
Connecting your home theater system to a receiver audio can enhance your sound experience. Proper setup ensures that you enjoy movies, music, and games with the best possible sound quality.
To achieve this, consider the room's acoustics, use calibration tools, and customize your equalizer settings. These steps can make a big difference in how you hear every sound.
Room Acoustics Tips
Room acoustics play a crucial role in sound quality. The way sound travels in your room can affect what you hear.
- Use curtains to reduce echoes
- Place rugs on hard floors
- Position speakers at ear level
- Avoid placing speakers near corners
Using Calibration Microphones
Calibration microphones help you fine-tune your audio settings. They measure sound levels and adjust your system for the best output.
| Calibration Tool | Purpose |
| Microphone | Measures sound levels |
| Software | Adjusts audio settings |
| Receiver | Applies calibration |
Customizing Equalizer Settings
The equalizer allows you to adjust different frequencies. This customization helps you get the most out of your audio system.
Adjust the following settings for optimal sound:
- Bass: Increases low frequencies
- Treble: Boosts high frequencies
- Midrange: Balances middle frequencies
Frequently Asked Questions
How Do I Connect A Home Theater To An Audio Receiver?
To connect, use HDMI or optical cables from your home theater to the receiver’s input. Match ports labeled “Audio In” or “HDMI In. ” Ensure both devices are powered off during connection. After connecting, switch the receiver input to the correct source to enjoy sound.
What Cables Are Best For Home Theater To Receiver Audio?
HDMI cables are best for high-quality audio and video signals. Optical cables (TOSLINK) work well for digital audio if HDMI isn’t available. Avoid using analog RCA cables for modern systems, as they offer lower sound quality compared to digital connections.
Can I Use Bluetooth To Connect Home Theater To Receiver?
Yes, if your receiver supports Bluetooth, you can wirelessly connect your home theater system. Pair the devices by enabling Bluetooth on both and selecting the receiver as the audio output. Wireless connections offer convenience but may slightly affect audio quality.
How To Troubleshoot No Sound From Receiver After Connection?
Check all cable connections are secure and correctly placed. Confirm the receiver input source matches the connected port. Verify the receiver and home theater volume levels are up. Restart devices if needed. Update firmware if issues persist.
Conclusion
Connecting your home theater system to the receiver audio is simple. Follow the steps carefully to avoid mistakes. Use the right cables and ports for best sound quality. Double-check all connections before turning on your system. Adjust settings on the receiver to match your speakers.
Enjoy clear, rich sound for movies and music. Take your time, and you will get great results. This setup enhances your entertainment experience at home. Keep this guide handy for future reference.