

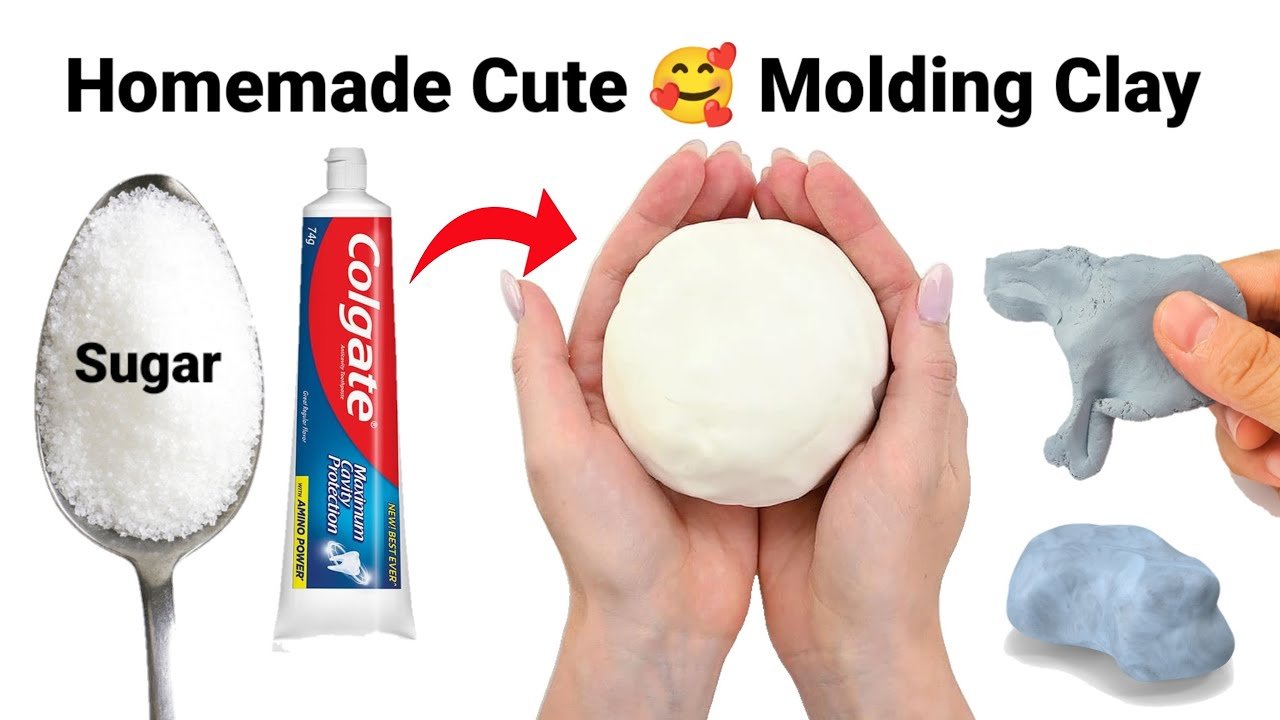
Have you ever wanted to create your own modelling clay right at home? Making clay yourself is easier than you think, and it can save you money while giving you a fun, hands-on activity.
Imagine having a soft, colorful dough ready whenever creativity strikes—no trips to the store needed. You’ll discover simple steps to make safe, non-toxic modelling clay using common ingredients you probably already have. Get ready to unlock your creativity and enjoy endless crafting fun! Keep reading to find out how easy it is to make your own modelling clay today.

Materials Needed
Making modeling clay at home is simple and fun. You only need a few common items found in most kitchens.
Using everyday ingredients helps you create safe, soft clay to shape and mold.
Common Household Ingredients
The basic ingredients for homemade modeling clay include flour, salt, and water. These items work together to create a dough that is easy to shape.
- All-purpose flour – the base for the clay
- Table salt – adds texture and helps preserve the clay
- Water – binds the ingredients together
- Vegetable oil – makes the clay smooth and less sticky
- Cream of tartar – improves elasticity and helps the clay last longer
Optional Additives For Texture And Color
You can add extra ingredients to change the look and feel of your clay. These additives make your clay more colorful or give it a unique texture.
- Food coloring – adds bright colors to your clay
- Glitter – gives a shiny effect
- Cornstarch – makes the clay softer and less sticky
- Lemon juice – helps prevent mold and adds a fresh smell
- Essential oils – add natural scents to your clay
Basic Clay Recipe
Making modelling clay at home is simple and fun. You can use common kitchen ingredients to create soft clay.
This basic clay recipe works well for kids and craft projects. It is easy to shape and safe to use.
Mixing Dry Ingredients
Start by combining the dry ingredients in a large bowl. This will give your clay the right texture and strength.
- 1 cup all-purpose flour
- 1/2 cup salt
- 2 teaspoons cream of tartar
Mix these ingredients well to spread them evenly before adding liquids.
Adding Water And Oil
Next, add water and oil to the dry mix. These help bind the ingredients and make the clay soft.
- 1 cup water
- 1 tablespoon vegetable oil
Pour the water and oil slowly while stirring to avoid lumps. The mixture should start to come together.
Kneading The Dough
Transfer the dough to a clean surface. Knead it with your hands for about 5 to 10 minutes.
Kneading makes the clay smooth and elastic. Add a little flour if it feels sticky.
- Press and fold the dough repeatedly
- Keep kneading until soft and even
- Store the clay in an airtight container when done
Coloring Your Clay
Adding color to your homemade modeling clay makes it more fun and creative. You can use different colors to make your projects lively and unique.
There are simple ways to color your clay at home. You can use food coloring or natural color alternatives to achieve beautiful shades.
Using Food Coloring
Food coloring is an easy way to add bright colors to your clay. It mixes well and creates vibrant shades quickly.
Add a few drops of food coloring to your clay dough. Knead it well until the color spreads evenly. Use gloves to avoid staining your hands.
- Start with a small amount of coloring
- Add more drops for darker colors
- Mix thoroughly for even color
- Wear gloves to protect skin
Natural Color Alternatives
You can also use natural items to color your clay. These options are safe and eco-friendly.
Some natural colors come from spices, vegetables, or fruits. These give soft, earthy tones to your modeling clay.
- Beetroot powder for pink or red shades
- Turmeric powder for yellow color
- Spinach juice for green tint
- Cocoa powder for brown tones
Shaping And Sculpting Tips
Working with homemade modelling clay can be fun and creative. Good shaping and sculpting skills help you make detailed figures. Using the right tools and techniques makes your work smooth and neat.
This guide shares simple tips on tools you can use at home and ways to get smooth finishes on your clay models.
Tools To Use At Home
You do not need special tools to shape clay. Many items from your kitchen or craft box work well. These tools help you cut, carve, and add details.
- Plastic knives or butter knives for cutting shapes
- Toothpicks or skewers for fine lines and textures
- Rolling pins or empty bottles to flatten clay
- Old toothbrushes to create rough textures
- Cookie cutters to make uniform shapes
- Paper towels or cloth to smooth surfaces
Techniques For Smooth Finishes
Smooth finishes make your clay models look clean and polished. You can use simple methods to get smooth surfaces and edges.
| Technique | Description | Tip |
| Water smoothing | Use a wet finger or brush to gently smooth the clay surface. | Do not use too much water to avoid soft clay. |
| Sanding | After drying, lightly sand the clay with fine sandpaper for a smooth feel. | Use gentle strokes to avoid breaking the clay. |
| Finger blending | Rub edges and joints softly with fingers to blend seams. | Keep hands clean to prevent dirt marks. |
| Soft cloth buffing | Use a soft cloth to polish the surface after drying. | Buff in small circles for even shine. |
Drying And Storing Clay
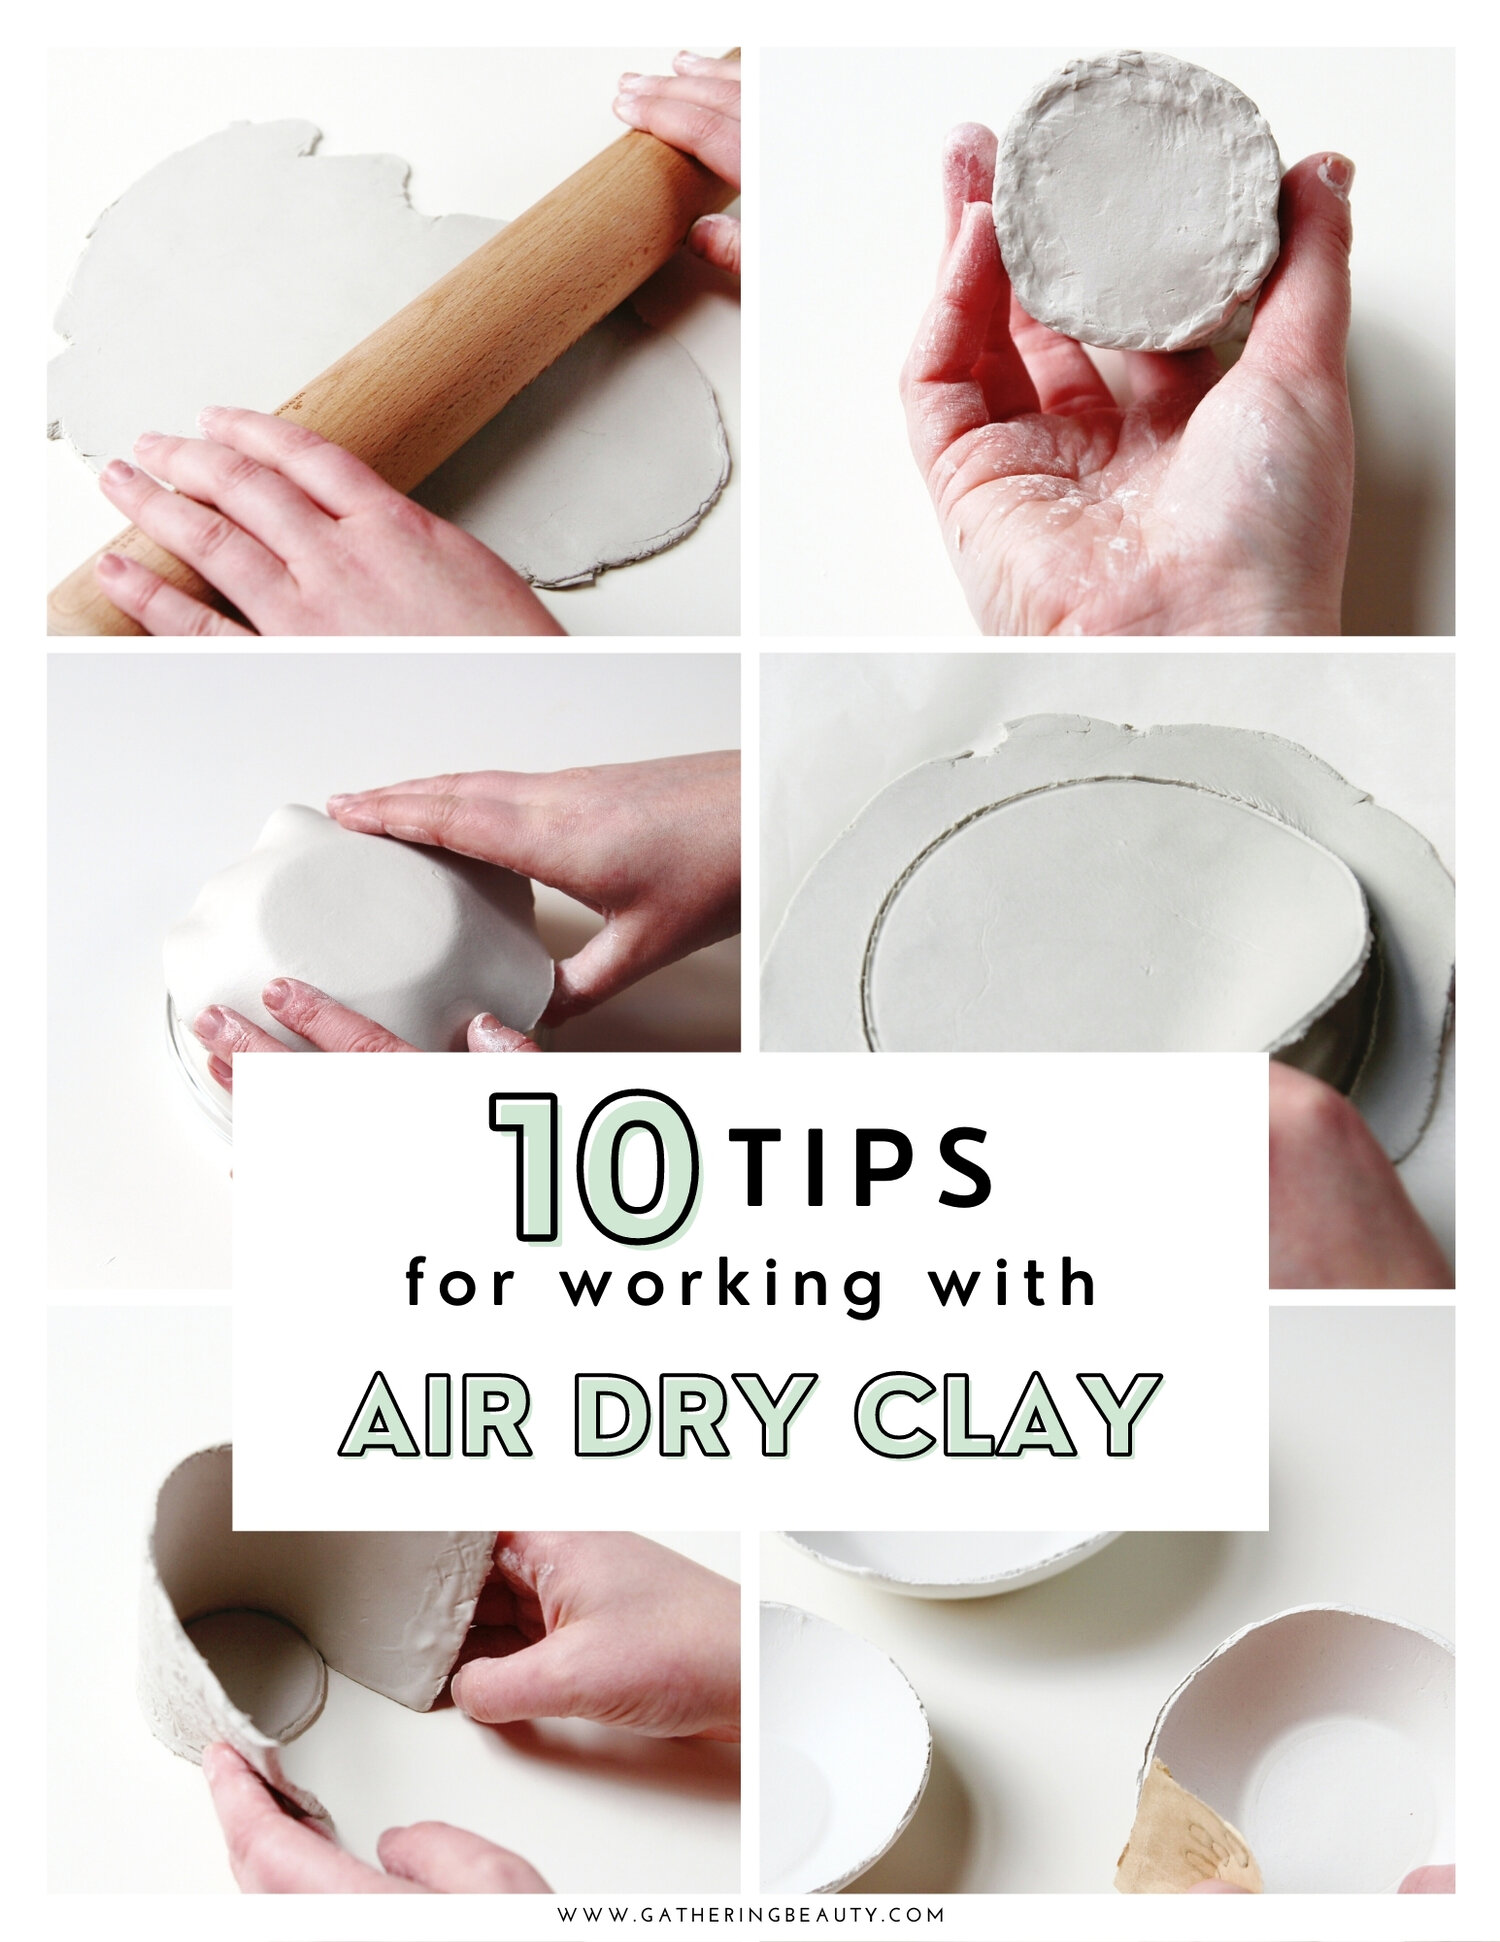
Drying and storing homemade modeling clay is important. Proper care keeps the clay usable for a long time.
Different drying methods affect the clay's texture and strength. Storing it well prevents it from drying out or cracking.
Air-dry Vs Oven-dry Methods
Air drying is a slow process that lets clay harden naturally. Oven drying uses heat to speed up this process.
- Air-Dry:Place the clay on a flat surface. Let it dry for 24 to 72 hours. It is best for thick or large pieces.
- Oven-Dry:Preheat the oven to 200°F (93°C). Bake the clay for 15 to 30 minutes. Watch closely to avoid burning.
- Texture:Air-dried clay stays softer but can crack. Oven-dried clay becomes harder and more brittle.
- Safety:Oven drying uses more energy. Air drying is safer for kids and easy to do anywhere.
Proper Storage For Longevity
Storing clay properly keeps it moist and ready to use. Use airtight containers or plastic wrap to cover the clay.
| Storage Method | Benefits | Tips |
| Airtight Container | Keeps clay soft | Use a clean, sealed box or jar |
| Plastic Wrap | Prevents air exposure | Wrap clay tightly after each use |
| Refrigeration | Extends freshness | Keep clay in sealed bags inside fridge |
| Room Temperature | Easy access | Avoid dry or hot places |
Troubleshooting Common Issues
Making modeling clay at home is fun, but sometimes issues arise. Here, we will address common problems and provide simple solutions.
Sticky or crumbly clay can be frustrating. Learn how to fix these issues with easy adjustments.
Fixing Sticky Or Crumbly Clay
If your clay is too sticky or crumbly, it can be hard to work with. These tips help you find the right consistency.
- Sticky Clay: Dust your hands with flour to prevent sticking.
- Crumbly Clay: Add a few drops of water and knead well.
- Maintain balance: Adjust flour or water gradually.
Adjusting Moisture Levels
Proper moisture levels keep your clay workable. Too much or too little moisture affects texture.
| Issue | Solution |
| Too Wet | Add more flour and knead |
| Too Dry | Sprinkle water and mix |
| Even Texture | Test by molding a small ball |
Creative Project Ideas
Making modeling clay at home is fun and easy. It opens up endless creative possibilities. You can make simple shapes or try advanced projects.
With just a few ingredients, you can create your own clay. This allows you to explore art and design in exciting ways.
Simple Shapes For Beginners
Start with basic shapes if you're new to clay. These are easy and quick to make. You can craft balls, cubes, and cylinders.
These shapes help you practice your skills. You will learn how to handle the clay and form it into different objects.
- Roll clay to make a ball
- Flatten a piece to form a disc
- Stack small shapes to build a tower
Advanced Sculpting Projects
Once you master the basics, try advanced projects. These require more skill and creativity. You can sculpt animals, figures, or detailed models.
Experiment with textures and details. Use tools to add fine lines and designs. This will make your sculptures more realistic.
| Project | Level | Materials |
| Clay Animals | Intermediate | Clay, Tools |
| Miniature Figures | Advanced | Clay, Paint, Brushes |
| Textured Vases | Expert | Clay, Carving Tools |

Frequently Asked Questions
What Ingredients Are Needed To Make Modelling Clay At Home?
To make modelling clay at home, you need flour, salt, water, and vegetable oil. Optional ingredients include cream of tartar and food coloring for better texture and color.
How Long Does Homemade Modelling Clay Last?
Homemade modelling clay lasts up to two weeks if stored in an airtight container. Keep it cool and dry to prevent drying out or molding.
Is Homemade Modelling Clay Safe For Children?
Yes, homemade modelling clay is generally safe for children as it uses non-toxic, common kitchen ingredients. Always supervise young kids during use.
Can Homemade Modelling Clay Be Baked To Harden?
Yes, some homemade clay recipes allow baking to harden the models. Bake at low temperatures (around 250°F) for 15-30 minutes depending on size.
Conclusion
Making modeling clay at home is easy and fun. You only need simple ingredients. This activity saves money and allows creativity. Kids and adults enjoy shaping their own clay. Store the clay in an airtight container to keep it soft.
Try different colors by adding food dye or paint. Homemade clay is great for crafts and learning. Start today and see how much fun it brings!






