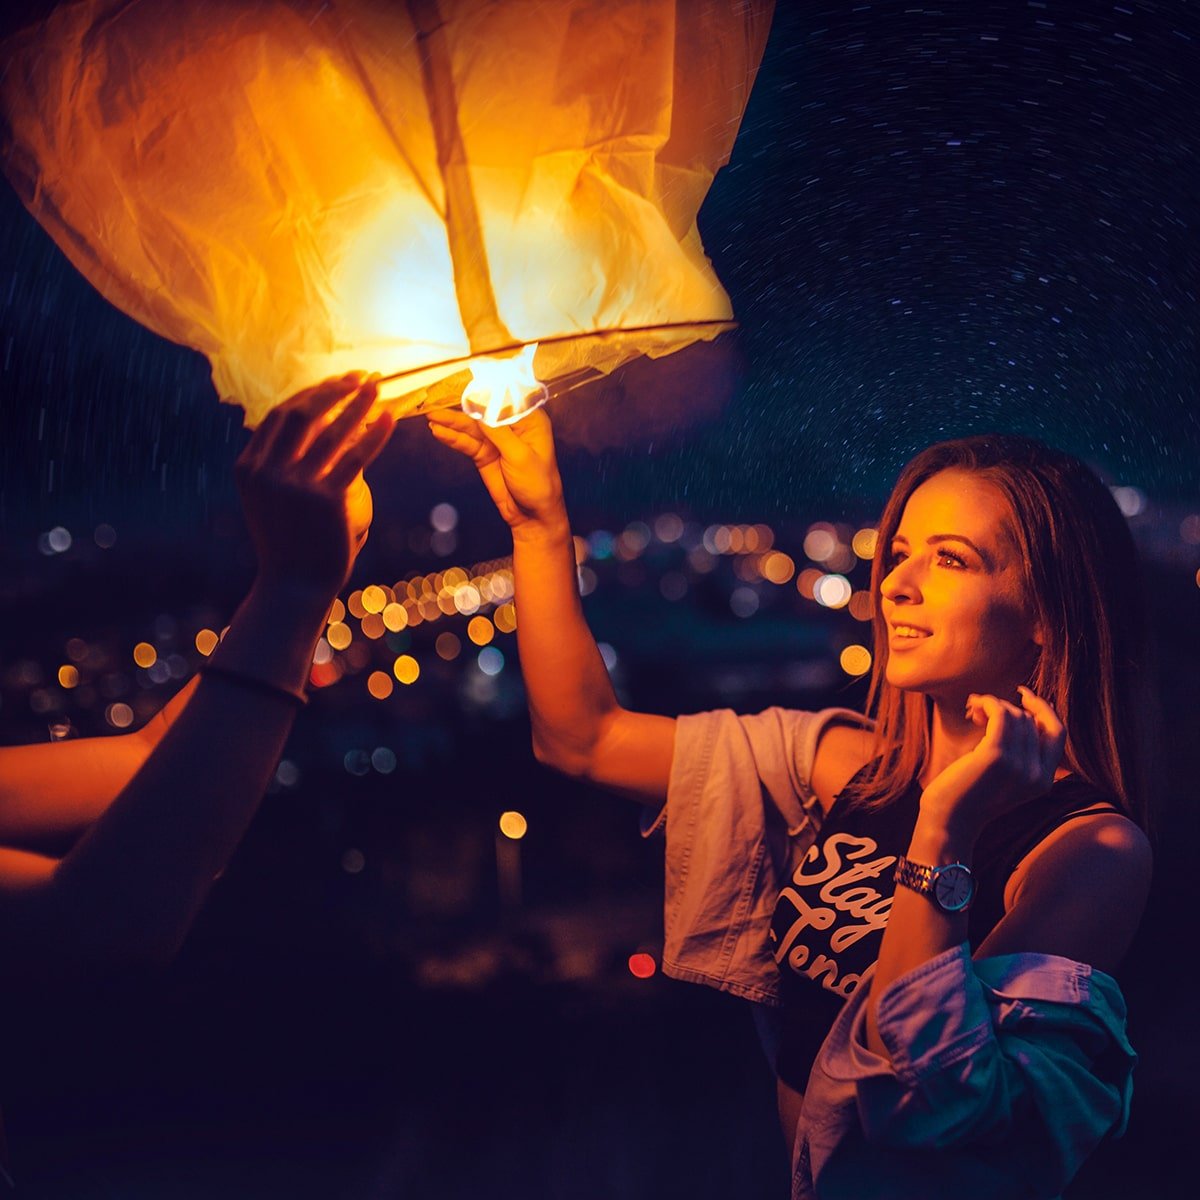
Have you ever watched a glowing lantern drift gently into the night sky and wished you could make one yourself? Imagine lighting your own flying lantern right at home using simple paper and a few easy steps.
You don’t need fancy materials or special skills—just a little patience and creativity. In this guide, you’ll discover how to create your own magical flying lantern that can brighten up any evening. Ready to impress your friends and add a spark to your celebrations?
Keep reading, and you’ll be making beautiful flying lanterns in no time!
Materials Needed
Making a flying lantern at home is a fun and simple project. You need a few basic materials that are easy to find.
Gathering the right materials helps your lantern fly safely and look beautiful in the sky.
Thin Paper
Thin paper is important because it is light and lets the lantern float. Use rice paper or tissue paper for best results.
Avoid thick paper since it can make the lantern too heavy to fly.
Wire Frame
The wire frame holds the shape of the lantern. Use thin, bendable wire like floral wire or lightweight craft wire.
Make sure the wire is strong enough to support the paper but still easy to bend.
Fuel Source
You need a small fuel source to heat the air inside the lantern. Use a cotton ball soaked in vegetable oil or a small candle.
Be careful with the fuel to avoid accidents and keep your lantern safe to fly.
String Or Thin Wire
Use string or thin wire to attach the fuel source to the wire frame. It must hold the fuel securely in place.
Make sure the string is not too thick to add extra weight.
Glue Or Tape
Glue or tape helps you stick the paper to the wire frame. Use craft glue or clear tape for a neat finish.
Check that the glue dries clear and does not damage the paper.
Choosing The Right Paper
Making a flying lantern at home is fun and safe when you pick the right paper. The paper must be light but strong.
The right paper helps the lantern fly high and last longer without tearing or catching fire.
Lightweight Paper Is Best
Choose paper that is thin and light. Heavy paper makes the lantern hard to lift.
Thin paper lets hot air fill the lantern easily, helping it float in the sky.
- Use tissue paper or rice paper
- Avoid thick or glossy paper
- Paper weight around 15-30 gsm works well
Strong Paper Prevents Tears
Pick paper that can handle heat and wind without ripping. Thin paper can tear easily if too weak.
Look for paper that feels soft but does not tear when stretched gently.
- Rice paper is strong and flexible
- Tissue paper with a tight weave lasts longer
- Test paper by folding and pulling gently
Fire-resistant Paper Options
Flying lanterns use flame to rise, so fire safety is important. Use paper that resists catching fire fast.
Some papers are treated to slow burning and help the lantern burn safely for a short time.
- Look for flame-retardant tissue papers
- Do not use plastic or coated papers
- Always keep a safe distance from the flame
Paper Size And Shape
Choose paper size to match your lantern design. Bigger paper makes bigger lanterns that fly higher.
Square or rectangular sheets work best for folding and shaping the lantern body.
- Use 20x20 inch sheets for medium lanterns
- Trim edges to avoid rough corners
- Keep paper clean and dry for best results
Preparing The Frame
Making a flying lantern starts with building a strong frame. The frame holds the paper and keeps the lantern in shape.
Use light materials to make the frame. It should be sturdy but not heavy.
Gather Materials
Collect thin bamboo sticks or wire for the frame. You will also need string and glue to hold parts together.
- Thin bamboo sticks or lightweight wire
- Strong string or thread
- Glue or tape
- Scissors or wire cutters
Cut The Frame Pieces
Cut the sticks or wire into equal lengths. These will form the sides of the lantern frame.
Make sure all pieces are smooth and not splintered to avoid tearing the paper.
Assemble The Frame
Create a square or rectangular base by tying or gluing the sticks together. Then add vertical sticks for height.
Make sure corners are tight and frame feels stable but light enough to float.
- Tie corners securely with string
- Attach vertical sticks at each corner
- Check for balance and strength
Add A Support Ring
Attach a thin ring around the top of the frame. This helps keep the shape and holds the paper better.
Use a flexible wire or bamboo strip for the ring. Secure it firmly to the vertical sticks.

Credit: weddingdaysparklers.com
Cutting And Folding The Paper
Making a flying lantern at home needs careful cutting and folding. These steps help shape the paper to let the lantern fly well.
Using the right paper size and folds makes the lantern strong and light. Follow the instructions to get good results.
Preparing The Paper
Start with a square sheet of thin paper. Thin paper is easier to fold and helps the lantern rise smoothly.
Use a ruler and pencil to mark lines where you will cut. This keeps your cuts straight and even.
Cutting The Paper
Cut the paper carefully along the marked lines. Use sharp scissors to avoid tearing the paper.
- Cut strips from the edges toward the center.
- Leave a small space in the middle uncut.
- Make sure all strips are the same width.
- Do not cut all the way through the paper.
Folding The Paper
Fold each paper strip carefully to create the lantern shape. The folds help the paper open and catch air.
| Fold Type | Purpose |
| Valley Fold | Creates inward creases for structure |
| Mountain Fold | Forms outward edges to shape lantern |
| Accordion Fold | Allows paper to expand and contract |
Press the folds firmly to keep the shape. Smooth folds help the lantern look neat and fly better.
Assembling The Lantern
Assembling your flying lantern carefully helps it fly well. Follow each part with patience.
This guide shows how to put the paper lantern pieces together step by step.
Prepare The Paper Frame
Start by folding the paper into the right shape. Make sure all edges meet evenly. Use glue to hold the folds.
Attach The Fuel Source
Fix the fuel pad to the bottom center of the lantern frame. Secure it with a small wire or string. This keeps it steady during flight.
Secure The Frame Joints
- Check all paper edges for gaps.
- Use tape or glue at each joint.
- Allow glue to dry completely before proceeding.
- Make sure the frame stays lightweight but firm.
Final Shape Check
| Check Point | What to Look For |
| Paper Tension | Paper should be tight without tears |
| Fuel Pad Attachment | Firm and centered under the lantern |
| Frame Stability | All joints glued and dry |
| Weight | Light enough to float easily |
Making The Fuel Source
Creating a flying lantern at home is a fun and educational activity. The fuel source is key for your lantern to soar in the sky.
This guide will help you make a safe and effective fuel source using simple materials.
Gather Your Materials
You will need a few items to create the fuel source. Most of these materials are easy to find at home.
- Cotton ball
- Wax or paraffin
- A small aluminum tray
- Matches or a lighter
Prepare The Cotton Ball
The cotton ball will serve as the core of the fuel source. It should be small enough to fit in the aluminum tray.
Roll the cotton ball into a tight ball. This makes it burn longer and steadier.
Coat With Wax
Melt the wax or paraffin in a safe manner. This can be done using a double boiler or microwave.
Dip the cotton ball into the melted wax. Ensure it is fully coated for a longer burn time.
Place In The Tray
Once the wax has cooled, place the cotton ball into the small aluminum tray. The tray helps contain the wax as it burns.
Ensure the cotton ball is centered in the tray for even burning.
Ignite The Fuel Source
With your lantern ready, light the cotton ball using matches or a lighter. The wax will help it burn steadily.
Now your lantern is ready to fly. Watch it gently rise into the sky!
Attaching The Fuel To The Lantern
Flying lanterns need fuel to lift off. You can make fuel at home easily. This section shows how to attach the fuel to your lantern.
Prepare The Fuel Source
The fuel source is crucial for your lantern. You can use cotton soaked in wax as fuel. Ensure the cotton is fully soaked for best results.
Use a small piece of cotton. This keeps the lantern light. The wax helps the cotton burn longer.
Attach The Fuel To The Frame
The frame holds the fuel and the lantern. Secure the cotton to the frame using thin wire. Make sure it is tight but not too heavy.
- Place the cotton in the center of the frame
- Wrap the wire around the cotton and frame
- Twist the wire to secure the cotton
Test The Attachment
Once attached, test the fuel. Light the cotton to check it burns well. This ensures your lantern will rise properly.
If the cotton burns too quickly, add more wax. If it does not burn, check the attachment and try again.

Credit: www.youtube.com
Lighting And Launching Tips
Making a flying lantern at home with paper is fun and easy. Knowing how to light and launch it safely helps your lantern fly well.
Follow simple tips to make sure your lantern lights up and lifts off smoothly into the sky.
Lighting The Lantern Safely
Use a small fuel source like a candle or fuel cell to light your paper lantern. Light it carefully to avoid burns or fire hazards.
Hold the lantern steady while lighting to keep it from tipping over. Wait until the fuel is fully lit before letting go.
- Use long matches or a lighter for safety
- Light the fuel evenly around the base
- Keep flammable objects away
- Do not touch the paper near the flame
Preparing To Launch
Hold the lantern upright and let hot air fill inside. The lantern will feel light when ready to fly.
Check the weather before launching. Choose a calm, windless evening for the best results.
- Launch in an open area away from trees and buildings
- Do not launch near power lines
- Make sure the lantern is fully inflated before release
- Have a friend help you hold the lantern steady
Launching The Lantern
Gently release the lantern once it feels light and ready. Let it rise slowly into the air without pushing it hard.
Watch the lantern as it floats up. If it does not rise, lower it and wait more time for the air to heat.
- Hold the base and let the lantern lift itself
- Do not throw or shake the lantern
- Be patient and steady
- Stay safe and enjoy the view
Safety Precautions
Making flying lanterns at home can be fun but needs care. Safety is very important to avoid accidents.
Always follow safety rules to keep yourself and others safe. Use safe materials and work in a safe place.
Choose A Safe Location
Pick an open outdoor area to launch your flying lantern. Avoid places with trees, buildings, or power lines.
Clear weather is best. Do not launch lanterns on windy or dry days to prevent fire risks.
Use Fire-resistant Paper
Select paper that can resist fire or burns slowly. This helps control the flame inside the lantern.
Avoid using plastic or other flammable materials to reduce fire danger.
Handle Open Flames Carefully
Light the fuel source safely using a long match or lighter. Keep your hands away from the flame.
Have water or a fire extinguisher nearby in case of emergency.
Do Not Release Near Crowds
Launch lanterns in areas with few people around. Avoid crowds to prevent injuries or panic.
Make sure no animals or children are near the launch site.
Monitor The Lantern Until It Is Out Of Sight
Keep an eye on the lantern until it floats away safely. Watch for signs of fire or damage.
If the lantern falls or catches fire, put it out immediately with water or sand.

Credit: www.kingofsparklers.com
Troubleshooting Common Issues
Making a flying lantern at home with paper can be fun but tricky. Some problems may stop your lantern from flying well.
This guide helps you fix common issues so your lantern will fly safely and smoothly.
Lantern Does Not Rise
If your lantern stays on the ground, the hot air inside might not be enough. The paper may be too heavy or the heat source too weak.
Try using lighter paper and a stronger heat source like a bigger candle or fuel cell. Also, make sure the air inside heats up for a few minutes before releasing.
Lantern Burns Too Quickly
If your lantern catches fire or burns fast, the flame is too close to the paper. This can damage your lantern and stop it from flying.
Use flame-resistant paper or keep the flame lower and away from the paper edges. Always watch your lantern carefully while lighting.
Lantern Collapses Before Flying
Your lantern may collapse if the frame is weak or the paper is wet. The shape must hold air well to float.
Build a strong frame with thin bamboo or wire. Use dry paper and avoid touching the inside while lighting to keep it strong.
Lantern Drifts Sideways Or Falls
If your lantern moves sideways or falls quickly, the air inside might not be evenly heated. Wind can also push it off course.
Light the lantern in calm weather and keep the heat source steady in the center. Hold the lantern steady until it rises smoothly.
Heat Source Goes Out Quickly
The flame may go out if the fuel is low or air drafts blow it off. Without heat, the lantern cannot rise.
Use enough fuel and shield the flame from wind by holding the lantern still. Avoid sudden movements until the lantern lifts.
Frequently Asked Questions
What Materials Do I Need To Make A Flying Lantern?
You need lightweight paper, glue, scissors, and a small candle or fuel cell. These materials ensure the lantern is light enough to fly safely.
How Do I Safely Light A Paper Flying Lantern?
Light the candle or fuel cell carefully, then hold the lantern upright. Ensure there’s no wind and launch it in an open area to avoid fire hazards.
Can I Reuse A Homemade Flying Lantern?
Generally, no. Paper lanterns usually burn or become damaged after one use. For safety and quality, it’s best to make a new lantern each time.
How Long Does A Paper Flying Lantern Stay Airborne?
Typically, a paper flying lantern flies for 5 to 10 minutes. Flight time depends on fuel size, weather, and lantern weight.
Conclusion
Making a flying lantern at home with paper is fun and simple. You need just a few materials and some patience. The steps are easy to follow, even for beginners. This craft brings light and joy to any night. Enjoy watching your lantern float gently in the sky.
Try different colors and shapes for variety. Always stay safe and choose an open space. Creating your own flying lantern can brighten special moments. Give it a try and see how beautiful it looks!