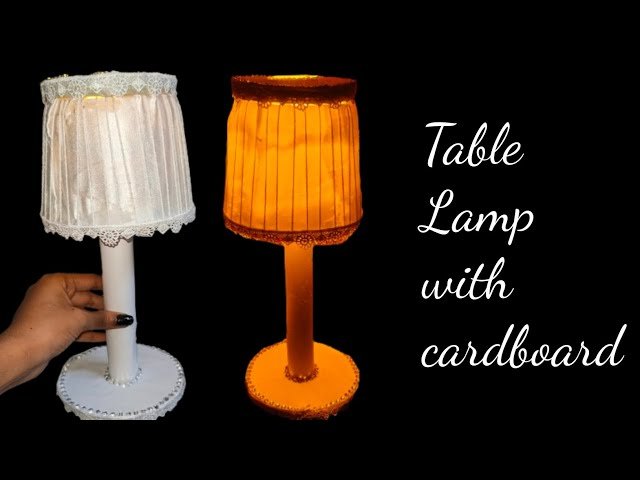
Do you want to add a unique touch to your living space without spending a lot? Making your own table lamp at home is easier than you think.
Imagine creating a beautiful, custom lamp that fits perfectly with your style and brightens up any room. In this guide, you’ll discover simple steps and clever tips to build a table lamp that looks great and works perfectly. By the end, you’ll have not just a lamp, but a project you’ll be proud of.
Ready to light up your creativity? Let’s get started!
Materials Needed
Making a table lamp at home is a fun project. You need the right materials to build it safely and well.
This guide lists the basic tools, lamp parts, and safety gear you need. Prepare everything before you start.
Basic Tools
These tools help you cut, shape, and assemble the lamp parts. Keep them close during the project.
- Screwdriver (flathead and Phillips)
- Wire stripper
- Electric drill
- Measuring tape
- Hot glue gun
- Sandpaper
- Pliers
- Utility knife
Lamp Components
These parts make up your table lamp. You can buy them at hardware or craft stores.
| Component | Description |
|---|---|
| Lamp base | Supports the lamp and holds other parts |
| Lamp socket | Holds the light bulb and connects to the wire |
| Light bulb | Provides the lamp’s light |
| Electrical wire | Connects the power source to the lamp socket |
| Switch | Turns the lamp on and off |
| Lamp shade | Diffuses light and decorates the lamp |
Safety Gear
Safety gear protects you from injury during the project. Always wear these items.
- Safety goggles to protect your eyes
- Work gloves to protect your hands
- Dust mask to avoid inhaling dust
- Closed-toe shoes for foot safety
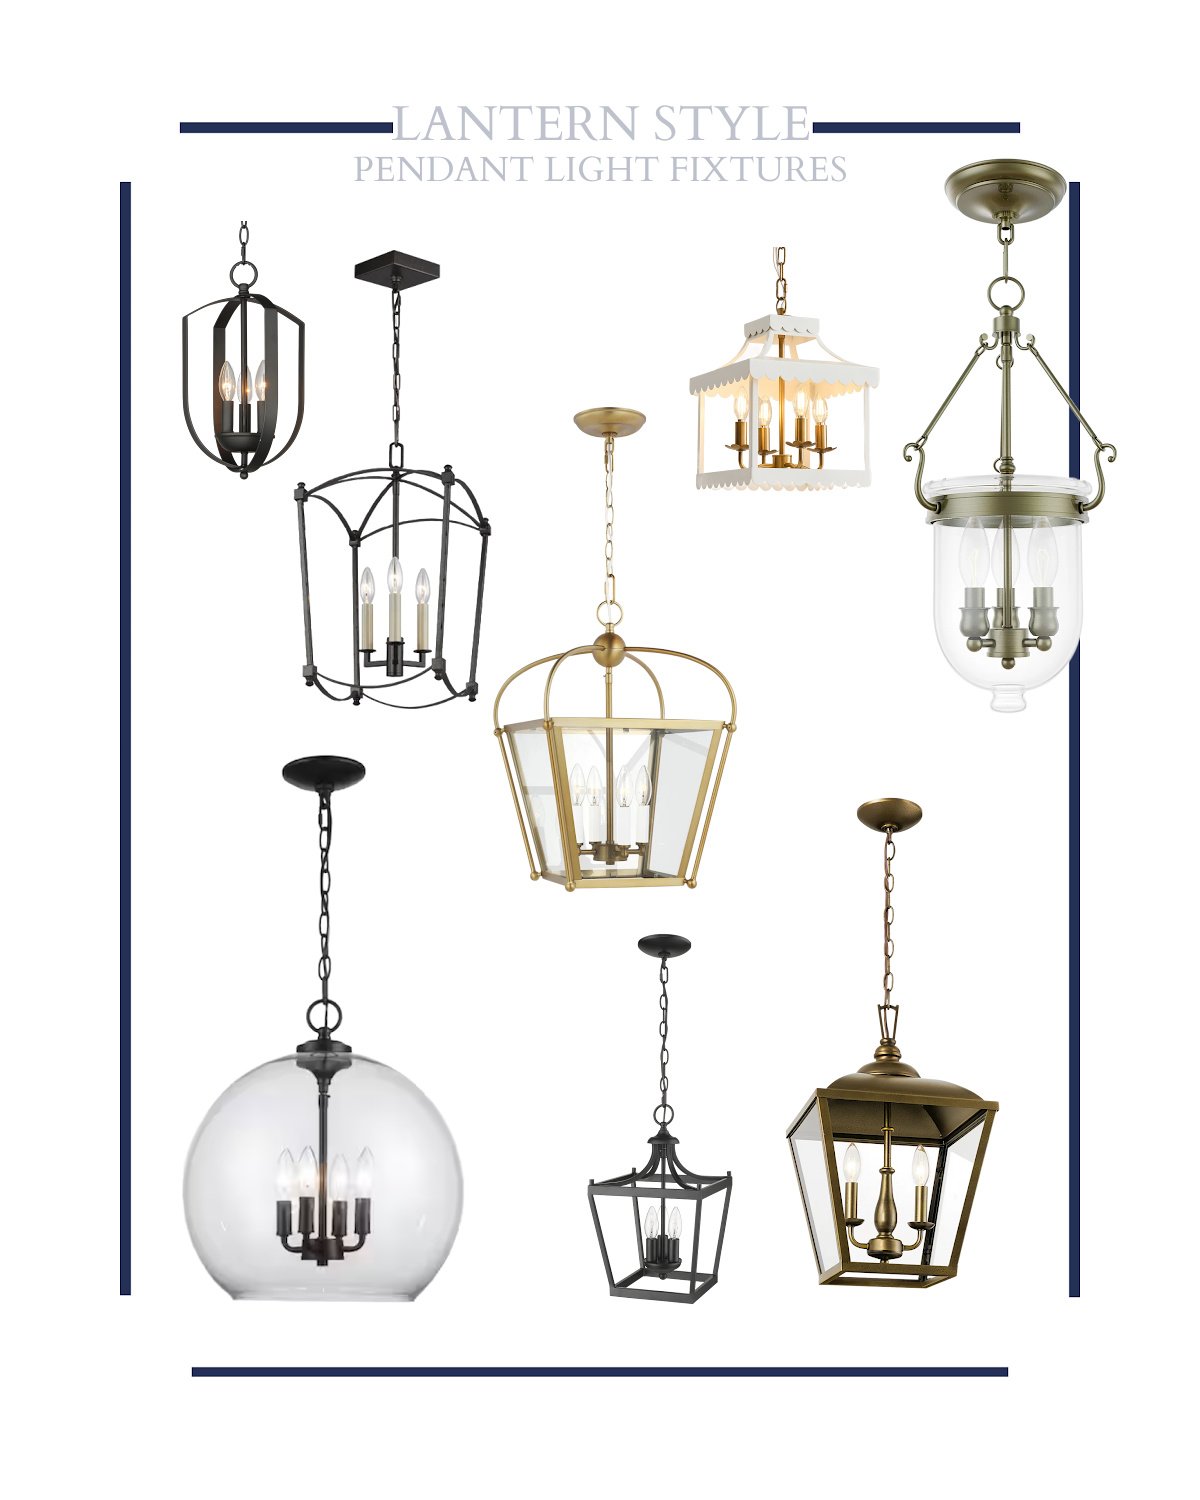
Choosing A Design
Making a table lamp at home is a fun project. The first step is choosing a design that fits your space and style.
Think about where you will place the lamp and what look you want to create. This will help guide your choices.
Style Ideas
Table lamps come in many styles. You can choose modern, rustic, classic, or artistic designs.
Look at your room's decor and pick a style that matches or adds a nice contrast.
- Modern lamps often have clean lines and simple shapes.
- Rustic lamps use natural materials like wood or metal.
- Classic lamps may have decorative details and soft curves.
- Artistic lamps can be unique and colorful to stand out.
Selecting The Base
The lamp base holds the lamp steady and affects the look. Choose a base that is strong and fits the style.
You can use wood, metal, glass, or even ceramics. Make sure the base is heavy enough to keep the lamp from tipping.
- Wood bases add warmth and natural texture.
- Metal bases can be sleek or vintage.
- Glass bases look delicate and can add color.
- Ceramic bases offer many shapes and patterns.
Picking The Lampshade
The lampshade controls how light spreads in the room. Choose one that matches your design and gives the right brightness.
Think about the shape, size, and material. A good shade works well with the base and fits your lighting needs.
- Drum shades offer a modern and simple look.
- Bell shades add a classic, soft touch.
- Fabric shades create warm, diffused light.
- Paper or plastic shades are easy to clean and bright.
- Make sure the shade is not too big or too small for the base.
Preparing The Base
Making a table lamp starts with preparing the base. The base holds the lamp steady. It also gives the lamp its style and shape.
You can use wood, metal, or other materials for the base. Preparing the base well helps your lamp look great and last long.
Cleaning And Sanding
First, clean the base to remove dust and dirt. Use a damp cloth to wipe all surfaces. Let it dry completely before sanding.
Sanding smooths the surface. It removes rough spots and old paint. Use fine sandpaper for best results. Sand evenly until the base feels smooth to touch.
- Wipe the base with a damp cloth
- Let the base dry fully
- Use fine sandpaper (around 220 grit)
- Sand all sides evenly
- Remove sanding dust with a soft cloth
Drilling Holes
Drill holes in the base to fit the lamp parts. You need holes for the cord and the lamp holder. Mark the spots before drilling.
Use a drill bit that matches the size of your lamp parts. Drill slowly to avoid cracks. Clean out any wood chips or dust after drilling.
- Mark hole locations clearly
- Use the right drill bit size
- Drill slowly and steadily
- Remove debris from holes
- Check holes fit lamp parts well
Painting And Finishing
Painting the base protects it and adds style. Choose paint that works on your base material. Apply thin coats for a smooth finish.
Let each coat dry fully before adding the next. After painting, use a clear sealant to protect the surface. This helps the lamp last longer.
- Choose paint for your base material
- Apply thin, even coats
- Let paint dry between coats
- Use a clear sealant after painting
- Allow sealant to dry fully before use
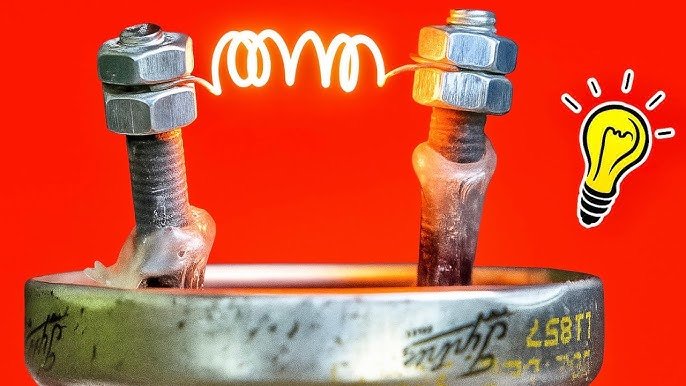
Wiring The Lamp
Wiring a table lamp is a key step in making your own lamp at home. It connects all parts to power the light bulb safely.
In this guide, you will learn about the electrical parts, how to connect the cord, and how to test the wiring.
Understanding Electrical Parts
A lamp uses several electrical parts to work properly. Knowing these parts helps you wire the lamp correctly.
The main parts are the lamp socket, power cord, plug, and switch. Each part has a specific job in the lamp.
- Lamp socket:Holds the light bulb and connects it to the wiring.
- Power cord:Brings electricity from the outlet to the lamp.
- Plug:Connects the cord to the wall outlet.
- Switch:Turns the lamp on and off.
Connecting The Cord
To connect the cord, first strip the outer cover carefully to expose the wires inside. Be sure not to cut the wires.
Attach the wires to the lamp socket terminals. Usually, one wire goes to the brass terminal and the other to the silver terminal.
- Strip about half an inch of insulation from each wire.
- Wrap the wires around the correct terminals on the socket.
- Tighten the terminal screws to hold the wires firmly.
- Make sure no wire strands are loose or touching each other.
Testing The Wiring
After wiring, test the lamp before using it. This ensures the connections are safe and working.
Plug the lamp into a power outlet and turn the switch on. If the bulb lights up, the wiring is correct.
- If the lamp does not light, unplug it and check all connections again.
- Look for loose wires or wrong terminal connections.
- Use a voltage tester if you have one to check power flow.
- Never test wiring with wet hands or near water.
Assembling The Lamp
After gathering all parts, you can start putting the lamp together. Follow simple steps to make sure it works well and looks good.
This section covers how to attach the socket, fix the lampshade, and make final adjustments.
Attaching The Socket
First, connect the lamp socket to the lamp base. The socket holds the light bulb and wires.
Make sure to screw it tightly but do not force it. Check that the wires are connected properly to avoid electrical problems.
- Place socket on the lamp base
- Secure with screws or locking ring
- Connect wires to socket terminals
- Check wire connections for safety
Fixing The Lampshade
Next, attach the lampshade to the socket or the lamp harp. The lampshade controls the light direction.
Make sure the lampshade is centered and steady. Use clips or screws if your lampshade has them.
- Place the lampshade over the socket or harp
- Secure it using clips or screws
- Adjust so it sits straight
- Test stability by gently shaking
Final Adjustments
Finally, check all parts of the lamp. Make sure the socket and lampshade are tight and safe.
Test the lamp by plugging it in and turning it on. Adjust the position if needed for the best light.
- Tighten all screws and connections
- Ensure wires are not loose or damaged
- Plug in the lamp and switch it on
- Move the lampshade or base for best light

Credit: www.youtube.com
Troubleshooting Tips
Making a table lamp at home can be fun. But sometimes problems arise. Here are some troubleshooting tips to help.
These tips cover common issues you might face. They also include safety checks to ensure everything is secure.
Common Wiring Issues
Wiring problems can stop your lamp from working. Check connections first. Loose wires often cause trouble.
Ensure all wires are firmly connected. Inspect for any damaged or exposed wires. Replace them if needed.
- Check for loose connections
- Look for damaged wires
- Use wire connectors for safety
Lamp Not Turning On
Sometimes the lamp will not turn on. Check the bulb first. Ensure it is properly screwed in.
If the bulb is fine, check the power source. Ensure the lamp is plugged in correctly. Try another outlet if needed.
- Ensure bulb is screwed in properly
- Check if lamp is plugged in
- Test with another outlet
Safety Checks
Safety is important when making a lamp. Ensure all parts are secure. Avoid using damaged components.
Check the lamp for stability. It should not wobble. Make sure the base is solid and well-balanced.
- Secure all parts tightly
- Avoid damaged components
- Ensure lamp stability
Creative Customizations
Creating a table lamp at home is fun and creative. You can make it unique by adding personal touches. Here are some ideas to customize your lamp.
From painting the base to decorating the lampshade, the possibilities are endless. Let's explore some creative ways to make your lamp one-of-a-kind.
Painting Techniques
Painting the lamp base is a simple way to customize it. Choose colors that match your room. You can use patterns like stripes or dots for added interest.
Try using stencils for a neat design. Metallic paints can give the lamp a modern look. Remember to use paint that is safe for the material of your lamp.
- Use primer for a smooth finish
- Test colors on a small area first
- Allow each coat to dry before adding another
Adding Decorative Elements
Decorative elements can make your lamp stand out. Beads, ribbons, or buttons are great options. These can be glued onto the lamp base or shade.
You can also add fabric or paper cutouts. These elements add texture and color. Make sure they are securely attached and fire-safe.
- Choose elements that match your decor
- Use a strong adhesive for durability
- Ensure decorations do not block the light
Personalizing The Lampshade
The lampshade is a perfect canvas for personalization. You can paint it, cover it with fabric, or add decals.
Consider using a theme for the lampshade. For example, flowers for a nature theme. Make sure the materials do not affect the lamp's function.
- Choose a fabric that diffuses light well
- Securely attach any added elements
- Avoid dark colors that block light

Credit: www.youtube.com

Credit: www.youtube.com
Frequently Asked Questions
What Materials Are Needed To Make A Table Lamp At Home?
You need a lamp kit, lamp base, lampshade, light bulb, wiring tools, and a power cord. These are basic materials to start your DIY table lamp project safely and effectively.
How Do I Safely Wire A Homemade Table Lamp?
Turn off power before wiring. Connect wires according to the lamp kit instructions. Use wire nuts and electrical tape to secure connections for safety.
Can I Customize The Lampshade For My Table Lamp?
Yes, you can customize lampshades using fabric, paper, or paint. Personalizing the shade adds style and matches your home decor perfectly.
How Long Does It Take To Make A Table Lamp At Home?
Making a table lamp usually takes 1 to 3 hours. Time varies depending on design complexity and your DIY experience.
Conclusion
Making a table lamp at home is simple and fun. You can choose any style and materials you like. This project saves money and adds a personal touch to your space. It also gives you a chance to learn new skills.
Try different designs to see what fits best. Enjoy the process and the light your lamp brings. Start today and brighten your room with your own creation.