Looking for a unique and budget-friendly way to upgrade your living room? Making a living room table from crates is easier than you might think—and it adds a charming, rustic touch to your space.
Imagine turning simple wooden crates into a stylish centerpiece that’s both practical and personal. In this guide, you’ll discover step-by-step how to create your own table, even if you’ve never built anything before. Ready to transform your living room and impress your guests?
Let’s get started!
Choosing The Right Crates
Picking the right crates is key to making a strong living room table. The right crates give your table style and hold it up well.
Look at types, sizes, shapes, and the material quality before starting your project.
Types Of Crates
You can find many crate styles for your table. Each type has a different look and strength.
Wooden crates are popular for tables. Plastic crates are lighter but less stylish. Metal crates are very strong but may be heavy.
- Wooden crates: classic and sturdy
- Plastic crates: light and easy to clean
- Metal crates: very durable and modern
Size And Shape Considerations
Choose crates that fit well in your living room space. Size affects how much you can store or display.
Square or rectangular crates work best for a flat tabletop. Round crates may be harder to stack and use.
- Measure your space before buying crates
- Pick shapes that stack evenly
- Use larger crates for storage under the table
Material Quality
Strong material keeps your table safe and long-lasting. Check crates for cracks or weak spots.
Good quality wood feels solid and smooth. Avoid wood with splinters or rot. For plastic, choose thick and sturdy types.
- Inspect wood for damage and smoothness
- Choose thick plastic crates to avoid bending
- Metal crates should be rust-free and solid

Credit: www.familyhandyman.com
Gathering Tools And Supplies
Making a living room table from crates is a fun and creative project. Before starting, you need to gather the right tools and supplies.
Having everything ready will make the building process easier and safer. Let’s look at what you need.
Essential Tools
You need some basic tools to build your crate table. These tools help you cut, join, and finish the crates properly.
- Electric drill or screwdriver
- Hammer
- Measuring tape
- Sandpaper or power sander
- Clamps
- Wood glue
- Paintbrush or roller
Finishing Materials
Finishing materials protect the table and give it a nice look. Choose materials that suit your room style and crate wood.
- Wood stain or paint
- Clear varnish or sealant
- Wood filler for cracks
- Rags or cloth for wiping
Safety Equipment
Safety is important when working with tools and wood. Use proper gear to protect yourself from accidents and dust.
- Safety goggles to protect eyes
- Dust mask to avoid inhaling sawdust
- Work gloves to protect hands
- Ear protection if using loud power tools
Preparing The Crates
Making a living room table from crates starts with good preparation. Clean and smooth crates make the project easier and better.
Fixing any damage and choosing the right finish will help your table look great and last longer.
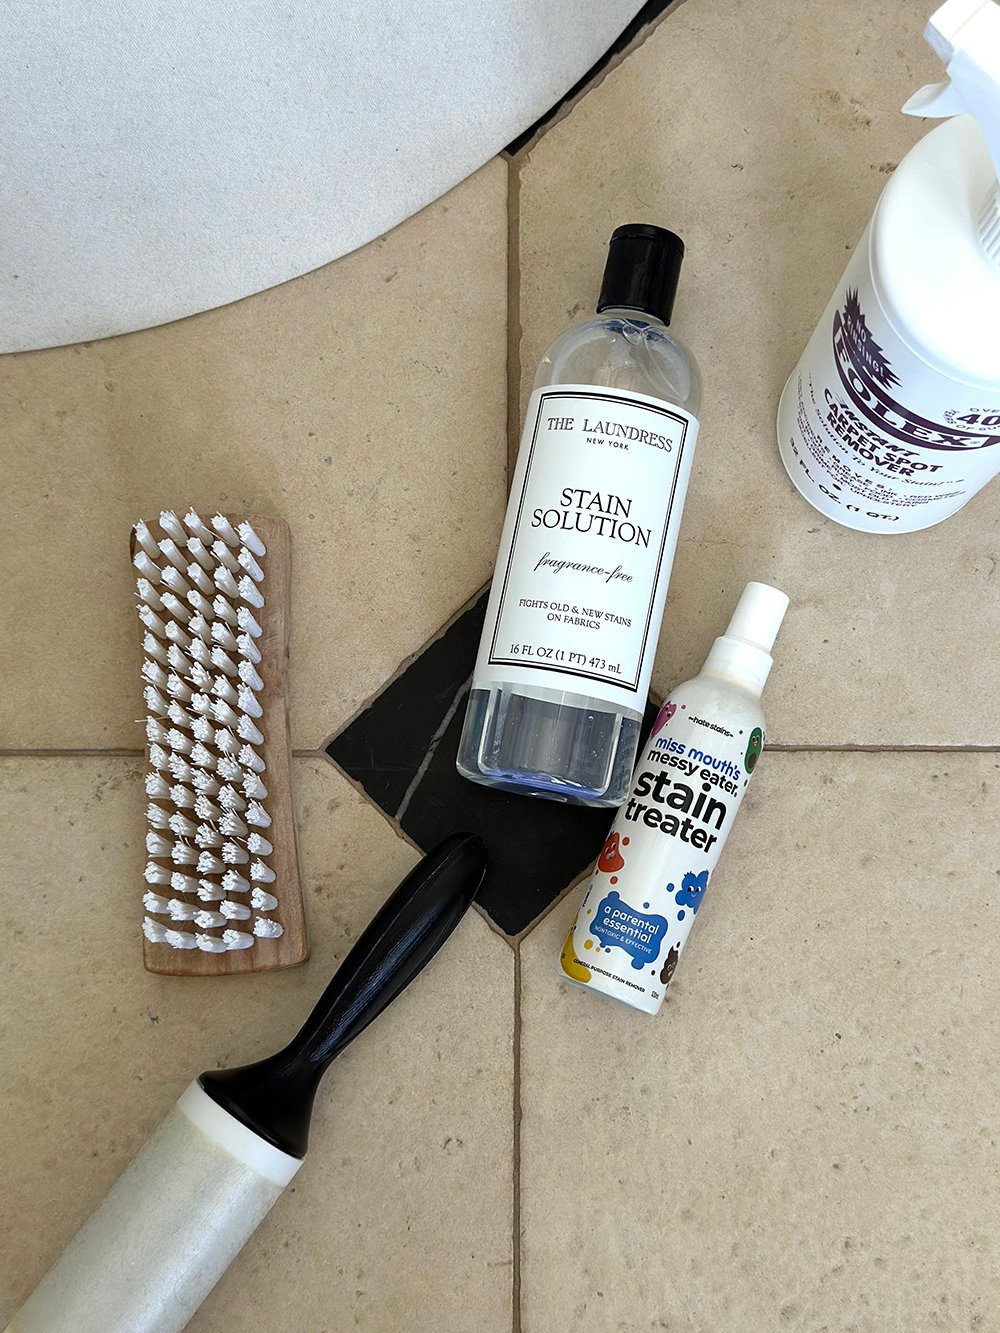
Cleaning And Sanding
First, remove dust and dirt from the crates. Use a brush or cloth to clean every corner. Then, sand the wood to make it smooth.
- Use medium-grit sandpaper to remove rough spots
- Sand edges and corners carefully
- Wipe off dust with a dry cloth after sanding
Repairing Damages
Check the crates for cracks, loose nails, or broken parts. Fix these to make your table strong and safe.
| Damage Type | Fix Method |
| Cracks | Fill with wood filler and let dry |
| Loose nails | Hammer nails back or replace with screws |
| Broken slats | Replace wood pieces or glue securely |
Painting Or Staining
Choose paint or stain to protect and style the crates. Both options change the crate's look and protect the wood.
Tips for finishing your crates:
- Use a primer before painting for better coverage
- Apply thin coats and let each dry fully
- Stain enhances the natural wood grain
- Seal with clear varnish for extra protection
Credit: diydarlingblog.com
Assembling The Table
Making a living room table from crates is a fun and useful project. The key part is putting the crates together correctly. This will make your table strong and look good.
Below are the main steps to assemble your table. These steps include arranging the crates, securing them, and adding support for durability.
Arranging Crates
Start by deciding how you want your crates placed. You can place them side by side or stack some on top of others. Think about the size and shape of your room too.
- Lay the crates on the floor to see how they fit best.
- Make sure the open sides face the direction you want.
- Check that the table height is right for your living room.
- Adjust the crates until you like the look and balance.
Securing Crates Together
Once your crates are arranged, you need to attach them firmly. This stops movement and keeps the table safe to use. Use screws or strong wood glue.
- Align the crates in the chosen layout.
- Drill pilot holes where the crates touch.
- Insert screws to hold crates together tightly.
- Add wood glue in joints for extra strength.
- Let glue dry fully before moving the table.
Adding Support Structures
Support structures help keep the table steady. You can add braces or a base frame under the crates. This makes the table last longer.
| Support Type | Material | Purpose |
| Corner Braces | Metal | Stabilize crate joints |
| Wooden Frame | Wood | Provide strong base |
| Cross Beams | Wood | Prevent crate wobbling |
Customizing The Design
Making a living room table from crates lets you add your own style. You can change the look by adding shelves, drawers, or other features. This guide helps you personalize the table to fit your space and taste.
Using simple materials and ideas, you can create a unique piece. Below are ways to customize your crate table to make it both useful and attractive.
Adding Shelves Or Drawers
Adding shelves or drawers increases storage space. Shelves are easy to fix between crates, while drawers need a bit more work. Both options keep your living room tidy and organized.
- Attach extra crates horizontally for shelves
- Install drawer slides for smooth opening
- Use crates with open sides for easy shelf access
- Paint or stain shelves to match the table
Incorporating Glass Or Wood Top
You can add a glass or wood top to make the table surface smooth and strong. Glass looks modern and lets you see the crates below. Wood gives a warm, classic feel and can be painted or stained.
| Top Material | Look | Care | Durability |
| Glass | Modern and clear | Clean with glass cleaner | Scratch-resistant but can break |
| Wood | Warm and natural | Wipe with damp cloth | Strong and long-lasting |
Decorative Elements
Decorative touches make your crate table stand out. You can add paint, stencils, or handles. Small decorations bring personality and match your room style.
Try these ideas for decoration:
- Paint crates in bright or soft colors
- Add metal or wooden handles on drawers
- Use stencil patterns on sides or top
- Attach small wheels for easy moving
- Place fabric liners inside crates for color
Credit: homemadelovely.com
Finishing Touches
Making a living room table from crates is a fun project. The final steps are important for durability and appearance.
These finishing touches will ensure your table is both sturdy and stylish.
Sealing And Protecting
Sealing the wood helps protect it from spills and scratches. Choose a clear sealant for a natural look.
Use a brush to apply the sealant evenly. Let it dry completely before adding more layers.
- Apply at least two coats for better protection
- Let each coat dry for 24 hours
- Sand lightly between coats for a smooth finish
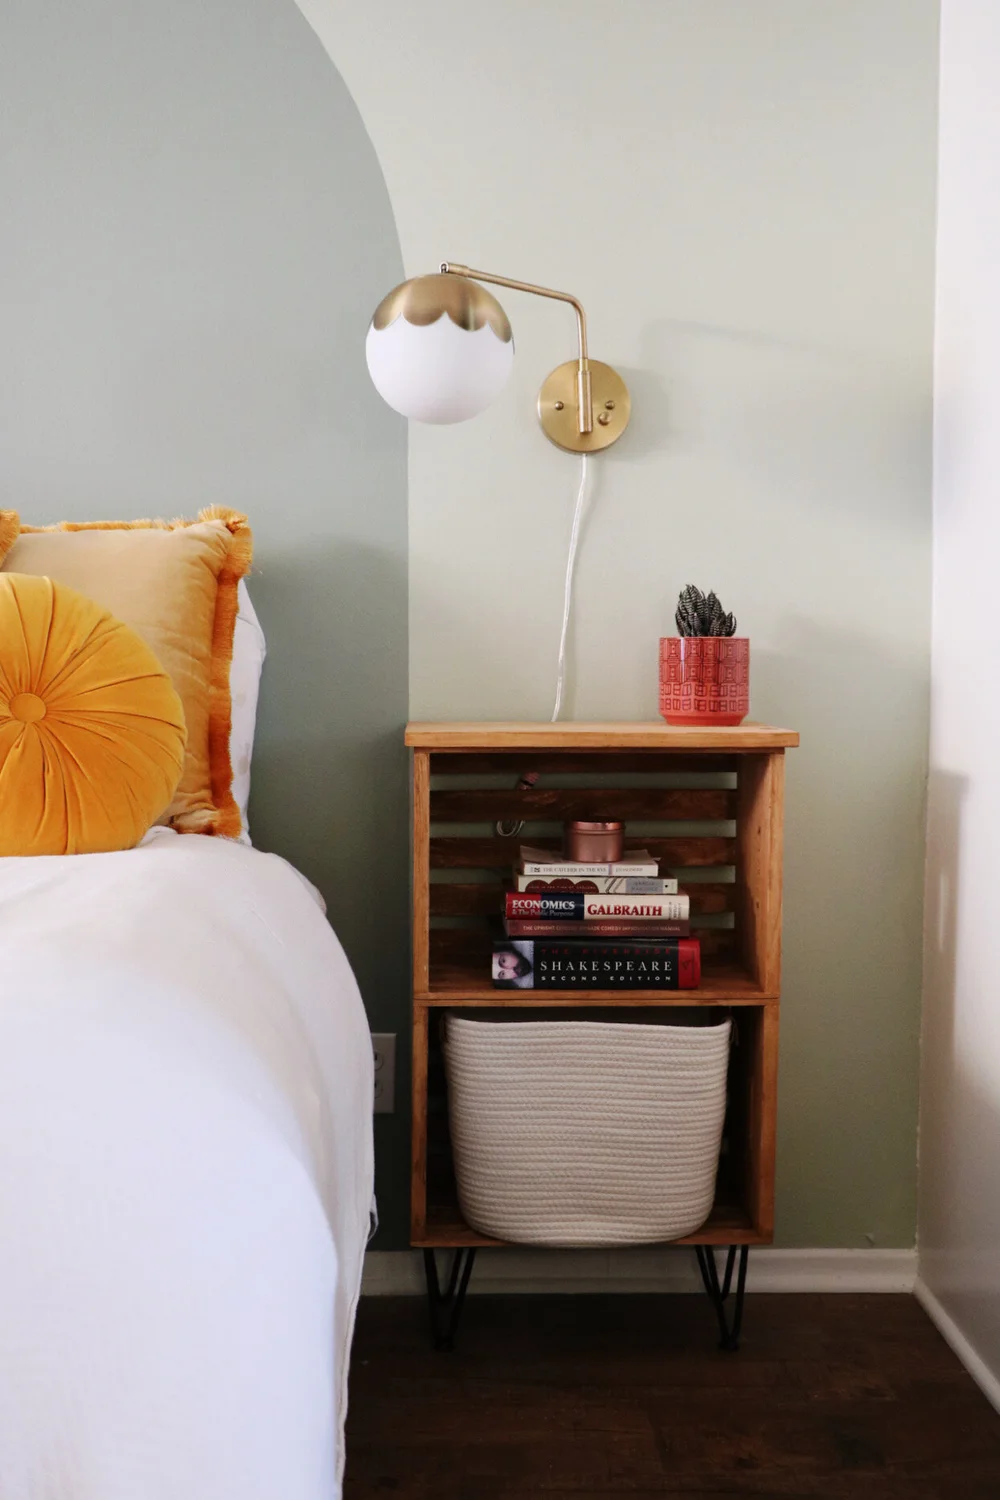
Adding Legs Or Casters
Legs or casters make your table mobile and stable. Measure the height you want before attaching them.
Screw in the legs or casters securely. This ensures the table does not wobble.
- Choose legs for a stationary table
- Use casters for easy movement
- Check the weight capacity of the legs or casters
Final Inspection
Inspect your table for any loose screws or uneven surfaces. This step ensures safety and durability.
Check if the table stands evenly. Make adjustments if needed for balance.
| Inspection Checklist |
| Check for loose screws |
| Ensure table is level |
| Test stability by gently pushing |
Maintenance Tips
A living room table made from crates is a unique piece. It needs care to last long. Here are some tips to keep it looking great.
Regular maintenance will help your table stay strong and beautiful. Learn the best ways to clean and repair it.
Cleaning Recommendations
Cleaning your table is important. Dust and dirt can damage the wood over time. Use a soft cloth to wipe it regularly.
- Use a damp cloth for tough stains.
- Avoid harsh chemicals; they can harm the wood.
- Dry the table with a clean towel after cleaning.
Repair And Upkeep
Crate tables might need repairs sometimes. Check for loose nails or screws. Tighten them if needed to keep the table stable.
If a crate gets damaged, replace it. This will help maintain the table's look and strength.
Longevity Tips
To make your table last, protect it from direct sunlight. Sunlight can fade the wood color over time.
- Use coasters to prevent water rings.
- Apply a wood sealant every year for extra protection.
- Keep the table in a dry environment to avoid warping.
Frequently Asked Questions
What Materials Are Needed To Make A Crate Living Room Table?
You need wooden crates, sandpaper, wood screws, paint or stain, and a tabletop. Optionally, add caster wheels for mobility. These materials are affordable and easy to find at hardware stores.
How Do I Assemble Crates Into A Sturdy Table?
Stack crates in the desired shape, then secure them using wood screws. Sand edges smoothly to avoid splinters. Attach a tabletop for stability and style. Proper assembly ensures durability and safety.
Can I Customize The Table’s Size And Shape?
Yes, you can use any number and arrangement of crates. Choose crate sizes to match your space. Customize paint colors and finishes to fit your décor style.
How Do I Finish The Table For Durability?
Apply a protective coat like polyurethane or varnish. This seals the wood against spills and scratches. Let each coat dry completely before use. Proper finishing extends the table’s life.
Conclusion
Making a living room table from crates is simple and fun. It saves money and gives your room a unique look. You can choose the size and color to fit your style. Using crates also helps recycle old materials. This project adds charm and practicality to any space.
Try it yourself and enjoy a creative, useful table. Small steps can bring big changes to your home. Why buy new when you can build with crates?