Are you tired of clutter taking over your bedroom? Imagine having extra storage right above your bed—keeping your space neat without sacrificing style.
Building bedroom storage cabinets over your bed is easier than you think, and it can transform your room instantly. In this guide, you’ll discover simple steps to create functional cabinets that fit your needs perfectly. Ready to reclaim your bedroom and enjoy a more organized, peaceful space?
Keep reading to find out how you can build these smart storage solutions yourself.

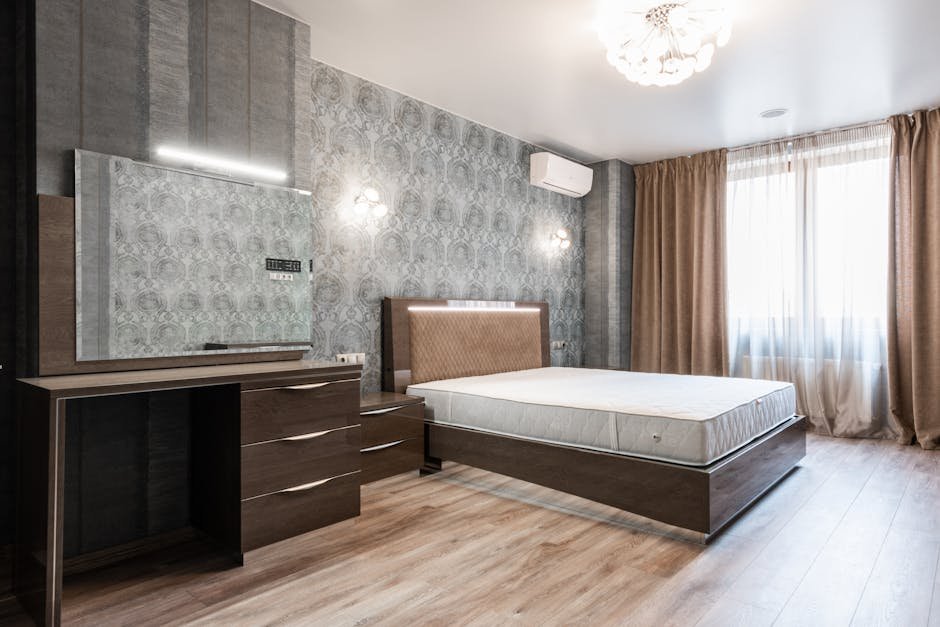
Credit: www.youtube.com
Planning Your Storage Cabinets
Building storage cabinets over your bed can save space and keep your room organized. Good planning helps you create cabinets that fit well and look nice.
Start by measuring the space, picking the right style, and choosing materials and tools. These steps make the project easier and the result better.
Measuring The Space Above The Bed
Measure the width, height, and depth of the wall space above your bed. Check for any obstacles like light switches or vents. Note the ceiling height and bed frame size.
| Measurement | How to Measure |
| Width | Measure from left to right across the wall |
| Height | Measure from bed frame top to ceiling |
| Depth | Measure how far cabinets can extend without blocking |
| Obstacles | Mark positions of switches and vents |
Choosing The Right Cabinet Style
Pick a cabinet style that fits your room design and storage needs. Consider open shelves, closed cabinets, or a mix. Think about door types and handles.
- Open shelves for easy access
- Closed cabinets to hide clutter
- Sliding doors if space is tight
- Matching colors with your room decor
Selecting Materials And Tools
Choose materials that are strong and match your style. Common options are plywood, MDF, or solid wood. Use tools like a saw, drill, screwdriver, and level for building.
- Plywood or MDF boards
- Screws and nails
- Wood glue
- Paint or wood finish
Tools Required:
- Measuring tape
- Power drill
- Hand saw or circular saw
- Level
- Screwdriver
Preparing The Area
Building bedroom storage cabinets over your bed needs careful preparation. A clean and safe space helps the work go smoothly.
This section covers clearing the area, finding wall studs, and setting up a safe workspace.
Clearing The Wall And Bed Area
Remove items from the wall and the bed space. Clear decorations, pictures, and shelves from the wall.
Move the bed away from the wall if possible. This gives you space to work and protects the bed from damage.
- Take down pictures, shelves, and hooks
- Clear the floor near the bed
- Move the bed or cover it with a protective sheet
Locating Wall Studs For Support
Wall studs hold the weight of the cabinets. Find them to attach the cabinets securely.
Use a stud finder tool or tap the wall to find solid spots. Mark the stud locations with a pencil.
- Use a stud finder to locate studs
- Tap the wall to hear a solid sound
- Mark each stud spot lightly with a pencil
- Check that studs run vertically and are evenly spaced
Safety Precautions And Workspace Setup
Keep your workspace safe to avoid accidents. Wear safety gear like goggles and gloves.
Clear the area of clutter and keep tools organized. Good lighting helps you see clearly while working.
- Wear safety glasses and gloves
- Keep the floor free of tools and debris
- Use bright lights or work during the day
- Have a helper nearby if possible
Building The Cabinets
Building bedroom storage cabinets over the bed adds useful space. It helps keep the room tidy and organized.
This guide shows how to build the cabinets step by step. Follow these instructions to make strong and neat cabinets.
Cutting Wood To Size
Start by measuring the space above your bed. Write down the length, height, and depth for the cabinets.
Use a saw to cut the wood pieces to the right size. Cut sides, top, bottom, and shelves carefully.
- Measure twice before cutting
- Cut panels for cabinet sides and back
- Cut shelves and doors to fit
- Smooth edges with sandpaper
Assembling The Cabinet Frame
Join the cut pieces to form the cabinet frame. Use wood glue and screws for strong joints.
Make sure the frame is square and fits the space above the bed. Clamp the pieces while the glue dries.
- Attach sides to bottom and top panels
- Check corners with a square tool
- Use clamps to hold parts firmly
- Let glue dry fully before next step
Installing Shelves And Doors
Place shelves inside the frame where you want storage. Secure them with screws or shelf pins.
Attach doors to the front of the cabinet. Use hinges and make sure doors open smoothly without gaps.
- Mark shelf positions before fixing
- Use a level to keep shelves straight
- Attach hinges to doors and frame
- Test door movement and adjust if needed
Mounting Cabinets Above The Bed
Adding storage cabinets above your bed saves space and keeps your room tidy. Proper mounting is key to ensure safety and durability.
This guide explains how to mark mounting points, secure cabinets to wall studs, and check stability with adjustments.
Marking Mounting Points
Start by measuring the width and height of your cabinet. Then, decide where it will sit above the bed. Mark the wall at the desired height.
- Use a pencil to mark the cabinet's top corners on the wall.
- Mark the center point between the corners to find studs.
- Check the marks with a level to keep them straight.
Securing Cabinets To Wall Studs
Wall studs provide strong support for heavy cabinets. Use a stud finder to locate studs behind drywall. Avoid mounting only on drywall.
| Tool | Purpose | Tip |
|---|---|---|
| Stud Finder | Locate wall studs | Move slowly for accurate detection |
| Drill | Make pilot holes | Use the right drill bit size |
| Screws | Attach cabinets to studs | Use long, sturdy screws |
Drill pilot holes at marked points. Then, screw the cabinet firmly into each stud.
Checking Stability And Adjustments
After mounting, check if the cabinet is secure. Push gently to test for movement. Look for gaps between cabinet and wall.
- Tighten screws if the cabinet wobbles.
- Add shims behind the cabinet if gaps exist.
- Use a level to confirm the cabinet is even.
- Make small adjustments until stable and straight.
Finishing Touches
Adding finishing touches makes your bedroom storage cabinets look complete. It also helps protect the wood and improve function.
Focus on sanding, painting, adding hardware, and organizing the inside. These steps give your cabinets a polished look.
Sanding And Painting Options
Sanding smooths the wood and removes rough spots. Use fine-grit sandpaper for the best finish.
Painting or staining protects the wood and matches your bedroom style. Choose paint that resists scratches and moisture.
- Sand all surfaces evenly before painting
- Use a primer for better paint adhesion
- Apply two or more paint coats for durability
- Consider wood stain to show natural grain
- Seal with clear varnish for extra protection
Adding Handles And Hardware
Handles and hardware add style and make cabinets easy to open. Pick hardware that fits your bedroom decor.
Install handles at a comfortable height. Check that screws are tight and hardware works smoothly.
- Choose knobs or pulls for cabinet doors
- Match hardware color to other bedroom fixtures
- Use soft-close hinges to reduce noise
- Install magnetic catches for secure closing
Organizing Inside The Cabinets
Good organization keeps your bedroom neat. Use shelves, baskets, or dividers inside cabinets for order.
Label storage containers to find items fast. Keep daily use items easy to reach.
- Add adjustable shelves for flexible storage
- Use clear bins to see contents easily
- Install hooks inside doors for small items
- Group similar items together
- Leave space for future storage needs

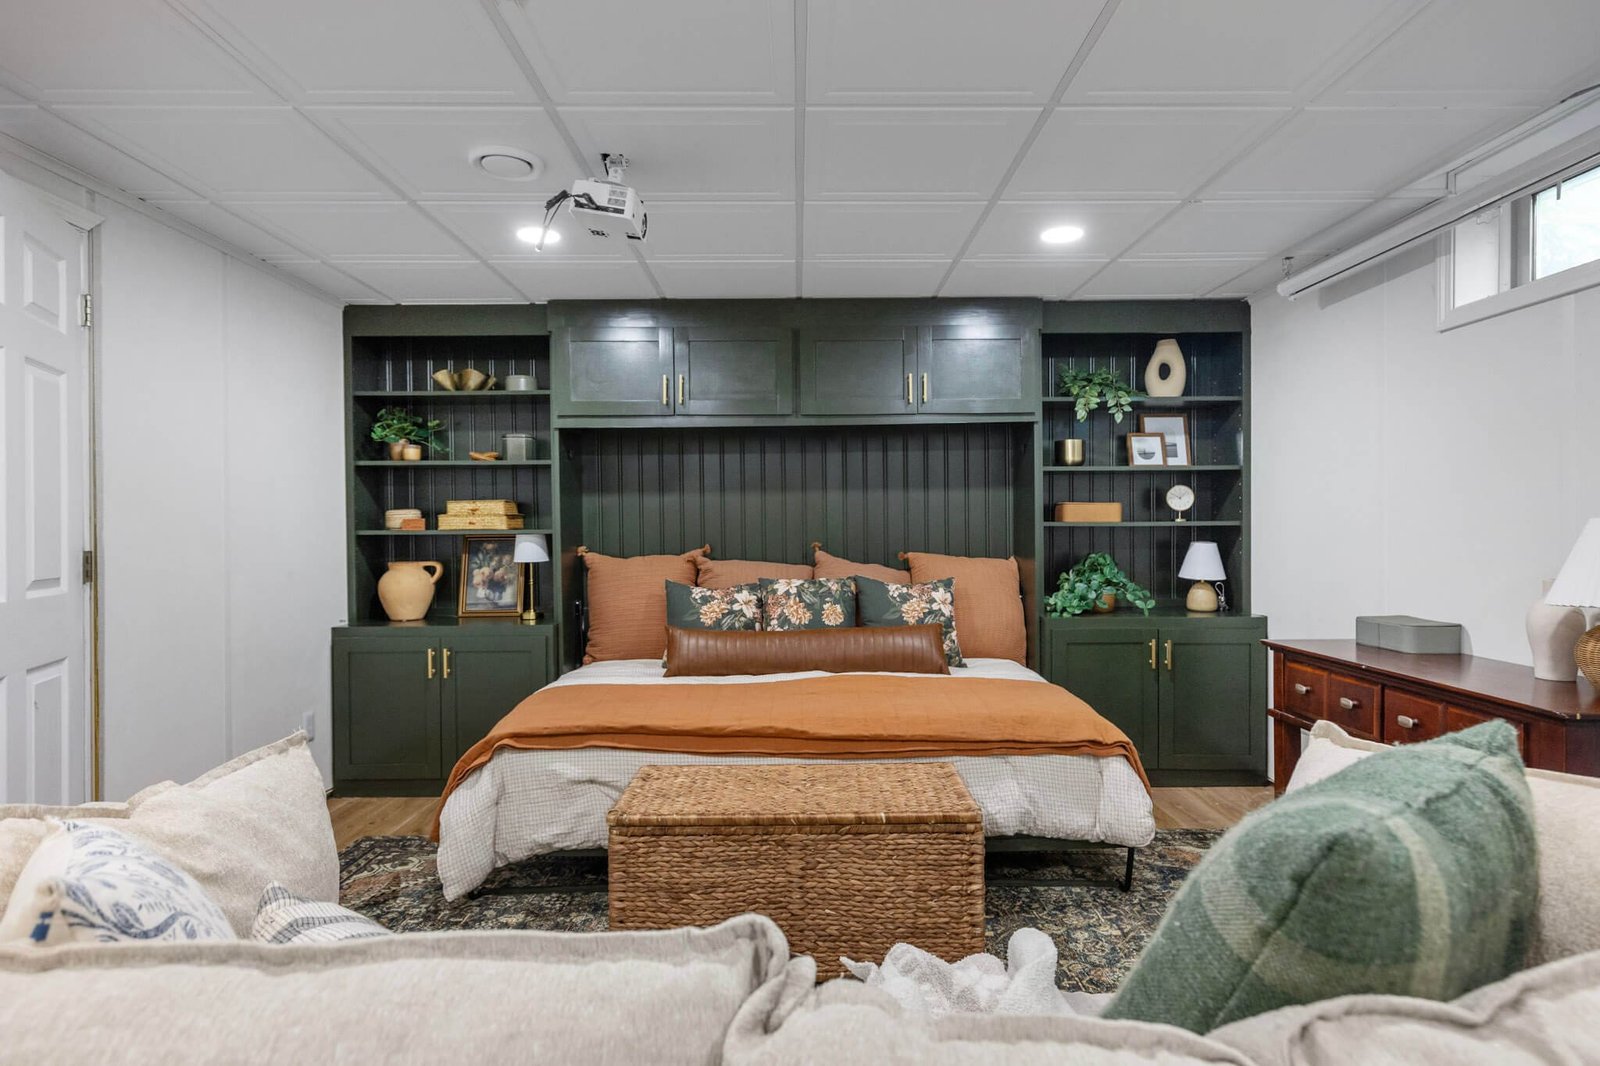
Credit: www.sharps.co.uk
Maintenance Tips
Maintaining your bedroom storage cabinets over the bed is important. It helps them last longer and keeps them looking good.
With regular care, these cabinets can stay functional and stylish for years.
Regular Cleaning
Dust and dirt can build up on your cabinets. Regular cleaning helps keep them neat.
- Use a soft cloth to wipe surfaces weekly.
- Apply a mild cleaning solution for stains.
- Avoid using abrasive pads that can scratch.
Inspecting For Wear And Tear
Checking your cabinets for damage can prevent bigger issues. Look for signs of wear.
| Inspection Item | Action |
| Loose hinges | Tighten screws |
| Peeling paint | Repaint affected area |
| Cracked shelves | Replace shelf |
Updating Storage Layout
Sometimes the way you store items needs updating. This can make your space more efficient.

Credit: www.willowbloomhomeblog.com
Frequently Asked Questions
How Do I Start Building Storage Cabinets Over My Bed?
Begin by measuring the wall space above your bed precisely. Choose materials like plywood or MDF. Plan the cabinet design for both style and function. Ensure proper wall support for safety. Follow step-by-step assembly instructions for best results.
What Tools Are Needed To Build Bedroom Storage Cabinets?
You will need a drill, measuring tape, level, screwdriver, saw, and screws. A stud finder helps locate wall supports. Sandpaper and paintbrushes are useful for finishing. Having clamps can make assembly easier and more precise.
How Can I Maximize Space With Over-bed Cabinets?
Use tall, narrow cabinets to fit tight spaces. Include adjustable shelves for flexible storage. Incorporate drawers or doors to hide clutter. Utilize vertical space fully while keeping easy access. Consider lighting inside cabinets for better visibility.
What Materials Are Best For Bedroom Storage Cabinets?
Choose sturdy materials like plywood or MDF for durability. Solid wood offers strength and a classic look. Use moisture-resistant finishes to protect against humidity. Lightweight materials ease installation but ensure they can support weight.
Conclusion
Building bedroom storage cabinets over your bed saves space and adds style. You can keep your room tidy by storing items neatly above. Choose materials and designs that fit your room well. Take your time measuring and assembling for the best fit.
This project can make your bedroom look organized and cozy. Small changes like these improve daily living without much cost. Start your project step by step and enjoy the extra storage soon. Simple upgrades bring big benefits to any bedroom space.