Setting up your home theater system receiver might seem tricky at first, but it doesn’t have to be. Imagine sitting back, pressing play, and hearing crystal-clear sound that makes every movie night feel like a big-screen experience.
You’re just a few simple steps away from transforming your living room into your own personal cinema. This guide will walk you through everything you need to know, so you can enjoy powerful sound and perfect picture without the hassle.
Ready to take your entertainment to the next level? Let’s get started!
Choosing The Right Receiver
Setting up a home theater system starts with picking the right receiver. The receiver is the heart of your system. It connects all parts and controls sound and video.
Choosing the correct receiver makes your system work well and sound great. Focus on the speaker setup, power, and connections.
Matching Receiver To Speaker Setup
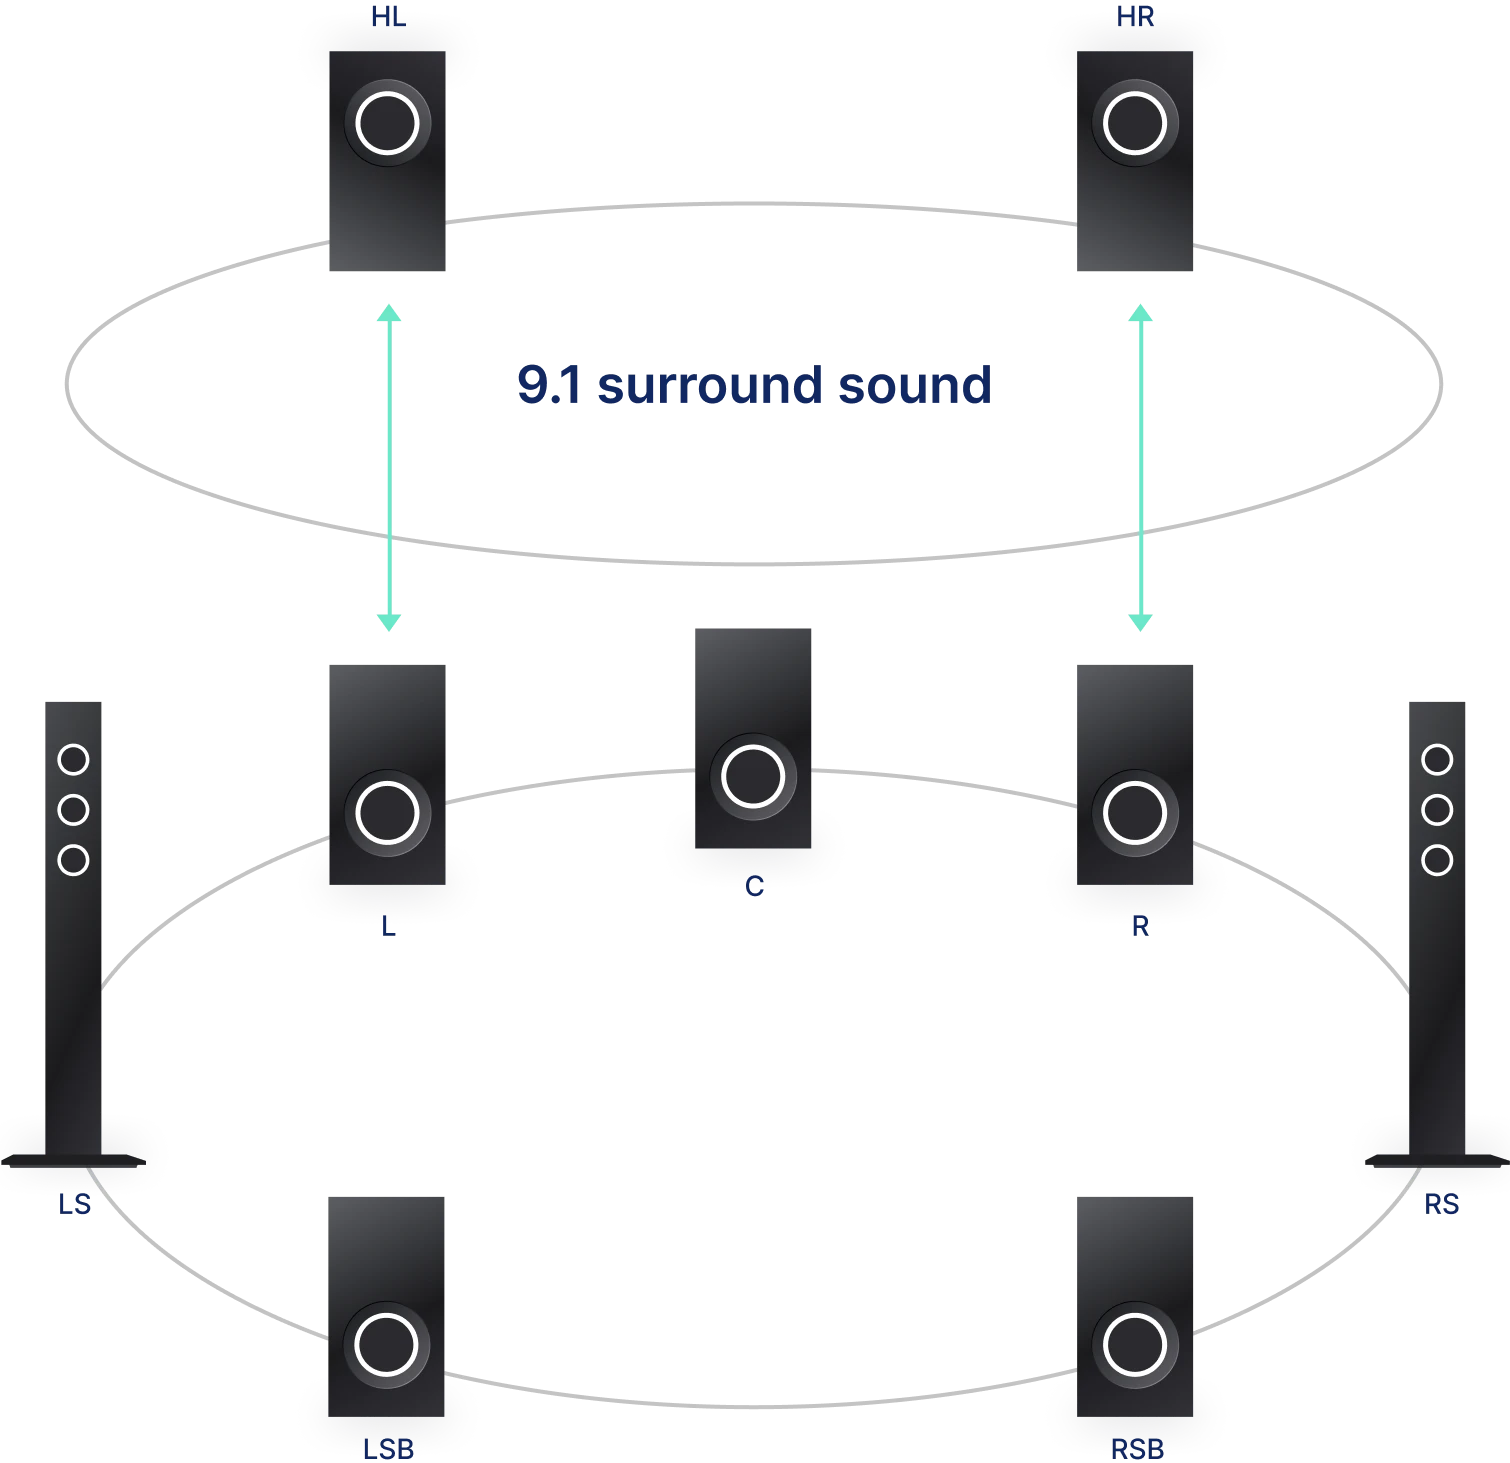
Your receiver must match your speaker setup. Count how many speakers you have. Common setups are 5.1, 7.1, or even 9.1 channels.
If you have many speakers, pick a receiver that supports that number of channels. This keeps sound balanced and clear.
- 5.1 setup needs a 5.1 channel receiver
- 7.1 setup requires a 7.1 channel receiver
- Extra speakers need more channels on the receiver
Considering Power And Channels
Power is the strength of your receiver. It tells how loud and clear your sound will be. Look at watts per channel to compare power.
Make sure the receiver has enough power for your speakers. Too little power can cause weak sound. Too much power may damage speakers.
- Match receiver power to speaker power rating
- Check watts per channel at recommended impedance
- More channels need more total power
Connectivity Options To Look For
Check the types of connections on the receiver. You need enough HDMI, optical, and analog inputs for your devices.
Look for wireless options like Bluetooth or Wi-Fi if you want to stream music easily. Also, consider support for modern video formats.
- Multiple HDMI inputs for TV, Blu-ray, and consoles
- Optical and coaxial digital audio inputs
- Bluetooth or Wi-Fi for wireless streaming
- Support for 4K and HDR video signals
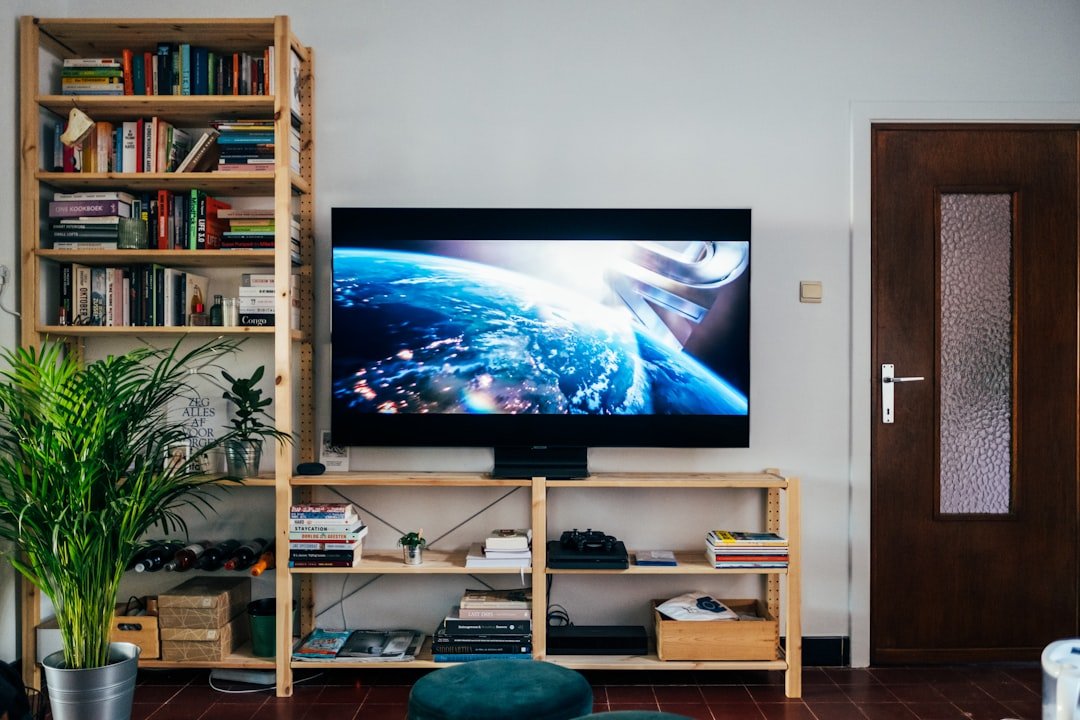
Preparing Your Space
Setting up your home theater receiver starts with preparing the right space. A well-arranged room helps you enjoy clear sound and a great viewing experience.
Think about the size, shape, and furniture placement. These affect how sound travels and how comfortable the setup will be.
Optimal Room Layout
Choose a room that is quiet and free from outside noise. Avoid rooms with too many windows or hard surfaces that reflect sound.
- Place seating in the center of the room for best sound.
- Keep the screen or TV at eye level when seated.
- Use curtains or rugs to soften sound reflections.
- Leave space behind the seating to avoid sound blockage.
Speaker Placement Tips
Proper speaker placement makes a big difference in sound quality. Each speaker has a spot that works best for clear audio.
| Speaker | Placement | Distance |
|---|---|---|
| Front Left and Right | On either side of the screen | Equal distance from listener |
| Center | Directly below or above the screen | Centered with listener |
| Surround Left and Right | To the sides or slightly behind the listener | At ear level |
| Subwoofer | Near the front speakers but not in a corner | Varies by room |
Managing Cables And Wiring
Keep cables neat and safe to avoid damage and tripping hazards. Organized wiring also makes future changes easier.
- Use cable ties or clips to bundle wires together.
- Label each cable for easy identification.
- Run cables along walls or under carpets where possible.
- Keep power cables separate from audio cables to reduce interference.
Connecting Speakers To Receiver
Setting up a home theater system receiver involves connecting various speakers. This ensures you get the best sound experience. Let's look at the steps to connect your speakers properly.
Understanding the right way to connect each speaker is important. This guide will cover key steps for connecting speakers to your receiver.
Identifying Speaker Terminals
Speaker terminals are connectors on your receiver. They link your speakers to the system. Identifying them helps you know where to connect each speaker.
Each terminal is often color-coded. Red and black are common colors. Red is for positive connections, and black is for negative connections.
Wiring Front And Surround Speakers
Wiring front and surround speakers involves proper placement. Front speakers go near the TV. Surround speakers are placed around the room.
Connect the wires to the matching terminals. Ensure positive wires go to red, and negative wires to black.
- Front left and right speakers connect to front terminals
- Surround left and right speakers connect to surround terminals
- Keep wires untangled for safety
Subwoofer Connection Basics
The subwoofer handles the bass sounds. It connects differently from other speakers. Look for the subwoofer output on your receiver.
Use a subwoofer cable to connect it. The cable plugs into the subwoofer output on the receiver.
- Locate the subwoofer output on the receiver
- Connect the subwoofer cable to the receiver
- Plug the other end into the subwoofer
Credit: www.theaterseatstore.com
Hooking Up Source Devices
Setting up your home theater receiver starts with connecting source devices. These include Blu-ray players, streaming devices, and gaming consoles. Proper connections ensure the best sound and picture quality.
Use the correct cables and ports on your receiver. This guide helps you connect your devices easily and correctly.
Connecting Blu-ray And Streaming Devices
Blu-ray players and streaming devices usually connect with HDMI cables. HDMI carries both video and audio signals in one cable. This keeps your setup clean and simple.
Look for HDMI ports labeled "Blu-ray," "Streaming," or "HDMI In" on your receiver. Plug the cable from your device to one of these ports.
Using Hdmi And Optical Inputs
HDMI is the best option for high-quality audio and video. Use it whenever possible. Optical cables carry only audio and are useful if HDMI is not available.
Connect the HDMI cable from your device to the HDMI input on your receiver. For optical, connect the optical cable from the device’s audio out to the receiver’s optical input.
- HDMI: Carries video and audio
- Optical: Audio only
- Use HDMI for best quality
- Use optical if HDMI ports are full
Setting Up Gaming Consoles
Gaming consoles connect to your receiver using HDMI cables. This gives you good video and surround sound. Connect the HDMI cable from the console to the receiver’s HDMI input.
Turn on the console and select the correct input on the receiver. This lets the receiver play audio from the console through your speakers.
Configuring Receiver Settings
Setting up your home theater receiver correctly enhances your sound experience. Adjusting its settings helps match your room and speakers.
This guide covers key steps like auto calibration, sound modes, and bass and treble adjustments.
Running Auto Calibration
Auto calibration helps your receiver measure speaker distances and sound levels. It uses a microphone to test your room acoustics.
- Place the microphone at your main listening spot.
- Start the auto calibration from the receiver’s menu.
- Let the system test each speaker one by one.
- Save the settings after the test finishes.
Adjusting Sound Modes
Sound modes change how audio plays to match different content types. Common modes include movie, music, and night.
| Sound Mode | Description |
|---|---|
| Movie | Enhances dialogue and effects for films |
| Music | Balances audio for clear instruments and vocals |
| Night | Reduces loud sounds for quiet listening |
| Game | Focuses on directional sound for gaming |
Choose a mode that fits your current activity to get the best sound.
Customizing Bass And Treble
Bass and treble control the low and high tones in your audio. Adjusting them helps match your speaker’s sound and room size.
- Increase bass for stronger low sounds like drums and explosions.
- Raise treble to make vocals and high notes clearer.
- Lower bass or treble if sound is too boomy or sharp.
- Test changes by playing different audio types.

Credit: www.youtube.com
Testing And Troubleshooting
Testing and troubleshooting your home theater receiver helps ensure your system works well. This process finds problems and improves sound quality.
Follow simple checks to fix common issues and get the best audio experience from your setup.
Verifying Speaker Output
Check each speaker to make sure it plays sound clearly. This step confirms all connections are correct and working.
Use the receiver’s test tone feature to send sound to each speaker one at a time. Listen carefully for any silence or distortion.
- Turn on the test tone from the receiver menu.
- Verify sound comes from each speaker.
- Check speaker wires for loose or broken connections.
- Swap wires if a speaker does not produce sound.
Fixing Common Connection Issues
Loose or wrong connections cause many problems. Make sure cables fit tightly and go to the right ports.
Inspect all HDMI, speaker, and power cables. Replace damaged cables if needed. Clean dusty ports carefully.
- Check speaker wires for bare strands touching each other.
- Match each speaker wire to the correct positive and negative terminals.
- Ensure HDMI cables are fully inserted into the receiver and TV.
- Try different cables to rule out faulty ones.
Optimizing Audio Performance
Adjust settings on your receiver to get the best sound. Use the setup menu to tune speaker size and distances.
Use equalizer controls to balance bass and treble. Keep volume at a comfortable level to avoid distortion.
- Set correct speaker sizes (small or large) in the receiver menu.
- Enter the distance from each speaker to your listening spot.
- Use room correction tools if your receiver has them.
- Test sound with different audio modes and pick the best one.

Credit: www.reddit.com
Frequently Asked Questions
What Is The First Step To Set Up A Home Theater Receiver?
The first step is to position your receiver near your TV and speakers. Ensure all devices are powered off before connecting cables for safety and accuracy.
How Do I Connect Speakers To My Home Theater Receiver?
Connect speaker wires to the receiver’s labeled terminals. Match positive and negative terminals correctly to avoid sound issues and ensure proper speaker function.
How To Configure Audio Settings On A Home Theater Receiver?
Use the receiver’s setup menu to adjust speaker sizes, distances, and levels. This calibration improves sound quality and balances audio across your home theater.
Can I Connect Multiple Devices To One Home Theater Receiver?
Yes, most receivers have multiple HDMI and audio inputs. Connect devices like Blu-ray players, gaming consoles, and streaming devices for easy switching.
Conclusion
Setting up a home theater receiver can seem tricky at first. Take your time and follow each step carefully. Connect your devices and speakers clearly. Adjust the settings to match your room size and preferences. Test the sound and video to ensure everything works well.
Enjoy your favorite movies and shows with great sound. A good setup brings your entertainment to life. Keep learning and experimenting to improve your system. Your home theater will provide many fun moments for years.