Have you ever started painting your wall, only to end up with crooked lines that make the whole room look messy? You’re not alone.
Painting straight lines can be tricky, but it doesn’t have to be frustrating. Imagine finishing your project with clean, sharp edges that make your space look professional and polished. You’ll discover simple, effective techniques that anyone can use to paint perfect straight lines on a wall.
Stick with me, and by the end, you’ll have the confidence to tackle your next painting job like a pro.
Tools And Materials Needed
Painting straight lines on a wall needs the right tools. Using quality materials makes the job easier. It helps you get clean and sharp lines every time.
Below are key items you need to prepare before starting your painting project. Each plays an important role in the final look.
Choosing The Right Tape
Painter’s tape helps create straight edges without paint bleeding. Pick tape with proper adhesion for your wall surface. Too sticky tape can damage paint underneath. Too weak tape lets paint seep through.
- Use blue or green painter’s tape designed for walls
- Choose tape width that fits your line size
- Test tape on a small area before full use
- Remove tape while paint is still slightly wet
Selecting Quality Paint And Brushes
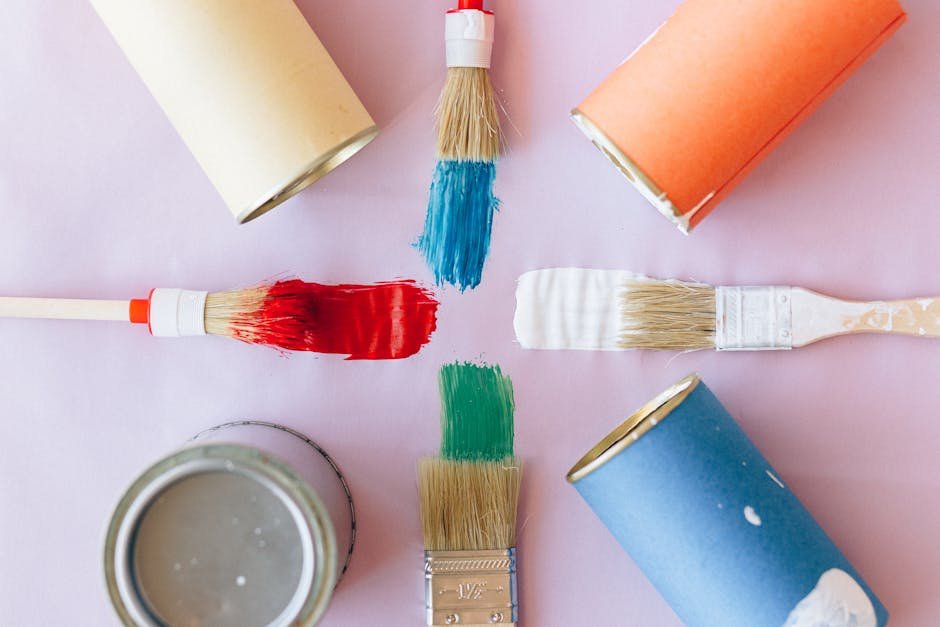
Good paint covers well and dries evenly. Brushes with firm, fine bristles help you control the edges. Use angled brushes for better precision on lines and corners.
| Item | What to Look For |
| Paint | High-quality latex or acrylic, smooth finish |
| Brushes | Angled, synthetic bristles, sizes 1 to 2 inches |
| Roller | Use for filling larger areas, smooth nap |
Additional Supplies
Other items help prepare and protect your work area. Keep these handy for a clean and safe painting process.
- Drop cloths or plastic sheeting to protect floors
- Painter’s tray for easy paint access
- Putty knife and spackle for fixing wall holes
- Sandpaper to smooth patched areas
- Rags or paper towels for quick cleanups
- Level or straightedge to check tape alignment
Preparing The Wall Surface
Painting straight lines on a wall starts with good preparation. A smooth, clean surface helps paint stick well and look sharp.
Follow these steps to get your wall ready before painting straight lines.
Cleaning And Repairing
First, clean the wall to remove dust, dirt, and grease. Use a mild soap and water solution with a sponge. Rinse with clean water and let dry.
- Remove loose paint with a scraper
- Fill holes or cracks with wall filler
- Sand repaired areas smooth
- Wipe the wall with a damp cloth to remove dust
These steps create a flat surface that makes lines easier to paint straight and neat.
Priming The Wall
Priming seals the wall and improves paint adhesion. It also prevents stains from showing through your paint.
| Type of Wall | Recommended Primer |
| New drywall | Latex primer |
| Previously painted wall | Stain-blocking primer |
| Plaster or masonry | Oil-based primer |
Apply primer evenly with a brush or roller. Let it dry completely before painting your lines.
Marking Your Lines
Painting straight lines on a wall needs careful marking. Clear lines guide your brush and keep edges clean.
This section shows ways to mark your lines for smooth painting results.
Measuring Accurately
Measure the wall space where you want your line. Use a tape measure for exact distances.
- Start from a fixed point like a corner or window edge.
- Mark the line spots lightly with a pencil.
- Double-check your measurements before marking all points.
- Use a ruler or straight edge to connect marks.
Using A Level Or Laser Guide
A level or laser guide ensures your line is perfectly straight and even. This tool helps prevent slanting.
| Tool | How to Use | Benefit |
|---|---|---|
| Bubble Level | Place the level on the marked line. Adjust marks until the bubble centers. | Simple and low cost for short lines. |
| Laser Level | Set up the laser projector. Align the laser beam with your marks. | Best for long lines and large walls. |
Credit: www.youtube.com
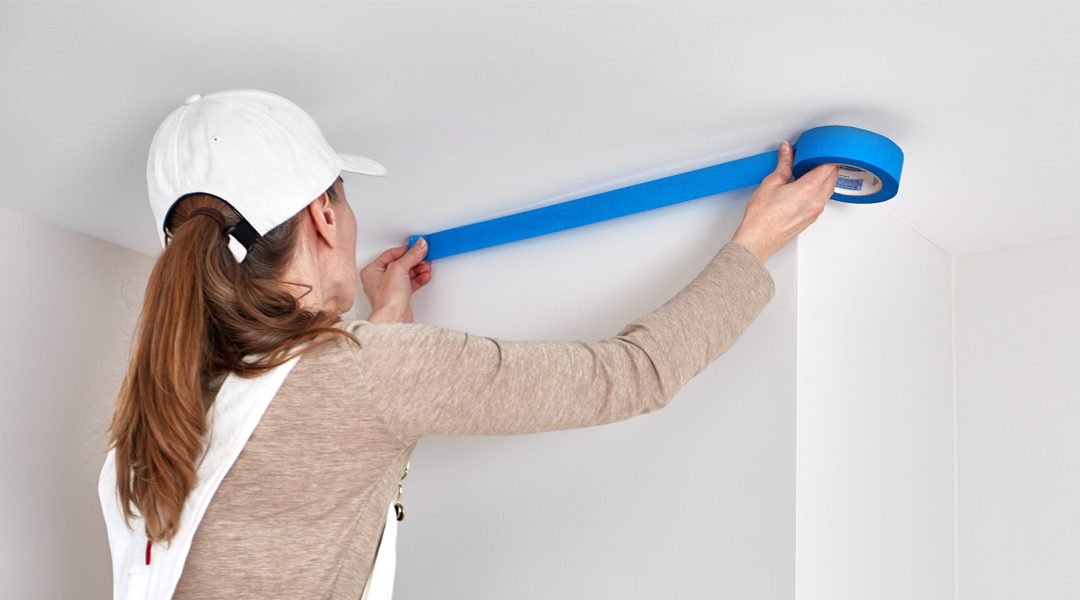
Applying Painter’s Tape
Painter's tape helps create clean lines when painting walls. It is important to apply it correctly to avoid messy edges.
Learn how to apply painter's tape effectively to ensure your paint job looks professional and neat.
Taping Techniques For Clean Edges
To achieve clean edges, it's crucial to follow the right taping techniques. Proper application prevents paint from seeping under the tape.
- Make sure the surface is clean and dry before applying the tape.
- Use a level to ensure the tape is straight.
- Press down the tape firmly to seal the edges.
- Remove the tape while the paint is still slightly wet for the best results.
Preventing Paint Bleed
Paint bleed can ruin the look of your wall. Preventing it requires careful preparation and application of tape.
Choosing the right type of tape is also important. Some tapes are designed specifically to prevent bleed and are worth the investment.
| Type of Tape | Best For |
| Blue Painter's Tape | General Use |
| Green Frog Tape | Delicate Surfaces |
| Yellow Tape | Rough or Textured Walls |
Painting Along The Tape
Painting straight lines on a wall needs care and the right tools. Using painter’s tape helps keep edges clean and sharp.
To get the best results, focus on how you brush the paint and how many coats you apply. These details make a big difference.
Choosing The Right Brush Stroke
Use smooth, even strokes to paint along the tape. Avoid pushing paint under the tape by brushing away from it.
- Start with a light stroke to seal the tape edge
- Brush away from the tape line, not toward it
- Use a small angled brush for better control
- Keep your brush loaded but not dripping
Applying Multiple Coats
Applying more than one coat helps the paint look even and hides streaks. Let each coat dry fully before adding the next.
| Coat Number | Drying Time | Tips |
| First | 30 minutes | Apply thin coat to seal tape edge |
| Second | 1 hour | Use smooth strokes for even coverage |
| Third (if needed) | 1 hour | Check for any missed spots |

Credit: www.youtube.com
Removing Tape And Touch-ups
After painting straight lines on a wall, removing the tape carefully is key. Touch-ups help fix small mistakes and make the lines look clean.
This guide explains when to take off the tape and how to fix any imperfections on your painted wall.
Timing For Tape Removal
Remove the tape while the paint is still slightly wet. This stops the paint from peeling off with the tape.
If the paint is too wet, it may smudge. If it is too dry, the edges might peel.
- Wait about 30 minutes after painting before removing tape.
- Pull tape slowly at a 45-degree angle.
- Use a sharp blade to cut along the tape edge if paint cracks.
Fixing Imperfections
Small paint bleeds or uneven edges can be fixed with light touch-ups. Use a small brush for best control.
Clean the wall and wait for the paint to dry before touching up. This helps the new paint stick well.
- Use a fine brush to paint over any bleeds.
- Match the wall color for corrections on the main wall.
- For line edges, use the line color to clean up edges carefully.
- Let touch-ups dry fully before deciding if more work is needed.
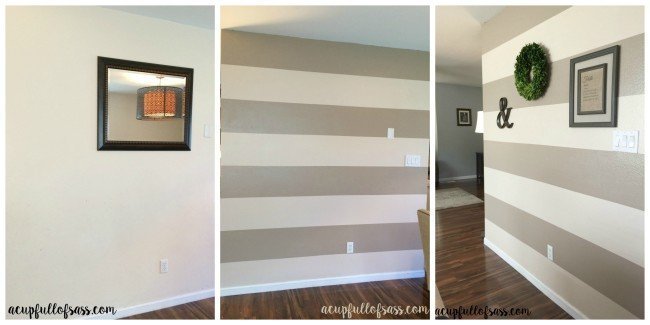
Tips For Long-lasting Results
Painting straight lines on a wall can transform a space. It adds a crisp, professional look to any room.
To achieve long-lasting results, follow these simple tips and ensure your lines stay sharp over time.
Sealing And Finishing
Sealing your painted lines prevents peeling and fading. It ensures the paint adheres well to the wall.
| Sealing Method | Benefit |
| Clear Acrylic Sealant | Protects from moisture |
| Matte Finish Spray | Prevents shine |
| Polyurethane Coating | Increases durability |
Maintenance Advice
Maintaining your painted lines is important for keeping them looking fresh. Regular upkeep can extend their lifespan.
- Dust the walls weekly to prevent dirt buildup.
- Use a damp cloth for gentle cleaning.
- Avoid harsh chemicals that can strip paint.

Credit: www.youtube.com
Frequently Asked Questions
How Do I Prepare A Wall For Straight Line Painting?
Clean the wall thoroughly and ensure it is dry. Fill any holes or cracks and sand smooth. Apply a primer for better paint adhesion and a consistent surface.
What Tools Help Paint Perfect Straight Lines On Walls?
Use painter’s tape, a level, a pencil, and a straight edge or ruler. A laser level can also improve accuracy for longer lines.
How To Prevent Paint Bleed Under Painter’s Tape?
Press the tape firmly to seal edges. Apply a thin layer of base color along the tape edge before painting the line color.
Can I Use A Laser Level For Straight Lines?
Yes, a laser level projects a precise horizontal or vertical line. It helps align tape or guides for painting accurately on large walls.
Conclusion
Painting straight lines on a wall is easier than it seems. Use good tape and take your time. Steady hands and patience make a big difference. Clean edges create a neat, professional look. Practice on a small area first to build confidence.
Remember, small steps lead to great results. Enjoy the process and watch your space transform. Painting can be fun and rewarding with simple tips. Keep these ideas in mind for your next project.