Have you ever wondered how to melt steel right at home and turn it into something amazing? Whether you’re a hobbyist, a DIY enthusiast, or just curious, melting steel for casting can open up a world of creative possibilities.
It might sound complicated or even dangerous, but with the right steps and safety tips, you can do it yourself safely and effectively. In this guide, you’ll discover exactly how to melt steel for casting, what tools you need, and how to avoid common mistakes.
Ready to unlock the power of molten metal and bring your ideas to life? Keep reading—your steel casting adventure starts here.
Choosing The Right Steel
Melting steel for casting at home needs the right type of steel. Not all steel melts well or gives good results. Picking the right steel helps make strong, smooth castings.
Knowing which steel to use and where to find it saves time and effort. This guide helps you choose steel that works best for home casting projects.
Types Of Steel Suitable For Casting
Some types of steel melt easier and cast better than others. Low carbon steels are good for beginners because they melt at lower temperatures. Tool steels and stainless steels need higher heat but give strong results.
Using steel with too much alloy or impurities can cause problems. Simple mild steels are easier to work with and create cleaner casts.
- Mild steel (low carbon)
- Carbon steel
- Tool steel (with caution)
- Stainless steel (requires high heat)
Sources For Steel Scrap
Steel scrap is a good source for home casting. Old tools, car parts, and metal sheets often contain suitable steel. You can recycle these to melt and cast new items.
Make sure the scrap is mostly steel and not mixed with other metals. Clean scrap pieces remove unwanted materials and make better castings.
- Old steel tools and knives
- Car parts like springs or frames
- Steel pipes and sheets
- Scrap from metal fabrication shops

Credit: www.amazon.ca
Essential Safety Gear
Melting steel at home is dangerous. You need the right safety gear to protect yourself. This guide covers the main safety equipment you should use.
Using proper gear reduces risks from heat, sparks, and molten metal. Always prepare before starting your casting project.
Protective Clothing
Wear clothing that covers your whole body. It must resist sparks and heat. Avoid synthetic fabrics that can melt on contact with hot metal.
- Long-sleeve cotton or wool shirts
- Heavy-duty pants or jeans
- Leather apron for extra protection
- Closed-toe boots made of leather
- Flame-resistant jacket if available
Eye And Face Protection
Molten steel can cause severe eye injuries. Use gear that protects your eyes and face from heat and flying sparks.
| Protection Type | Purpose |
| Safety goggles | Protect eyes from sparks and debris |
| Face shield | Shields face from heat and splashes |
| Welding helmet | Filters bright light and protects face |
Heat-resistant Gloves
Gloves protect your hands from burns and hot surfaces. Choose gloves made for high temperatures and steel handling.
- Leather gloves with heat resistance
- Gauntlet-style gloves for wrist protection
- Check gloves for holes before use
- Replace gloves if damaged or worn
Setting Up Your Workspace
Melting steel at home for casting needs a safe and organized workspace. A good setup helps you work better and stay safe.
Before you start, prepare the area with care. This will make the melting process smoother and less risky.
Selecting A Safe Location
Pick a place outside or in a well-ventilated garage. Steel melting produces smoke and heat.
Keep the area clear of flammable items like paper and cloth. Make sure you have enough space to move safely.
- Use a flat, stable surface for your furnace
- Stay away from dry grass or leaves
- Have a fire extinguisher nearby
- Ensure good airflow to avoid smoke buildup
Required Tools And Equipment
You need special tools to melt steel safely. These tools help you handle hot metal and control the melting.
Gather everything before starting to avoid delays and dangers.
- High-temperature furnace or foundry
- Protective gloves and heat-resistant apron
- Face shield or safety goggles
- Crucible for melting steel
- Tongs to handle hot materials
- Metal molds for casting
- Fire extinguisher for emergencies
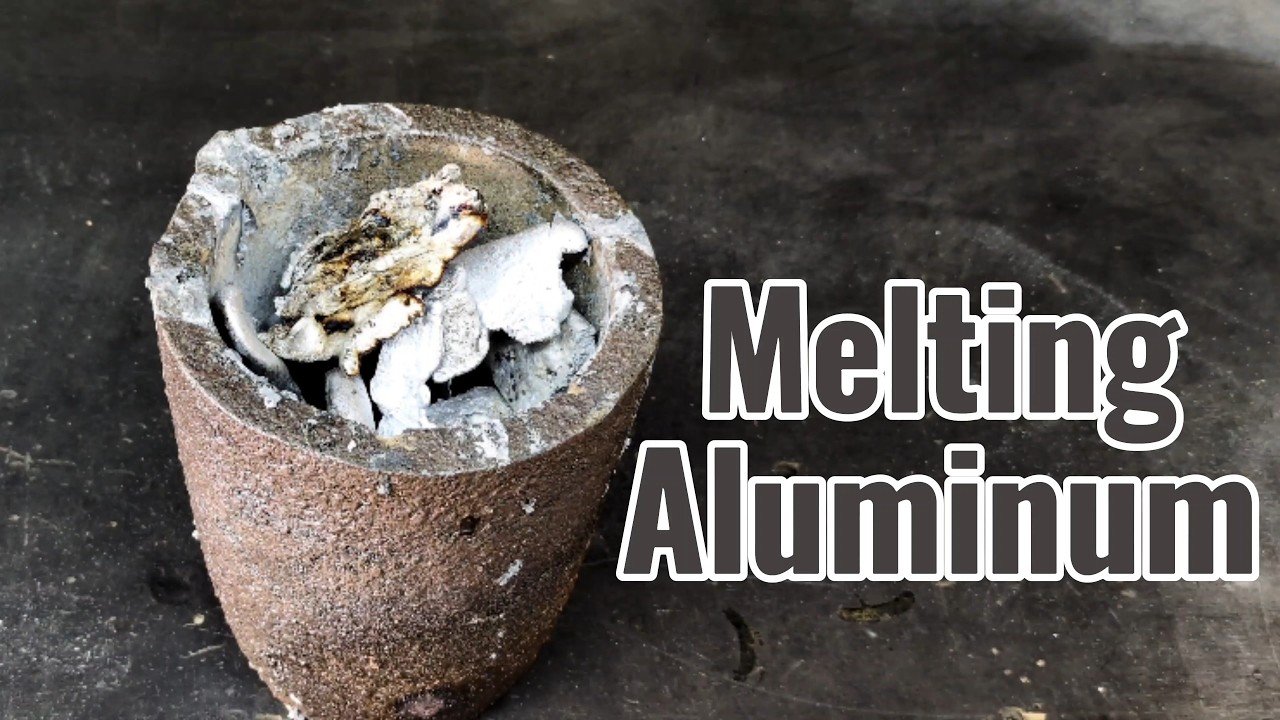
Building A Diy Furnace
Melting steel at home requires a furnace that can reach very high temperatures. Building a DIY furnace lets you control the melting process. You can create one with simple materials and tools.
This guide shows you what materials you need and how to build the furnace step-by-step. Safety is important, so always work carefully.
Materials Needed
- Steel or metal drum (for furnace body)
- Fire bricks or refractory bricks
- High temperature ceramic fiber blanket
- Propane torch or burner
- Steel pipe (for air supply)
- Electric or manual blower
- Metal mesh or grate
- Heat-resistant gloves and safety goggles
- Sand or clay (for insulation)
- Metal container for melting steel
Step-by-step Construction
First, prepare the metal drum by cleaning it and removing any paint. Line the inside with fire bricks to hold heat. Place the ceramic fiber blanket over the bricks for extra insulation.
Next, cut a hole near the bottom side of the drum to fit the steel pipe. This pipe will supply air to the burner. Attach the blower to the pipe to push air inside.
- Place the metal mesh inside the drum to hold the steel container.
- Set up the propane burner under the mesh.
- Connect the blower and propane torch.
- Light the burner and adjust air flow for a strong flame.
- Put the steel pieces inside the container to melt.
- Wear safety gloves and goggles while operating.
| Part | Purpose |
| Metal Drum | Furnace body and structure |
| Fire Bricks | Heat retention and insulation |
| Ceramic Fiber Blanket | Extra heat insulation |
| Steel Pipe | Air supply to burner |
| Blower | Pushes air into furnace |
| Propane Torch | Provides heat for melting |
| Metal Mesh | Holds steel container |
Preparing Steel For Melting
Melting steel at home requires careful preparation. Proper handling ensures the process is safe and efficient.
Let's explore how to prepare steel for melting by cleaning, cutting, and loading the furnace.
Cleaning And Cutting Steel
Before melting, steel must be cleaned to remove impurities. This step is crucial for a smooth melting process.
- Remove rust using a wire brush.
- Use a degreaser to clean oil or dirt.
- Rinse steel with water and let it dry.
After cleaning, cutting steel into smaller pieces helps it fit into the furnace better.
Loading The Furnace
Loading the furnace correctly is vital for effective melting. Ensure the furnace is ready to handle the steel load.
Always wear protective gear when handling the furnace:
- Heat-resistant gloves
- Safety goggles
- Fireproof apron
| Furnace Type | Ideal Temperature |
| Electric Arc | 3500°F |
| Induction | 3000°F |
| Crucible | 2800°F |
Properly loaded furnaces ensure steel melts uniformly. Follow these guidelines for safe and efficient melting.
Melting Process
Melting steel at home for casting requires careful preparation. Understanding the process ensures safety and efficiency.
Follow these steps to successfully melt steel in a home setup. Use appropriate equipment for best results.
Igniting The Furnace
To begin melting steel, the furnace must be ignited properly. Ensure all safety measures are in place before lighting.
- Gather necessary safety gear like gloves and goggles.
- Check the furnace for any blockages or issues.
- Use a reliable fuel source to ignite the furnace.
Controlling Temperature
Maintaining the right temperature is crucial for melting steel. Use a thermometer to monitor the heat levels.
Monitoring The Melt
Once the steel begins to melt, it's important to monitor the process closely. This helps achieve a smooth melt for casting.
| Stage | Action |
| Initial Melt | Stir occasionally to ensure even melting |
| Complete Melt | Check for impurities and remove them |
| Pouring | Carefully pour into molds at a steady pace |
Pouring Molten Steel
Pouring molten steel requires care and the right tools. The process shapes the steel into useful forms. Safety and preparation are very important.
This guide covers how to pick the best molds and pour steel safely at home.
Choosing Molds
Select molds made from materials that can handle high heat. Common choices include cast iron, steel, or special sand molds.
- Metal molds give a smooth surface but cool steel fast.
- Sand molds are cheap and shape steel easily.
- Clay molds can hold complex shapes but may crack.
- Make sure molds are dry to avoid steam and explosions.
Safe Pouring Techniques
Wear protective gear like gloves, face shields, and long sleeves. Pour slowly to avoid splashes and spills.
| Safety Item | Purpose |
| Heat-resistant gloves | Protect hands from burns |
| Face shield | Protect face from sparks |
| Long sleeves and pants | Shield skin from heat |
| Closed-toe boots | Guard feet from hot metal |
| Fire extinguisher | Handle emergencies fast |
Keep your work area clear and have a plan for spills. Use tongs or ladles made for molten metal to hold the crucible steadily.
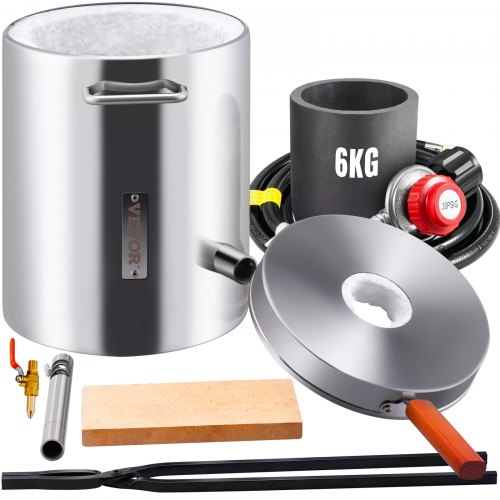
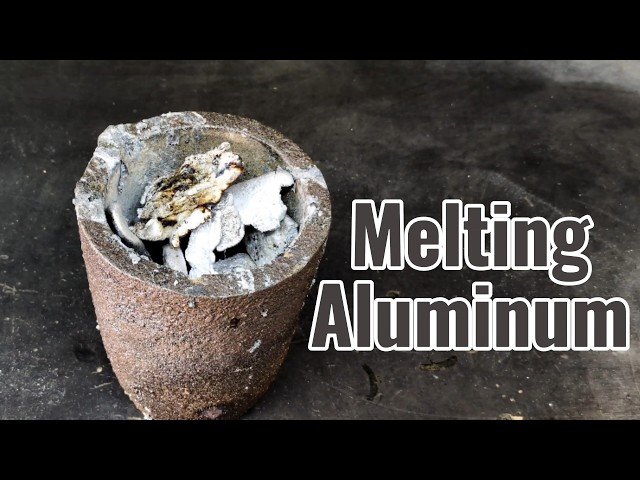
Credit: www.vevor.ca
Cooling And Finishing
After melting steel for casting at home, cooling and finishing are key steps. Proper cooling prevents cracks and weak spots. Finishing improves the look and durability of your casting.
Follow safe methods to cool steel and clean your castings well. This helps you get strong and smooth results for your projects.
Cooling Times And Methods
Cooling time depends on the size and shape of the casting. Larger pieces take longer to cool. Cooling too fast can cause cracks or warping.
- Let small castings cool at room temperature for 1 to 2 hours.
- Use sand or vermiculite to cover the casting and slow cooling.
- Large castings may need 12 to 24 hours to cool completely.
- Do not cool steel castings in water or oil quickly; this can cause damage.
- Use a furnace or insulated box to control cooling speed if possible.
Cleaning And Polishing Castings
Cleaning removes sand, scale, and other residues after casting. Polishing gives a smooth and shiny finish to the steel surface.
| Cleaning Method | Description | Tools Needed |
|---|---|---|
| Sandblasting | Removes surface sand and scale quickly. | Sandblaster, protective gear |
| Wire Brushing | Cleans small areas and removes rust. | Wire brush, power drill |
| Grinding | Smooths rough edges and surface bumps. | Angle grinder, grinding discs |
| Polishing | Gives a shiny finish to the steel. | Polishing wheel, buffing compound |
Troubleshooting Common Issues
Melting steel at home for casting can be tricky. You may face problems that affect your results.
Understanding common issues helps you fix them quickly. This guide covers impurities and cracks.
Dealing With Impurities
Impurities in steel cause weak spots and poor casting quality. They come from dirt, rust, or leftover materials.
Remove impurities by cleaning steel pieces before melting. Use a wire brush or sandpaper to clean the metal.
- Sort out any rusted or dirty parts.
- Use a flux to help remove slag and non-metal materials.
- Skim off impurities that float on the molten steel surface.
- Keep your melting area clean to avoid contamination.
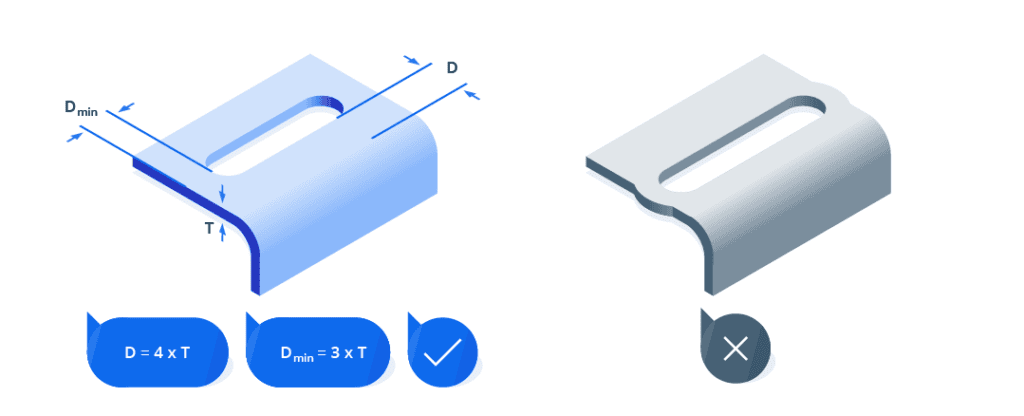
Preventing Cracks And Defects
Cracks and defects happen if the steel cools too fast or is unevenly heated. This weakens your cast object.
Control cooling by letting the cast cool slowly and evenly. Avoid moving the mold during cooling.
- Preheat the mold to reduce temperature shock.
- Pour molten steel steadily to avoid air pockets.
- Use proper mold materials that handle heat well.
- Check your furnace temperature to keep it stable.

Credit: www.reliance-foundry.com
Frequently Asked Questions
How Do I Safely Melt Steel At Home?
Use a high-temperature furnace or propane torch designed for metals. Wear protective gear like gloves, goggles, and a mask. Work in a well-ventilated area away from flammable materials. Follow safety guidelines strictly to avoid burns or inhalation of harmful fumes.
What Tools Are Needed For Home Steel Melting?
You need a crucible, furnace or torch, tongs, and a mold. A propane or electric furnace is ideal for reaching steel’s melting point. Protective gear like heat-resistant gloves and eye protection is essential for safety during the process.
What Temperature Is Required To Melt Steel?
Steel melts at approximately 1370°C to 1510°C (2500°F to 2750°F). Achieving this requires a high-temperature furnace or specialized torch. Consistent heat is critical to fully melt steel for casting. Use a reliable thermometer to monitor temperatures accurately.
Can I Melt Steel Without Professional Equipment?
Melting steel without professional tools is risky and difficult. High temperatures and precise control are needed, which typical home tools lack. Using makeshift equipment can be dangerous and ineffective. Investing in proper equipment ensures safer and better casting results.
Conclusion
Melting steel at home can be safe with the right tools and care. Always wear protective gear and work in a well-ventilated area. Control the heat to avoid accidents and get better results. Practice makes the process easier and more precise.
Remember, patience is key for good casting. Follow these steps, and you can create your own steel castings. Enjoy the craft and stay safe throughout.