Are you ready to transform your space with a touch of natural warmth and style? Making wood wall panels yourself is easier than you might think, and the results can completely change the look and feel of any room.
Imagine creating a stunning feature wall that reflects your personality and craftsmanship, without spending a fortune. In this guide, you’ll discover simple steps and insider tips to help you craft beautiful wood panels that fit your style perfectly. Keep reading, and you’ll soon have everything you need to bring a cozy, elegant vibe to your home.
Choosing The Right Wood
Wood wall panels add warmth and style to any room. Picking the right wood is key for a good look and lasting quality.
Different wood types have unique colors, grains, and strengths. Think about your room’s style and use before choosing.
Types Of Wood For Panels
Wood panels come in many types. Each type offers different looks and feels. Common woods include pine, oak, and cedar.
- Pine:Soft, light-colored, easy to work with.
- Oak:Hard, strong, with a rich grain pattern.
- Cedar:Naturally resistant to insects and moisture.
- Maple:Smooth texture and light color.
- Walnut:Dark, elegant wood with unique grain.
Wood Quality And Durability
Good wood for panels stays strong over time. Look for wood without cracks or knots that may weaken it.
Hardwoods last longer and handle wear well. Softwoods are easier to cut but may dent more easily.
- Check for dry wood with no warping.
- Choose hardwood for high-traffic areas.
- Softwood works well for decorative panels.
- Consider wood treated against moisture for bathrooms.
Sustainable Wood Options
Using sustainable wood helps protect forests. Look for wood certified by trusted organizations.
Reclaimed wood is another eco-friendly choice. It gives a unique look and reduces waste.
- FSC-certified wood meets high sustainability standards.
- Reclaimed wood saves resources and adds character.
- Bamboo panels grow fast and renew quickly.
- Choose local wood to reduce transportation impact.
Tools And Materials Needed
Making wood wall panels needs the right tools and materials. This guide covers what you need for the project.
Having everything ready helps you work fast and clean. Safety gear is important too.
Essential Tools List
- Measuring tape for accurate cuts
- Level to keep panels straight
- Circular saw or miter saw for cutting wood
- Power drill with screwdriver bits
- Hammer for nailing pieces together
- Clamps to hold wood while gluing
- Sandpaper or electric sander for smooth surfaces
- Stud finder to locate wall studs
Wood Finishes And Sealants
| Finish Type | Description | Purpose |
| Wood Stain | Penetrates wood to add color | Enhances grain and color |
| Varnish | Clear protective coating | Protects from scratches and moisture |
| Polyurethane | Durable finish, water resistant | Protects wood from wear |
| Wood Oil | Natural oil finish | Moisturizes and protects wood |
Choose the right finish based on the look and protection you want. Always apply sealants in a well-ventilated area.
Safety Gear
Protect yourself with proper safety gear. This keeps you safe from dust, sharp tools, and loud noises.
- Safety glasses to protect your eyes
- Dust mask or respirator for sawdust
- Ear protection like earplugs or earmuffs
- Work gloves to avoid splinters and cuts
- Proper clothing to cover arms and legs
Preparing The Wall Surface
Before installing wood wall panels, prepare the wall carefully. A smooth, clean surface helps panels stick and look better.
Take time to fix any damage and measure properly. This makes the installation easier and the finish neat.
Cleaning And Repairing
Start by cleaning the wall to remove dust, dirt, and grease. Use a mild detergent and water for best results.
- Wipe the wall with a damp cloth or sponge
- Remove any loose paint or wallpaper
- Fill holes and cracks with spackle or filler
- Sand the repaired spots smooth after drying
- Let the wall dry completely before moving on
Measuring And Marking
Measure the wall to know how many panels you need. Mark guidelines lightly on the wall to keep panels straight.
| Measurement | Purpose | Tool |
| Width and height of wall | Calculate panel quantity | Tape measure |
| Level line at bottom | Keep panels even | Level and pencil |
| Stud locations | Fix panels securely | Stud finder |
Priming The Wall
Apply primer to create a good base for the wood panels. Primer helps the panels stick and prevents moisture damage.
- Choose a primer suitable for your wall type
- Use a brush or roller for even coverage
- Allow the primer to dry fully before panel installation
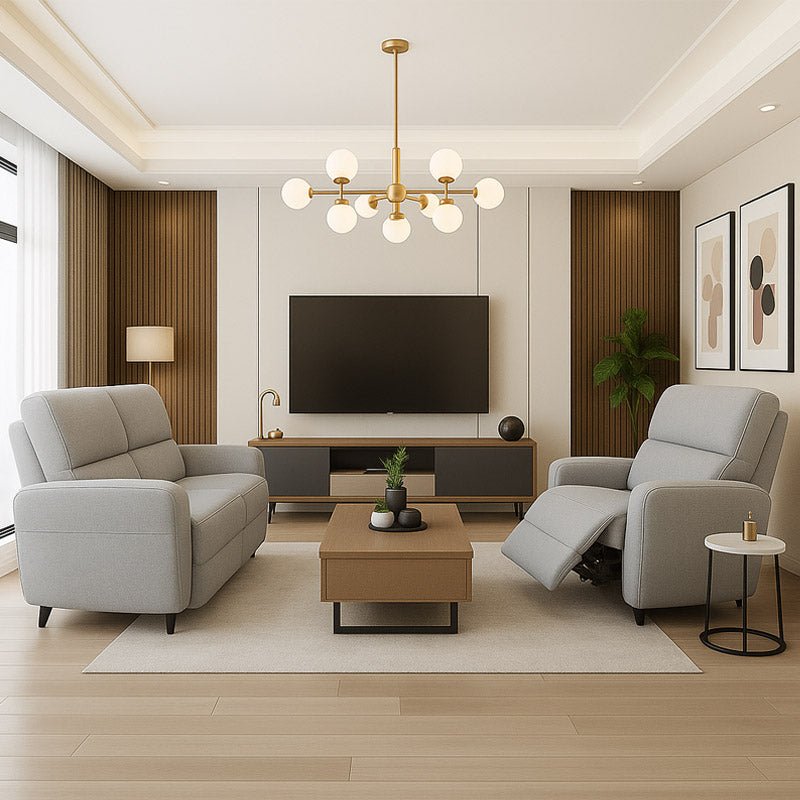
Credit: sabrinasorganizing.com
Cutting And Designing Panels
Wood wall panels add warmth and style to any room. Cutting and designing these panels takes care and planning.
This guide covers measuring wood pieces, cutting techniques, and how to create patterns and layouts for panels.
Measuring Wood Pieces
Start by measuring the wall area where you will place the panels. Measure both width and height accurately.
Mark your wood pieces based on these measurements. Double-check all marks to avoid mistakes.
- Use a tape measure for precise length
- Mark cuts with a pencil and straight edge
- Measure twice before cutting
Cutting Techniques
Choose the right saw for your wood type and thickness. Common tools include a circular saw, miter saw, and jigsaw.
Cut slowly and steadily to avoid splinters. Always wear safety gear like goggles and gloves.
- Use a straight edge guide for clean cuts
- Cut along the marked lines carefully
- Sand edges after cutting for smoothness
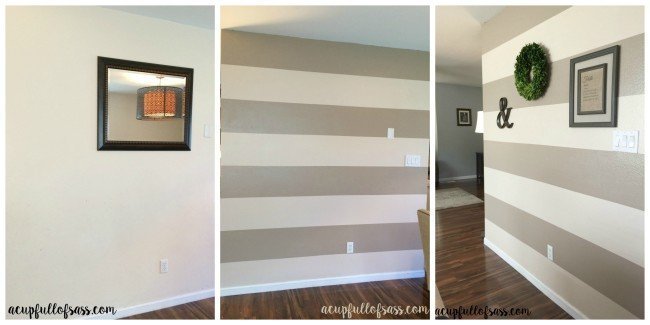
Creating Patterns And Layouts
Design your panel layout before attaching pieces to the wall. Patterns can be simple or complex based on your style.
Lay out the wood pieces on the floor to see how they fit. Adjust spacing and alignment as needed.
- Try horizontal, vertical, or diagonal panel designs
- Mix wood sizes for a unique look
- Keep consistent gaps between panels for neatness
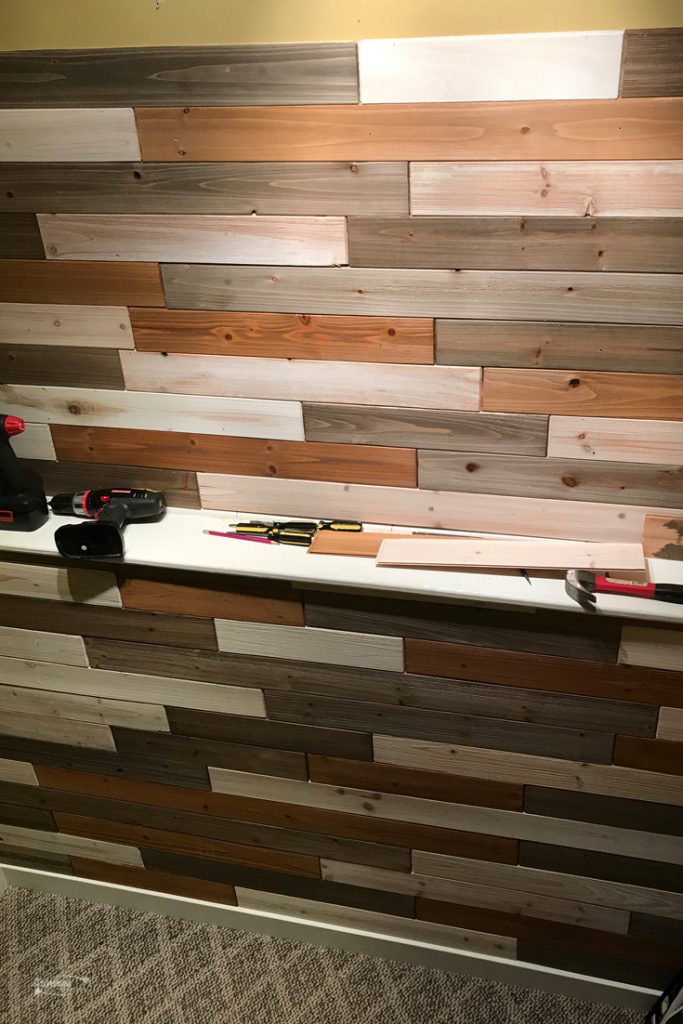
Installing The Panels
Installing wood wall panels adds warmth and style to any room. This step requires care to ensure the panels stay secure and look great.
Follow simple tips to place panels correctly and keep them aligned. Choose the best fastening method for your project.
Adhesives Vs. Nails
Adhesives stick panels to walls without damage. Nails hold panels firmly but leave small holes.
Use adhesive for smooth walls and less mess. Choose nails for stronger hold on uneven surfaces.
- Adhesives: easy to clean, no holes, good for drywall
- Nails: strong hold, quick to install, better for wood studs
- Combine both for extra security
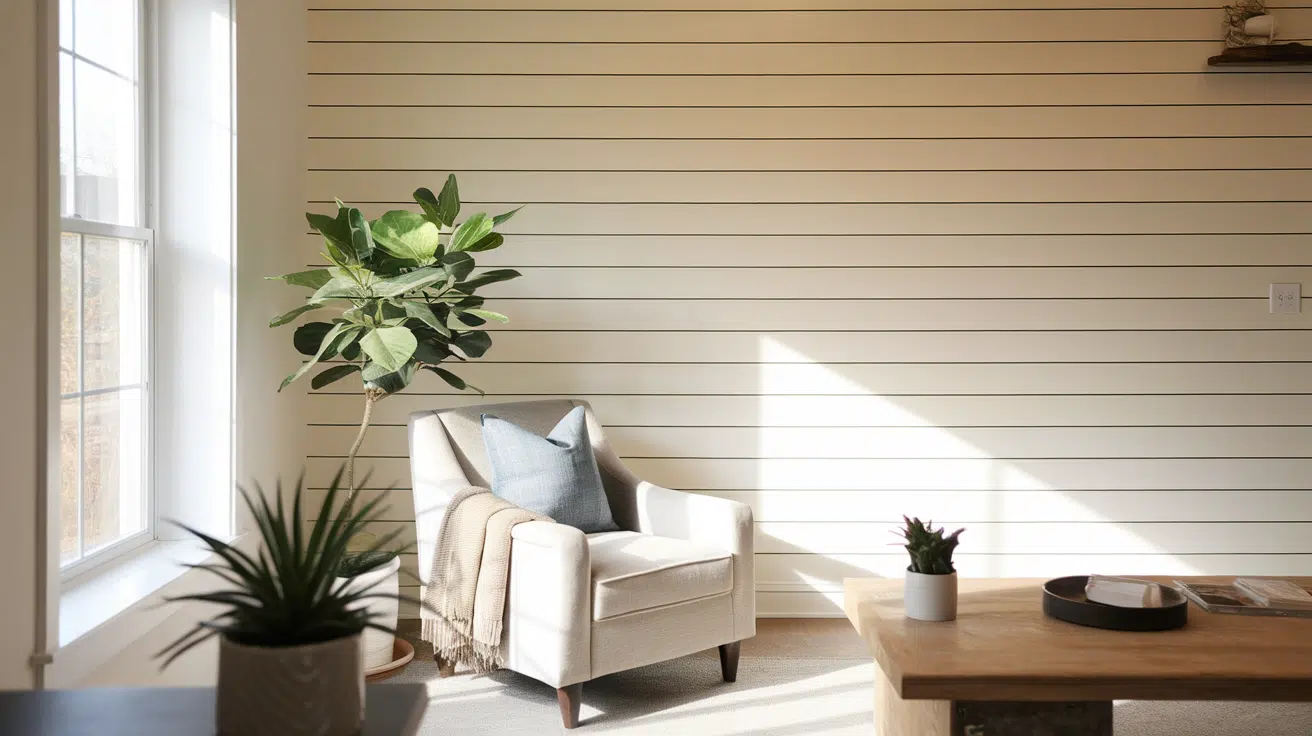
Panel Placement Tips
Start from one corner and work across the wall. This keeps panels straight and easier to fit.
Leave a small gap between panels for wood expansion. Avoid placing panels near heat or moisture sources.
- Measure the wall and cut panels to fit
- Place panels vertically or horizontally for style
- Use spacers to keep gaps even
- Check for wall obstructions like outlets
Ensuring Level And Alignment
Use a level tool to keep panels straight. Check each panel before fixing it in place.
Align panel edges carefully to avoid gaps or overlaps. Adjust as needed before final fastening.
- Mark a level line on the wall as a guide
- Place the first panel on the line to set alignment
- Check each panel with a level before attaching
- Fix panels firmly to prevent movement

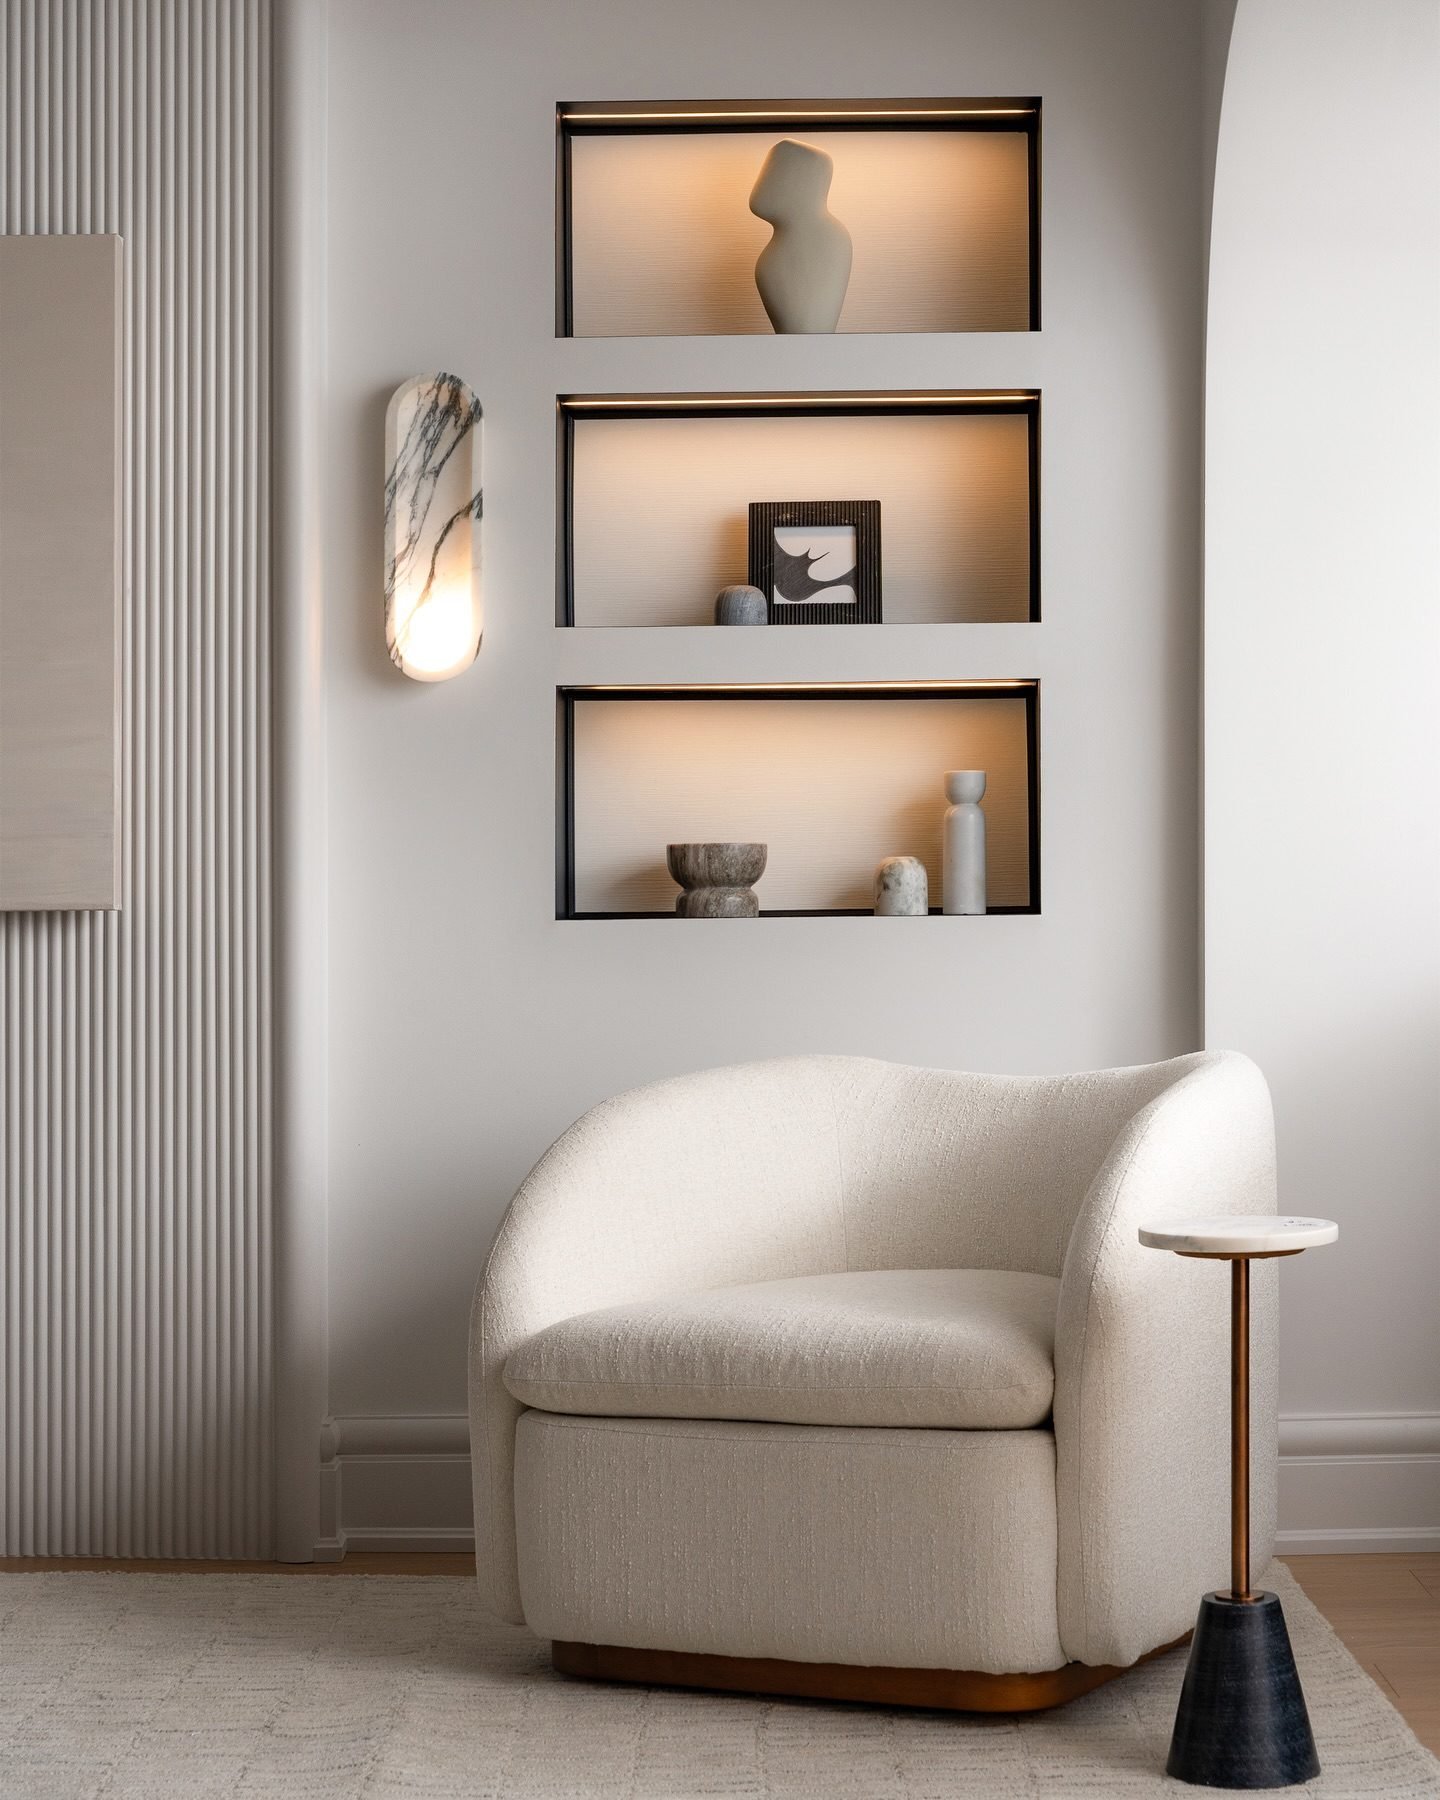
Credit: www.naturewall.com
Finishing Touches
Finishing touches make wood wall panels look beautiful. They also protect the wood from damage.
Learn how to sand, stain, and seal wood panels. These steps add value and beauty to your walls.
Sanding And Smoothing
Sanding makes wood surfaces smooth. It removes rough spots and splinters. Use sandpaper to smooth the wood.
Start with coarse sandpaper. Then use fine sandpaper for a smooth finish. Always sand in the direction of the wood grain.
- Wear a mask to protect from dust
- Use an electric sander for large areas
- Check for smoothness by touch
Applying Stain Or Paint
Staining adds color to wood without covering its texture. Paint offers a solid color finish. Choose based on your style.
Apply stain with a brush or cloth. Paint can be applied with a roller. Let each layer dry before adding more.
- Test stain or paint on a small area first
- Use long, even strokes
- Apply multiple coats for deeper color
Sealing For Protection
Sealant protects wood from moisture and stains. It keeps the finish looking fresh. Use a clear sealant for natural wood appearance.
Brush or spray the sealant evenly. Allow it to dry completely before touching the surface. Reapply sealant every few years.
- Use a sealant suitable for indoor use
- Check the label for drying time
- Seal edges and corners well
Maintenance And Care
Wood wall panels can add warmth and elegance to any room. To keep them looking their best, regular maintenance and care are essential.
Proper care ensures your wood panels remain beautiful and durable for years. Simple cleaning, repairing, and preservation steps can make a big difference.
Cleaning Tips
Cleaning your wood wall panels regularly helps maintain their appearance. Use gentle methods to avoid damaging the wood finish.
- Dust panels with a soft cloth weekly
- Avoid harsh chemicals; use mild soap and water
- Dry the panels immediately to prevent water damage
Repairing Minor Damage
Minor scratches and dents can occur over time. Repairing them promptly helps maintain the wood's beauty.
For small scratches, use a wood marker or crayon in a matching color. For dents, a damp cloth and iron can work wonders.
Long-term Preservation
Preserving your wood panels ensures they stay beautiful. Regular care and protection from elements is key.
Consider applying a wood polish or wax every few months. Keep panels away from direct sunlight and moisture for best results.

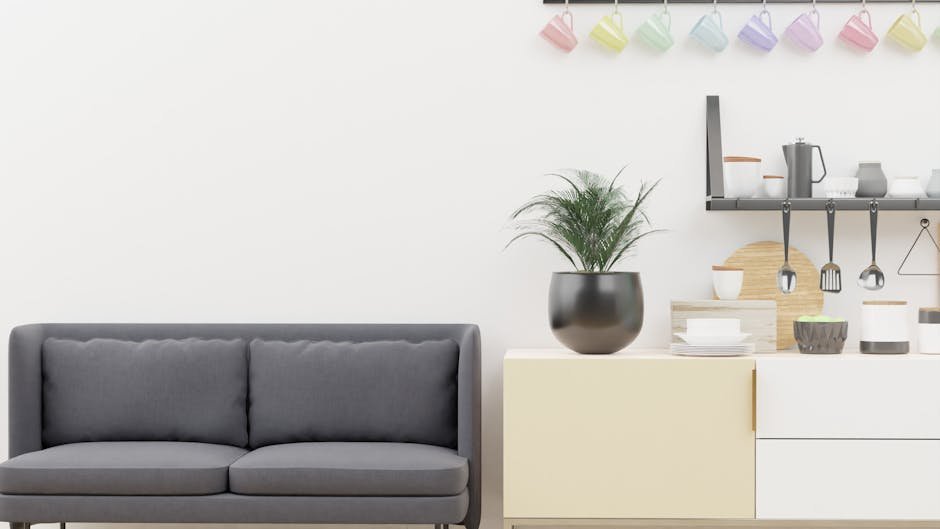
Credit: enthrallinggumption.com
Frequently Asked Questions
What Materials Are Needed For Wood Wall Panels?
You need wood planks, nails or screws, a measuring tape, a saw, sandpaper, and wood finish. Choose quality wood like pine or oak for durability and aesthetics. Proper tools ensure precise cuts and secure installation.
How Do You Prepare Walls For Wood Paneling?
Clean the wall surface thoroughly and remove any wallpaper or loose paint. Repair any holes or cracks. Use a level to mark guidelines for panel placement. Proper preparation ensures panels adhere well and look professional.
Can Wood Wall Panels Be Installed Over Drywall?
Yes, wood panels can be installed directly over drywall. Use adhesive or nails to secure panels. Ensure drywall is clean, dry, and sturdy to support the panels. This method saves time and avoids removing existing walls.
How Do You Maintain And Clean Wood Wall Panels?
Dust panels regularly with a soft cloth or duster to prevent buildup. Use a damp cloth with mild soap for deeper cleaning. Avoid harsh chemicals and excessive water to protect the wood finish and prolong panel life.
Conclusion
Wood wall panels bring warmth and style to any room. You can create them with simple tools and steps. Choose the right wood and finish for your space. Take your time to measure and cut carefully. Installing panels can change your room’s look quickly.
Enjoy the satisfaction of making something with your hands. Try this project to add charm to your home. Wood panels offer a natural, cozy feeling everyone will love. Give your walls a fresh, unique touch today.