

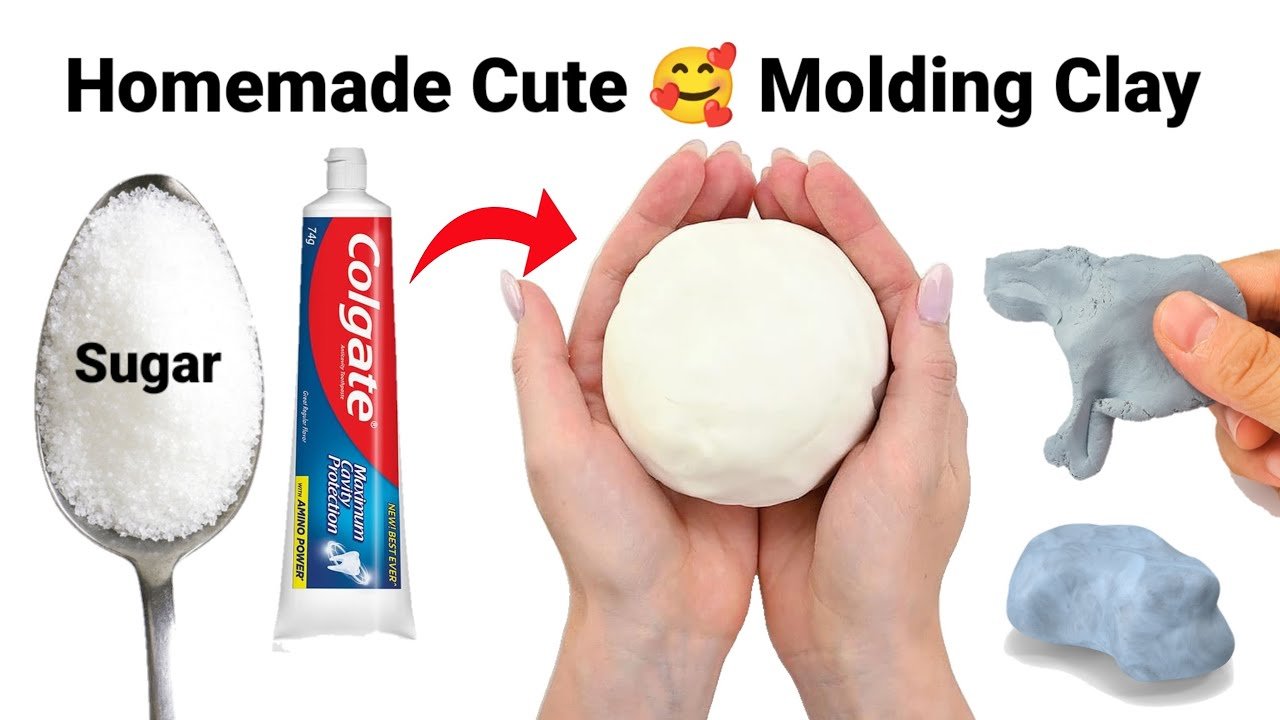
Have you ever wanted to create your own natural clay right at home? Making clay yourself is easier than you think, and it gives you a unique, hands-on experience that store-bought options just can’t match.
Imagine shaping your ideas with a material you made from scratch—pure, safe, and completely natural. In this guide, you’ll learn simple steps to turn everyday ingredients into soft, moldable clay. Keep reading, and you’ll discover how fun and satisfying it is to craft your own natural clay today!
Materials Needed
Making natural clay at home is simple and fun. You only need a few materials to start.
Gathering the right ingredients helps you create clay that is soft and easy to shape.
Essential Ingredients
These core materials form the base of your natural clay. Each one plays an important role.
- Natural soil or fine dirt (free from stones)
- Water (clean and at room temperature)
- Flour (all-purpose works well)
- Salt (to help preserve the clay)
Optional Additives
You can add these to improve texture, color, or smell. They are not required but can enhance your clay.
| Additive | Purpose |
| Vegetable oil | Makes clay smoother and less sticky |
| Food coloring | Adds color to your clay |
| Essential oils | Gives a pleasant scent |
| White glue | Increases clay strength |

Preparing The Workspace
Making natural clay at home needs a clean and organized workspace. This helps you work safely and easily.
Setting up the right area makes the clay-making process smooth. It also protects your home from mess.
Choosing A Suitable Area
Pick a space with good ventilation. Fresh air helps when mixing materials.
Choose a flat surface that is easy to clean. Avoid carpeted areas to prevent stains.
- Use a kitchen table or a workbench
- Protect the surface with plastic or old newspapers
- Work near a sink for easy cleaning
- Ensure there is enough light to see details
Gathering Tools
Collect all tools before starting. This saves time and keeps your work organized.
Use simple tools that are easy to clean after use. This helps keep your workspace tidy.
- Mixing bowl or container
- Spoons or spatulas for stirring
- Measuring cups for accuracy
- Plastic gloves to protect hands
- Old towels or cloths for spills
- A container to store the clay
Step-by-step Clay Recipe
Making natural clay at home is easy and fun. You only need a few simple ingredients.
This guide will show you how to mix and prepare your own clay for crafts or play.
Mixing Dry Ingredients
Start by gathering your dry ingredients. You will need flour, salt, and baking soda.
Combine these in a large bowl. Mix them well so the ingredients blend evenly.
- 2 cups of all-purpose flour
- 1 cup of salt
- 2 tablespoons of baking soda
Adding Water Gradually
Slowly pour warm water into the dry mix. Add a little at a time to avoid lumps.
Stir continuously as you add water. The mixture should start to form a dough.
- Use about 1.5 cups of warm water
- Add water slowly for better control
- Stir well to mix water and dry ingredients
Kneading The Dough
Once the dough forms, transfer it to a clean surface. Begin kneading with your hands.
Knead for 5 to 10 minutes. The dough should become smooth and elastic.
- Press and fold the dough repeatedly
- If sticky, sprinkle a little flour
- Stop kneading when dough feels soft and stretchy

Tips For Perfect Clay Texture
Making natural clay at home requires careful attention to texture. The right texture helps your clay hold shape and dry evenly.
Two key factors affect clay texture: consistency and cracking. Adjusting these can improve your clay’s quality.
Adjusting Consistency
Clay consistency is vital for easy shaping and durability. If the clay is too dry, it will crumble. Too wet, and it becomes sticky and hard to work with.
- Add small amounts of water to dry clay to soften it.
- Mix in dry flour or cornstarch if the clay is too wet.
- Knead the clay well to blend moisture evenly.
- Test the clay by rolling it into a ball; it should not crack or stick excessively.
Preventing Cracks
Cracks appear when clay dries too fast or unevenly. Controlling drying speed helps keep clay smooth and strong.
| Cause | Solution |
| Dry air | Cover clay with a damp cloth |
| Thick clay pieces | Make thinner or hollow shapes |
| Uneven drying | Turn clay pieces regularly |
| Low moisture content | Store clay wrapped in plastic |
Storing Your Homemade Clay
Making natural clay at home is fun and easy. Storing it properly keeps it soft and ready to use. You need different methods for short and long storage times.
This guide helps you save your clay without drying it out or losing its texture. Follow these tips to keep your clay fresh.
Short-term Storage
For short-term use, keep your clay moist and covered. This stops it from drying out or cracking.
- Wrap the clay tightly in plastic wrap or a plastic bag.
- Store it in an airtight container to keep moisture in.
- Keep the container in a cool place, away from sunlight.
- If the clay feels dry, add a little water and knead it well.
- Check the clay every few days to keep it soft and pliable.
Long-term Preservation
To save clay for a long time, you must keep it from drying and prevent mold. Freezing is a good option.
| Storage Method | How to Store | Duration | Notes |
| Refrigeration | Wrap in plastic and place in airtight container | Up to 2 weeks | Check moisture and add water if needed |
| Freezing | Wrap tightly, then place in freezer-safe bag | Up to 3 months | Thaw slowly before use |
| Dry Storage | Shape clay into thin slabs and air dry | Indefinite (hard clay) | Not usable as soft clay |

Creative Uses For Natural Clay
Natural clay is a versatile material you can easily make at home. It offers endless possibilities for creativity and learning. Here are some fun ways to use your homemade clay.
Craft Projects
Clay is perfect for making unique crafts. You can create beautiful art pieces with your hands. It is a fun way to express your creativity.
- Make clay beads for jewelry
- Create small clay pots for plants
- Design custom ornaments for holidays
- Sculpt figures of animals or people
Educational Activities
Using natural clay in educational activities helps children learn. It is a tactile experience that enhances understanding. Kids can explore different concepts in a hands-on way.
- Learn geometry by forming shapes
- Explore textures by imprinting objects
- Understand measurements by making clay scales
- Study history by crafting ancient pottery replicas
Frequently Asked Questions
What Ingredients Are Needed To Make Natural Clay At Home?
To make natural clay, you need soil rich in clay, water, and sometimes sand. These ingredients mix to form a pliable, moldable material ideal for crafts and pottery.
How Long Does It Take For Homemade Clay To Dry?
Homemade natural clay typically takes 24 to 48 hours to dry, depending on thickness. Thinner pieces dry faster, while thicker ones require more time to harden completely.
Can Natural Clay Be Reused After Drying?
Natural clay cannot be reused once fully dried as it hardens permanently. However, partially dried clay can be rehydrated with water and reshaped for reuse.
Is Homemade Natural Clay Safe For Children?
Yes, homemade natural clay is safe for children if made with non-toxic soil and clean water. It contains no harmful chemicals, making it ideal for kids’ crafts.
Conclusion
Making natural clay at home is simple and fun. You only need a few basic ingredients. This process saves money and lets you create unique crafts. Natural clay is safe and eco-friendly. Try making your own clay and enjoy the creative process.
Practice helps you improve your skills every time. Start small, experiment, and watch your ideas take shape. Handmade clay projects bring joy and satisfaction. Give it a try today and see what you can create!






