Have you ever wanted to create your own unique plates right at home? Making clay plates is easier than you think, and it’s a fun way to add a personal touch to your dining table.
Imagine holding a plate you crafted with your own hands—a piece that’s truly one of a kind. In this guide, you’ll learn simple steps to shape, design, and finish beautiful clay plates without needing any special tools. Ready to surprise yourself with your creativity?
Keep reading, and you’ll be making stunning clay plates in no time!

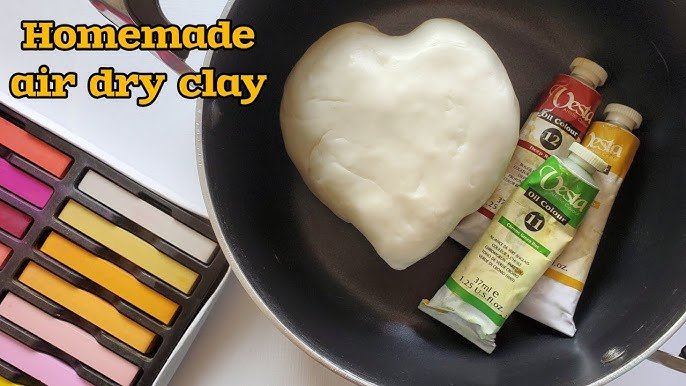
Credit: m.youtube.com
Choosing The Right Clay
Making clay plates at home needs the right kind of clay. The clay affects how strong and smooth your plates will be.
Different clays work better for different plate styles. Picking the right clay helps your plates last longer and look nice.
Types Of Clay For Plates
There are many types of clay you can use for making plates. Some are soft, and some are hard after baking.
Here are common clay types for plates:
- Earthenware Clay:Easy to shape but less strong. Needs glazing to be waterproof.
- Stoneware Clay:Strong and durable. Good for everyday plates and safe for food use.
- Porcelain Clay:Smooth and fine. It makes thin, elegant plates but is harder to work with.
- Polymer Clay:A type of air-dry clay. Not as strong as others but easy for beginners.
Where To Buy Clay
You can buy clay for plates at craft stores or online shops. Many stores sell clay in small or large amounts.
Look for clay that says it is safe for food use if you plan to eat from your plates.
- Local art supply stores
- Online craft retailers
- Specialty pottery supply shops
- Some big box stores with craft sections
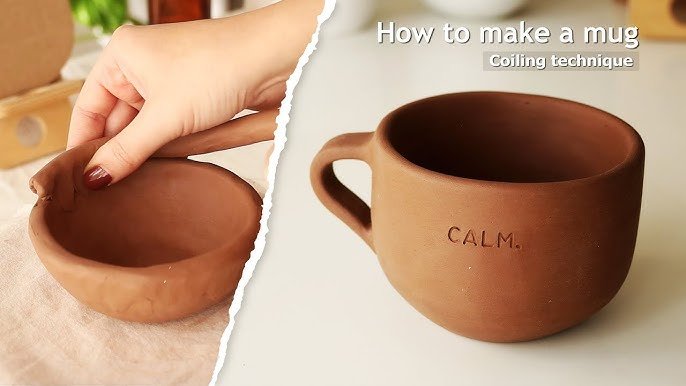
Credit: potterycrafters.com
Gathering Your Tools
Making clay plates at home is fun and easy. Before you start, you need the right tools. These tools help you shape and decorate your clay plates well.
Gathering all tools first saves time and makes the process smooth. Let’s look at the tools you need for shaping and decorating your clay plates.
Essential Tools For Shaping
These tools help you form the plate’s shape and smooth its surface. You can find most of these at craft stores or use household items.
- Clay – choose air-dry or oven-bake clay
- Rolling pin – for flattening the clay evenly
- Clay cutter or knife – to cut shapes cleanly
- Smooth board or mat – to work on without sticking
- Water spray bottle – to keep clay moist and workable
- Sponge – to smooth rough edges and surfaces
Optional Tools For Decoration
These tools help add patterns and color to your plates. You can decorate simply or with detailed designs.
| Tool | Use |
| Paintbrushes | Apply paint or glaze |
| Stamps | Create repeated patterns |
| Toothpicks | Draw fine lines or dots |
| Texture tools | Add surface details |
| Acrylic paints | Color your finished plate |
| Sealant spray | Protect your decoration |
Preparing The Clay
Preparing the clay properly is important to make strong and smooth plates. This process helps the clay become easy to shape and prevents problems while drying or firing.
Two key steps in preparing clay are conditioning and kneading, and preventing air bubbles. Each step helps ensure your clay is ready for crafting.
Conditioning And Kneading
Conditioning softens the clay and makes it flexible. Kneading helps mix the clay evenly and removes stiffness. This step is needed before shaping your plate.
- Cut the clay into smaller pieces for easier handling.
- Press and fold the clay repeatedly to make it soft.
- Keep kneading until the clay feels smooth and even in texture.
- Check that the clay does not crack or break while kneading.
Preventing Air Bubbles
Air bubbles can cause cracks or breakage during firing. Removing these bubbles is necessary for a strong plate. Use careful techniques to avoid trapping air.
| Technique | How to Do It |
| Punching Down | Push the clay down firmly to force air out. |
| Rolling | Roll clay into a log shape and fold it back repeatedly. |
| Slamming | Lift and slap the clay on a hard surface to release trapped air. |
| Pinching | Pinch and squeeze clay with fingers to remove small bubbles. |
Shaping Your Plate
Shaping your clay plate is an important step in making it look nice and strong. You will work the clay to get the right form before it dries.
This guide will help you shape your plate by rolling the clay, forming the base and edges, and using molds or templates for a clean shape.
Rolling Out Clay
Start by rolling out the clay evenly on a flat surface. This helps create a smooth and flat base for your plate.
- Use a rolling pin to flatten the clay to about 1/4 inch thick.
- Roll the clay evenly to avoid thin spots that can break later.
- Dust the surface lightly with water or cornstarch to prevent sticking.
Forming The Base And Edges
After rolling the clay, cut out a circle for the base. Then gently shape the edges to give the plate depth and form.
| Part | How to Shape |
| Base | Cut a circle using a knife or cutter. |
| Edges | Lift and smooth edges with your fingers or a tool. |
| Smooth Surface | Use a damp sponge to even out the clay. |
Using Molds And Templates
Molds and templates help you shape plates with uniform sizes and clean lines. They make the process easier and faster.
Here are some tips for using molds and templates:
- Press the rolled clay gently into the mold for the plate shape.
- Use templates made of cardboard or plastic to cut exact shapes.
- Check that the clay thickness is even inside the mold or template.
Adding Designs And Details
Adding designs and details makes your clay plates unique. It also gives them a personal touch.
You can use many tools and techniques to decorate your plates. This guide shows two popular ways.
Carving And Texturing
Carving means cutting patterns into the clay surface. Texturing adds small details to create interest.
Use tools like toothpicks, knives, or combs to carve and texture. Press gently to avoid breaking the clay.
- Draw simple shapes or lines with a sharp tool
- Create patterns by pressing objects like leaves or fabric
- Use a comb or fork to add parallel lines or waves
- Work while clay is soft but firm enough to hold shape
Applying Decorative Elements
You can add small clay pieces or use paint to decorate your plate. This makes the design stand out.
Attach small shapes by pressing them gently on the plate’s surface. Use water as glue for better hold.
- Roll small balls or shapes from clay and attach them
- Use slip (watered-down clay) to join pieces firmly
- Paint designs with acrylic or ceramic paint after drying
- Add natural materials like sand for a rustic look
Drying And Firing
Making clay plates at home involves careful drying and firing. Both steps are crucial for strong and durable plates.
Proper drying and firing prevent cracks and ensure the plates last longer. Let's explore these processes.
Air Drying Tips
Air drying is a simple way to prepare clay plates. It requires patience and care.
Ensure your plates dry evenly to avoid warping. This step is crucial for maintaining the shape.
- Place plates on a flat surface
- Rotate plates every day
- Keep plates away from direct sunlight
- Allow them to dry for at least a week
Using A Home Kiln Or Oven
A home kiln or oven helps in the firing process. This step hardens the clay plates.
Firing in a kiln is ideal, but an oven works too. Follow these steps for best results.
- Preheat the kiln or oven to the required temperature
- Place plates carefully inside
- Fire them according to the clay type
- Allow them to cool slowly inside
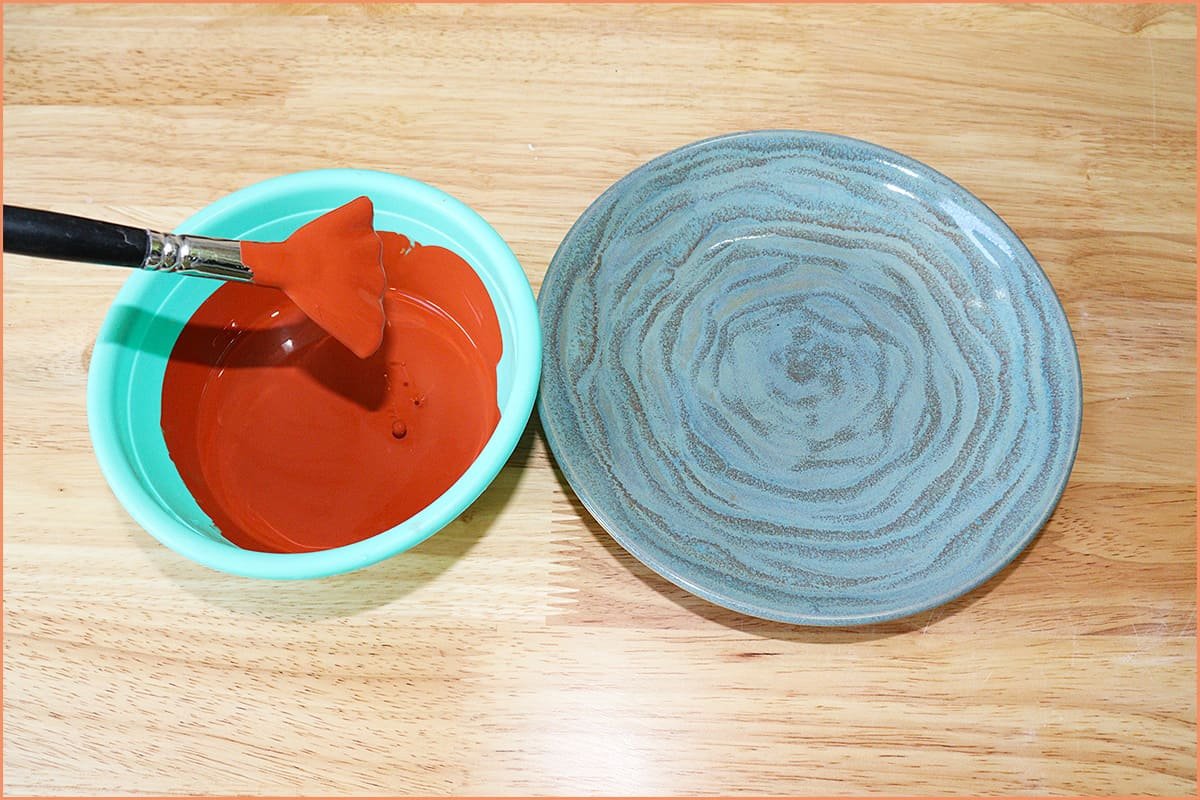
Painting And Glazing
Creating clay plates at home is a fun activity. Painting and glazing give them a unique look. It also protects the plates from damage. Learning how to paint and glaze your clay plates can be enjoyable and rewarding.
Understanding the right paints and glazes is important. It helps in achieving the perfect finish for your clay plates. Safe application methods ensure the best results.
Choosing Paints And Glazes
Picking the right paints and glazes is essential. It affects the final look of your clay plates. You want colors that stay vibrant and glazes that add shine.
- Acrylic paints work well for bright colors
- Underglazes are great for detailed designs
- Clear glazes add a glossy finish
- Food-safe glazes are important for functional plates
Applying Finishes Safely
Applying finishes to your clay plates needs care. Safety is important when using paints and glazes. Proper methods ensure the finish looks good and lasts long.
Wear gloves to protect your hands from chemicals. Ensure good ventilation in your workspace. This helps in avoiding inhaling any fumes.
- Use a mask when working with glazes
- Let the plates dry completely before use
- Follow instructions on paint and glaze labels
Caring For Your Clay Plates
Clay plates made at home need special care to last longer. Proper cleaning and storage keep them safe and pretty.
Follow simple steps to handle your clay plates gently. This helps avoid cracks and damage.
Cleaning Tips
Clean your clay plates with soft tools to protect their surface. Avoid harsh chemicals or strong scrubbing.
Use warm water and mild soap to wash plates. Rinse well and dry with a soft cloth to prevent water spots.
- Use a soft sponge or cloth
- Do not soak plates for too long
- Avoid dishwasher and strong detergents
- Dry plates thoroughly before storing
Handling And Storage
Handle clay plates carefully to avoid chips or cracks. Hold plates with both hands for better support.
Store plates in a dry, cool place. Keep them stacked with soft padding between each plate to stop scratches.
- Do not stack too many plates
- Use felt or cloth between plates
- Avoid places with high humidity
- Keep plates away from direct sunlight

Credit: www.youtube.com
Frequently Asked Questions
How Do You Start Making Clay Plates At Home?
Begin by kneading the clay to remove air bubbles. Roll it evenly to your desired thickness. Cut the shape using a plate mold or freehand. Smooth edges with a damp sponge before drying or firing.
What Materials Are Needed To Make Clay Plates?
You need air-dry or kiln-fired clay, a rolling pin, a plate mold, sculpting tools, and a damp sponge. Optional items include paint and sealant for decoration and protection after drying.
How Long Does It Take For Clay Plates To Dry?
Air-dry clay plates typically take 24 to 72 hours to dry completely. Kiln-fired clay requires drying until leather-hard, then firing in a kiln, which can take several hours.
Can Homemade Clay Plates Be Used For Food?
Yes, if you use food-safe clay and seal the plates with a non-toxic glaze. Avoid using porous or unsealed clay plates for serving food to prevent contamination.
Conclusion
Making clay plates at home is fun and simple. You only need a few tools and some patience. Each plate you create will be unique and special. This craft helps you express creativity and relax. Enjoy decorating your plates with colors or patterns.
Try different shapes and sizes to find your style. Keep practicing to improve your skills. Start today and see how rewarding this art can be. Making your own clay plates brings joy and a sense of pride. Give it a try and enjoy the process.