

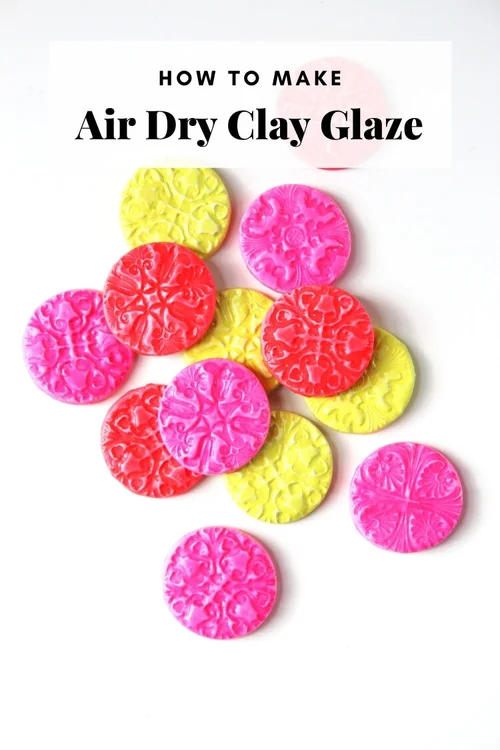
Have you ever wanted to add a personal touch to your pottery by creating your own clay glaze at home? Imagine turning your simple clay creations into vibrant, glossy masterpieces without spending a fortune on expensive materials.
Making clay glaze yourself is easier than you think, and it gives you full control over the colors and finishes. In this guide, you'll discover simple steps to craft beautiful glazes using ingredients you can find right in your kitchen or local store.
Get ready to transform your pottery and impress everyone with your unique style. Keep reading, and you’ll learn how to make your clay pieces truly stand out!
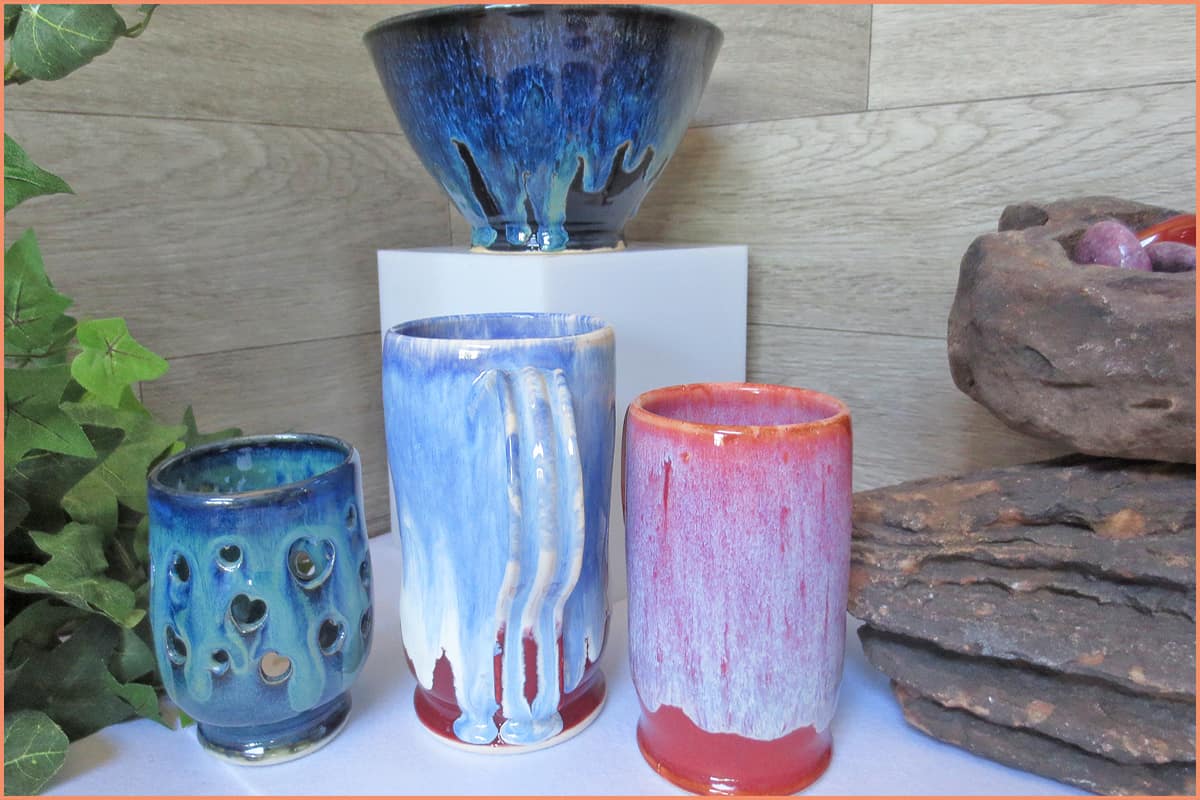
Materials Needed
Making clay glaze at home requires some basic ingredients and tools. These materials help you create a smooth and workable glaze.
Gathering the right items before you start saves time and ensures good results.
Essential Ingredients
You need a few key ingredients to make a simple clay glaze. Each ingredient plays a role in how the glaze looks and feels after firing.
- Clay powder – the base of the glaze
- Silica – helps form glassy surface
- Fluxes (like feldspar or borax) – lower melting temperature
- Alumina – adds strength and durability
- Water – for mixing all ingredients
Tools And Equipment
You will need some tools to mix, measure, and apply the glaze properly. Using the right equipment makes the process easier and cleaner.
| Tool | Use |
| Mixing bowl | To combine ingredients |
| Measuring spoons | For accurate ingredient amounts |
| Scale | To weigh powders precisely |
| Whisk or spoon | For stirring glaze mixture |
| Spray bottle or brush | To apply glaze to clay |
| Protective gloves | To keep hands clean and safe |
Preparing Your Workspace
Making clay glaze at home is a fun and creative activity. Preparing your workspace well helps you work safely and efficiently.
A clean and organized area makes the process easier and keeps your materials safe.
Setting Up A Safe Area
Choose a spot with good ventilation to avoid breathing in dust. Use a table or surface you can clean easily.
Cover your workspace with newspapers or plastic sheets. This protects the surface from stains and spills.
- Work near an open window or use a fan
- Wear a dust mask to avoid inhaling powder
- Keep food and drinks away from your workspace
- Use gloves to protect your hands from chemicals
- Clean spills immediately to prevent accidents
Organizing Supplies
Gather all your materials before starting. Keep them within reach to avoid distractions.
Use containers or trays to sort powders, liquids, and tools separately. Label them for easy identification.
- Clay powders and glaze ingredients
- Measuring spoons and cups
- Mixing bowls and stirrers
- Protective gear like masks and gloves
- Clean water for mixing and cleaning
Basic Clay Glaze Recipe
Making clay glaze at home is a fun and creative process. You can customize the glaze to your liking with simple ingredients.
This guide will walk you through mixing the base and adjusting the consistency of your clay glaze.
Mixing The Base
The base is the foundation of your glaze. You will need a few basic materials to start.
- Clay powder
- Water
- Silica
- Feldspar
Combine these ingredients in a bowl. Stir them until you have a smooth mixture.
Adjusting Consistency
The consistency of your glaze affects its application. You can adjust it to suit your project needs.
Test the glaze on a small piece of clay to ensure it applies smoothly. Adjust as needed until satisfied.
Adding Color And Texture
Clay glaze can change the look of your pottery by adding color and texture. You can use simple ingredients found at home or outside to create beautiful effects.
Understanding natural colorants and how to create textured effects will help you make unique glaze finishes.
Natural Colorants
Natural colorants come from minerals and plants. They add soft, earthy tones to your clay glaze.
- Iron oxide gives red and brown colors.
- Copper carbonate creates green and blue shades.
- Cobalt oxide produces deep blue hues.
- Manganese dioxide results in purple and black tones.
- Charcoal powder can darken the glaze with black speckles.
Mix small amounts of these colorants into your glaze base. Test on a small piece to see the color after firing.
Creating Textured Effects
Texture adds a tactile feel and visual interest to your glazed pottery. You can change the surface by adding different materials or techniques.
| Texture Method | Effect |
| Sand or grog mixed in glaze | Rough, grainy surface |
| Salt sprinkled on wet glaze | Small pits and craters |
| Wax resist on clay | Raised patterns after firing |
| Sponging glaze layers | Varied thickness and texture |
| Sponge or brush marks | Visible strokes and lines |
Try different textures by mixing or applying materials in layers. This lets you create a unique finish on your pottery.
Application Techniques
Applying clay glaze properly affects the final look of your pottery. Different methods give different textures and finishes.
Choosing the right technique depends on the glaze type and the effect you want to create on your ceramic piece.
Brushing And Dipping
Brushing is one of the simplest ways to apply glaze. Use a soft brush and even strokes to cover the surface smoothly.
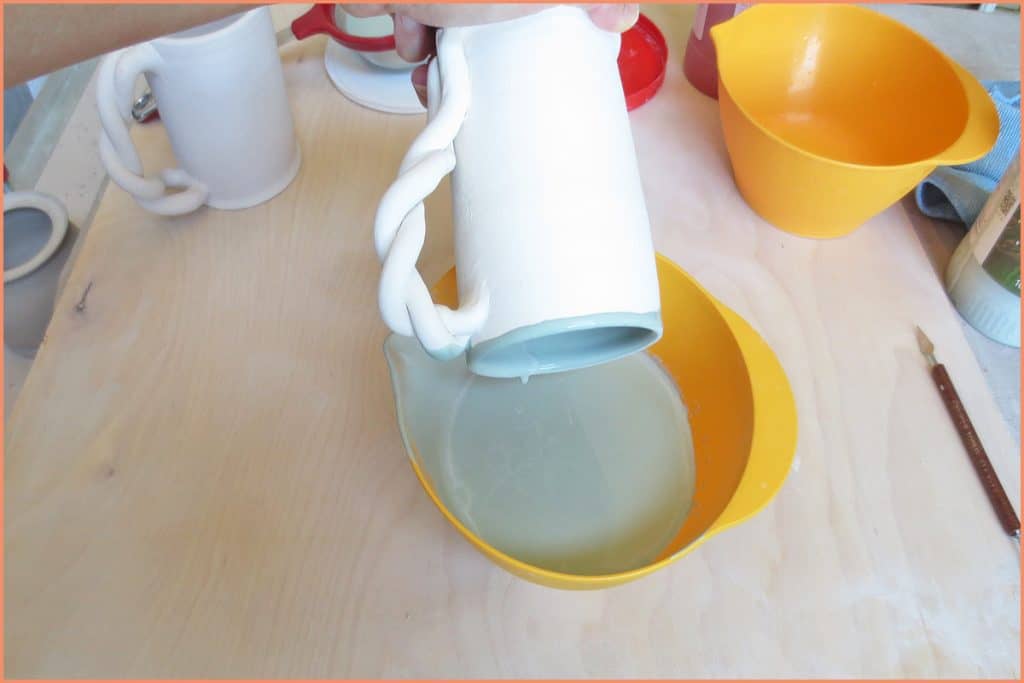
Dipping involves submerging the pottery into the glaze. It creates a thick and even coat on the item.
- Brush small amounts at a time to avoid drips.
- Dip the pottery slowly and evenly for full coverage.
- Allow glaze to dry between coats if multiple layers are needed.
- Clean the pottery bottom to prevent sticking during firing.
Spraying And Sponging
Spraying offers a smooth and uniform glaze layer. Use a spray gun or airbrush for best results.
Sponging can add texture or patterns. Dab glaze gently with a sponge to create unique effects.
| Technique | Advantages | Best For |
|---|---|---|
| Spraying | Even coverage, smooth finish | Large surfaces, thin glaze layers |
| Sponging | Textured patterns, artistic effects | Decorative details, small areas |
Firing Your Glazed Clay
Firing is the process that turns your glazed clay into a finished piece. It melts the glaze to form a smooth surface. Proper firing is important for durability and beauty.
You need to control the heat carefully to avoid cracks or glaze defects. Different glazes and clay types require different firing methods and temperatures.
Kiln Settings
Set your kiln temperature based on the glaze and clay type. Most clay glazes fire between 1,800°F and 2,300°F (980°C to 1,260°C). Follow the glaze instructions if available.
Control the heating speed to avoid damage. Start slow and increase heat gradually. Hold the peak temperature for the right time to let the glaze melt fully.
- Use cone numbers to guide temperature settings
- Ramp up heat slowly to reduce stress on clay
- Hold at peak temperature for smooth glaze finish
- Cool down slowly to prevent cracks
Alternative Firing Methods
You can fire glazed clay without a traditional kiln. Some methods work well for home use. They are slower but still produce good results.
Raku firing uses quick heating and cooling. Pit firing involves burying clay in hot ashes. Both methods create unique glaze effects but need care to avoid damage.
- Raku firing: Heat clay in a small kiln, then cool quickly
- Pit firing: Bury glazed clay in combustible materials and burn
- Use protective gear during alternative firing
- Test small pieces before full projects
Troubleshooting Common Issues
Making clay glaze at home can be challenging. Common problems include cracking, peeling, and uneven coverage.
Understanding these issues helps you achieve a smooth and beautiful finish on your clay projects.
Cracking And Peeling
Cracking and peeling occur when the glaze does not adhere well to the clay surface. This can ruin the appearance of your piece.
- Ensure the clay surface is clean and dry before applying glaze.
- Apply glaze in thin, even layers to prevent cracking.
- Allow each layer to dry completely before adding the next.
Uneven Glaze Coverage
Uneven glaze coverage can make your clay project look unprofessional. It often results from improper application techniques.
To achieve even coverage, consider these tips:
- Stir the glaze thoroughly before use to ensure uniform consistency.
- Use a soft brush for application to avoid streaks.
- Test glaze on a small piece before applying to the main project.

Tips For Stunning Results
Making clay glaze at home can be fun and creative. Using the right tips helps you get smooth and shiny finishes.
These tips focus on how to play with glaze layers and keep your mix steady for the best look.
Experimenting With Layers
Applying glaze in layers changes the final look of your pottery. Thin layers can make colors soft and clear.
Thicker layers create bold colors but can cause drips or cracks. Try different thicknesses to see what you like.
- Start with a thin base layer for even coverage
- Let each layer dry before adding the next
- Mix different glaze colors on top of each other
- Test on small pieces first to avoid mistakes
Maintaining Consistency
Keep your glaze mix smooth and steady for good results. Uneven glaze can cause rough spots or bubbles.
Stir the glaze often and check its thickness. It should spread easily but not be too runny.
- Use a stick to stir glaze before each use
- Add water little by little if glaze is too thick
- Filter glaze to remove lumps or particles
- Store glaze in a sealed container to avoid drying
Frequently Asked Questions
What Ingredients Do I Need To Make Clay Glaze At Home?
You need clay, silica, flux, and sometimes colorants. These materials combine to create a smooth, glass-like finish on pottery. Each ingredient affects the glaze’s texture, color, and durability. Using the right proportions ensures a successful homemade glaze.
How Do I Mix Clay Glaze For Pottery?
Mix dry ingredients thoroughly before adding water slowly. Stir well to form a smooth, creamy consistency without lumps. Proper mixing ensures even application and prevents glaze defects during firing. Test small batches to perfect your mix.
Can I Use Kitchen Materials For Clay Glaze?
Some kitchen materials like salt or ash can enhance glaze effects. However, they may not provide consistent results or safety. It’s best to use ceramic-specific ingredients for reliable and safe glazing. Experiment cautiously with household additives.
How Long Should Clay Glaze Dry Before Firing?
Allow glaze to dry completely, usually 24 hours, before firing. Wet glaze can cause defects or damage in the kiln. Proper drying ensures a smooth finish and prevents glaze bubbles or cracks during firing.
Conclusion
Making clay glaze at home is simple and fun. You only need a few basic materials and some patience. Mixing the right ingredients creates beautiful finishes for your pottery. Practice helps you learn what works best for your style. Experiment with colors and textures to find your favorite look.
Enjoy the process and the unique results you create. Handmade glaze adds a special touch to every piece. Keep trying and improving with each batch you make. Your creativity will shine through your clay art.






