Have you ever wanted to create something beautiful with your own hands? Making clay bowls at home is easier than you think, and it’s a fun way to add a personal touch to your space.
Imagine holding a bowl you shaped yourself—perfect for snacks, keys, or even as a gift. In this guide, you’ll discover simple steps to turn ordinary clay into stunning bowls, no special tools needed. Ready to start crafting? Let’s dive in and bring your creativity to life!
Choosing The Right Clay
Making clay bowls at home starts with choosing the right clay. The clay you pick affects how your bowl looks and feels.
Some clays are easier to shape, and others are better for baking or firing. Learn about clay types to find the best one for your project.
Types Of Clay For Bowls
There are many types of clay. Some clays work well for beginners, while others suit experienced artists. Choose clay based on how you plan to use your bowl.
- Earthenware Clay:Soft and easy to shape. It fires at low temperatures. Good for decorative bowls.
- Stoneware Clay:Strong and durable. It fires at higher temperatures. Great for functional bowls.
- Porcelain Clay:Smooth and fine texture. It fires very hard and looks elegant. Best for experienced users.
- Air-Dry Clay:No need to fire. It hardens by air. Good for simple craft bowls but less durable.
Where To Buy Clay
You can buy clay at many places. Look for stores that sell art or craft supplies. Some stores also sell clay online.
- Local craft stores often have a variety of clay types.
- Pottery supply shops offer specialized clays for bowls.
- Online shops provide detailed descriptions and customer reviews.
- Some hardware stores may carry air-dry clay for easy projects.
Credit: www.gatheringbeauty.com
Gathering Essential Tools
Making clay bowls at home is a fun and creative activity. You need some basic tools to start shaping your clay. These tools help you work smoothly and make your bowls look nice.
Besides the basic tools, some extra accessories can make your work easier or add special effects to your bowls. Let's look at what you need to gather before you begin.
Basic Tools Needed
These tools are important for shaping, smoothing, and cutting the clay. You can find most of them at craft stores or online.
- Clay - the main material for your bowls
- Pottery wheel or a flat surface for shaping
- Clay knife for cutting and trimming
- Wire cutter to slice clay blocks
- Sponge to smooth surfaces and add moisture
- Rolling pin to flatten the clay
- Wooden modeling tools for shaping details
- Plastic or metal rib for smoothing and shaping curves
Optional Accessories
You can use these accessories to decorate or improve your clay bowls. They are not required but can be helpful.
| Accessory | Use |
| Texture mats | Create patterns on the clay surface |
| Glazing brushes | Apply glaze smoothly after firing |
| Clay extruder | Make coils or shapes from clay |
| Banding wheel | Rotate bowl for decorating or shaping |
| Apron and gloves | Keep clothes and hands clean |
Preparing The Clay
Preparing clay correctly is important for making strong bowls. The clay must be soft and even in texture. This helps you shape the bowl without cracks or weak spots.
Two key parts of preparing clay are wedging and avoiding air bubbles. Both steps make the clay easier to work with and less likely to break during drying or firing.
Wedging Techniques
Wedging is like kneading dough. It removes lumps and makes the clay smooth. You can use different wedging methods to prepare the clay well.
- Ram’s Head Wedging:Fold the clay, press it down, then turn it and repeat. This aligns the clay particles.
- Cone Wedging:Shape the clay into a cone, then slam it down and repeat. It mixes the clay evenly.
- Spiral Wedging:Roll the clay into a cylinder, then press and roll it like a spiral. This removes air pockets.
Choose a wedging style that feels comfortable. Keep your work surface clean and use enough pressure. Wedging takes time but improves clay quality.
Avoiding Air Bubbles
Air bubbles can cause cracks or explosions in the kiln. You need to remove them before shaping your bowl. Wedging helps, but there are other tips too.
| Tip | How It Helps |
| Wedge thoroughly | Presses out trapped air inside clay |
| Slice and stack clay | Releases air from inside layers |
| Use a needle tool | Poke bubbles to let air escape |
| Work slowly | Prevents new air pockets from forming |
Check your clay carefully for bubbles before making your bowl. Removing air bubbles will make your finished bowl stronger and more durable.
Shaping Your Bowl
Shaping a clay bowl is an exciting part of pottery. It lets you create a unique piece with your hands or tools.
This guide shows two ways to shape your bowl: by hand and using a potter’s wheel. Both ways have their own style and feel.
Hand-building Methods
Hand-building lets you shape clay without machines. You use simple tools and your hands to form the bowl.
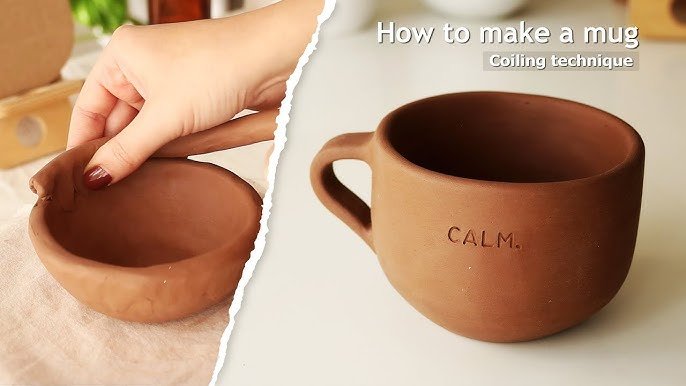
Common hand-building ways include pinching, coiling, and slab building. Each way gives a different shape and texture.
- Pinching:Start with a ball of clay. Use your thumb to press inside while pinching the outside to form walls.
- Coiling:Roll clay into long ropes. Stack and smooth the coils to build the bowl’s shape.
- Slab building:Flatten clay into sheets. Cut and join pieces to create bowl sides.
Using A Potter’s Wheel
The potter’s wheel spins clay quickly. This helps shape the bowl evenly with your hands or tools.
To use the wheel, center the clay first. Then, open the middle and pull the walls up to form your bowl.
- Keep your hands wet to avoid sticking.
- Use steady pressure to shape the bowl walls thinly.
- Slow the wheel speed for more control when finishing the shape.
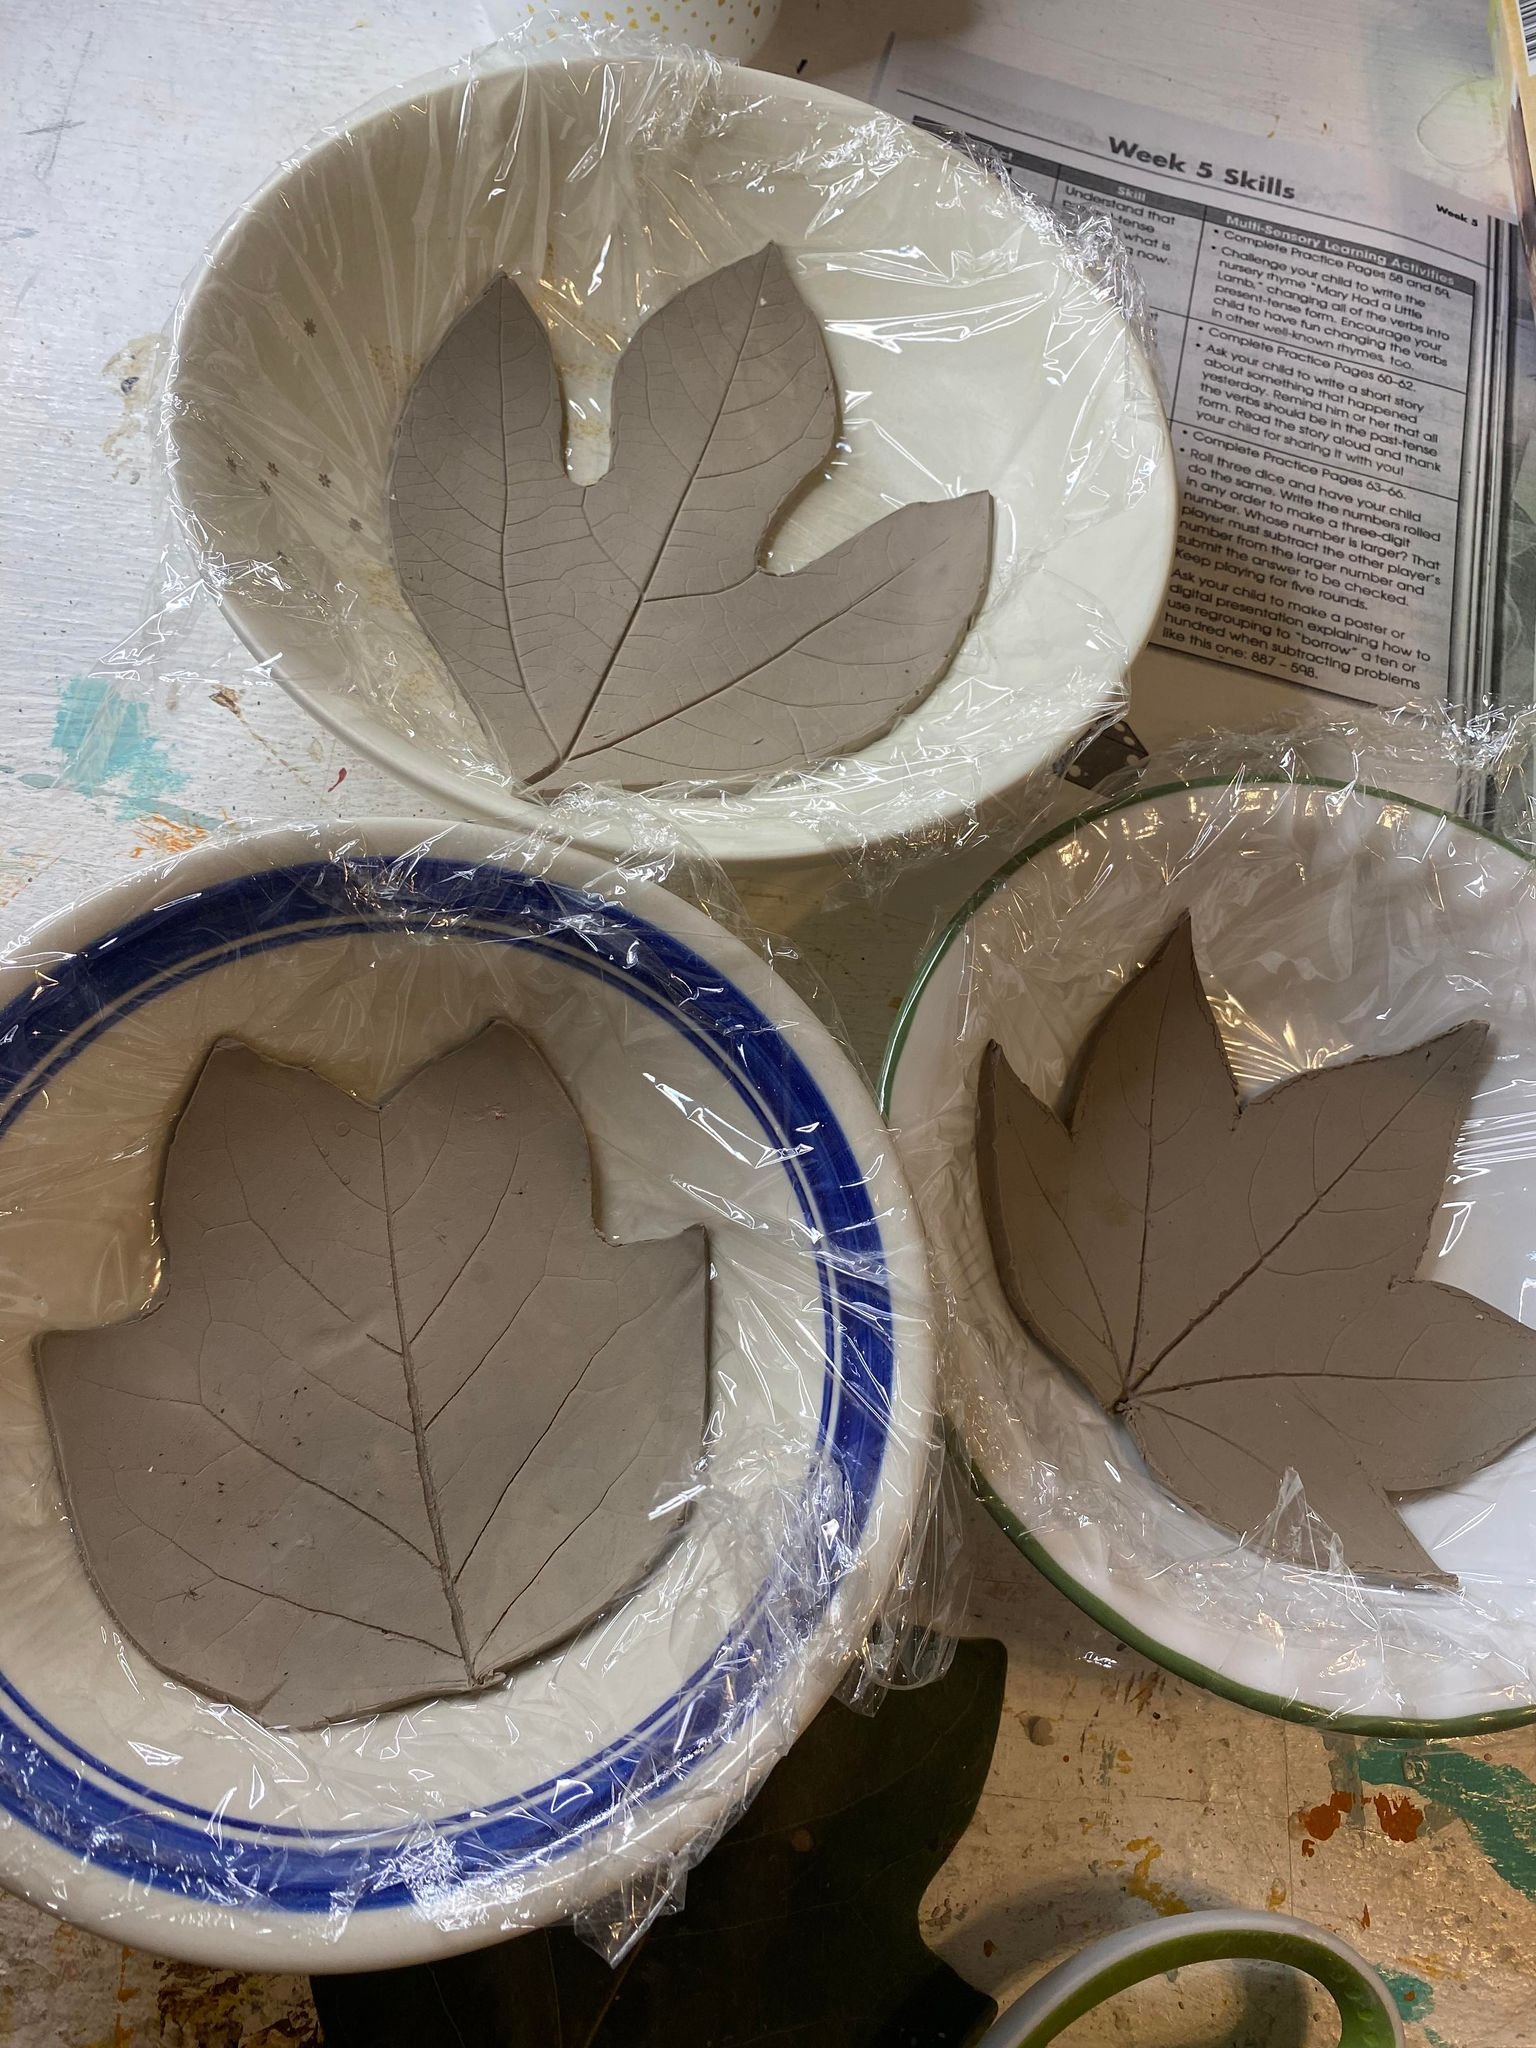
Adding Texture And Design
Adding texture and design makes your clay bowls unique and interesting. It gives your bowls a personal touch and style.
You can use simple tools and techniques to create beautiful patterns on your clay bowls at home.
Carving Patterns
Carving patterns means cutting designs into the clay surface. Use a sharp tool to gently scratch or carve shapes.
Try simple lines, waves, or geometric shapes to add texture. Carve while the clay is soft but firm.
- Use a toothpick or needle for fine details
- Try a wooden stick or knife for bold lines
- Work slowly to avoid breaking the clay
- Practice patterns on a scrap piece first
Using Stamps And Tools
Stamps and tools press designs into the clay. They create repeated patterns quickly and easily.
You can use store-bought stamps or make your own from household items. Press gently to leave a clear mark.
- Use buttons, leaves, or fabric for texture
- Try rubber stamps for detailed patterns
- Make custom stamps with foam or cork
- Press evenly to get sharp designs

Credit: www.youtube.com
Drying And Finishing
Making clay bowls at home is fun and creative. After shaping, proper drying and finishing are crucial steps to ensure your bowls last long and look great.
Here are some tips on how to dry and finish your clay bowls, making them smooth and ready for use.
Proper Drying Tips
Drying your clay bowls properly prevents cracks and ensures durability. Patience is key during this step.
- Place bowls in a cool, dry place away from sunlight.
- Cover them lightly with plastic wrap to control drying speed.
- Check for moisture daily to avoid rapid drying.
Sanding And Smoothing
Once dry, sanding your bowls makes them smooth and ready for use. Use gentle techniques for the best results.
- Use fine-grit sandpaper for a smooth finish.
- Sand gently in circular motions to avoid scratching.
- Wipe with a damp cloth to remove dust after sanding.
Firing And Glazing
Making clay bowls at home can be rewarding. The final steps, firing and glazing, give them durability and shine.
Understanding how to properly fire and glaze ensures your bowls are both beautiful and functional.
Home Kiln Options
A kiln is necessary to harden clay bowls. There are several types of kilns available for home use.
- Electric Kilns: Easy to use and maintain.
- Gas Kilns: Provide even heat but require ventilation.
- Wood-Fired Kilns: Offer unique finishes but need more space.
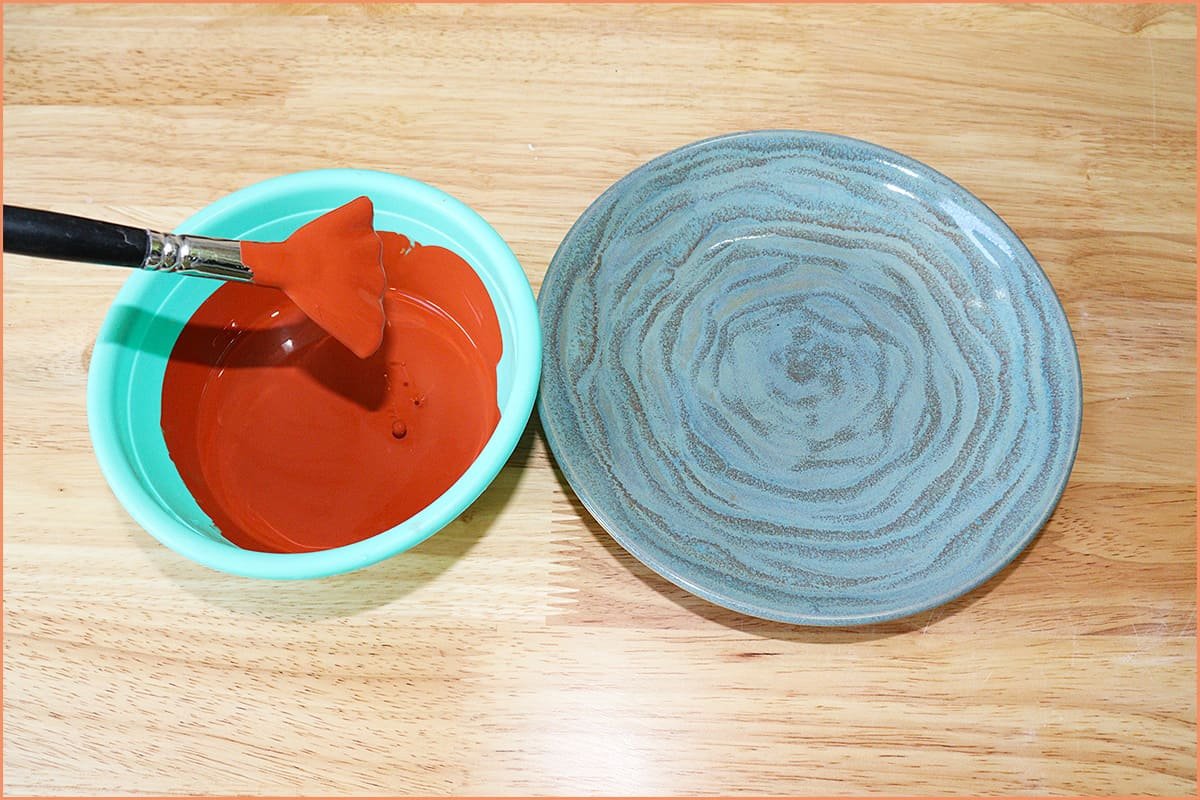
Applying Glaze
Glazing adds color and protection to your clay bowls. Choose the right type of glaze for your project.
- Clean the surface of the bowl.
- Mix the glaze according to instructions.
- Dip or brush the glaze evenly on the bowl.
- Allow the glaze to dry before firing.
Once glazed, the bowl is ready for its final firing in the kiln. This seals the glaze and completes the process.
Credit: potterycrafters.com
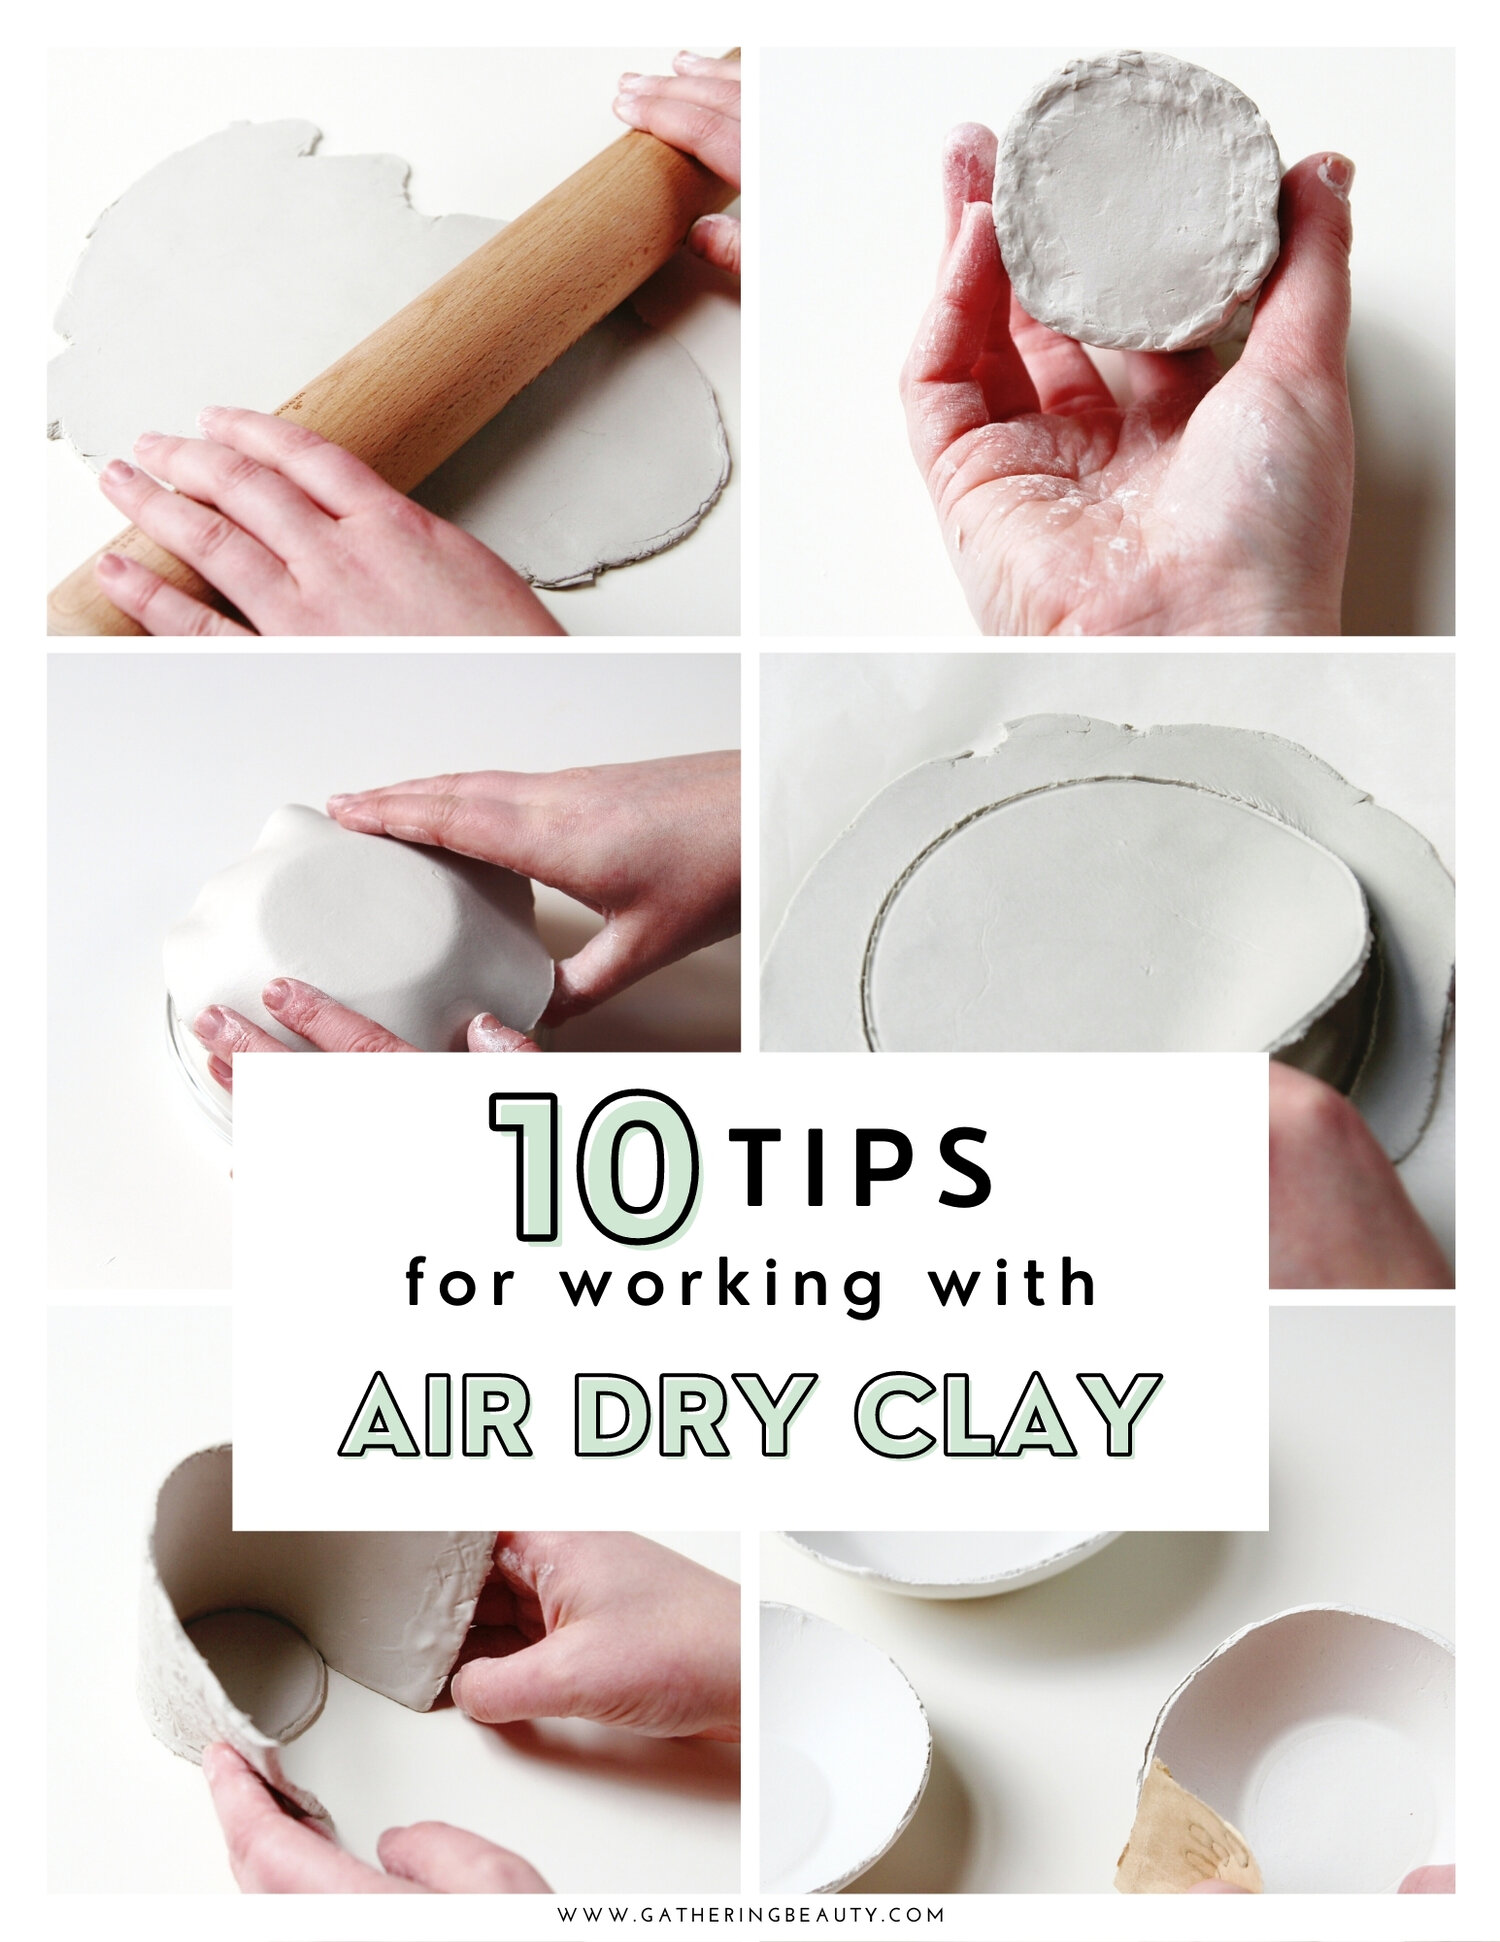
Alternative Baking Methods
Making clay bowls at home does not always require a kiln. There are simple ways to dry and harden your clay bowls using common tools. These methods help you create sturdy clay bowls without special equipment.
This guide covers air-dry clay techniques and oven-baking tips. Both methods work well for small projects and beginners.
Air-dry Clay Techniques
Air-dry clay hardens naturally by exposure to air. You do not need heat or a kiln. This method is gentle and easy to control.
Shape your bowl and leave it in a dry place. Drying time depends on the thickness of the clay.
- Place the bowl on a flat surface to keep its shape.
- Turn the bowl every few hours for even drying.
- Thin parts dry faster; thick parts may take days.
- Keep the clay away from direct sunlight to avoid cracking.
- Once dry, you can sand and paint your bowl.
Oven-baking Tips
Certain clays harden in a home oven. Baking clay speeds up drying and makes the bowl strong. Always check the clay package for temperature limits.
Use a low temperature and bake slowly. High heat can cause cracks or burns.
- Preheat the oven to the clay’s recommended temperature, usually around 200°F (93°C).
- Place the bowl on a baking sheet lined with parchment paper.
- Bake for 15 to 30 minutes per 1/4 inch thickness of clay.
- Turn off the oven and let the bowl cool inside to avoid cracks.
- Do not leave the oven unattended while baking.
Caring For Your Clay Bowls
Clay bowls made at home are special and need care. Proper care helps them last long and look nice.
Learn simple ways to clean and store your clay bowls safely to keep them strong and beautiful.
Cleaning Advice
Clean your clay bowls gently to avoid damage. Use warm water and a soft cloth or sponge.
Avoid harsh soaps or scrubbing brushes. They can scratch or wear the bowl’s surface.
- Rinse bowls with warm water after use
- Use mild soap if needed
- Do not soak bowls for a long time
- Dry bowls completely before storing
Storage Suggestions
Store clay bowls in a dry place. Keep them away from direct sunlight to prevent cracking.
Stack bowls carefully with soft padding between them. This stops chips and breaks.
- Place bowls on a flat, stable surface
- Use cloth or paper towels between stacked bowls
- Keep bowls away from heat sources
- Check stored bowls regularly for damage
Frequently Asked Questions
What Materials Do I Need To Make Clay Bowls At Home?
You need air-dry or kiln-fired clay, sculpting tools, a rolling pin, water, and sandpaper. Optional items include paint and sealant for decoration.
How Long Does It Take To Make A Clay Bowl?
Making a clay bowl typically takes 1-2 hours for shaping and drying. Drying time varies from 24 hours to several days, depending on clay type and thickness.
Can Beginners Easily Make Clay Bowls At Home?
Yes, beginners can make clay bowls with simple techniques like pinching or coiling. Practice and patience improve results over time.
How Do I Prevent Cracks In Homemade Clay Bowls?
Prevent cracks by keeping clay moist during shaping and drying slowly. Avoid uneven thickness and wrap pieces in plastic if needed.
Conclusion
Making clay bowls at home is a fun and creative activity. It allows you to enjoy art without needing special tools. You can shape your bowl in many ways. Drying and painting add a personal touch to your work. Practice helps you improve with each bowl you make.
This simple craft brings joy and a sense of pride. Try making clay bowls today and enjoy the process. It’s a great way to relax and express yourself. Keep practicing, and you’ll see your skills grow.