Have you ever wanted to create your own clay without buying it from the store? Making clay at home from dirt is easier than you think.
You only need simple materials that are right outside your door. Imagine turning ordinary soil into something you can shape, mold, and use for art or projects. In this guide, you will learn step-by-step how to transform dirt into clay that feels smooth and works perfectly.
Keep reading, and by the end, you’ll have your own homemade clay ready to bring your ideas to life.
Credit: www.leelachakravarti.com
Materials Needed
Making clay at home from dirt is a simple and fun activity. You need a few basic materials to get started. These materials help you create smooth, workable clay.
This guide will explain what materials you need and how to gather them. Let’s begin with the dirt you will use.
Gathering Dirt
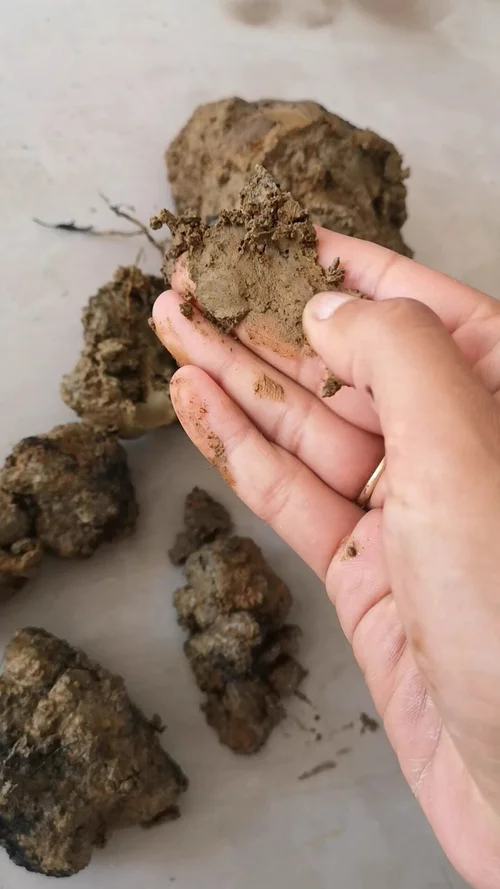
Choose clean dirt from a dry place outside. Avoid dirt with lots of roots or rocks. Good dirt has a smooth texture and little sand.
Dry dirt is easier to work with. You can sift the dirt to remove stones and leaves. This makes the clay smooth and easy to shape.
- Find dry dirt in your yard or park
- Use a small shovel to dig up dirt
- Remove large rocks, sticks, and roots
- Sift the dirt using a fine mesh or screen
Additional Supplies
You will need a few more supplies to turn dirt into clay. Water is needed to mix with dirt. You also need a container to mix the clay in.
A sturdy mixing tool helps combine the ingredients well. You may want a cloth to cover the clay while it rests. This keeps it moist and ready to use.
- Clean water for mixing
- Mixing container or bowl
- Mixing stick or spoon
- Cloth or plastic wrap to cover clay
- Sieve or mesh for sifting dirt
Credit: www.leelachakravarti.com
Preparing The Dirt
Making clay at home starts with preparing the right dirt. This step helps you get smooth clay for your projects.
Good preparation removes unwanted materials and makes the dirt soft and easy to shape.
Sifting And Cleaning
Sifting dirt removes large pieces like sticks, stones, and leaves. Use a fine mesh or screen to filter the dirt.
Clean dirt makes better clay. Wash the dirt in water to get rid of dust and small debris. Let the dirt settle, then pour off the dirty water.
- Collect dirt from a dry place with clay content
- Use a sieve or screen with small holes
- Shake the dirt through the screen to remove big bits
- Rinse dirt with water and stir well
- Let dirt settle and pour off cloudy water
Removing Impurities
Impurities can make clay hard to work with or cause it to crack. Pick out roots, twigs, and stones by hand.
Dry the cleaned dirt on a flat surface. As it dries, check again for small bits to remove.
- Spread dirt thinly on a clean surface
- Look closely for any leftover debris
- Remove any small stones or plant parts
- Break up clumps to get even texture
Mixing The Clay
Mixing clay at home is a fun and creative activity. It lets you use natural materials and turn them into something useful.
This guide will help you mix clay from dirt in easy steps. Let's explore how you can do this.
Adding Water
Water is essential for mixing clay. It helps bind the particles and makes the clay moldable.
Add water slowly to your dirt and clay mixture. Stir it well until it reaches a thick, smooth consistency.
- Start with a small amount of water
- Mix thoroughly before adding more
- Ensure no dry patches remain
Incorporating Binder
A binder is important for keeping the clay together. It adds strength and reduces cracking.
You can use natural binders like cornstarch or flour. Mix a small amount into the wet clay.
- Add one tablespoon of binder
- Mix well to combine evenly
- Check the texture; it should not crumble
Kneading Techniques
Kneading clay made from dirt is key to getting good results. It helps mix water and dirt evenly.
Good kneading makes the clay soft and easy to shape. It removes lumps and air pockets.
Achieving The Right Consistency
The clay should feel smooth but firm. It must not be too wet or too dry.
Add small amounts of water if the clay cracks. Add dry dirt if it feels sticky.
- Press the clay with your palms
- Fold it over and press again
- Repeat until the clay feels even
Tips For Smooth Texture
Use slow, steady pressure when kneading. Avoid quick, rough movements.
Break big lumps with your fingers before kneading. This helps make the texture smooth.
- Warm the clay in your hands to soften it
- Keep kneading until no lumps remain
- Check for air bubbles and press them out
Shaping And Molding
Shaping and molding clay made from dirt lets you create many forms. It is fun and helps improve your skills.
With simple tools and your hands, you can make basic shapes or try creative designs.
Basic Forms
Start by making simple shapes to get used to the clay’s texture. These basic forms are the base for more complex projects.
- Make balls by rolling clay in your palms.
- Create flat discs by pressing the clay with your fingers.
- Roll out cylinders using your hands or a small stick.
- Pinch the clay to form cones or triangles.
- Use molds or cookie cutters to shape the clay.
Creative Ideas
Once you know basic shapes, try mixing them to build fun objects. Use simple tools to add texture and details.
| Idea | Description | Tools Needed |
| Clay Animals | Combine balls and cylinders to form animals. | Toothpick, small knife |
| Textured Pots | Press leaves or fabric on clay to add patterns. | Leaves, fabric, rolling pin |
| Clay Jewelry | Shape small discs and add holes for beads. | Needle, string |
Drying And Hardening
After making clay from dirt, drying and hardening are key steps. This process makes the clay strong and ready to use.
There are simple ways to dry and harden your clay at home. You can let it dry in the air or use heat to bake it.
Air Drying Methods
Air drying is the easiest way to harden clay made from dirt. It takes time but uses no extra tools.
Place your clay pieces on a flat surface. Make sure they are in a dry, warm place with good airflow.
- Turn the clay pieces every day to dry evenly.
- Thin pieces dry faster than thick ones.
- Drying can take several days or weeks depending on size.
- Avoid direct sunlight to prevent cracks.
Baking Options
Baking clay helps it harden faster and become stronger. Use your kitchen oven for small clay items.
Place clay pieces on a baking sheet. Bake at a low temperature to avoid burning or cracking.
- Set oven temperature between 175°F and 200°F (80°C to 95°C).
- Bake for 30 minutes to 1 hour depending on thickness.
- Let clay cool slowly after baking to prevent cracks.
- Do not use microwave ovens as they can damage the clay.
Painting And Sealing
Once you have made your clay from dirt, you may want to paint and seal it. These steps will add color and protection to your clay creations. Let's explore how to choose paints and apply protective coatings to your clay.
Choosing Paints
Painting your clay can make it more beautiful. It is important to select the right paints. Acrylic paints are a popular choice because they stick well to clay and dry fast. Watercolors can be used for a softer look, but they may need extra sealing.
- Acrylic paints are bright and durable
- Watercolors offer a gentle touch
- Test paint on a small area first
Protective Coatings
After painting, it is important to seal your clay. This helps protect your artwork from damage. Use a clear varnish or sealant spray to coat your clay. Make sure your paint is dry before sealing to avoid smudges.
- Choose a clear varnish for a shiny finish
- Use sealant spray for easy application
- Apply multiple thin layers for best protection
Troubleshooting Common Issues
Making clay from dirt at home can be fun but also tricky. Some problems may come up while mixing or drying the clay.
Knowing how to fix these issues helps you get better results. Below are common problems and easy ways to solve them.
Cracking Problems
Cracks often appear when the clay dries too fast or has uneven moisture. These cracks weaken your clay project and spoil the look.
- Keep clay covered with a damp cloth while working.
- Dry clay slowly at room temperature, not in direct sunlight.
- Add small amounts of water if clay feels too dry before shaping.
- Try mixing in some sand to improve texture and reduce cracking.
- Use thin layers for drying, as thick blocks crack more easily.
Weak Clay Fixes
Weak clay is soft and breaks apart easily. It needs better binding and consistency to hold shape well.
| Issue | Cause | Fix |
| Clay too crumbly | Not enough water | Add water little by little and knead well |
| Clay sticks to hands | Too much water | Mix in dry dirt or sand to balance moisture |
| Clay falls apart after drying | Poor dirt quality or no binder | Add natural binders like flour or cornstarch |
| Clay is too soft to hold shape | Not enough kneading | Knead clay longer for stronger texture |
Safety Tips
Making clay from dirt at home can be fun and creative. It is important to follow safety rules to avoid injuries or health problems.
Always keep your work area clean and handle materials carefully. These tips help you stay safe while making clay.
Handling Materials Safely
Clay making involves using dirt and other natural materials. Some dirt may contain harmful germs or sharp objects.
- Wear gloves to protect your hands from germs and cuts.
- Use a mask if the dirt is dusty to avoid breathing in particles.
- Wash your hands well after handling the dirt and clay.
- Check dirt for stones, glass, or sharp pieces before use.
- Keep dirt and clay away from your mouth and eyes.
Work Area Precautions
Set up your workspace in a safe and clean place. Good lighting and ventilation help you work better and safer.
| Precaution | Reason |
| Work on a flat surface | Prevents spills and messes |
| Cover the area with newspaper or plastic | Makes cleaning easier |
| Keep water nearby | For quick hand washing |
| Ensure good air flow | Reduces dust and odors |
| Store materials safely | Prevents accidents and contamination |

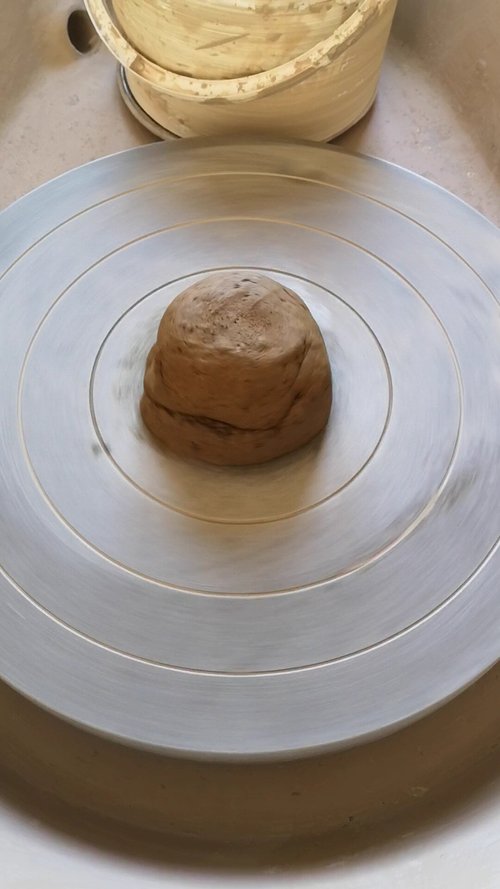
Credit: www.youtube.com
Frequently Asked Questions
What Type Of Dirt Is Best For Making Clay At Home?
The best dirt for clay has high clay content and minimal sand. Avoid soils with organic matter or gravel. Riverbank or garden clay-rich soil works well. Testing small amounts helps find the right texture for molding and drying.
How Do You Remove Impurities From Dirt For Clay?
Sift the dirt through a fine mesh to remove stones and debris. Wash the soil with water to separate clay particles. Let the mixture settle, then drain excess water. This ensures smooth, clean clay ideal for crafting.
What Ingredients Are Needed To Make Clay From Dirt?
You need dirt rich in clay, water, and optional natural binders like flour or cornstarch. These ingredients help form a pliable, workable clay. Adjust water quantity for the right consistency before shaping your clay creations.
How Long Does Homemade Clay Take To Dry?
Drying time depends on clay thickness and humidity levels. Thin pieces dry in 24-48 hours, while thicker items may take several days. Air drying is common, but oven drying at low heat speeds the process.
Conclusion
Making clay at home from dirt is simple and fun. You only need dirt, water, and a little patience. This process teaches you about natural materials and creativity. You can shape your own pots, toys, or art pieces. It saves money and uses what is around you.
Try it today and enjoy crafting something unique. Keep experimenting with different types of dirt and water amounts. The more you practice, the better your clay will be. Happy creating!