

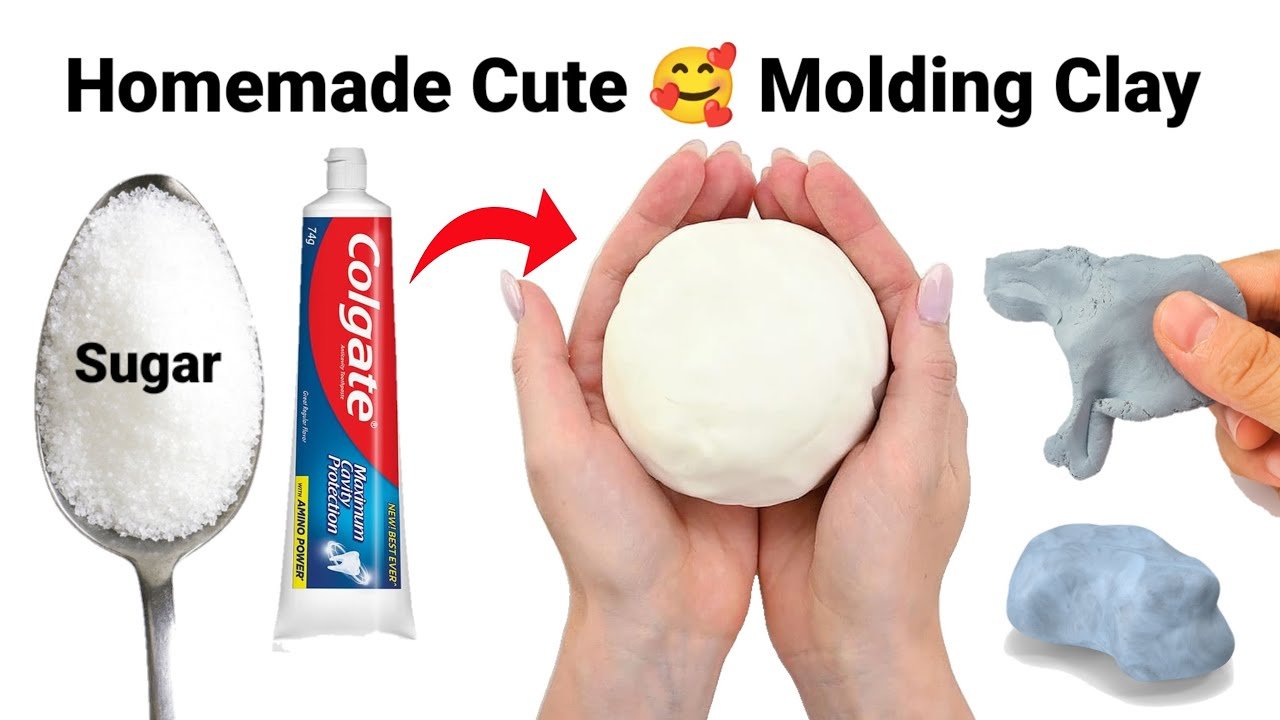
Have you ever wanted to create your own air dry modeling clay right at home? Imagine having a soft, moldable material ready whenever creativity strikes—without running to the store.
Making your own clay is easier than you think, and it’s perfect for all your DIY projects, kids’ crafts, or even last-minute gifts. In this guide, you’ll discover simple steps and everyday ingredients that transform into a smooth, air-drying clay.
Keep reading, and you’ll unlock the secret to endless crafting fun with just a few items from your kitchen.
Materials Needed
Making air dry modeling clay at home is easy and fun. You only need a few simple materials. These materials help you create soft, moldable clay that dries without baking.
Gathering the right ingredients and tools will make your clay smooth and easy to shape. Below are the items you will need to get started.
Basic Ingredients
These ingredients form the base of your air dry clay. They are common and easy to find at home or in stores.
- 1 cup of baking soda
- 1/2 cup of cornstarch
- 3/4 cup of water
- Optional: food coloring for color
Optional Additives
You can add these to improve texture or add color. They are not required but can enhance your clay.
| Additive | Purpose |
| White glue | Makes clay stronger and less crumbly |
| Vegetable oil | Adds smoothness and flexibility |
| Essential oils | Adds a pleasant scent |
| Glitter | Gives sparkle and shine |
Tools Required
You will need some basic tools to mix and shape the clay. These make the process easier and cleaner.
- Mixing bowl
- Measuring cups and spoons
- Wooden spoon or spatula
- Rolling pin (optional)
- Plastic wrap or airtight container for storage
Step-by-step Preparation
Making air dry modeling clay at home is simple and fun. You only need a few common ingredients. Follow these steps to prepare your clay with ease.
This guide helps you mix, knead, and adjust your clay for the best results. Let's get started with the first step.
Mixing Ingredients
Gather your materials before you start mixing. The right amounts are important to get the perfect clay texture.
- 1 cup of baking soda
- 1/2 cup of cornstarch
- 3/4 cup of water
Combine the baking soda and cornstarch in a saucepan. Slowly add water and stir well.
Kneading The Clay
After heating the mixture on low heat until thick, let it cool. Once cool, place it on a clean surface to knead.
Follow these kneading tips:
- Use your palms to press and fold the clay
- Knead for about 5 to 10 minutes
- Keep the clay smooth and soft
- If sticky, sprinkle a little cornstarch
Adjusting Consistency
The clay should be soft but not sticky. Adjust it by adding water or cornstarch in small amounts.
| Condition | Fix |
| Too dry or crumbly | Add a few drops of water and knead |
| Too sticky | Sprinkle cornstarch and knead well |
| Perfect texture | Ready to use |
Shaping And Sculpting Tips
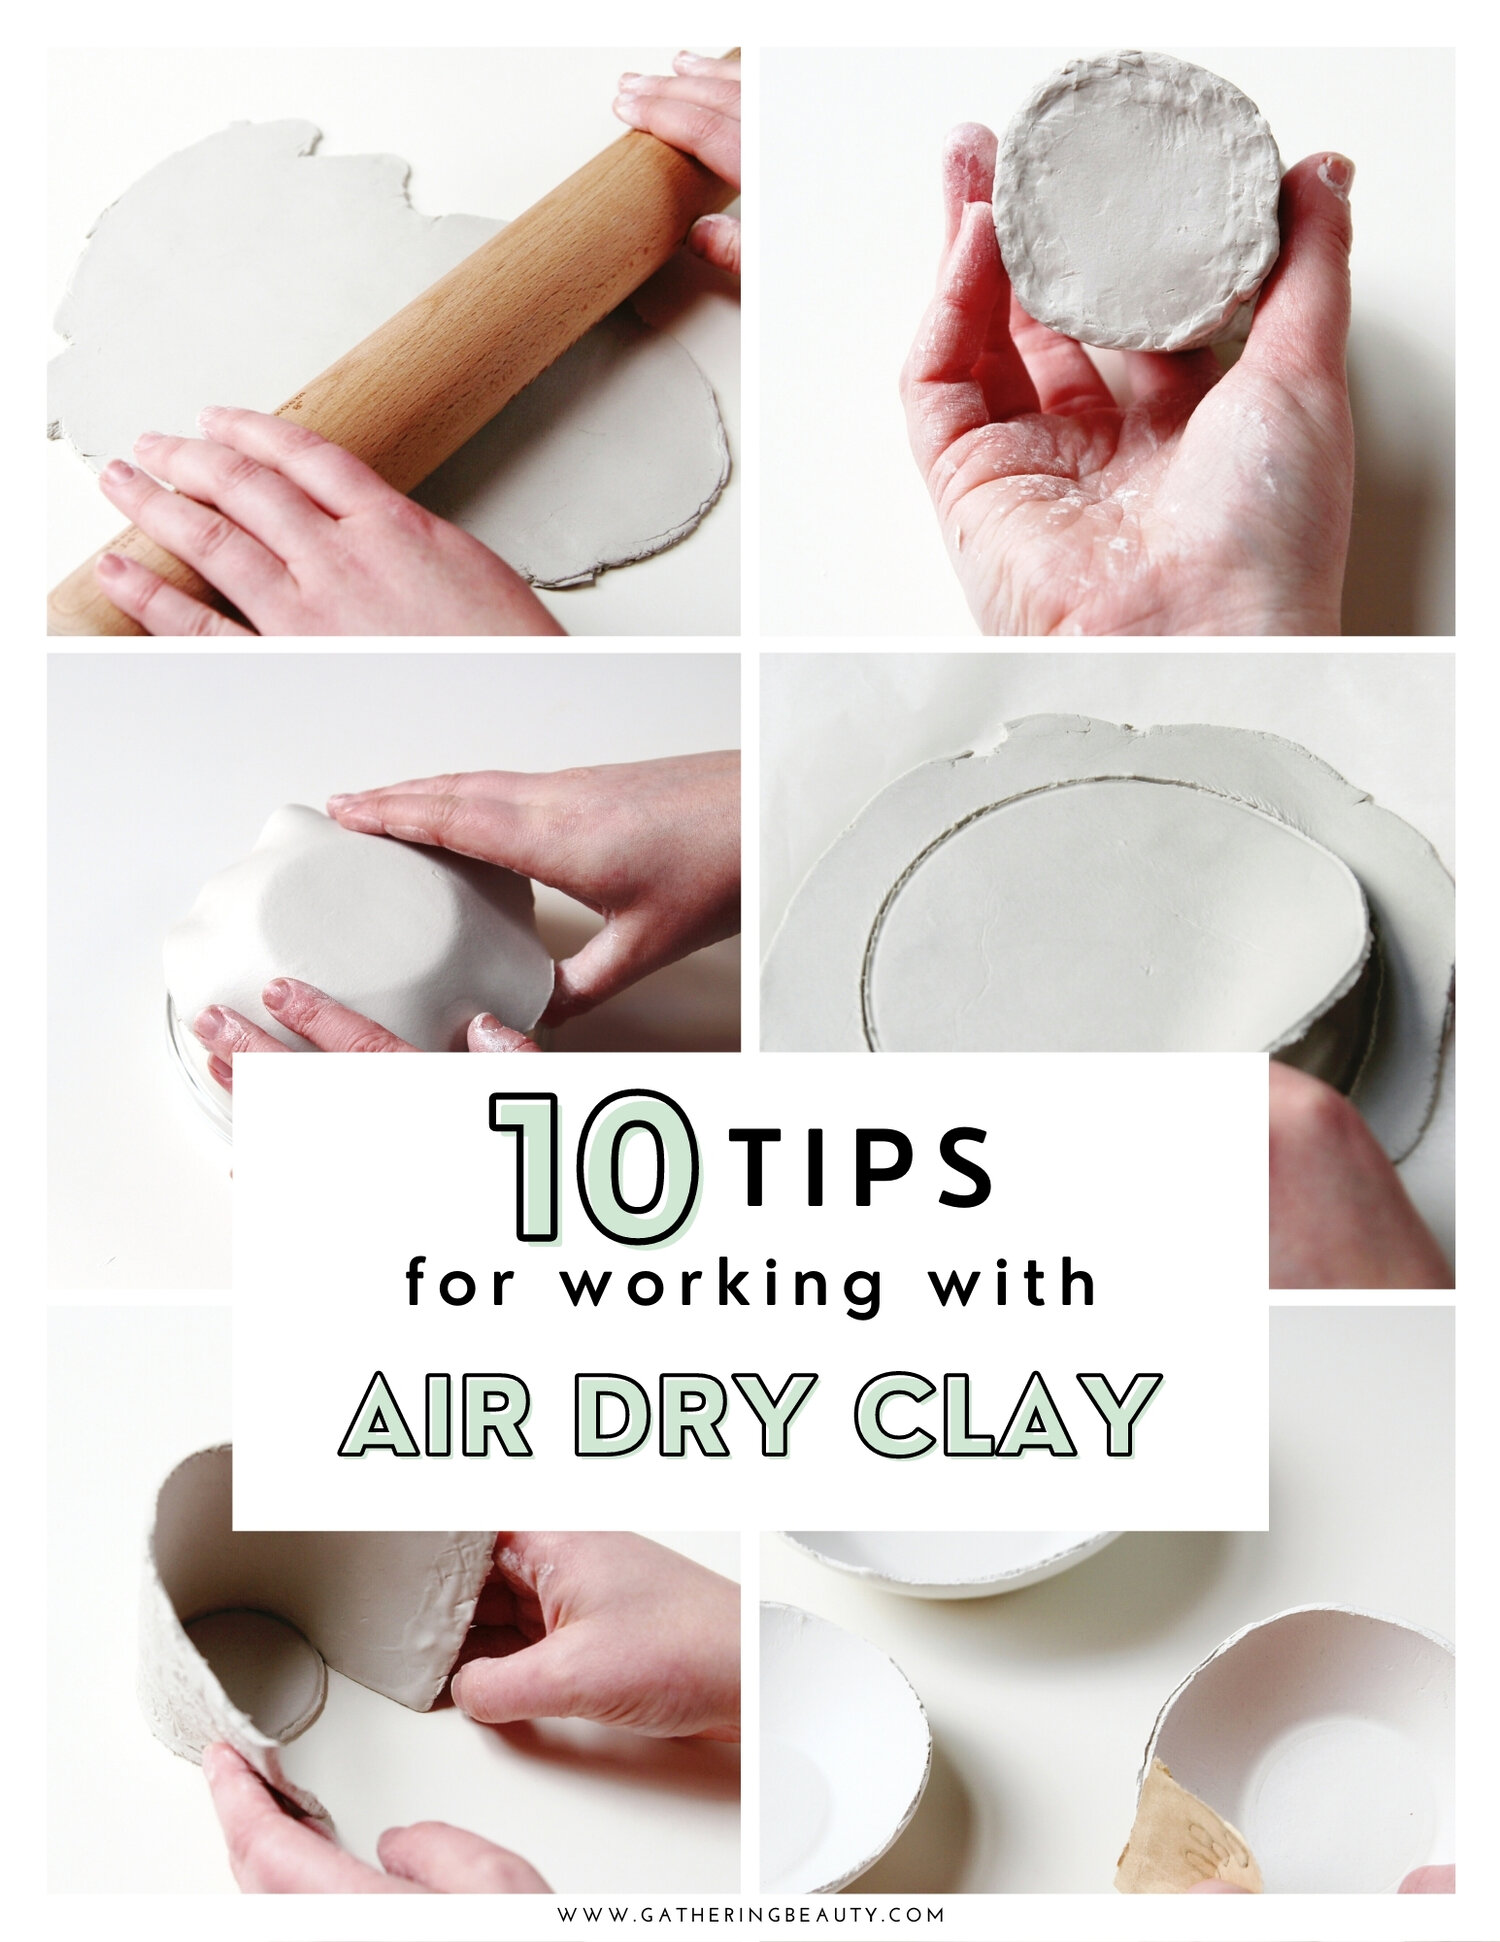
Working with air dry modeling clay at home is fun and creative. You can make many shapes and figures.
Using the right techniques helps your clay models look smooth and last longer.
Working With The Clay
Keep your hands clean and dry before shaping the clay. Warm the clay in your hands for softness. Use simple tools like toothpicks or plastic knives to add details.
Common Techniques
- Roll the clay into balls or snakes for easy shapes.
- Pinch the clay gently to form curves and edges.
- Use small tools to carve patterns or add texture.
- Smooth rough areas with a damp cloth or finger.
- Attach pieces by pressing edges firmly together.
Avoiding Cracks
| Tip | Why It Helps |
| Keep clay moist while working | Prevents drying cracks |
| Thin layers dry faster | Reduces stress and cracks |
| Wrap unfinished pieces in plastic | Keeps clay soft |
| Let clay dry slowly | Stops sudden cracking |
| Smooth cracks before drying | Fixes weak spots |
Drying And Curing Process
After shaping your air dry modeling clay, the next step is drying and curing. This process helps the clay harden and become durable.
Proper drying ensures your clay creation keeps its shape and lasts longer. It also prevents cracks or soft spots.
Air Drying Time
Drying time depends on the size and thickness of your clay piece. Thin parts dry faster than thick ones.
Most small projects take 24 to 48 hours to dry completely. Larger pieces may need several days.
Speeding Up Drying
- Place your clay in a dry, warm area with good air flow.
- Avoid direct sunlight to stop the clay from cracking.
- Use a fan to increase air circulation around the clay.
- Thin out thick parts if possible before drying.
- Turn the piece occasionally for even drying.
Signs Clay Is Ready
| Sign | Description |
| Hard Surface | Clay feels firm and does not dent when pressed. |
| Dry to Touch | No moisture or stickiness on the surface. |
| Color Change | The clay may lighten as it dries fully. |
| Weight Loss | The piece feels lighter than when wet. |
Finishing Touches
Finishing your air dry modeling clay projects adds beauty and strength. This step helps your creations look smooth and last longer.
We will cover sanding and smoothing, painting and decorating, and sealing for durability. These simple steps improve your craft's final look.
Sanding And Smoothing
After the clay dries completely, use fine sandpaper to smooth rough spots. Sand gently in small circles to avoid breaking delicate parts.
If needed, wet your fingers and lightly rub the surface to soften edges. This method helps create a polished finish before painting.
Painting And Decorating
Choose acrylic paints for bright colors and easy use. Apply thin layers with a brush and let each layer dry before adding another.
- Use small brushes for details
- Mix colors to create shades
- Allow paint to dry fully between coats
- Add patterns or designs carefully
Sealing For Durability
| Sealant Type | Effect | Dry Time |
|---|---|---|
| Matte Varnish | Non-shiny finish, protects paint | 30 minutes |
| Glossy Varnish | Shiny look, water-resistant | 1 hour |
| Spray Sealant | Even coating, fast drying | 15 minutes |
Apply sealant in a well-ventilated area. Use a brush or spray and let your project dry fully for best protection.
Storage And Shelf Life
Making air dry modeling clay at home is fun and easy. Proper storage is key to keeping it fresh and usable for longer periods.
Understanding how to store unused clay and maintain its freshness will help you get the most from your homemade clay.
Storing Unused Clay
Keep unused clay in an airtight container. This prevents air from drying it out. A tight seal keeps moisture in and air out.
- Use plastic wrap before placing in the container.
- Store in a cool, dry place away from sunlight.
- Avoid storing near heat sources.
Maintaining Freshness
Check clay regularly for signs of drying. Add a few drops of water to restore moisture if needed. Knead well to mix the water evenly.
To ensure clay lasts longer, use a damp cloth over the clay in the container. This helps keep it from drying out and maintains its softness.
Troubleshooting Common Issues
Making air dry modeling clay at home can be a fun activity. Sometimes, you might face some problems with the clay. Here, we will discuss how to fix these common issues.
These tips will help you solve problems like sticky clay, cracks, and mold. Let's make your clay projects successful!
Fixing Sticky Clay
If your clay is sticky, it can be hard to work with. This happens when there is too much moisture in the clay.
- Add small amounts of cornstarch to absorb excess moisture.
- Knead the clay until it reaches the right texture.
- Let the clay sit uncovered for a short time to dry slightly.
Repairing Cracks
Cracks can appear if the clay dries unevenly. It is important to fix these to keep your project intact.
| Solution | Action |
| Use water | Lightly dampen the cracked area and smooth it out. |
| Add clay | Mix a small amount of clay and fill in the cracks. |
| Control drying | Cover with a damp cloth to slow down the drying process. |
Preventing Mold
Mold can ruin your clay projects. It usually grows in a humid environment.

Frequently Asked Questions
What Ingredients Are Needed For Homemade Air Dry Clay?
You need flour, salt, water, and cream of tartar. Some recipes add oil for smoothness. These common kitchen items make a simple, non-toxic clay.
How Long Does Homemade Air Dry Clay Take To Dry?
Air dry clay typically takes 24 to 48 hours to dry. Drying time depends on thickness and humidity. Thin pieces dry faster than thick ones.
Can Homemade Air Dry Clay Be Painted?
Yes, once fully dry, you can paint it. Acrylic paints work best for vibrant, lasting colors. Seal painted pieces with varnish to protect them.
How Do I Store Unused Homemade Air Dry Clay?
Keep unused clay in an airtight container or plastic wrap. Store in a cool, dry place. This prevents it from drying out and hardening prematurely.
Conclusion
Making air dry modeling clay at home is simple and fun. You only need a few common ingredients. This clay is safe and easy to shape. Let it dry naturally to harden. Perfect for creative projects and gifts. Try different colors and shapes for variety.
Keep your clay in an airtight container to stay fresh. Enjoy crafting with this homemade clay anytime. It saves money and avoids chemicals. A great activity for kids and adults alike. Give it a try and see the results yourself.






