

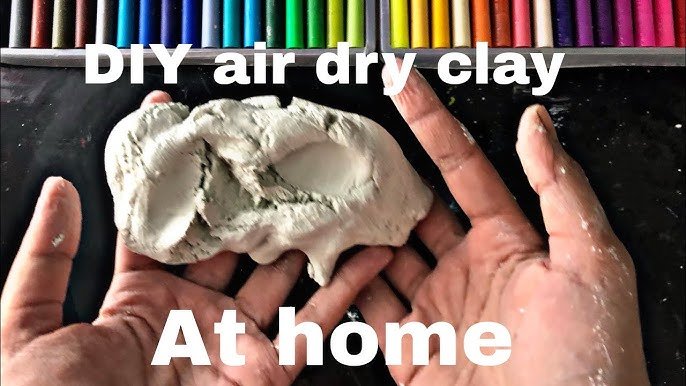
Have you ever wanted to create beautiful crafts but didn’t want to spend money on expensive materials? Making air dry clay at home is easier than you think, and it opens up a world of creative possibilities right in your own kitchen.
Imagine shaping your ideas into lasting keepsakes without needing a kiln or special tools. In this guide, you’ll discover simple steps to make your own air dry clay using ingredients you probably already have. Get ready to unlock your creativity and start crafting with confidence!
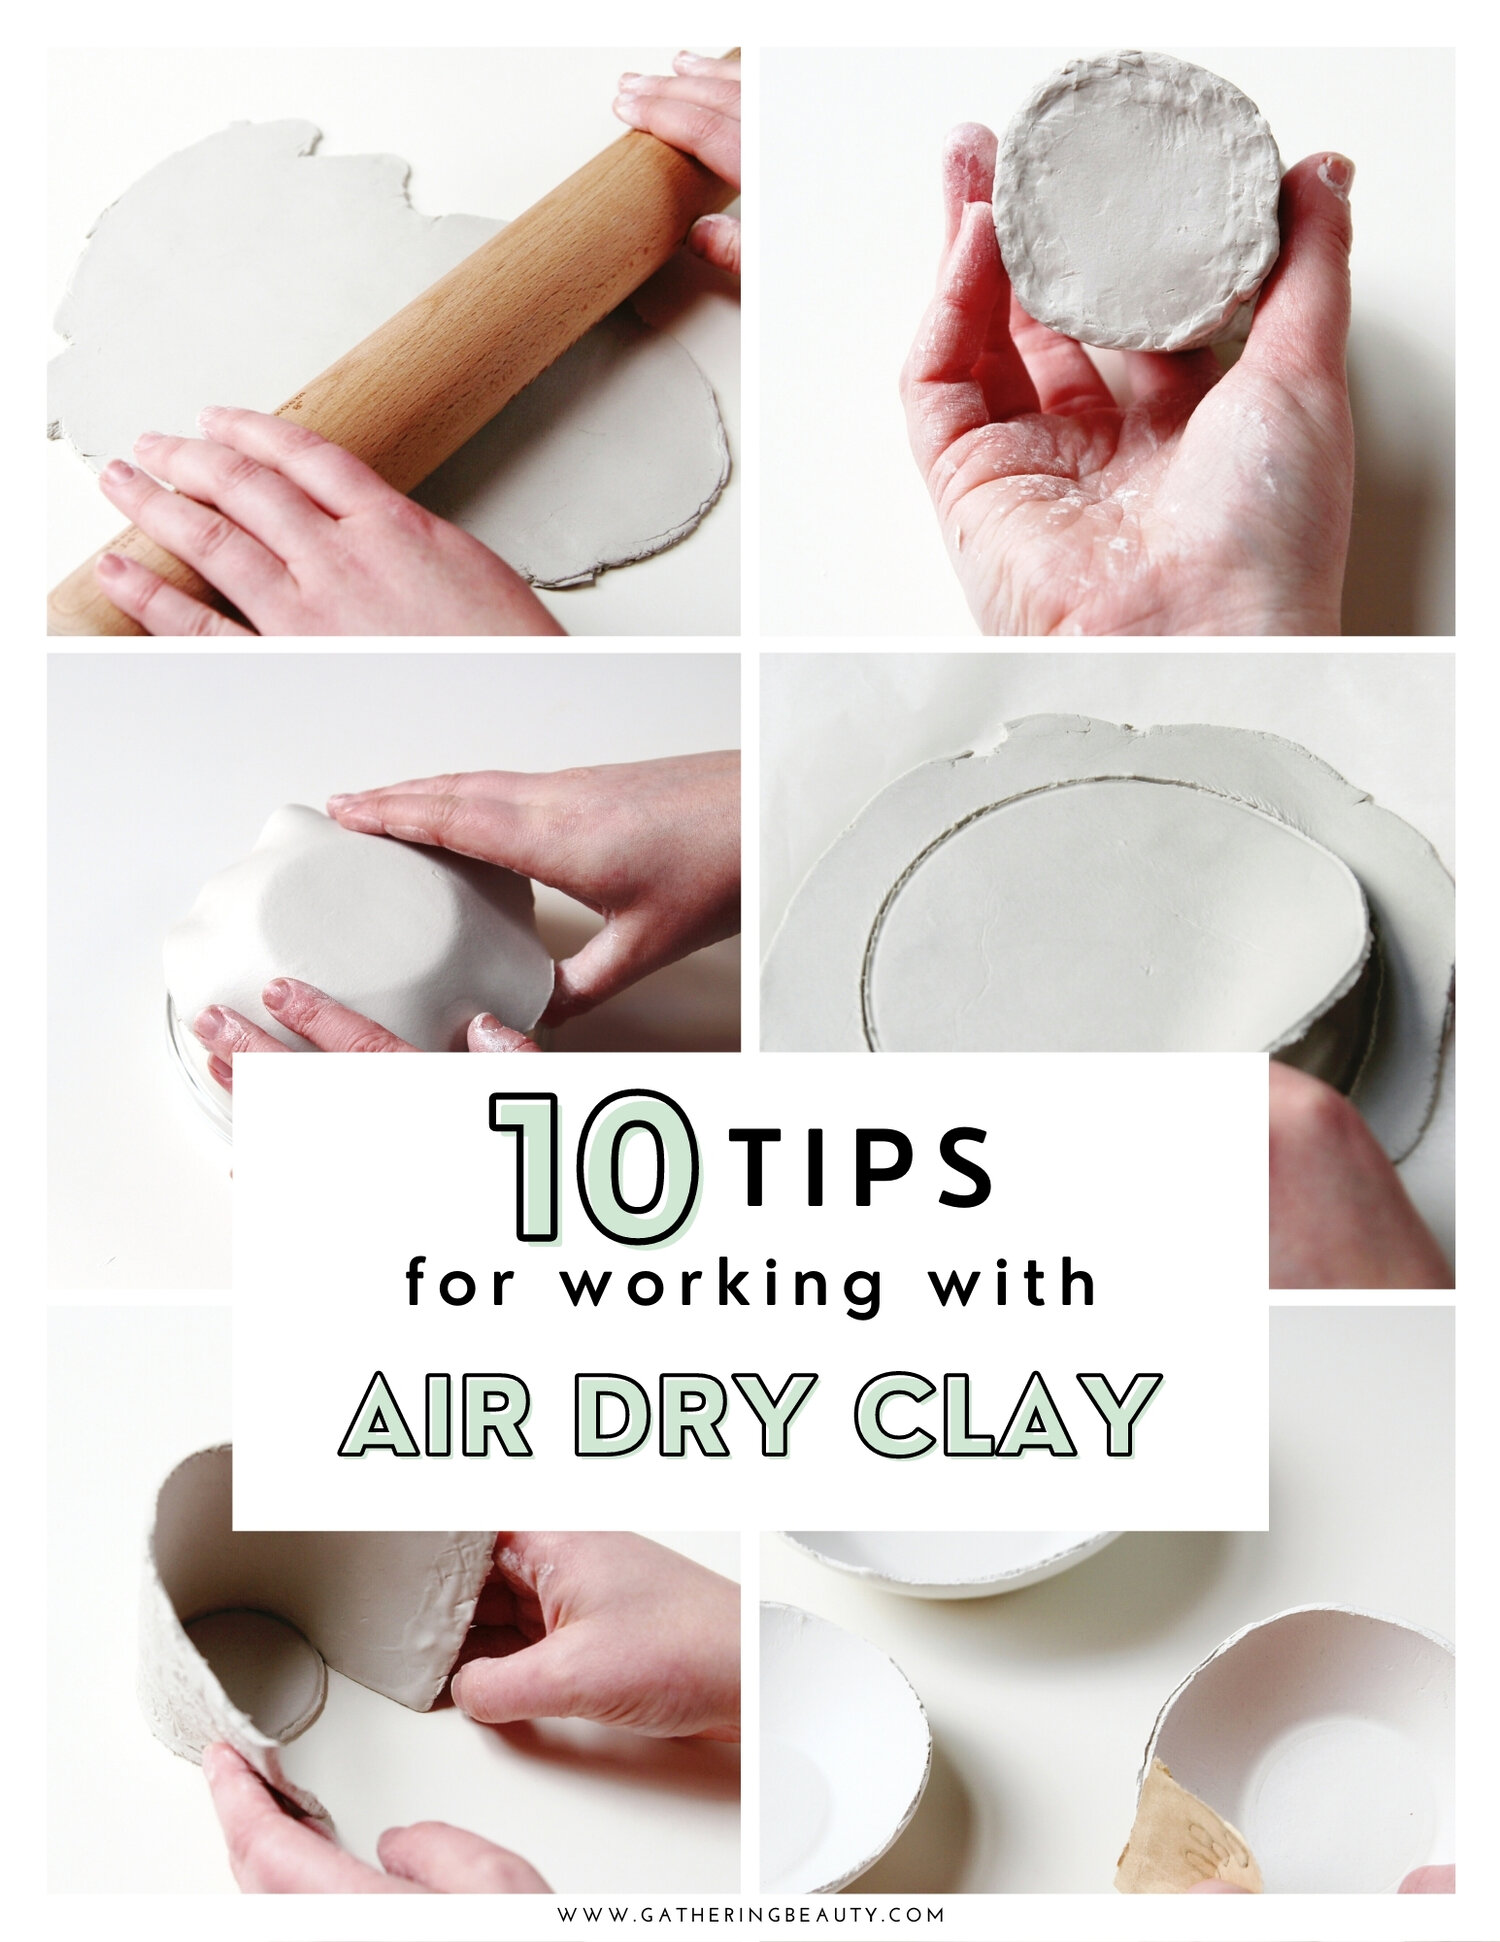
Materials Needed
Making air dry clay at home is simple and fun. You only need a few basic materials that you can find in your kitchen or craft supplies.
Gathering the right materials helps you create clay that is soft and easy to shape. Let's look at what you will need.
Flour
All-purpose flour is the main ingredient for air dry clay. It forms the base that holds everything together.
Salt
Salt adds texture and helps the clay dry harder. Use fine table salt for best results.
Water
Water binds the flour and salt into a dough. Use warm water to mix the ingredients smoothly.
Optional Materials
- Lemon juice or vinegar: Helps preserve the clay.
- Cooking oil: Adds softness and prevents cracking.
- Food coloring: Adds color to the clay.
- Mixing bowl: To combine materials.
- Measuring cups and spoons: For accurate amounts.
Basic Air Dry Clay Recipe
Making air dry clay at home is easy and fun. You can use it for crafts and decorations.
This recipe uses simple ingredients you probably have in your kitchen. It dries without baking.
Ingredients Needed
- 1 cup of baking soda
- 1/2 cup of cornstarch
- 3/4 cup of water
Instructions To Make Clay
- Mix baking soda and cornstarch in a pot.
- Add water slowly and stir well.
- Cook on low heat, stirring constantly.
- When mixture thickens and forms a dough, remove from heat.
- Let it cool before kneading on a flat surface.
Tips For Best Results
| Tip | Reason |
| Keep clay covered | Prevents drying out |
| Knead well | Makes clay smooth |
| Store in airtight container | Keeps clay fresh |
| Use acrylic paint | For coloring finished pieces |
Step-by-step Mixing Process
Making air dry clay at home is easy and fun. Follow these steps to create your own clay.
You'll need basic ingredients found in most kitchens. Let's start mixing.
Gather Your Ingredients
First, collect all the necessary ingredients. You will need flour, salt, water, and oil.
- 1 cup of flour
- 1/2 cup of salt
- 1/2 cup of water
- 1 tablespoon of oil
Mix Dry Ingredients
Start by mixing flour and salt in a bowl. Use a spoon to blend them well.
Add Wet Ingredients
Slowly pour water into the dry mix. Add oil next and stir until smooth.
Knead The Mixture
Use your hands to knead the mixture. Keep kneading until it feels like dough.
Check The Consistency
If the clay is sticky, add a bit more flour. If too dry, add a drop of water.
Store Your Clay
Place the clay in an airtight container. This keeps it soft for future use.
Tips For Perfect Texture
Making air dry clay at home is fun and easy. You can shape it into anything you like. Getting the texture right is important for the best results.
Follow these tips to achieve smooth and pliable clay. Perfect texture makes crafting more enjoyable.
Use The Right Ingredients
The right ingredients make a big difference. Use cornstarch, baking soda, and water for the base.
- Measure ingredients accurately
- Mix until smooth
- Avoid lumps for better texture
Mix Consistently
Consistent mixing prevents clumps. Stir your ingredients until you see a smooth blend.
Use a spoon or whisk for best results. Consistent mixing gives your clay a smooth finish.
Adjust Moisture Levels
Moisture affects clay texture. Add water if the clay feels dry. Add cornstarch if too wet.
- Test by touching the clay
- Adjust slowly to avoid overdoing
- Achieve a soft yet firm feel
Store Properly
Store clay in an airtight container. This keeps it from drying out too quickly.
Proper storage ensures your clay stays ready for use. It remains soft and easy to shape.
Knead Thoroughly
Kneading makes clay smooth and elastic. It helps distribute moisture evenly.
Work the clay with your hands until it feels right. This step is key for perfect texture.
Shaping And Molding Techniques
Shaping and molding air dry clay is a fun way to create art and useful items. This guide shows simple ways to work with clay at home.
Good shaping helps your project look smooth and strong. Use your hands and tools to make different shapes and designs.
Rolling And Flattening
Rolling clay helps make flat pieces for many projects. Use a rolling pin or smooth bottle to flatten clay evenly.
You can roll clay to different thicknesses. Thin pieces dry faster but may be fragile. Thick pieces hold shape well but take longer to dry.
- Lightly dust the surface with cornstarch to stop sticking
- Roll from the center outwards evenly
- Use guides like sticks to keep thickness consistent
Pinching And Pulling
Pinching clay shapes small bowls or pots. Use thumb and fingers to pinch clay gently while turning it.
Pulling stretches clay to make thin edges or long shapes. Do this slowly to avoid tears.
- Keep clay moist to prevent cracks
- Work slowly to keep control
- Smooth edges with a damp finger
Using Molds And Cutters
Molds help create shapes quickly and evenly. Press clay into silicone or plastic molds for detailed designs.
Cutters come in many shapes. Press cutters into flat clay to make decorations or parts for bigger projects.
- Lightly dust molds and cutters with cornstarch
- Press clay firmly but gently
- Remove excess clay with a knife or tool
Smoothing And Joining Pieces
Smoothing gives clay a clean, polished look. Use a wet finger or soft brush to smooth surfaces and edges.
Join pieces by pressing edges together. Use a little water or clay slip to help bond parts firmly.
- Score surfaces before joining for better hold
- Press pieces firmly without squashing shape
- Smooth seams carefully for a neat finish
Adding Texture And Details
Add texture to clay using tools like toothpicks, forks, or stamps. This makes your project more interesting.
Details like lines, dots, or patterns can make your work unique. Press or carve gently to avoid breaking clay.
- Try pressing fabric or leaves for natural textures
- Use small tools for fine details
- Work on leather-hard clay for best results

Drying Time And Methods
Air dry clay is easy to make at home. It dries naturally without baking. Understanding drying time and methods helps you get the best results.
Drying depends on clay thickness, humidity, and air flow. Different methods speed up or slow down drying.
Natural Air Drying
Leave your clay piece in a dry, warm place. Natural air drying takes the longest but is gentle on your work.
Thin pieces dry in 24 hours. Thick pieces may need 2 to 3 days or more.
- Place clay on a flat, clean surface
- Turn the piece after 12 hours for even drying
- Avoid direct sunlight to prevent cracking
Using A Fan
A fan speeds up drying by moving air around the clay. This helps water evaporate faster.
With a fan, thin pieces dry in 12 to 24 hours. Thick pieces dry in 1 to 2 days.
- Set the fan on low or medium speed
- Keep the fan about one foot away from the clay
- Do not point the fan too close to avoid cracks
Using A Dehumidifier
A dehumidifier removes moisture from the air. It helps clay dry faster in humid rooms.
This method works best for thick clay pieces. Drying time shortens by almost half.
- Place clay in a small room with a dehumidifier
- Keep the room temperature warm
- Check the clay daily to avoid over-drying
Using A Paper Towel Or Cloth
Covering your clay with a paper towel or cloth helps absorb moisture. It also protects the clay surface.
This method works well during the first few hours of drying. Remove the cover once the clay firms up.
- Place a damp paper towel over the clay
- Change the towel if it dries out
- Remove the towel after 6-12 hours
Painting And Finishing Touches
After making air dry clay creations at home, painting and finishing add beauty and durability.
These steps help your project look polished and last longer.
Choosing The Right Paint
Acrylic paint works best on air dry clay. It dries fast and sticks well to the surface.
- Use water-based acrylic paint for easy cleanup
- Apply thin layers to avoid cracking
- Choose bright colors for a lively look
- Test paint on a small clay piece first
Sealing Your Clay Project
Sealing protects the paint and clay from moisture and damage. It also gives a nice shine or matte finish.
| Sealer Type | Finish | Best For |
| Glossy Varnish | Shiny | Bright colors and smooth surfaces |
| Matte Varnish | Flat | Soft, natural look |
| Spray Sealer | Varies | Quick and even coverage |
Adding Fine Details
Use fine brushes or tools to paint small details. This adds character and depth to your work.
Tips for fine detail painting:
- Use a toothpick or small brush
- Work in a well-lit area
- Be patient and let each layer dry
Troubleshooting Common Issues
Making air dry clay at home is fun but can have some problems. These issues may affect how your clay feels or dries.
Here are common problems and easy ways to fix them. Follow these tips to get better clay every time.
Clay Is Too Sticky
If your clay sticks to your hands or tools, it has too much moisture. This makes it hard to shape.
To fix sticky clay, add a little dry flour or cornstarch. Knead it in slowly until the clay feels soft but not sticky.
- Use small amounts of flour or cornstarch
- Mix well and test stickiness often
- Avoid adding too much or clay will dry out
Clay Cracks When Drying
Clay cracks if it dries too fast or is too thick. Cracks make your project look rough and can break pieces.
To prevent cracks, dry your clay slowly in a cool, dry place. Make thin layers or small shapes so drying is even.
- Keep clay away from direct sunlight
- Turn clay pieces often while drying
- Add a little water and knead if cracks appear
Clay Is Too Hard To Shape
Sometimes air dry clay can feel stiff and hard to work with. This happens if the clay is too dry or old.
To soften it, add a few drops of water and knead well. You can also warm the clay in your hands before shaping.
- Add water slowly, a few drops at a time
- Use clean hands to avoid dirt in clay
- Store unused clay in an airtight container
Clay Does Not Dry Properly
If your clay stays soft or damp after drying time, it may be too thick or too wet. This stops it from hardening.
Make sure to roll clay thin and dry in a well-ventilated area. Flip pieces to allow air on all sides for faster drying.
- Do not make thick shapes
- Dry in warm, dry places with airflow
- Turn clay pieces often during drying
Clay Breaks Or Crumbles Easily
Clay can break if it is too dry or not mixed well. This makes your project fragile and weak.
Knead the clay thoroughly before use. Add a small amount of water if the clay feels crumbly. Keep clay moist but not wet.
- Mix clay well to avoid dry spots
- Add water carefully to improve flexibility
- Store clay properly to keep moisture
Creative Project Ideas
Air dry clay is easy to make and fun to use for many projects. You can create art and useful items at home.
Here are some creative ideas for your air dry clay projects. Try making these simple and beautiful crafts.
Decorative Bowls And Dishes
Make small bowls or dishes to hold keys, jewelry, or coins. Shape the clay into a bowl and let it dry.
Paint your bowls with bright colors or patterns. These make great gifts or home decorations.
Personalized Ornaments
Create ornaments for holidays or special days. Roll the clay flat and cut shapes like stars or hearts.
Add names or dates using a toothpick before the clay dries. Hang them with a ribbon or string.
Miniature Figurines
Use air dry clay to sculpt small animals, people, or fantasy characters. These are fun to make and display.
Mix colors before drying or paint your figurines after they harden for a lively look.
Custom Jewelry Pieces
Make beads or pendants from clay for unique necklaces and bracelets. Shape and dry your pieces carefully.
Use a toothpick to make holes for stringing. Paint and seal them for extra shine and durability.
Plant Markers
Create small flat shapes to label your plants. Write the plant names on the clay before it dries.
Attach them to sticks or skewers to place in pots or garden beds.

Frequently Asked Questions
What Ingredients Are Needed For Homemade Air Dry Clay?
Homemade air dry clay requires simple ingredients like flour, salt, water, and white glue. These common items create a smooth, moldable clay that dries without baking. Adding a little oil helps improve texture and flexibility.
How Long Does Air Dry Clay Take To Dry?
Air dry clay typically takes 24 to 48 hours to fully dry, depending on thickness and humidity. Thin pieces dry faster, while thicker ones need more time. Ensure proper air circulation for even drying and avoid cracking.
Can Air Dry Clay Be Painted After Drying?
Yes, air dry clay can be painted once fully dry. Use acrylic paints for best results. After painting, seal the piece with a clear varnish to protect the surface and enhance durability.
Is Homemade Air Dry Clay Non-toxic And Safe?
Homemade air dry clay is generally non-toxic and safe for kids, especially when made with natural ingredients. However, avoid ingestion and supervise young children during use to prevent choking hazards.
Conclusion
Making air dry clay at home is simple and fun. You only need a few common ingredients. This clay lets you create many crafts easily. It dries without baking or special tools. You can paint and decorate your creations once dry.
This project saves money and encourages creativity. Try making your own clay today and enjoy crafting!






