

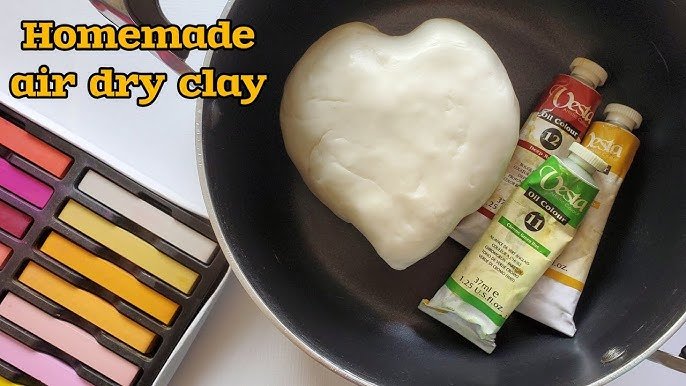
Are you ready to create beautiful crafts without spending a lot of money? Making air dry clay at home is easier than you think.
With just a few simple ingredients you probably already have, you can make your own clay that dries hard and is perfect for all kinds of projects. Imagine the satisfaction of shaping your ideas into real objects, all from the comfort of your kitchen.
Keep reading, and you’ll discover a step-by-step guide that makes the process quick, fun, and stress-free. Your next masterpiece is just a few minutes away!

Ingredients Needed
Making air dry clay at home is simple. You need a few basic ingredients that are easy to find.
Some optional additives help improve texture and durability. Let's look at what you need.
Basic Ingredients List
These ingredients form the base of your air dry clay. They mix well and dry hard.
- 1 cup of baking soda
- 1/2 cup of cornstarch
- 3/4 cup of water
- 1 tablespoon of white glue (optional for extra strength)
- Food coloring (optional for color)
Optional Additives For Texture
Additives can change the feel and workability of the clay. Use them as needed.
| Additive | Purpose | Amount |
|---|---|---|
| Vegetable oil | Makes clay softer and less sticky | 1 teaspoon |
| White glue | Improves hardness and durability | 1 tablespoon |
| Vaseline or petroleum jelly | Prevents cracking | 1 teaspoon |
Tools Required
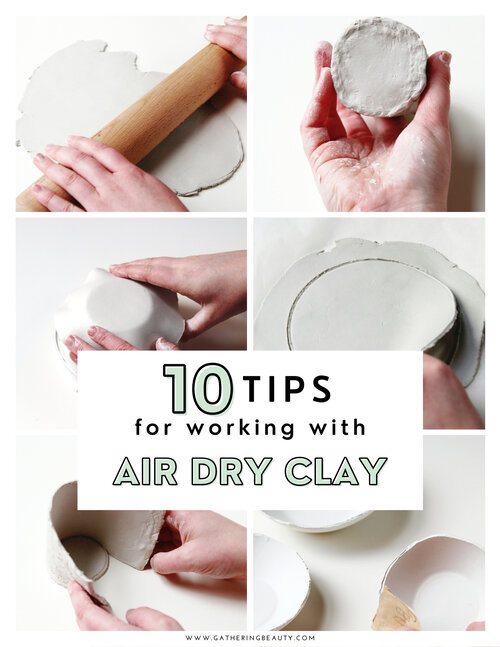
Making air dry clay at home is easy with the right tools. Gather simple items from your kitchen and crafting supplies.
These tools help you mix and shape the clay smoothly. Let’s look at what you need.
Essential Kitchen Tools
Most kitchen tools you already have can be used to make air dry clay. These items help you measure, mix, and prepare the clay ingredients.
- Measuring cups and spoons for accuracy
- Mixing bowls to combine ingredients
- Spoons or spatulas for stirring
- Rolling pin to flatten the clay
- Plastic wrap to cover the clay while drying
- Kitchen scale for precise weighing
Crafting Supplies
Crafting tools help you shape and decorate the air dry clay after making it. You can use simple supplies for various designs.
| Tool | Use |
| Craft knife | Cut and carve details in the clay |
| Clay shaping tools | Create textures and patterns |
| Sandpaper | Smooth rough edges after drying |
| Paintbrushes | Apply paint or sealant |
| Acrylic paints | Add color to finished pieces |
Step-by-step Clay Recipe
Making air dry clay at home is simple and fun. You only need a few ingredients.
This guide shows you how to mix, knead, and adjust the clay for the best results.
Mixing Ingredients
Start by gathering all your ingredients. Mix them well to create the clay dough.
- 1 cup of baking soda
- 1/2 cup of cornstarch
- 3/4 cup of water
Combine baking soda and cornstarch in a pot. Slowly add water while stirring.
Kneading The Dough
After mixing, let the dough cool a little. Then knead it on a smooth surface.
- Lightly flour your hands and surface.
- Press and fold the dough repeatedly.
- Keep kneading until smooth and soft.
- Avoid sticky or dry texture.
Adjusting Consistency
You might need to add water or cornstarch to get the right feel. Use small amounts.
| Issue | Solution |
|---|---|
| Clay is too dry | Add a few drops of water and knead again |
| Clay is sticky | Sprinkle cornstarch and knead until smooth |
| Clay cracks after drying | Knead longer and add a little water if needed |
Tips For Smooth Clay
Making air dry clay at home is simple and fun. Smooth clay gives a better finish to your crafts. Using the right tips will help you avoid cracks and improve flexibility.
Below are some useful tips to keep your clay smooth and easy to work with. These ideas help your clay last longer and look great.
Preventing Cracks
Cracks happen when the clay dries too fast or unevenly. To stop cracks, keep the clay moist and dry it slowly. Adding the right ingredients can also help.
- Cover your clay with a damp cloth while working.
- Use a mix of glue and water to keep it smooth.
- Dry clay in a cool, shaded place, not in direct sunlight.
- Work the clay well to remove air bubbles before shaping.
- Store unused clay in an airtight container.
Enhancing Flexibility
Flexible clay is less likely to break when shaped. Adding some softening agents makes the clay bend easily. This helps in creating detailed and curved designs.
| Ingredient | Effect on Clay |
| White glue | Makes clay sticky and flexible |
| Baby oil | Softens clay texture |
| Vaseline | Improves elasticity |
| Glycerin | Keeps clay moist and bendable |
Crafting Ideas
Making air dry clay at home is fun and easy. You can create many craft projects with it.
This clay is soft to shape and hardens without baking. It is perfect for kids and adults.
Simple Projects For Beginners
Start with small and easy projects to get used to the clay. Simple shapes and items work best.
You can make decorations or small gifts with a few basic tools and your hands.
- Make small beads for jewelry
- Create simple animal figures
- Shape keychains or fridge magnets
- Craft tiny bowls or dishes
- Design plant pot labels
Advanced Crafting Techniques
Try more detailed work as you get confident with air dry clay. Use tools for texture and shape.
Painting and sealing your projects add color and durability. Layering clay can create complex designs.
- Use sculpting tools for fine details
- Mix colors into the clay before shaping
- Build layered or hollow objects
- Paint finished pieces with acrylics
- Seal with clear varnish for strength
Drying And Finishing
Making air dry clay at home is a fun activity. Drying and finishing are key steps for great results.
Proper drying prevents cracks and ensures durability. Finishing adds beauty and protection to your creations.
Air Drying Times
Air dry clay dries slowly at room temperature. It usually takes 24 to 72 hours.
Thicker pieces need more time to dry completely. Rotate them for even drying.
- Thin items: 24 hours
- Medium thickness: 48 hours
- Thick pieces: 72 hours or more
Sanding And Painting
Sanding smooths the surface of your clay pieces. Use fine sandpaper for best results.
Painting adds color and character. Acrylic paints work well on air dry clay.
- Sand gently to avoid damage
- Use a soft brush for painting
- Seal with varnish for protection
Storage And Shelf Life
Keeping air dry clay fresh is important for all your crafting needs. Proper storage ensures the clay remains usable for a long time.
Learn how to store your clay and extend its shelf life easily. Follow these simple tips to make the most of your air dry clay.
Keeping Clay Fresh
To keep your clay fresh, you must store it correctly. This helps maintain its texture and workability.
- Store clay in an airtight container
- Keep it in a cool, dry place
- Use plastic wrap to seal the clay
Reusing Leftover Clay
Leftover clay can be reused if you keep it properly. This saves money and reduces waste.
Try these tips:
- Add a few drops of water to soften it
- Wrap tightly with plastic wrap
- Store in a sealed bag to avoid drying out

Frequently Asked Questions
What Ingredients Are Needed For Homemade Air Dry Clay?
You need basic ingredients like white glue, cornstarch, baking soda, and water. These are easy to find and safe to use. Mixing them creates a smooth, moldable clay that dries without baking. This makes it perfect for crafts and kids’ projects at home.
How Long Does Air Dry Clay Take To Dry?
Air dry clay usually takes 24 to 48 hours to fully dry. Drying time depends on the thickness and humidity. Thin pieces dry faster, while thicker ones need more time. Always let your clay air dry completely to avoid cracks and ensure durability.
Can I Paint Air Dry Clay After It Dries?
Yes, you can paint air dry clay once it’s dry. Use acrylic paints for best results. Paint adds color and detail to your projects. Allow the paint to dry fully before handling or sealing your clay item.
Is Homemade Air Dry Clay Safe For Kids?
Homemade air dry clay is generally safe for kids when made with non-toxic ingredients. Always supervise young children during use. Avoid ingestion and wash hands after play. This clay is a fun, creative, and safe craft material for children.
Conclusion
Making air dry clay at home is simple and fun. You only need a few common ingredients. This craft saves money and lets you create anything you want. Drying time depends on the clay’s thickness, so be patient. Store leftover clay in an airtight container to keep it fresh.
Try different shapes and colors to enjoy the process. Homemade clay offers endless creative possibilities. Start your project today and see the results!






