Looking to add a unique touch to your space without spending a fortune? Making a wall lamp at home is easier than you think—and it gives you full control over style and brightness.
Imagine creating a warm, cozy glow tailored exactly to your taste. In this guide, you’ll discover simple steps that turn everyday materials into a stunning wall lamp. Ready to brighten your room and impress your guests with your own handiwork?
Keep reading, and let’s get started!

Credit: www.youtube.com
Materials Needed
Making a wall lamp at home requires a few basic materials. Gather the items before starting the project.
Organizing materials helps the process go smoothly and safely.
Lighting Components
These parts make the lamp light up and work properly.
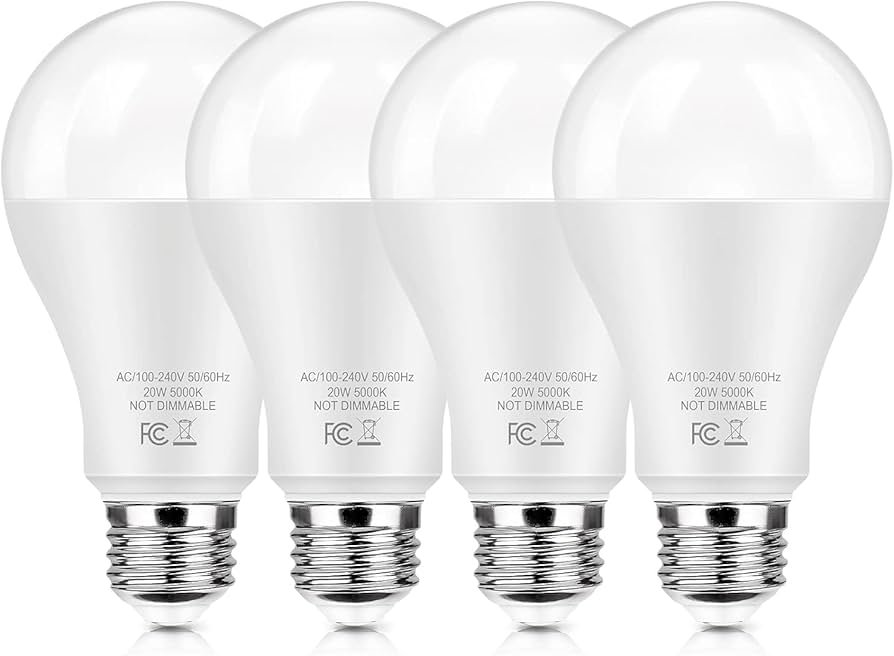
- Light bulb (LED or incandescent)
- Socket holder for the bulb
- Electrical wires
- Switch to turn lamp on and off
- Power plug or direct wiring connector
- Lamp shade or cover
Tools Required
| Tool | Purpose |
| Screwdriver | To fix parts together |
| Wire stripper | To remove insulation from wires |
| Drill | To make holes for mounting |
| Measuring tape | To measure sizes and distances |
| Pliers | To hold and twist wires |
| Voltage tester | To check electrical current |
Safety Gear
Wear safety gear to protect yourself during the work.
- Insulated gloves to avoid electric shock
- Safety goggles to protect eyes from dust
- Mask to avoid inhaling particles
- Closed shoes to protect feet

Credit: www.youtube.com
Choosing The Right Design
Creating a wall lamp at home starts with picking the right design. The design affects how the lamp looks and lights your space.
Think about style, decor, and where to place your lamp before you begin building it.
Styles To Consider
Choose a style that fits your taste and room theme. You can select from many designs like modern, rustic, or industrial.
- Modern: clean lines and simple shapes
- Rustic: natural materials like wood and metal
- Industrial: exposed bulbs and metal pipes
- Vintage: classic shapes with soft lighting
- Minimalist: small and subtle with neutral colors
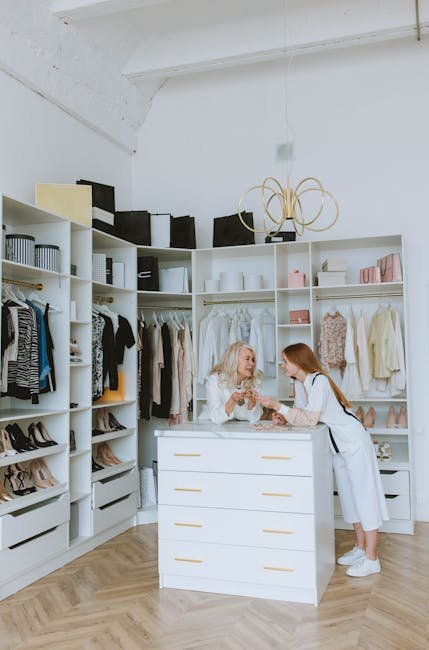
Matching Your Decor
Match the lamp’s design to your room’s style. The lamp should blend with your furniture and wall colors.
| Room Style | Suggested Lamp Design |
| Modern | Metal and glass with sharp edges |
| Rustic | Wood and iron with rough textures |
| Traditional | Ornate shapes with warm colors |
| Minimalist | Simple shapes with neutral tones |
| Industrial | Exposed bulbs and metal fixtures |
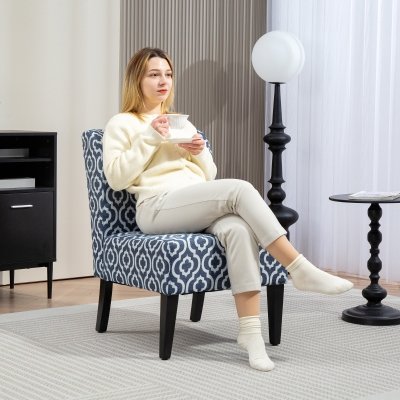
Size And Placement
Pick a lamp size that fits your wall space. Think about how high or low to place it for the best light.
- Small lamps work well in narrow spaces or hallways
- Large lamps suit living rooms or bedrooms
- Place lamps near seating or reading areas
- Avoid blocking windows or artwork
- Check that the lamp does not hang too low
Preparing The Workspace
Making a wall lamp at home needs a clean and safe workspace. Organizing your area helps you work better and faster.
Before starting, prepare your space to avoid accidents and keep tools handy. This saves time and effort.
Clearing The Area
Clear your workspace by removing all unnecessary items. This gives you enough room to work comfortably.
Make sure the surface is flat and clean. Dust or clutter can cause mistakes or damage to your lamp parts.
Gathering Supplies
Collect all tools and materials before you start. This keeps you focused and avoids interruptions.
- Wall lamp parts (socket, bulb, wiring)
- Screwdrivers and pliers
- Wire cutters and strippers
- Electrical tape and connectors
- Drill and screws
- Protective gloves and goggles
Setting Up For Safety
Safety is very important when working with electrical parts. Prepare your space to avoid accidents.
Wear gloves and goggles to protect your hands and eyes. Keep a first aid kit nearby just in case.
- Turn off power before working on wiring
- Use insulated tools to avoid shocks
- Keep liquids away from your workspace
- Work in a well-lit area
- Keep children and pets out of the workspace
Building The Lamp Frame
Building the lamp frame is the first step in making a wall lamp at home. A strong frame holds all parts together and gives shape to your lamp.
In this section, you will learn how to select materials, cut and assemble parts, and secure the frame safely.
Selecting Materials
Choose materials that are sturdy and easy to work with. Wood and metal are common choices for lamp frames. Also, select screws, nails, or glue for joining parts.
- Wood: pine or plywood are good options
- Metal: aluminum or steel for durability
- Fasteners: screws, nails, or strong glue
- Tools: saw, screwdriver, measuring tape
Cutting And Assembling
Measure and cut the materials carefully to fit your lamp design. Assemble the pieces to form the basic frame shape before securing them.
| Material | Cut Size (inches) | Purpose |
|---|---|---|
| Wood Plank | 12 x 4 | Main frame sides |
| Wood Strip | 12 x 1 | Support beams |
| Metal Rod | 8 length | Mounting arm |
Securing The Frame
Join the cut parts tightly to keep the frame stable. Use screws or nails for wood and weld or bolts for metal. Check all connections before moving on.
- Pre-drill holes to avoid wood splitting
- Use clamps to hold parts while fastening
- Apply wood glue for extra strength
- Double-check alignment before tightening screws
Wiring The Lamp
Wiring a wall lamp is an important step to make it work safely. This guide will help you connect the wires correctly and test the setup.
Always follow safety rules and turn off the power before working with electrical parts.
Basic Electrical Setup
First, gather the tools and materials you need for wiring. Use a voltage tester, wire strippers, screwdrivers, and electrical tape.
- Turn off the main power switch to avoid shocks
- Check the wall socket and wiring for damage
- Use wires that match your lamp’s voltage and current
- Make sure you have a proper switch and plug if needed
Connecting Wires
Connect the wires carefully to ensure the lamp works well. Match colors and secure connections tightly.
| Wire Color | Function |
| Black or Brown | Live wire (carries current) |
| White or Blue | Neutral wire (returns current) |
| Green or Green/Yellow | Ground wire (safety path) |
Strip the wire ends about 1 cm and twist wires together if needed. Use wire nuts or connectors to join wires.
Testing The Circuit
After wiring, test the lamp before fixing it to the wall. Testing avoids electrical issues and hazards.
- Turn on the main power switch
- Use a voltage tester to check current flow
- Switch the lamp on and off to check function
- Inspect connections for heat or sparks
- Turn off power before final installation
Adding Decorative Elements
Decorating your wall lamp can make it look special and match your room's style. You can use different ideas to add a personal touch.
Simple changes like painting, adding lampshades, or unique features can make your lamp stand out. Let's explore how to do this.
Painting And Finishing
Painting your lamp gives it color and protects the surface. Choose paint that works on wood, metal, or plastic parts.
Use smooth strokes and let each layer dry before adding more. Finish with a clear coat to make the paint last longer.
- Clean the lamp surface well before painting
- Use primer for better paint adhesion
- Apply thin, even layers of paint
- Add a clear sealant to protect the finish
Attaching Lampshades
Lampshades change how your lamp looks and the light it gives. Pick one that fits your lamp size and style.
Secure the lampshade with clips or screws. Make sure it is stable and does not touch the bulb to avoid heat problems.
- Measure your lamp to find the right shade size
- Choose colors and materials that match your room
- Use clips, screws, or adhesive for attachment
- Check that the shade is safe and secure
Incorporating Unique Features
Add special touches to your lamp to make it unique. Use items like decorative chains, beads, or small plants.
Think about adding features like dimmers or smart bulbs to change the light. These extras can improve both look and function.
- Decorate with natural elements like wood or stones
- Use colorful beads or fabric for a creative look
- Add a dimmer switch for light control
- Try smart bulbs for adjustable brightness and color
Mounting The Wall Lamp
Mounting a wall lamp at home is a simple task. Follow these steps for a successful installation.
Ensure you have all the necessary tools and materials before you begin. This will make the process smoother and quicker.
Finding The Right Spot
Choose a location that needs light. Consider places like hallways, bedrooms, or living rooms.
The spot should be near a power source. This makes wiring easier and safer.
- Avoid placing the lamp too high or too low
- Ensure the spot is accessible for maintenance
- Check for any wall obstructions
Installing Mounting Hardware
Mark the spot where you will install the hardware. Use a pencil for easy adjustments.
Drill holes into the wall at the marked spots. Insert wall anchors if needed for better support.
- Use a level to ensure straight placement
- Choose screws that fit your wall type
- Tighten the screws securely
Securing The Lamp
Attach the lamp to the mounted hardware. Ensure it is firm and stable.
Connect the electrical wires following safety guidelines. Test the lamp to check its functionality.
- Double-check all connections
- Use a voltage tester for safety
- Adjust the lamp for the best light angle
Troubleshooting Tips
Creating a wall lamp at home can be fun. Sometimes issues arise during installation. Here are some tips to troubleshoot common problems.
These tips will help you address wiring issues, loose connections, and brightness adjustments effectively.
Common Wiring Issues
Wiring issues can cause the lamp to not work. It is important to check all connections carefully.
- Ensure wires are connected to the correct terminals.
- Check for any damaged wires and replace them.
- Use a voltage tester to confirm the power supply.
Fixing Loose Connections
Loose connections can cause flickering or no light at all. Tighten all screws and connections to ensure stability.
Adjusting Brightness
If the lamp is too bright or too dim, adjust the brightness settings. This can often be done by changing the bulb or using a dimmer switch.
| Problem | Solution |
| Too Bright | Use a lower wattage bulb |
| Too Dim | Install a higher wattage bulb |
| Flickering | Check dimmer compatibility |

Credit: www.youtube.com
Frequently Asked Questions
How Do I Start Making A Wall Lamp At Home?
Begin by selecting a lamp design and gathering materials like a light bulb, socket, wires, and mounting board. Follow safety guidelines and plan your wiring carefully before assembly.
What Tools Are Needed To Make A Diy Wall Lamp?
You will need a screwdriver, wire strippers, drill, pliers, electrical tape, and a voltage tester. These tools help with wiring and securely mounting the lamp on the wall.
Can I Use Led Bulbs For Homemade Wall Lamps?
Yes, LED bulbs are energy-efficient, long-lasting, and generate less heat, making them ideal for DIY wall lamps. They also come in various brightness levels and colors.
How Do I Ensure Electrical Safety When Making A Wall Lamp?
Always turn off power at the breaker before working on wiring. Use insulated tools and double-check connections to prevent short circuits or shocks.
Conclusion
Creating a wall lamp at home is simple and fun. You only need a few materials and some time. This project adds a personal touch to any room. It also saves money compared to store-bought lamps. Try different designs to match your style.
Enjoy the warm light your handmade lamp gives. Small steps lead to great results. Start your DIY lamp today and brighten your space.