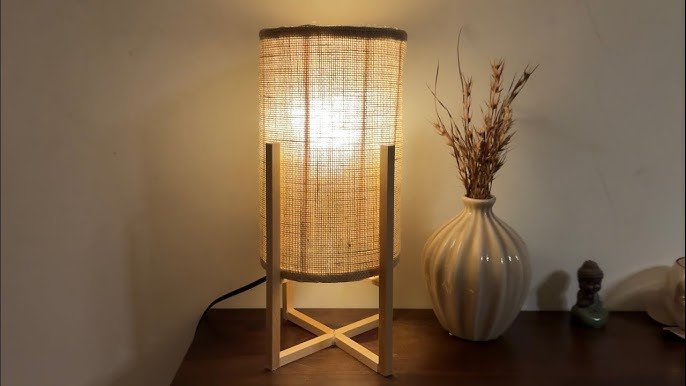
Have you ever wanted a unique floor lamp that fits perfectly with your style and space? Making your own floor lamp at home is easier than you think.
Not only will you save money, but you’ll also create something that truly reflects your personality. Imagine the satisfaction of lighting up your room with a lamp you built yourself. In this guide, you’ll discover simple steps and handy tips to turn everyday materials into a stylish, functional floor lamp.
Ready to brighten your home and your day? Let’s get started!

Credit: www.reddit.com
Materials Needed
Making a floor lamp at home is a fun project. You need the right materials to build it safely and well.
This guide covers the parts and tools you will need to create your floor lamp.
Choosing The Right Lamp Parts
Selecting good lamp parts helps your lamp last longer and look better. You will need a lamp socket, a lamp harp, and a lampshade. Also, pick a sturdy base and a long electrical cord.
- Lamp socket (with switch)
- Metal or wooden lamp base
- Lamp harp to hold the shade
- Lampshade (size matches the base)
- Electrical cord with plug
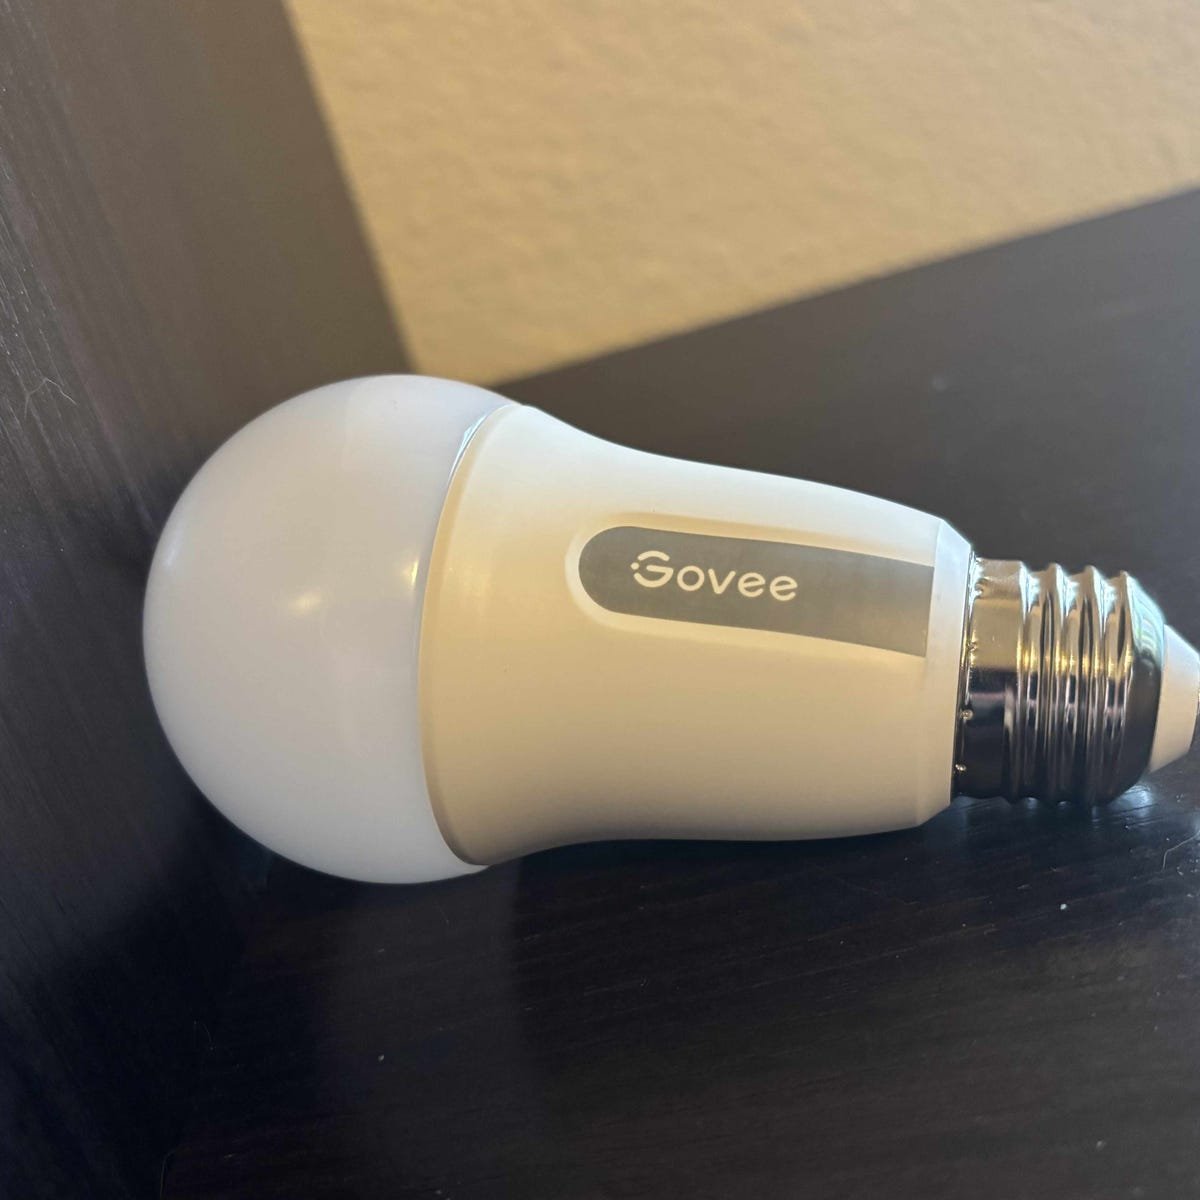
- Light bulb (LED or incandescent)
Tools Required For Assembly
Gathering the right tools makes the assembly easier and safer. You will need a few basic hand tools for wiring and fixing parts together.
| Tool | Purpose |
| Screwdriver | Tighten screws and secure socket |
| Wire stripper | Remove insulation from wires |
| Pliers | Bend and twist wires |
| Drill | Make holes in the base if needed |
| Measuring tape | Measure cord length and parts |
| Electrical tape | Insulate wire connections |
Selecting A Design
Choosing the right design is the first step to making a floor lamp at home. Your design sets the style and shape of the lamp.
Think about where you will place the lamp and what kind of light you want. This helps narrow down your design choices.
Simple Styles For Beginners
Simple floor lamp designs are easier to build and need fewer materials. Start with basic shapes like straight lines and clean edges.
Choose a tall, thin stand with a simple lampshade. This style fits many rooms and is easy to customize later.
- Use a wooden or metal pole for the lamp stand
- Pick a plain fabric or paper lampshade
- Keep the base stable but simple
- Add a basic on/off switch
Creative Ideas To Customize
After choosing a simple design, add your personal touch. This makes your floor lamp unique and matches your style.
Try using colorful paint, patterned fabrics, or unusual materials. Small details can change the look a lot.
- Paint the lamp stand in bright or pastel colors
- Use patterned or textured fabric for the lampshade
- Add decorative elements like beads or ribbons
- Use recycled items like bottles or wood for the base
Preparing The Base
The base is the most important part of a floor lamp. It keeps the lamp upright and safe to use.
Choosing the right base helps the lamp stand steady and last longer in your home.
Stable Base Options
You can use many materials to make a stable base. Heavy and wide bases work best for balance.
- Wooden blocks or thick wooden boards
- Concrete blocks or bricks
- Metal plates or discs
- Heavy ceramic pots filled with sand
- Stone slabs or marble pieces
Choose a base size that matches the lamp's height and weight for good support.
Tips For Weight And Balance
Weight helps keep the lamp from tipping over. A heavier base is safer for tall lamps.
Balance means the lamp stands straight and does not wobble. Check your base before use.
- Place weight low to keep the center of gravity down
- Use wide bases to increase stability
- Add rubber feet or pads to prevent slipping
- Test balance by gently pushing the lamp
- Adjust weight or base size if the lamp tilts
Assembling The Lamp Body
Building a floor lamp at home can be fun. Start with the lamp body. This is the main structure of your lamp.
You will need basic tools and materials. Ensure you have everything ready before you start.
Joining The Parts Safely
Safety is important when joining lamp parts. Make sure all parts fit well. Loose parts can cause problems.
Use strong glue or screws to secure the parts. Check each joint carefully to ensure stability.
- Check for sharp edges before assembling
- Wear safety gloves to protect your hands
- Use a level to ensure the lamp stands straight
Wiring Basics For Beginners
Wiring is a key part of making a lamp work. Learn the basics to do it safely.
Connect wires securely and follow instructions. Use a wire cutter and stripper for clean connections.
- Turn off power before you start wiring
- Use a multimeter to test the connections
- Secure wires with electrical tape for safety
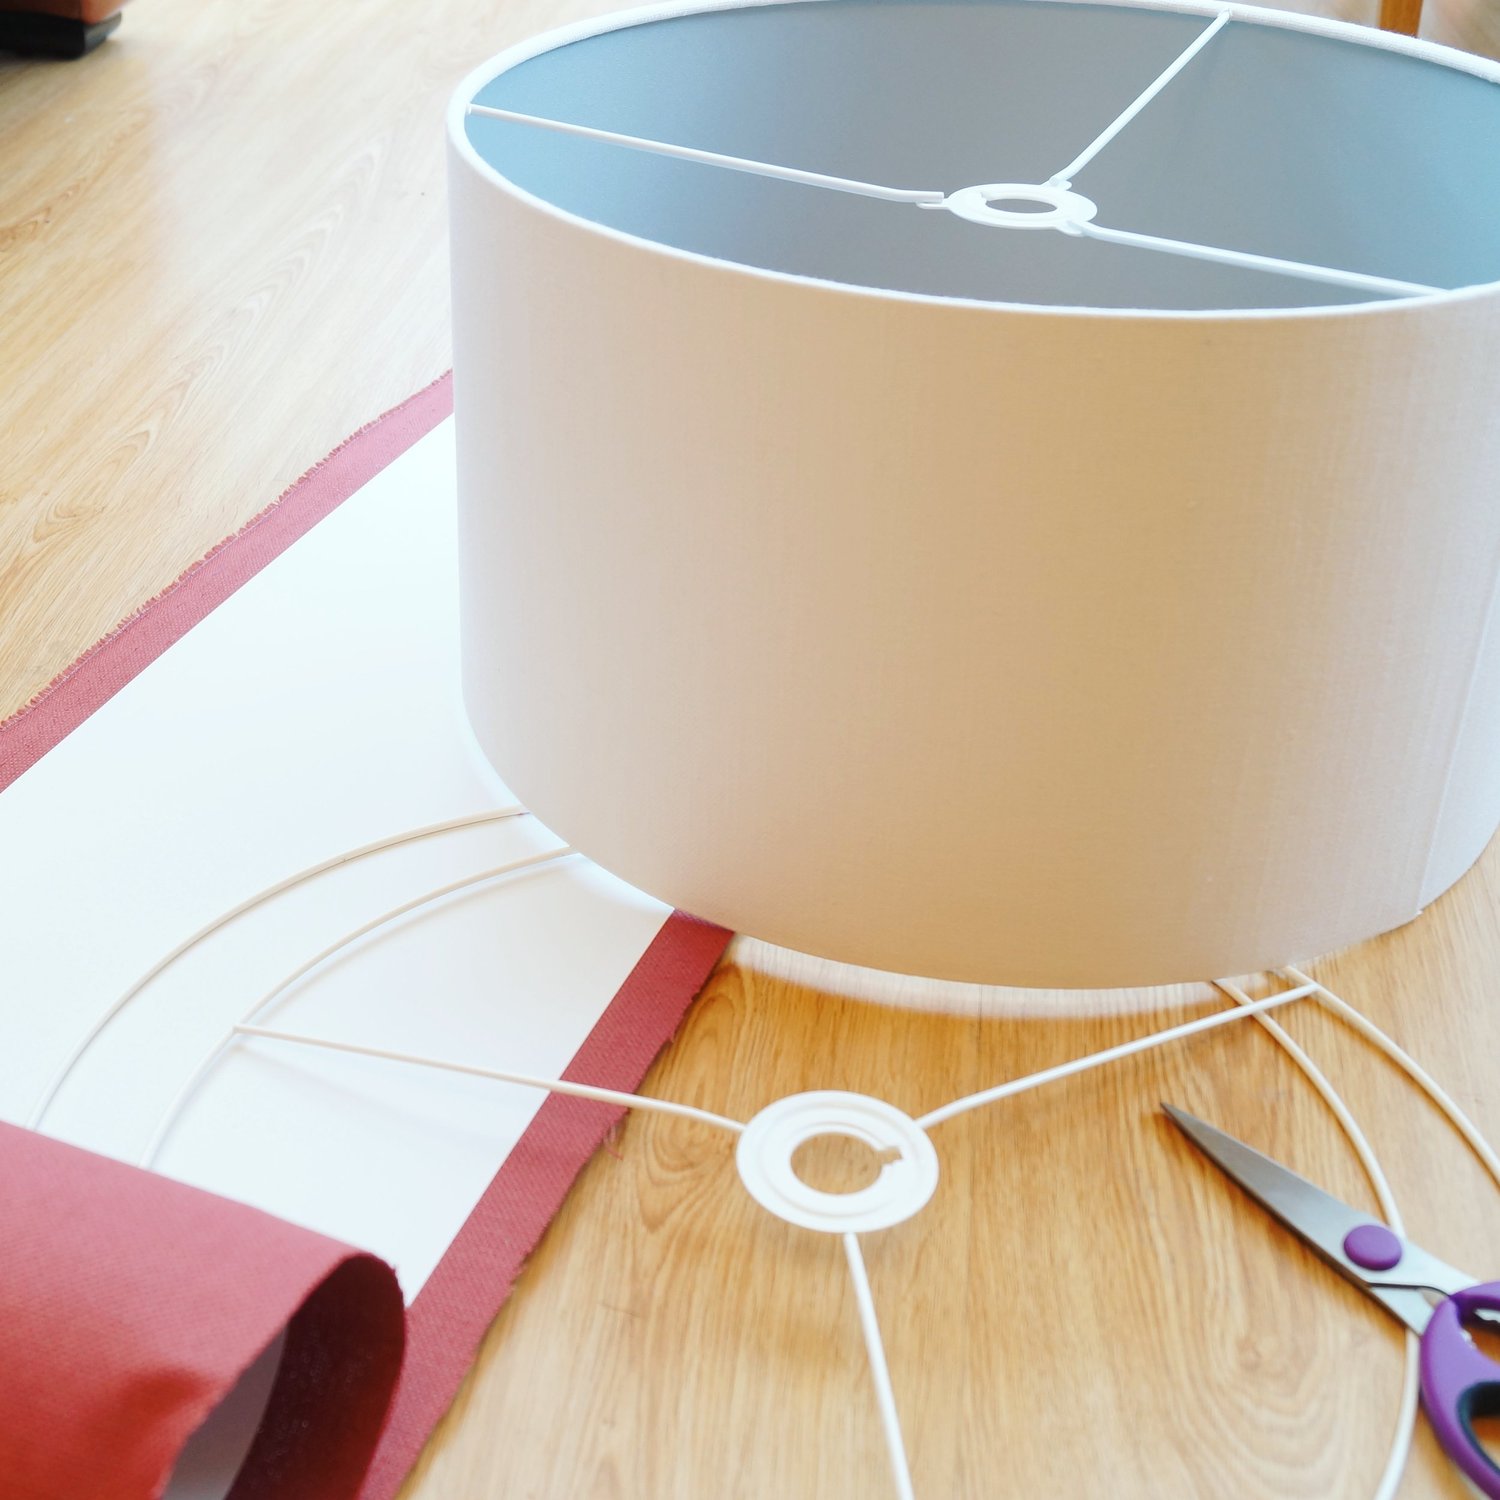
Adding The Lampshade
Adding a lampshade is an important step in making your floor lamp look complete. It changes the light's glow and adds style to the room.
Choose and attach the lampshade carefully to make sure it is safe and fits well with your lamp design.
Choosing The Right Shade
Select a lampshade that fits the size and style of your lamp base. The right shade will spread light nicely and match your room decor.
- Measure the lamp harp to pick a shade that fits well.
- Pick a color that matches or contrasts your room colors.
- Choose a material like fabric, paper, or metal based on light effect.
- Think about the shape: drum, cone, or empire to suit your lamp style.
Attaching The Shade Securely
Fix the lampshade firmly to keep it safe and stable. Use the right parts and check the lamp for balance.
| Attachment Method | Description | Tips |
| Spider Fitter | Top ring fits on the lamp harp with a finial | Tighten finial to secure shade |
| Uno Fitter | Shade fits directly on the lamp socket | Make sure it fits socket size |
| Clip-On | Shade clips onto the bulb | Use only with cool bulbs |
| Bayonet Fitter | Shade locks into the lamp base with tabs | Align tabs before twisting |
Finishing Touches
After assembling your floor lamp, adding the final touches makes it look complete. These steps help improve the lamp’s style and safety.
Focus on painting and decorating first, then test the lamp to ensure it works well and is safe to use.
Painting And Decorating
Choose paint that suits your lamp’s material, like spray paint for metal or wood paint for wooden parts. Painting protects the lamp and improves its look.
Decorate the lamp with simple designs or patterns using tape or stencils. You can also add fabric or paper to the lampshade for a unique style.
- Use light coats of paint for even coverage
- Let each layer dry before adding another
- Seal the paint with a clear finish for protection
- Add fabric or paper to lampshade with glue or tape
- Keep decorations away from bulb to avoid fire risk
Testing The Lamp
Check all wiring and connections before plugging in the lamp. Make sure there are no loose parts or exposed wires.
Turn on the lamp to see if the bulb lights up properly. Test the switch and move the lamp to check stability.
- Inspect wires for damage or loose ends
- Use a bulb with the correct wattage for your lamp
- Test the switch to make sure it works smoothly
- Place the lamp on a flat surface to prevent tipping
- Unplug the lamp if you find any issues and fix them
Safety Tips
Making a floor lamp at home can be fun. Safety is very important during this process. Always take precautions to prevent accidents.
Electrical components and other parts need careful handling. Ensure your work area is safe and organized.
Handling Electrical Components
Working with electrical parts requires attention. Ensure all wires are insulated to avoid shocks.
Use the right tools when handling wires. Make sure power is off before starting work.
- Turn off electricity before handling wires
- Use insulated tools for safety
- Check for damaged wires before use
Preventing Common Hazards
Be aware of common hazards while making a lamp. Avoid using wet hands when working with electrical parts.
Keep your workspace clear of clutter. This helps prevent trips and falls.
- Do not work with wet hands
- Keep the workspace tidy
- Store tools properly after use

Credit: www.youtube.com
Troubleshooting
Making a floor lamp at home can be fun but may bring some problems. Troubleshooting helps you find and fix these problems quickly.
This guide explains how to fix wiring issues and adjust the lamp for better stability. Follow these tips to keep your lamp safe and working well.
Fixing Wiring Issues
If your floor lamp does not light up or flickers, the wiring might have a problem. Check all wire connections to ensure they are tight and secure.
Look for any cuts or exposed wires. Replace or cover damaged wires with electrical tape to avoid shorts or shocks.
- Turn off power before checking wires
- Use a tester to check for voltage
- Secure loose wire connections
- Replace damaged wires promptly
- Cover exposed wires with tape
Adjusting The Lamp For Stability
A wobbly floor lamp can fall and cause damage or injury. Make sure the base is flat and heavy enough to hold the lamp steady.
If the lamp leans, tighten any loose screws or bolts. Add weight to the base if needed to improve balance.
- Place lamp on a flat surface
- Tighten loose parts carefully
- Add weight inside or under the base
- Use rubber pads to prevent slipping
- Test stability before use
Credit: www.livcornall.com
Frequently Asked Questions
What Materials Are Needed To Make A Floor Lamp At Home?
To make a floor lamp, you need a lamp kit, wooden or metal base, lampshade, electrical cord, bulb socket, and light bulb. Tools like a drill and screwdriver are also essential for assembly and safety.
How Do I Safely Wire A Homemade Floor Lamp?
Ensure the lamp is unplugged before wiring. Connect the wires from the socket to the power cord correctly. Use wire nuts to secure connections and test with a voltage tester before using the lamp.
Can I Customize The Lampshade For My Floor Lamp?
Yes, you can customize the lampshade using fabric, paper, or paint. Choose materials that diffuse light well and match your decor style. Customization adds a personal touch and enhances your lamp’s aesthetic appeal.
How Long Does It Take To Build A Floor Lamp At Home?
Building a floor lamp usually takes 1 to 3 hours. Time varies depending on your experience and the complexity of the design. Planning and preparation help speed up the process.
Conclusion
Making a floor lamp at home is simple and fun. It lets you add personal style to any room. You only need a few tools and materials to start. This project saves money and gives you a unique light source.
Try different designs to fit your space and taste. With patience, you can create a lamp that works well and looks great. Enjoy the warm light your handmade lamp brings to your home. Give it a try and see how easy it can be!