

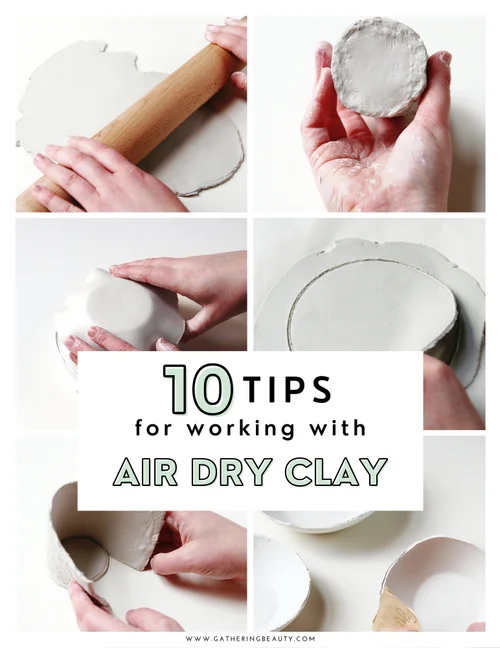
Have you ever created something beautiful with clay, only to worry it might break or crumble? Knowing how to harden clay at home can turn your soft creations into lasting treasures.
Whether you're working on a craft project, a gift, or just exploring your creativity, this simple skill will make all the difference. You’ll discover easy, effective ways to make your clay strong and durable—without needing special equipment. Keep reading, and you’ll soon bring your clay art to life in a whole new way.

Choosing The Right Clay
Choosing the right clay is important for successful home hardening. Different clays behave differently when dried.
Some clays are better suited for drying at home without a kiln. Learning about these types helps you get good results.
Types Suitable For Home Hardening
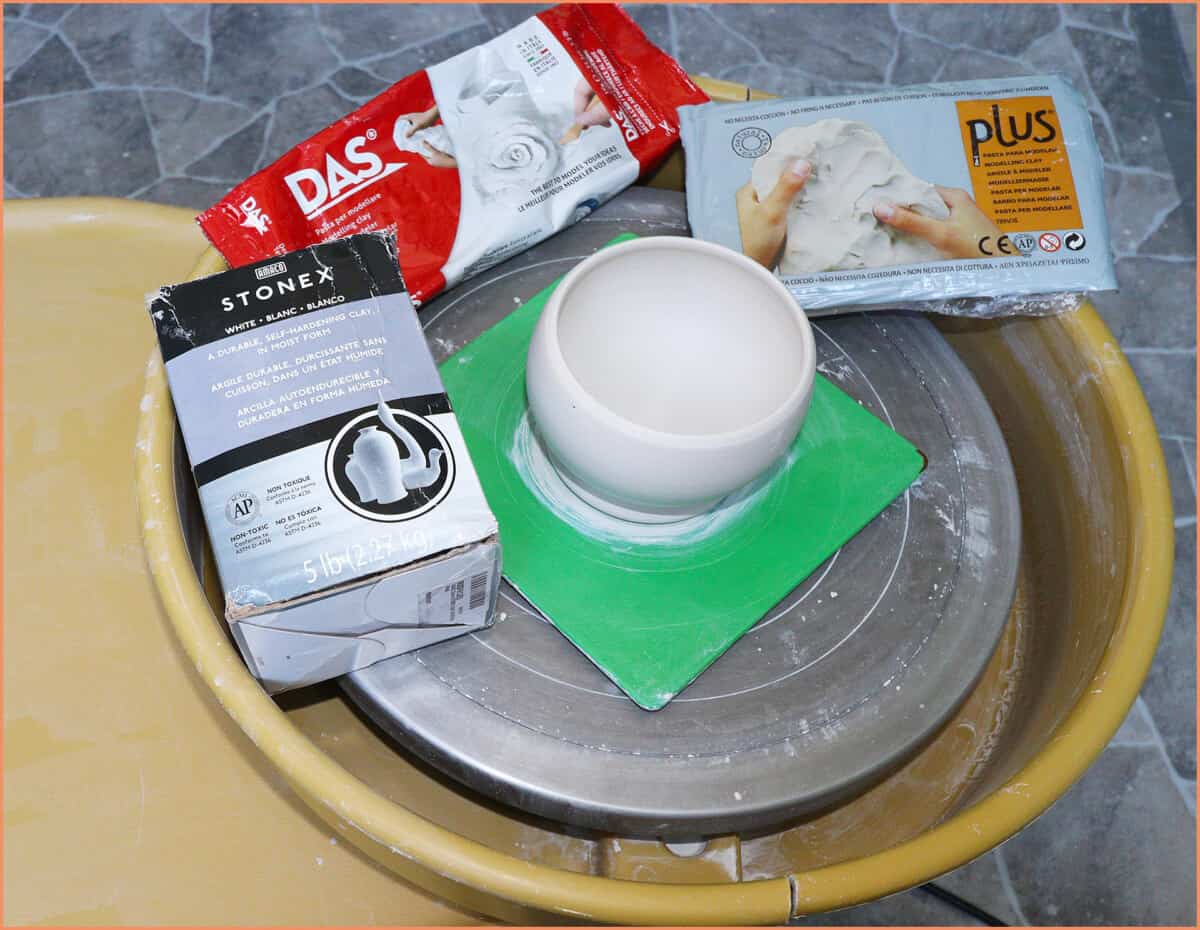
Natural air-dry clays work well for home projects. These clays harden as they lose moisture.
- Air-dry clay: Dries hard in open air, no firing needed.
- Paper clay: Mixes clay with paper fibers for strength and easy drying.
- Polymer clay: A synthetic clay that hardens in a home oven.
- Earthen clay: Needs slow drying; cracks if dried too fast.
Clay Preparation Tips
| Tip | Reason |
| Wedging the clay | Removes air bubbles to prevent cracks |
| Keep clay moist | Makes shaping easier and avoids drying too fast |
| Use smooth tools | Prevents unwanted marks and tears |
| Dry slowly | Reduces risk of cracks and breakage |
| Store wrapped | Keeps unused clay fresh and pliable |

Air Drying Method
Harden clay at home using the air drying method. This process does not need a kiln or oven.
Air drying is simple and works well for many types of clay. It takes time but is easy to do.
Step-by-step Drying Process
First, shape your clay project and smooth any rough edges. Place it on a clean, flat surface.
Keep the clay in a dry, well-ventilated area. Avoid direct sunlight to stop fast drying.
- Place clay on a flat board or tray
- Turn the piece gently every day
- Let it dry slowly over several days
- Check for soft spots and dry them longer
Tips To Prevent Cracking
Cracks happen when clay dries too fast or unevenly. Control the drying speed to stop cracks.
Keep the clay covered loosely with plastic. Remove it for a short time each day for air flow.
- Dry clay in a cool, shaded place
- Cover clay with a damp cloth if cracks start
- Use thin layers of clay for faster drying
- Do not rush the drying process
Baking Clay In Oven
Baking clay at home is a simple way to harden your craft projects. Oven-baking makes the clay strong and durable.
This method works well for polymer clay and some air-dry clays. Follow temperature and timing rules to avoid damage.
Temperature And Timing Guidelines
Use the correct oven temperature to harden clay without burning it. Timing depends on the clay thickness and type.
- Set oven temperature between 230°F and 275°F (110°C - 135°C)
- Bake small pieces for 15-30 minutes
- Thicker pieces may need 30-60 minutes
- Check clay packaging for exact instructions
- Do not exceed recommended temperature
Safety Precautions
Always use a dedicated oven or toaster oven for baking clay. Avoid using your kitchen oven for food after baking clay.
Wear oven mitts to handle hot clay and trays. Work in a well-ventilated area to avoid breathing fumes.
- Use a baking tray covered with parchment paper
- Do not leave clay unattended while baking
- Keep children and pets away from hot oven
- Clean oven after baking clay to remove residue
Using A Microwave
Hardening clay at home with a microwave is a quick option. It uses heat to dry and set the clay fast.
This method works well for small clay pieces. You must watch the process closely to avoid damage.
Microwave Settings For Clay
Set your microwave to low or medium power to avoid burning the clay. High heat can cause cracks or melting.
Start with short intervals like 20 to 30 seconds. Check the clay and repeat if needed. This helps dry the clay evenly.
- Use low or medium power (about 30%-50%)
- Heat in short bursts of 20-30 seconds
- Let the clay cool between bursts
- Repeat until the clay is hard
Limitations And Risks
Microwaving clay has limits. It works best for small, thin pieces. Large or thick clay can heat unevenly.
Clay can crack, burn, or melt if heated too long. Some clay types may not harden well in a microwave.
- Not suitable for large or thick items
- Risk of cracks or burns from high heat
- Uneven heating can cause weak spots
- Some clay types need oven baking instead
Sealing And Finishing
After shaping clay, sealing and finishing protect it. These steps keep your piece strong and looking nice.
Proper sealing stops moisture and dust from harming the clay. Finishing adds a smooth or shiny look.
Choosing The Right Sealant
Select a sealant based on your clay type and how you want the final look. Some sealants dry clear and shiny.
Water-based sealants work well for indoor clay art. They are easy to apply and clean up.
- Glossy sealants add shine and depth
- Matte sealants give a soft, natural look
- Acrylic sealants are durable and flexible
- Spray sealants provide an even coat
Painting And Decorating
Paint your clay after it is dry and sealed. Acrylic paints work best and come in many colors.
Use small brushes for details and larger ones for big areas. Let each paint layer dry before adding more.
- Apply base paint evenly for smooth color
- Add patterns or designs with fine brushes
- Finish with a clear sealant to protect paint
- Use sponges or stamps for texture effects
Troubleshooting Common Issues
Hardening clay at home can be tricky. Sometimes, it doesn't harden evenly or cracks appear. Let's explore some common issues and how to fix them.
Fixing Cracks And Breaks
Cracks can form in clay while drying. This happens if the clay dries too quickly. You can fix small cracks with slip, which is watered-down clay.
For larger breaks, you need to reattach pieces. Use a strong adhesive for this. Make sure surfaces are clean before applying the adhesive.
- Use slip for small cracks
- Apply adhesive for larger breaks
- Ensure surfaces are clean
Dealing With Uneven Hardening
Sometimes clay hardens unevenly. This can happen if the thickness is not consistent. Thicker areas take longer to dry.
To solve this, try to make the clay an even thickness. You can also cover thinner parts while thicker parts dry.
| Problem | Solution |
| Uneven thickness | Make clay even |
| Thicker parts | Cover thinner areas |
Frequently Asked Questions
How Long Does It Take To Harden Clay At Home?
Clay typically takes 24 to 72 hours to harden at room temperature. Drying time depends on the clay thickness and humidity. Thinner pieces dry faster. Ensure good air circulation for even hardening. Avoid direct sunlight to prevent cracking or warping.
Can I Harden Air-dry Clay Without Baking?
Yes, air-dry clay hardens naturally without baking. It requires 1 to 3 days to fully dry. Keep it in a dry, well-ventilated area. Avoid moisture exposure during drying. This method is ideal for simple home projects.
What Household Items Help Harden Clay Faster?
Using fans or dehumidifiers can speed up clay drying. Placing clay near a warm window also helps. Avoid using ovens or microwaves unless specified by the clay brand. Proper airflow and warmth ensure effective and safe hardening.
How Do I Prevent Cracks When Hardening Clay?
Prevent cracks by drying clay slowly and evenly. Avoid direct sunlight or heat sources. Keep clay thickness uniform to reduce stress points. Seal finished pieces with varnish or sealant after drying for durability.
Conclusion
Hardening clay at home is simple and fun. Drying your clay slowly helps it stay strong. Baking clay in the oven makes it hard fast. Always check your clay for cracks after hardening. Keep your tools clean for better results next time.
With practice, you will create sturdy clay pieces. Enjoy the process and learn with each project. Your homemade clay art can last a long time. Try different methods to find what works best. Keep creating and have fun with clay!






