

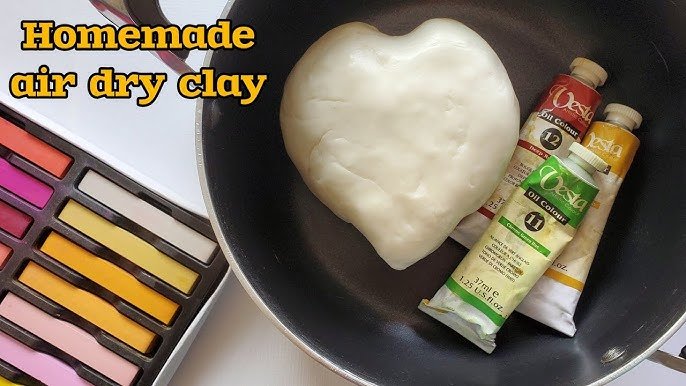
Have you ever wanted to create something unique with your own hands? Clay is a simple, fun material that lets you do just that—right at home.
Whether you’re a complete beginner or looking to try a new hobby, working with clay can be relaxing and rewarding. Imagine shaping your ideas into beautiful pieces that you can keep or gift to someone special. In this guide, you’ll discover easy steps and tips to get started with clay at home, without any hassle or expensive tools.
Ready to unlock your creativity and see what you can make? Keep reading, and let’s get your hands dirty in the best way possible.
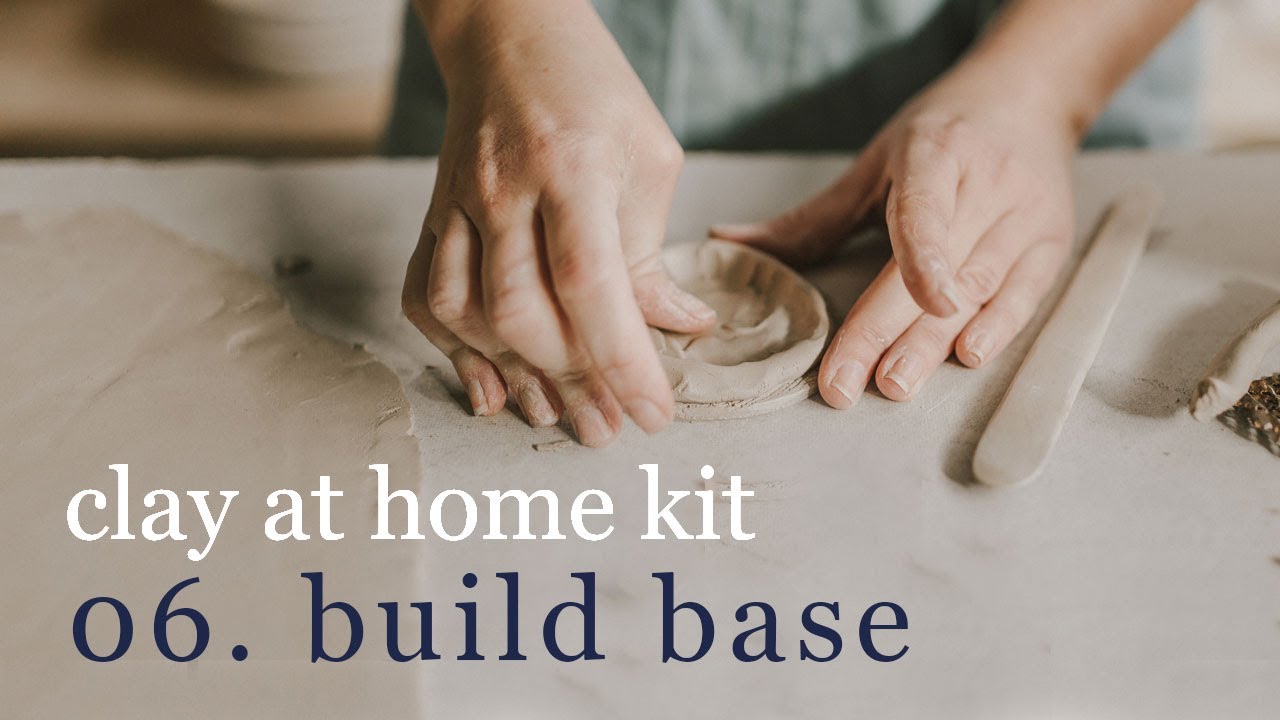
Choosing The Right Clay
Clay is the base for your art project. Picking the right type makes working easier and fun.
Different clays suit different skills and uses. Learn about them before you start.
Types Of Clay For Beginners
Soft clays are easy to shape and good for new artists. Some clays need baking, others air dry.
- Air-Dry Clay:Dries hard without baking. Great for quick projects.
- Polymer Clay:Bakes in a home oven. Durable and colorful.
- Modeling Clay:Stays soft and reusable, but not permanent.
- Natural Clay:Needs firing in a kiln. Good for serious pottery.
Clay Tools You’ll Need
Simple tools help shape and smooth your clay. You don’t need many to start.
- Clay knife or plastic knife for cutting shapes
- Rolling pin to flatten clay evenly
- Clay shaping tools for details and textures
- Sponge to smooth surfaces
- Wire cutter for cutting larger blocks
Preparing Your Workspace
Clay crafting at home is fun and relaxing. A good workspace helps you enjoy your clay projects.
Organizing your area keeps tools and clay clean and easy to find. It also protects your home surfaces.
Setting Up A Clay-friendly Area
Choose a flat surface like a table or desk for your clay work. Make sure the area has enough light.
Cover your workspace with a mat or plastic sheet. This protects the surface from stains and scratches.
- Pick a spot with good natural or artificial light
- Use a non-porous surface cover
- Keep tools within arm's reach
- Set up a comfortable chair
Keeping Your Space Clean
Clean your workspace before and after working with clay. This prevents clay from hardening on surfaces.
Use damp cloths or baby wipes to remove clay bits. Store unused clay in airtight containers.
- Wipe the surface regularly
- Keep a small trash bin nearby
- Wash hands often to avoid spreading clay
- Store tools and clay properly after use
Basic Clay Techniques
Working with clay at home is fun and easy. You only need a few tools and some clay.
Learning basic techniques helps you create different shapes and textures. This guide shows simple ways to start.
Shaping And Molding
Shaping is how you form the clay into the body you want. Molding means smoothing and fixing the shape.
Use your hands to pinch, roll, or press the clay. You can make balls, coils, slabs, or other shapes.
- Pinch clay to create small pots or cups
- Roll clay into coils for snakes or ropes
- Flatten clay into slabs for tiles or panels
- Join pieces by scoring and adding water
Texturing And Detailing
Texturing adds patterns or roughness to your clay piece. Detailing means carving or adding small shapes.
Use simple tools like toothpicks, forks, or stamps to make marks. You can also press leaves or fabric for patterns.
- Use toothpicks to draw lines or dots
- Press a fork to create parallel lines
- Stamp shapes using small objects
- Carve details carefully after clay is soft
Creating Simple Projects
Clay crafting at home is a fun way to make creative items. You do not need many tools to start.
Simple projects help you learn how to shape and use clay. Try small and easy ideas first.
Making Small Figurines
Small figurines are a great way to practice shaping clay. You can create animals, people, or shapes.
Use your fingers and simple tools like toothpicks to add details. Keep the shapes basic at first.
- Start with a simple ball or oval shape
- Add small parts like ears or limbs separately
- Use tools to carve eyes or texture
- Let the clay dry or bake it as needed
Crafting Jewelry Pieces
Clay jewelry is easy to make and looks nice. You can create beads, pendants, and charms.
Shape the clay into small parts and smooth the surfaces. Use a toothpick to make holes for stringing.
- Roll clay into small balls or flat shapes
- Make holes with a toothpick before drying
- Decorate with patterns or colors
- After drying, string beads into necklaces or bracelets
Drying And Curing Your Clay
Proper drying and curing are key to making strong clay pieces at home. This process helps your clay harden and last longer. Different clays need different care to dry and cure well.
Learn how to dry air-dry clay safely and how to bake polymer clay correctly. Follow these tips to avoid cracks and damage.
Air-drying Tips
Air-dry clay needs time and a good environment to harden. Use these tips to keep your clay smooth and strong.
- Place your clay piece on a flat, clean surface.
- Keep it away from direct sunlight to avoid fast drying.
- Turn the piece every few hours for even drying.
- Use a damp cloth to cover the clay if it dries too fast.
- Wait at least 24 to 48 hours before handling your clay.
- Thin parts dry faster and may crack; handle with care.
Baking Clay Safely
Polymer clay needs baking in a regular oven to harden. Follow temperature and time instructions exactly to avoid burning or underbaking.
| Step | Action | Details |
| 1 | Preheat oven | Set oven to recommended temperature, usually 265°F to 275°F (129°C to 135°C) |
| 2 | Prepare clay | Place your clay piece on a baking sheet lined with parchment paper |
| 3 | Bake | Put clay in oven and bake for the time on package, usually 15–30 minutes per 1/4 inch thickness |
| 4 | Cool down | Let the clay cool completely before touching to avoid deformation |

Painting And Finishing Touches
Bringing your clay creations to life involves painting and adding final touches. This makes them unique and vibrant.
Choosing the right materials is key for a successful finish. Here’s how you can do it at home.
Choosing Paints And Sealants
Selecting paints and sealants is essential for durability and appearance. Consider these options for the best results.
-
Acrylic paints work well and are easy to find.
-
Use water-based sealants for a glossy finish.
-
Test colors on a small piece first.
-
Apply sealant after the paint is completely dry.
Adding Decorative Elements
Adding details can enhance your clay project. Use these ideas to make your creation stand out.
Consider these decorative elements:
- Emboss patterns using stamps.
- Incorporate beads or small stones.
- Use metallic paints for shiny effects.
Troubleshooting Common Issues
Working with clay at home can be fun and rewarding. Sometimes, you face common issues while claying. Here are solutions for those problems.
From cracks to warping, learn how to handle these challenges easily. Follow these tips to improve your clay projects.
Fixing Cracks And Breaks
Cracks are a common issue in clay projects. They can ruin your hard work. Here are some tips to fix and prevent cracks.
- Keep clay moist while working to prevent cracks.
- Use slip (a mix of clay and water) to join pieces.
- Let clay dry slowly and evenly.
Avoiding Warping
Warping happens when clay doesn't dry evenly. It can change the shape of your project. Follow these steps to avoid warping.
| Problem | Solution |
| Uneven drying | Cover with plastic to slow drying |
| Thin edges | Make edges thicker for even drying |
| Direct sunlight | Dry clay in a shaded area |

Inspiring Creative Ideas
Clay is a fun way to make things at home. You can create many shapes and designs easily.
Using clay helps you relax and show your creativity. You can try different ideas to make unique items.
Seasonal And Holiday Themes
Making clay items for seasons and holidays is fun. You can create decorations that match the time of year.
Try making pumpkins for fall, snowflakes for winter, or flowers for spring. These simple shapes bring joy to your home.
- Fall: pumpkins, leaves, acorns
- Winter: snowflakes, stars, ornaments
- Spring: flowers, butterflies, birds
- Summer: suns, seashells, fruits
- Holidays: hearts for Valentine’s Day, eggs for Easter
Personalized Gifts
Clay makes thoughtful gifts you can personalize. Add names, dates, or special shapes to show you care.
Personalized gifts feel special and unique. You can make keychains, jewelry, or small sculptures that suit the person.
- Custom keychains with names or initials
- Handmade jewelry like earrings or pendants
- Mini sculptures of pets or favorite objects
- Decorative tiles with personal messages
- Ornaments with special dates or symbols
Frequently Asked Questions
What Materials Do I Need To Start Clay Modeling At Home?
You need air-dry clay, sculpting tools, a clean workspace, water, and paint for finishing. These basics help you create and shape clay easily.
How Can I Keep Clay From Drying Too Fast?
Store unused clay in an airtight container or plastic wrap. Keeping it moist prevents cracks and maintains workability for longer periods.
What Are Easy Clay Projects For Beginners?
Start with simple shapes like bowls, beads, or animals. These projects help you practice basic techniques and build confidence in clay crafting.
How Do I Properly Cure Or Dry Clay Creations?
Air-dry clay should be left to dry at room temperature for 24-48 hours. Avoid direct sunlight to prevent cracking during drying.
Conclusion
Clay crafting at home brings fun and creativity to your day. You only need simple tools and some patience. Start small and practice shaping basic forms. Enjoy the process, not just the final piece. With time, your skills will grow naturally.
Keep your workspace clean and your clay fresh. Try different techniques to find what you like best. Remember, every mistake teaches something new. Making clay art at home is relaxing and rewarding. Give it a try, and see where your creativity takes you.






