


Are you ready to bring your clay creations to life without leaving your home? Burning clay at home might sound tricky, but with the right steps, you can do it safely and easily.
Imagine turning your handmade designs into sturdy, lasting pieces that won’t break or crumble. You’ll discover simple methods to fire your clay using tools you might already have. Keep reading, and you’ll learn how to make your art stronger and more beautiful—all from the comfort of your own space.

Choosing The Right Clay
Choosing the right clay is key to successful home firing. Different clays work better with certain firing methods.
Knowing the types and properties of clay helps you pick one that fits your project and firing setup.
Types Of Clay For Home Firing
There are several clays suitable for firing at home. Earthenware, stoneware, and porcelain are common types.
- Earthenware:Fires at low temperatures. It is porous and easy to shape.
- Stoneware:Fires at medium to high temperatures. It is strong and less porous.
- Porcelain:Requires high temperatures. It is smooth and often translucent.
Clay Properties And Suitability
| Property | Earthenware | Stoneware | Porcelain |
|---|---|---|---|
| Firing Temperature | Low (1,000–1,150°C) | Medium to High (1,200–1,300°C) | High (1,200–1,450°C) |
| Porosity | High | Low | Very Low |
| Strength | Low | High | Very High |
| Workability | Easy | Moderate | Challenging |
Essential Tools And Materials
Burning clay at home requires some basic tools and materials. These will help you shape, dry, and fire your clay pieces safely and effectively.
Knowing what you need before starting makes the process smoother. It also helps you avoid mistakes during firing.
Kiln Alternatives For Home Use
Not everyone has space or budget for a traditional kiln. There are several alternatives you can use to fire clay at home.
These methods work well for small projects and low-fire clay types. They may take longer but still produce good results.
- Electric Oven: Use a regular kitchen oven set to a low temperature. It works for air-dry clay and some low-fire clays.
- Toaster Oven: A small toaster oven can reach higher temperatures than a kitchen oven. It is good for small pieces.
- Microwave Kiln: A special kiln made for microwaves that can reach high heat quickly. It is compact and easy to use.
- Raku Firing: A method using a metal container and charcoal outside. It needs careful handling but creates unique effects.
Safety Gear And Workspace Setup
Safety is very important when burning clay at home. Proper gear and a clean workspace reduce risks and accidents.
Your workspace should be well-ventilated and free from flammable materials. Use protective equipment to keep yourself safe.
- Heat-resistant gloves to protect your hands from burns
- Safety glasses to shield your eyes from dust and heat
- Respirator mask to avoid inhaling clay dust and fumes
- Fireproof surface or kiln shelf to place your clay pieces
- Good ventilation or an exhaust fan for smoke and fumes
Preparing Clay For Firing
Burning clay at home requires careful preparation. Proper preparation helps your clay hold shape and avoid cracks.
Before firing, you must shape and dry the clay well. This makes the firing process smooth and successful.
Shaping And Drying Techniques
Shape your clay gently to avoid air pockets. Air pockets cause cracks during firing.
Dry your shaped clay slowly at room temperature. Fast drying leads to cracks or breaks.
- Use smooth, even pressure when shaping
- Remove air bubbles by kneading clay before shaping
- Dry pieces in a shaded, ventilated area
- Turn pieces often for even drying
- Wait until clay is completely dry before firing
Avoiding Common Firing Issues
Cracks and explosions happen if clay is not prepared well. Avoid these issues by following simple rules.
Do not fire wet or damp clay. Water turns to steam and causes breakage. Also, avoid firing too fast.
- Always let clay dry fully before firing
- Start firing at a low temperature and increase slowly
- Keep kiln or oven temperature stable during firing
- Do not fire very thick or uneven pieces without care
- Check your clay type for specific firing temperature
Diy Firing Methods
Burning clay at home is possible with simple tools. You can use different ways to fire your clay pieces safely.
This guide covers easy DIY firing methods. Each method works for small projects and beginners.
Using A Home Oven
You can use a regular oven to harden air-dry clay. This method is good for small items and crafts.
Set the oven to a low temperature, usually below 200°F (93°C). Place the clay on a baking sheet and bake it for 30 minutes to 1 hour.
- Do not use high heat; it can burn the clay.
- Check the clay often to avoid cracks.
- Allow the clay to cool inside the oven after baking.
Pit Firing In The Backyard
Pit firing is an ancient method that uses fire and smoke. You dig a hole in your backyard and place the clay inside.
Cover the clay with wood, leaves, and other natural materials. Light the fire and let it burn for several hours. The heat hardens the clay.
- Use dry wood for a steady fire.
- Wear gloves and stay safe around the fire.
- Let the pit cool completely before removing the clay.
Using A Homemade Kiln
You can build a simple kiln with bricks or metal containers. A kiln reaches higher temperatures than ovens or pit fires.
Place your clay inside and heat the kiln with charcoal or wood. The kiln keeps heat inside to burn the clay evenly.
- Make sure the kiln has air holes for ventilation.
- Monitor the temperature with a thermometer.
- Wear protective gear when handling the kiln.
Controlling Temperature And Timing
Burning clay at home needs careful control of heat and time. These two factors help make strong and smooth clay pieces.
If temperature or timing is wrong, clay can crack or stay soft. Learning how to control them is important.
Temperature Guidelines For Different Clays
Each type of clay needs a specific temperature to burn well. Too hot or too cool can damage the clay.
Knowing the right temperature range helps you avoid cracks and breaks in your clay projects.
- Earthenware clay: 1,000°C to 1,150°C (1,832°F to 2,102°F)
- Stoneware clay: 1,200°C to 1,300°C (2,192°F to 2,372°F)
- Porcelain clay: 1,200°C to 1,400°C (2,192°F to 2,552°F)
Monitoring And Adjusting Heat
Keep an eye on the temperature during burning. Use a reliable kiln or oven thermometer.
Adjust heat slowly to avoid sudden changes. Sudden heat can cause cracks or uneven burning.
- Start with a low temperature to dry the clay.
- Increase heat gradually until reaching the right burn temperature.
- Hold the temperature for the correct time to ensure full burning.
- Cool down the clay slowly after burning finishes.
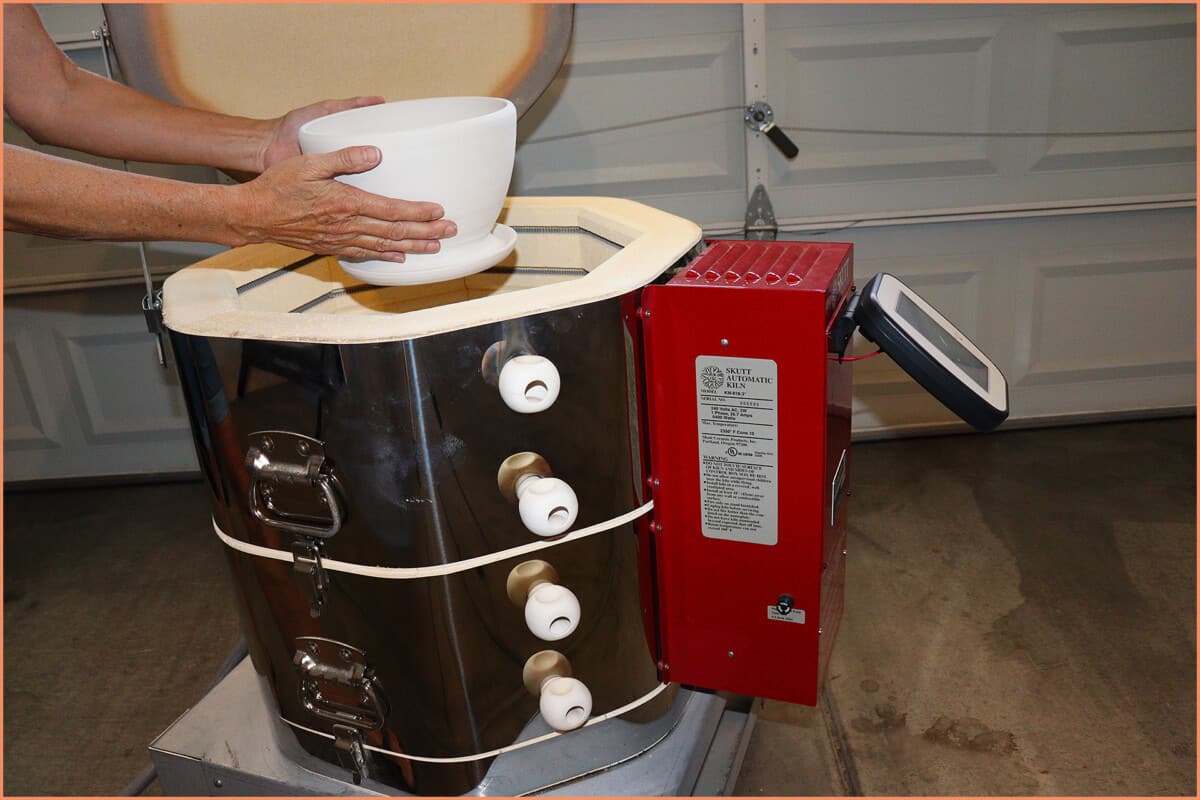
Finishing Touches After Firing
After firing your clay, some final steps help protect and beautify your piece. These steps improve the look and strength of your clay project.
Finishing touches include cooling your clay safely and adding surface treatments or glazes. These make your clay last longer and look polished.
Cooling And Handling
Let your clay cool slowly to avoid cracks. Rapid cooling can cause damage or break your piece.
Wait until the kiln is completely cool before touching your clay. Use gloves or tools to handle it carefully.
- Turn off kiln and leave door closed
- Wait several hours for slow cooling
- Handle clay gently with clean hands or gloves
- Place finished clay on soft surfaces
Surface Treatments And Glazing Options
Surface treatments protect your clay and add shine or color. You can use paint, sealers, or glazes depending on your project.
Glazing adds a glass-like coat that makes clay waterproof and smooth. Apply glaze before a second firing in a kiln.
- Use acrylic paint for decoration after firing
- Apply clear sealers to protect unglazed clay
- Choose glaze colors to brighten or change look
- Fire glazed clay again for a strong finish
Troubleshooting Common Problems
Burning clay at home can be fun, but it may bring some challenges. Learn how to fix common issues like cracks, warping, and uneven firing results.
Understanding these problems helps you get better outcomes with your clay projects. Let's explore the common issues you might face.
Cracks And Warping
Cracks and warping often happen due to uneven drying or incorrect firing temperatures. They can spoil your hard work.
- Ensure even thickness in your clay pieces.
- Dry your clay slowly to avoid stress.
- Use a kiln with a reliable temperature gauge.
Uneven Firing Results
Uneven firing can cause different colors and textures. This usually happens if the kiln is not loaded correctly.
| Solution | Action |
| Proper Loading | Space items evenly in the kiln. |
| Consistent Temperature | Monitor with a pyrometer. |
| Use Supports | Use stilts for small items. |
Tips For Consistent Success
Burning clay at home can be a rewarding hobby. With the right tips, you can achieve consistent success.
Let's explore how to maintain equipment and experiment safely for the best results.
Maintaining Equipment
Proper equipment care ensures your clay projects are successful. Here are some key tips to follow.
- Clean your kiln after each use to avoid residue build-up.
- Check for any damage or wear on your equipment regularly.
- Store tools in a dry place to prevent rust.
Experimenting Safely
Safety is crucial when experimenting with clay at home. Always follow these guidelines.
| Safety Measure | Importance |
| Wear gloves | Protects hands from heat and chemicals |
| Use goggles | Shields eyes from dust and debris |
| Ventilate area | Prevents inhalation of fumes |

Frequently Asked Questions
What Materials Do I Need To Burn Clay At Home?
You need a kiln or toaster oven, air-dry or polymer clay, heat-resistant gloves, and ventilation. Proper tools ensure safe and effective clay firing.
Can I Use A Regular Oven To Burn Clay?
Yes, polymer clay can be cured in a regular oven at recommended temperatures. Air-dry clay needs air drying, not baking.
What Temperature Is Best For Burning Clay At Home?
Burn polymer clay between 265°F to 275°F (129°C to 135°C). Avoid overheating to prevent burning or releasing fumes.
How Long Does It Take To Burn Clay Properly?
Curing polymer clay usually takes 15 to 30 minutes, depending on thickness. Follow package instructions for best results.
Conclusion
Burning clay at home can be simple and fun. Choose the right type of clay and firing method. Always follow safety rules to avoid accidents. Practice helps you improve your skills quickly. Enjoy creating unique clay pieces in your own space.
With patience, your clay art will look great. Keep experimenting and learning with each project. Home firing opens new doors to creativity and craft.






