Your living room is the heart of your home, and the right table can make it truly special. Imagine having a unique living room table that fits your style perfectly—one you built yourself.
It’s easier than you think, and you don’t need to be a woodworking expert. In this guide, you’ll discover simple steps to create a beautiful, sturdy table that will impress your guests and give your space a personal touch. Ready to turn your vision into reality?
Let’s get started!
Choosing The Right Materials
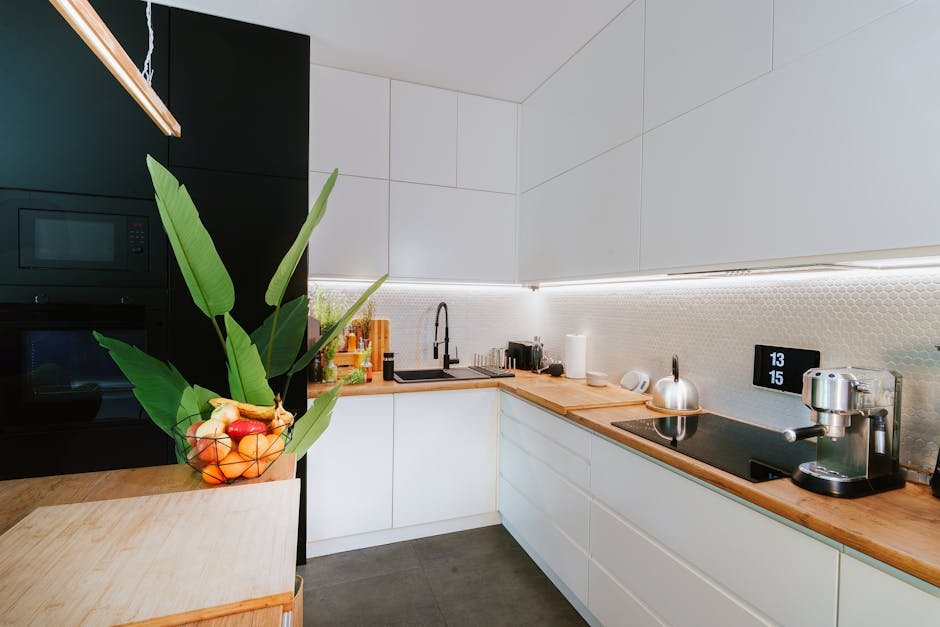
Building a living room table starts with picking good materials. The right materials make your table strong and look nice.
This guide helps you choose wood, hardware, and tools for your table project.
Selecting Wood Types
Wood is the main part of your table. Different woods have different looks and strengths.
Choose wood that fits your style and budget. Hardwoods last longer but cost more. Softwoods are cheaper and easier to work with.
- Oak:Strong and heavy, with a clear grain pattern
- Pine:Soft, light, and easy to shape
- Maple:Hard, smooth, and light in color
- Walnut:Dark, rich color, and durable
- Cherry:Reddish wood that darkens over time
Picking Hardware And Tools
Good hardware holds your table parts together. Tools help you cut and join the wood easily.
Choose screws, nails, and brackets that fit your wood type. Use tools that are safe and easy to handle.
- Screws:Use wood screws for strong joints
- Brackets:Add support under the table top
- Wood glue:Helps hold pieces firmly together
- Hammer and screwdriver:Basic tools for assembly
- Saw:A handsaw or power saw for cutting wood
- Sandpaper:Smooth the wood surface before finishing
Designing Your Table
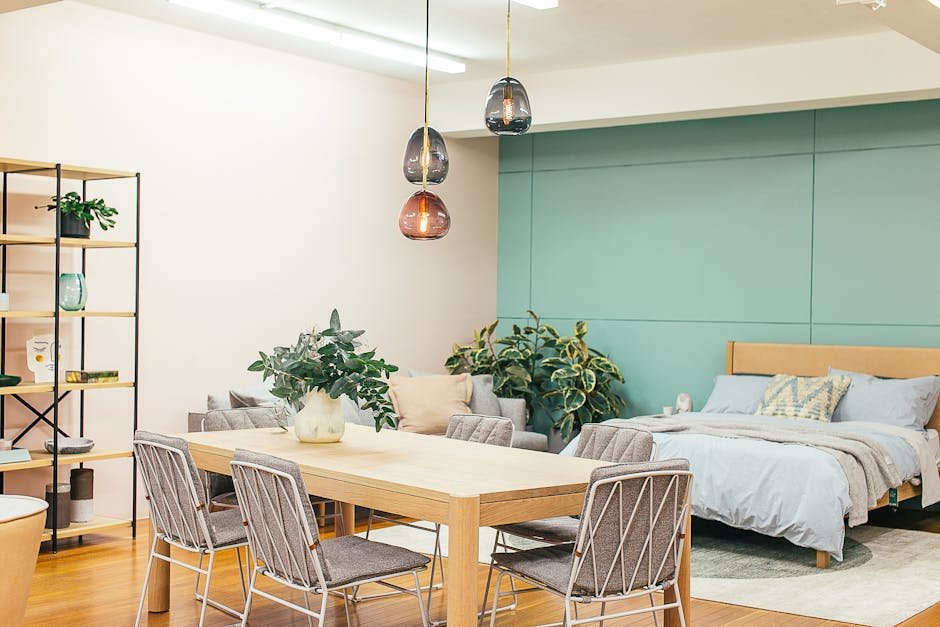
Designing your living room table is the first step to building it. A good design makes the table useful and beautiful.
Think about size, shape, and style before you start building. These choices help you create the perfect table.
Deciding On Size And Shape
Choose a size that fits your living room space. The table should not block walking paths or feel too small.
The shape depends on your needs and style. Round, square, or rectangular tables all work well.
- Round tables are good for small spaces and easy movement.
- Rectangular tables fit well in longer rooms.
- Square tables offer balance and work in corners.
- Consider how many people will use the table.
Sketching Your Plan
Draw your table design on paper before building. Sketching helps you see the size and shape clearly.
Include measurements and details like legs and edges in your drawing. This plan guides your work step by step.
- Start with the tabletop shape and size.
- Add the height and style of the legs.
- Mark where joints or decorations will go.
- Use a ruler to keep lines straight and clear.
Preparing The Workspace
Building a living room table needs a clean and safe workspace. A good setup helps you work faster and avoid mistakes.
Before you start, clear the area and gather your tools and materials. This makes the project easier and safer.
Setting Up Tools Safely
Place your tools where you can reach them easily. Keep sharp or heavy tools away from the edge of the table.
Check that power tools have no damage and cords are not tangled. Wear safety gear like gloves and goggles.
- Arrange tools on a sturdy workbench
- Keep blades and drills covered when not used
- Use clamps to hold materials steady
- Wear gloves to protect your hands
- Use goggles to protect your eyes
Organizing Materials
Sort all wood pieces, screws, and nails by size and type. This saves time during assembly.
Keep materials close but out of the way of your working area. This prevents trips and falls.
- Group wood pieces by length and thickness
- Put screws and nails in small containers
- Keep sandpaper and glue nearby
- Clear extra materials to avoid clutter

Credit: pebblesandthorns.com
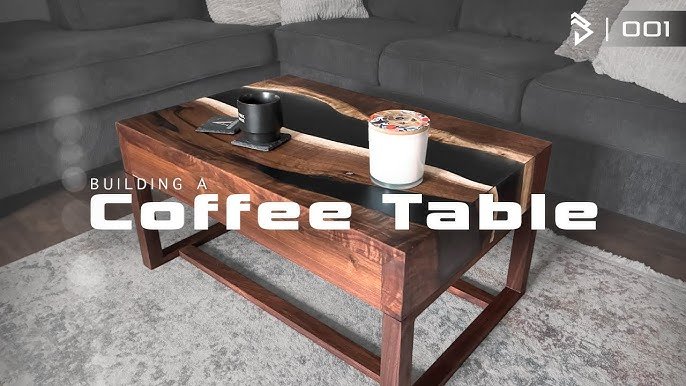
Cutting And Shaping Wood
Cutting and shaping wood is an important part of building a living room table. It helps you create the exact parts you need.
Careful cutting and shaping make sure the table looks good and is strong.
Measuring And Marking
Start by measuring your wood pieces carefully. Use a tape measure for accuracy.
Mark the wood with a pencil where you will cut or shape it. Clear marks help you cut straight lines.
- Measure twice to avoid mistakes
- Use a square ruler for right angles
- Mark with light pencil lines
- Label each piece if needed
Using Saws And Sanders
Choose the right saw for your cuts. A handsaw works for simple cuts, while a circular saw is faster for big pieces.
After cutting, use sanders to smooth edges and surfaces. This makes the wood safe and ready for finishing.
- Use clamps to hold wood steady when sawing
- Cut slowly to keep lines straight
- Sand edges with medium-grit sandpaper first
- Finish sanding with fine-grit for smoothness
Assembling The Table
Building a living room table requires putting all parts together carefully. This guide covers how to join pieces and keep the table steady.
Follow these steps to make sure your table is strong and looks great.
Joining Pieces Together
Start by matching each table part to its place. Use screws or nails to hold the pieces tightly. Wood glue adds extra strength.
- Align the legs with the tabletop corners
- Apply wood glue to the contact points
- Insert screws through pre-drilled holes
- Use clamps to hold parts while glue dries
- Check that all pieces fit flush together
Ensuring Stability
Stability is key for a safe and durable table. Use braces and check balance after assembly.
| Action | Purpose |
| Attach corner braces | Prevent wobbling |
| Check tabletop level | Ensure even surface |
| Tighten all screws | Secure joints firmly |
| Test table by pressing down | Confirm no movement |
Credit: www.etsy.com
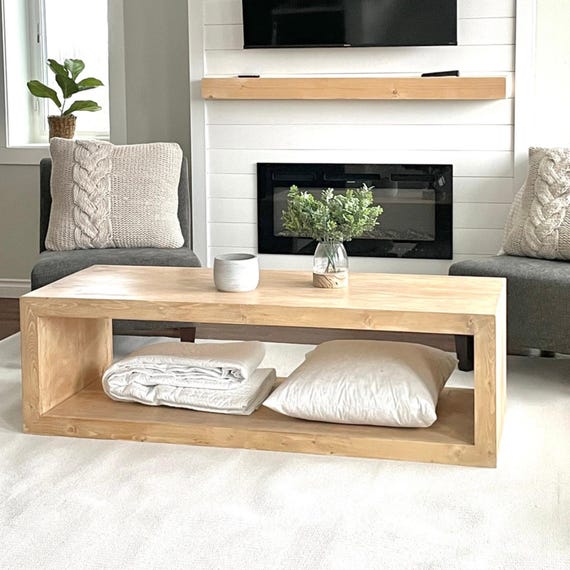
Finishing Touches
After assembling your living room table, the finishing touches make it stand out. These steps ensure your table is smooth, colorful, and long-lasting.
Let's explore how to properly sand, stain, and seal your table for a perfect finish.
Sanding Smooth
Sanding the table is crucial for a smooth finish. Use sandpaper to remove rough spots.
- Begin with coarse sandpaper for rough areas.
- Switch to medium grit for a smoother surface.
- Finish with fine grit for ultimate smoothness.
Applying Stain Or Paint
Choose between stain or paint to give your table color. Stains highlight wood grain, while paint offers solid color options.
Sealing For Durability
Sealing protects your table from spills and wear. Pick a sealer that matches your finish.
| Type of Sealer | Best For |
| Polyurethane | Durable and glossy finish |
| Lacquer | Quick-drying and shiny look |
| Wax | Natural feel and easy application |
Finish your table with care to enjoy its beauty and functionality for years.
Maintaining Your Table
Your living room table is a key piece of furniture. Keeping it in good condition ensures it lasts for years. Here are some simple tips to help maintain its look and functionality.
Regular care and attention can prevent wear and tear. Let's explore how to clean and repair your table effectively.
Cleaning Tips
Cleaning your table keeps it looking fresh. Dust and spills can damage the surface over time.
- Use a soft cloth to dust the table daily.
- Clean spills immediately to prevent stains.
- Apply a wood polish monthly for shine.
Repairing Minor Damages
Minor damages can occur from daily use. Quick repairs can stop them from getting worse.
| Damage Type | Repair Method |
| Scratches | Use a wood filler or crayon matching color |
| Dents | Apply a damp cloth and iron over it |
| Loose Screws | Tighten with a screwdriver |

Credit: www.aosom.com
Frequently Asked Questions
What Materials Are Best For A Living Room Table?
Wood is the most popular choice for living room tables. It is durable, stylish, and easy to work with. Other options include metal, glass, and reclaimed materials. Choose materials based on your room style and budget to create a table that lasts and looks great.
How Do I Design A Functional Living Room Table?
Focus on size, shape, and storage. Measure your space carefully. Opt for a table that fits well and allows easy movement. Adding drawers or shelves increases storage. Balance aesthetics with practicality for the best design.
What Tools Do I Need To Build A Living Room Table?
Basic tools include a saw, drill, measuring tape, clamps, and sandpaper. A screwdriver and wood glue are also helpful. Ensure your tools are sharp and in good condition for precise cuts and assembly.
How Long Does It Take To Build A Living Room Table?
Building a simple living room table usually takes 4 to 8 hours. This depends on the design complexity and your skill level. Allow extra time for drying paint or finish coats. Planning ahead speeds up the process.
Conclusion
Building a living room table brings pride and joy. You can choose the size, shape, and style you want. Simple tools and materials make the process easy. Take your time and enjoy each step. Your finished table will add charm to your home.
It also saves money compared to buying new furniture. Sharing this project with family or friends can be fun. Keep practicing to improve your skills. A handmade table creates lasting memories and a personal touch. Start your project today and enjoy the results.