

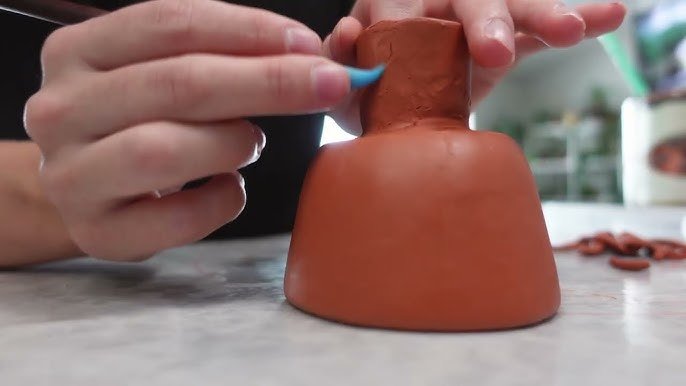
Are you ready to bring your terracotta clay creations to life right at home? Baking terracotta clay might seem tricky, but with the right steps, you can easily harden your pieces without needing a professional kiln.
Imagine turning your handmade pots, sculptures, or jewelry into durable, beautiful art that lasts. In this guide, you’ll discover simple, clear instructions to bake terracotta clay safely and effectively using tools you already have. Keep reading, and soon you’ll be proud of your own oven-baked terracotta masterpieces!
Choosing The Right Clay
Terracotta clay is popular for pottery and crafts. Choosing the right clay helps your project last long.
Not all terracotta clay is the same. You should pick clay that fits your baking method and design.
Types Of Terracotta Clay
There are different terracotta clays for various uses. Each type has unique properties for baking and shaping.
- Natural Terracotta Clay:Made from natural red clay, it dries fast and is easy to shape.
- Commercial Terracotta Clay:Sold in stores, it has consistent quality and good firing results.
- Air-Dry Terracotta Clay:Does not need a kiln but is less strong after drying.
- Low-Fire Terracotta Clay:Suitable for home ovens with lower temperatures.
Where To Buy Quality Clay
You can find terracotta clay at craft stores or online shops. Pick clay from trusted sellers for good results.
Look for clay with clear labels and instructions. This helps you bake the clay correctly at home.
- Local art supply stores often sell quality terracotta clay.
- Online marketplaces offer a wide variety of clay types.
- Check customer reviews to ensure clay quality.
- Buy clay that matches your baking equipment limits.
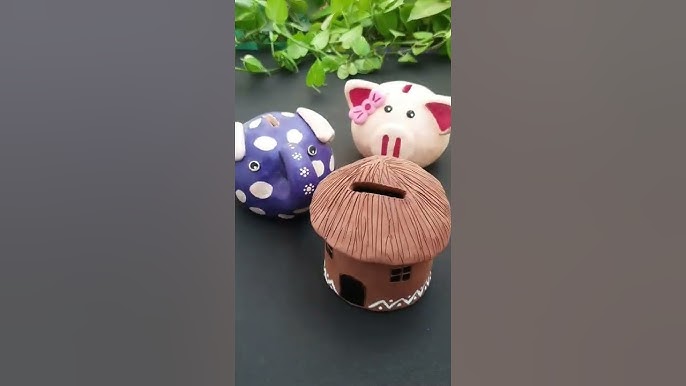
Preparing Your Workspace
Setting up a clean and organized workspace is important before baking terracotta clay. It helps you work safely and efficiently.
Make sure your area is well-ventilated and free from clutter. This will prevent accidents and keep your materials in good condition.
Necessary Tools And Materials
Gather all the tools and materials you need before starting. This saves time and avoids interruptions.
- Terracotta clay suitable for baking
- Clay shaping tools (e.g., sculpting knives, rollers)
- Baking oven or kiln that reaches required temperatures
- Heat-resistant gloves
- Protective cloth or newspaper to cover your workspace
- Water container for smoothing the clay
Safety Precautions
Follow safety rules to protect yourself and your home. Baking clay involves heat and dust that can be harmful.
| Safety Tip | Reason |
| Wear heat-resistant gloves | Protects hands from burns when handling hot clay |
| Use a well-ventilated area | Prevents inhaling dust and fumes |
| Cover your workspace | Keeps surfaces clean and reduces dust spread |
| Keep water nearby | For quick hand cleaning and clay smoothing |
| Keep children and pets away | Ensures no accidents happen during baking |
Shaping Your Clay
Shaping terracotta clay is an important part of making pottery at home. It lets you create the form and style you want.
Using simple tools and your hands, you can mold the clay into many shapes before baking it.
Basic Techniques For Molding
Start by softening the clay with your hands. This makes it easier to shape. You can roll it, pinch it, or press it into molds.
Use simple tools like a rolling pin or a knife to help shape the clay evenly. Keep the clay moist to avoid cracks.
- Roll clay into a ball or flat sheet
- Pinch edges to form bowls or cups
- Use molds to create uniform shapes
- Cut clay with a knife for clean edges
Tips For Smooth Surfaces
Smoothing the surface of your clay gives your pottery a clean look. Use water and your fingers to gently rub the surface.
A sponge or soft cloth can also help remove bumps and fingerprints. Work slowly to avoid making new marks.
- Keep clay slightly wet while smoothing
- Use a damp sponge for better results
- Rub surfaces gently with fingers or cloth
- Check for cracks and fill them before baking
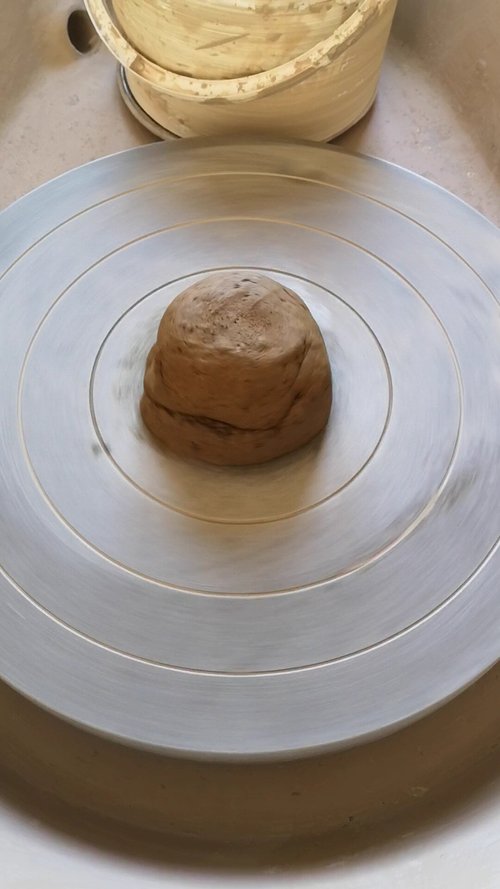
Drying Your Clay Pieces
Drying terracotta clay properly is key to strong, crack-free pieces. It takes time and care to avoid damage.
Follow the right steps to dry your clay evenly and safely before baking or firing.
Ideal Drying Conditions
Clay needs slow, steady drying in a controlled environment. Too much heat or wind can cause problems.
- Keep the clay in a shaded, well-ventilated area.
- Maintain room temperature around 65-75°F (18-24°C).
- Avoid direct sunlight to prevent quick drying.
- Use a damp cloth or plastic cover to slow drying if needed.
- Place pieces on a flat surface with good airflow underneath.
Avoiding Cracks And Warping
Cracks and warping happen when clay dries unevenly or too fast. Take steps to reduce these risks.
| Cause | Prevention |
| Uneven drying | Turn pieces daily and cover with plastic loosely |
| Fast drying | Keep away from heaters and fans |
| Thick clay parts | Make pieces thinner or hollow to dry evenly |
| Air pockets | Properly knead clay to remove trapped air |
Baking Your Terracotta
Baking terracotta clay at home is a simple way to harden your creations. It helps the clay become strong and durable.
Proper baking ensures your terracotta items last longer and look better. You need the right oven settings and careful steps.
Oven Settings And Temperature
Use a regular kitchen oven to bake terracotta clay. Set it to a low temperature to avoid cracking.
The ideal baking temperature is between 200°F and 250°F (93°C to 121°C). Keep the temperature steady during baking.
- Preheat the oven before placing the clay inside
- Do not exceed 250°F to prevent damage
- Use an oven thermometer for accuracy
Step-by-step Baking Process
Start by drying your terracotta clay in the air for at least 24 hours. This removes moisture before baking.
Place the dried clay items on a baking tray lined with parchment paper. This prevents sticking and helps heat distribution.
- Preheat oven to 200°F (93°C)
- Put terracotta on the tray
- Bake for 1 to 2 hours
- Turn off the oven and let the clay cool inside
- Remove once completely cool
Cooling the clay inside the oven stops sudden temperature changes. This reduces the chance of cracks.
Post-baking Finishing Touches
After baking your terracotta clay, it's time to add finishing touches. These steps enhance the appearance and durability of your creation.
Follow these simple steps to ensure your project looks great and lasts longer. Let's explore how to sand, smooth, and seal your piece.
Sanding And Smoothing
Sanding your terracotta clay removes rough edges and imperfections. It makes the surface smooth and ready for the next steps.
- Use fine-grit sandpaper for gentle smoothing.
- Sand in circular motions for even results.
- Check for smoothness by running your fingers over the surface.
Applying Sealants Or Paints
Sealants protect your clay from moisture and wear. Paints add color and character to your piece. Choose products that suit your project.
| Sealant Type | Purpose |
|---|---|
| Acrylic | Waterproofing and shine |
| Wax | Matte finish and protection |
| Paint | Add color and design |
Apply sealants in thin layers and let them dry completely. If painting, use brushes or sponges for different effects. Always allow each layer to dry before adding another.
Common Mistakes To Avoid
Baking terracotta clay at home is a fun activity. Still, there are mistakes you should avoid. Proper baking ensures your clay items are sturdy and beautiful.
Understanding the common pitfalls helps in achieving better results. Let's dive into some key areas where people often make mistakes.
Overbaking And Underbaking
Overbaking clay can cause it to crack. It may also become too hard and lose its color. This is why timing is important.
Underbaking makes the clay weak. It might not hold its shape well. Always follow the recommended baking time for your clay type.
- Check the clay's instructions for baking time
- Use an oven thermometer for accurate temperature
- Set a timer to avoid forgetting
Handling Fragile Pieces
Clay can be fragile before it is fully baked. Handle pieces with care to prevent damage. Once baked, they become more sturdy.
Supporting fragile parts during baking is crucial. This ensures they do not break or warp in the oven.
- Use gentle hands when moving clay
- Place small supports under fragile areas
- Avoid stacking pieces during baking
Caring For Baked Terracotta
Baked terracotta is a beautiful and durable material. Proper care helps it last longer and stay strong.
This guide offers simple tips to clean and store your terracotta pieces safely at home.
Cleaning Tips
Clean terracotta gently to avoid damage. Use soft brushes or cloths to remove dirt and dust.
Avoid harsh chemicals or strong soaps. Mild soap with water is best for cleaning.
- Use lukewarm water and mild soap
- Brush gently with a soft brush
- Rinse with clean water
- Dry completely before storing
Storage Recommendations
Store terracotta in a dry place to prevent moisture damage. Avoid damp or humid areas.
Keep pieces away from direct sunlight. This helps prevent cracking and color fading.
- Place on soft surfaces like cloth or foam
- Keep in a cool, dry environment
- Cover with breathable fabric if dusty
- Handle with care to avoid chips

Frequently Asked Questions
How Long Should I Bake Terracotta Clay At Home?
Bake terracotta clay for about 1 to 2 hours at 200-250°C (392-482°F). Monitor closely to avoid cracks or warping. Cooling gradually after baking is crucial for strength and durability.
What Temperature Is Best For Baking Terracotta Clay?
The ideal baking temperature for terracotta clay is between 200°C to 250°C (392°F to 482°F). This range ensures proper hardening without burning or damaging the clay.
Can I Bake Terracotta Clay In A Regular Oven?
Yes, a regular home oven can bake terracotta clay. Use low to moderate heat and bake slowly to prevent cracking. Avoid rapid temperature changes for best results.
How Do I Prevent Terracotta Clay From Cracking?
Prevent cracks by drying clay slowly before baking. Bake at a consistent low temperature and cool gradually. Avoid moisture and sudden temperature changes during the process.
Conclusion
Baking terracotta clay at home is simple and fun. Follow safe steps to avoid cracks and breakage. Use a low oven temperature and bake slowly for best results. Let the clay cool down naturally before handling it. Practice makes perfect, so try different shapes and sizes.
Enjoy creating your own unique terracotta pieces. This skill adds a personal touch to your crafts. Keep experimenting and have patience with the process. Your handmade clay items will bring warmth to any space.






