Are you looking to add a fun and festive touch to your holiday décor? A Christmas Candy Cane Garland DIY is the perfect way to brighten your home with a classic holiday symbol.
Imagine creating a beautiful, eye-catching garland that not only looks amazing but also brings a sweet, nostalgic feel to your space. In this guide, you’ll discover simple steps and handy tips to make your own candy cane garland, even if you’ve never tried a craft like this before.
Keep reading to find out how easy and enjoyable it can be to bring this cheerful decoration to life for your holiday celebrations.

Credit: www.youtube.com
Materials Needed
Creating a Christmas candy cane garland is a fun and easy holiday project. Gather all materials before you start to make the process smooth. This guide lists everything you need for a festive decoration.
From candy canes to strings and extra decor, each item helps your garland look charming. Read on for details on each material category.
Candy Cane Selection
Choose candy canes that fit your desired look. Classic red and white stripes work well for traditional themes. You can also pick colorful or flavored candy canes for variety.
- Standard red and white candy canes
- Miniature candy canes for delicate garlands
- Colored candy canes for a playful touch
- Flavored candy canes like peppermint or cinnamon
- Plastic candy cane replicas for reuse
String And Twine Options
Select a string or twine that matches your style and holds the candy canes well. You want something strong but easy to work with.
| Material | Description |
| Baker’s twine | Thin, colorful, easy to knot |
| Jute twine | Rustic look, strong and natural |
| Ribbon | Soft, decorative, various colors |
| Fishing line | Invisible, strong, good for floating look |
| Yarn | Soft texture, many colors, easy to tie |
Additional Decorative Items
Decorate your garland with extra items for more holiday cheer. These add sparkle and texture to your candy cane string.
- Mini pine cones for a natural touch
- Small bells for jingling sound
- Glitter spray for sparkle
- Artificial holly leaves and berries
- Colored beads or buttons for accents
- Fairy lights for glowing effect
Preparing Candy Canes
Preparing candy canes for your Christmas garland needs some care. You want the candy canes to look great and hold well on your string.
This guide helps you sort and clean candy canes. It also gives tips to handle them without breaking.
Sorting And Cleaning
First, sort candy canes by size and color. Group similar ones together for a balanced look. Cleaning removes dust and sticky spots.
- Remove candy canes with cracks or chips.
- Wipe each candy cane gently with a damp cloth.
- Let them dry completely on a clean towel.
- Check for any sticky residue and clean if needed.
- Keep candy canes in a cool, dry place before use.
Tips For Handling Fragile Candy
Candy canes can break easily. Handle them with care to keep them whole. Use gentle pressure and avoid bending.
| Tip | How to Do It |
| Use soft hands | Hold candy canes softly to avoid cracks |
| Support while threading | Hold both ends when stringing to prevent breaks |
| Work on a padded surface | Use cloth or foam to cushion drops |
| Store properly | Keep candy canes in a box to stop damage |
| Avoid moisture | Keep candy canes dry to prevent softening |
Basic Garland Assembly
Making a candy cane garland is a fun and simple holiday project. You need candy canes and some string or twine to start.
This guide helps you put the candy canes together to create a festive decoration.
Threading Candy Canes
Use a needle or a strong thread to string the candy canes. Thread through the curved top to keep them secure.
Make sure to pull the thread tight so the candy canes do not slide around.
- Choose a thick thread or thin twine
- Thread through the hook part of each candy cane
- Pull the thread tight after adding each candy cane
- Use a large needle for easier threading
Spacing And Arrangement Tips
Space candy canes evenly to make the garland look neat. Try to keep the same distance between each candy cane.
You can arrange candy canes facing the same way or alternate their directions for a different look.
- Keep about 2-3 inches between each candy cane
- Alternate hook directions for a zigzag style
- Group candy canes in pairs for a fuller look
- Lay out your design before threading
Creative Garland Variations
Making a candy cane garland for Christmas is fun and easy. You can change it up with different styles.
Try new ideas to make your garland look bright and special this year.
Adding Ribbons And Bows
Ribbons and bows add color and texture to your candy cane garland. Use ribbons that match your room's theme.
Attach bows at even spaces or cluster them for a fuller look. Satin, velvet, or plaid ribbons work well.
- Use wired ribbons to shape bows easily
- Mix wide and thin ribbons for contrast
- Choose red, green, or gold for Christmas colors
Incorporating Lights
Adding lights makes your garland shine at night. Small LED string lights are safe and bright.
Weave the lights through the candy canes and secure the battery pack hidden behind a bow or ribbon.
- Use warm white or multicolor lights
- Check battery life before hanging
- Keep wires neat to avoid tangles
Mixing With Other Ornaments
Combine candy canes with other ornaments for a richer look. Small pine cones, berries, or bells add charm.
Space ornaments evenly or cluster some spots for variety. Use glue or wire to keep them in place.
- Pine cones add natural texture
- Red berries bring bright color
- Silver bells add a festive sound
- Mini wreaths create depth and interest
Hanging And Display Ideas
Christmas candy cane garlands add a festive touch to any space. They are easy to hang and display.
This guide offers creative ideas to show off your candy cane garland both indoors and outdoors.
Indoor Placement Options
Inside your home, candy cane garlands brighten many areas. They bring holiday cheer to common spots.
- Drape the garland along the fireplace mantel for a classic look.
- Hang it around door frames to greet guests with festive colors.
- Wrap it around stair railings to add charm to your staircase.
- Use it to decorate window sills for a cozy feel.
- Place it on bookshelves or cabinets to spread holiday joy.
Outdoor Decorating Tips
Outdoor displays need strong hanging spots and weather-safe setups. Candy cane garlands can look great outside too.
| Location | Hanging Method | Tip |
| Front Porch | Use hooks or nails | Secure ends to avoid wind damage |
| Fence | Tie with garden twine | Place evenly for balanced look |
| Mailbox | Wrap around post | Check for moisture resistance |
| Tree Branches | Use zip ties or ribbons | Place higher to avoid pets |

Credit: www.bindleandbrass.com
Safety And Storage Tips
Creating a Christmas candy cane garland is fun. Keeping it safe and fresh is important. Learn how to store it properly.
Keeping Candy Fresh
Candy canes need to stay fresh for a longer time. This ensures they remain tasty and look good on your garland.
- Store candy canes in a cool, dry place.
- Keep them in airtight containers.
- Avoid direct sunlight to prevent melting.
Storing Garland After Holidays
Once the holidays are over, storing your garland properly is key. This helps you use it again next year.
Wrap the garland gently in tissue paper. Use a sturdy box for storage to avoid crushing.
| Storage Tip | Benefit |
| Use airtight containers | Keeps candy fresh |
| Store in a cool place | Prevents melting |
| Wrap in tissue paper | Protects from damage |

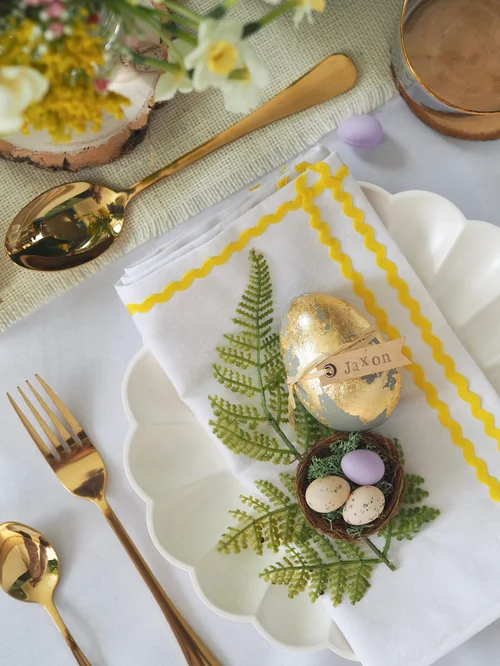
Credit: gracemonroehome.com
Frequently Asked Questions
What Materials Do I Need For A Candy Cane Garland Diy?
You need candy canes, string or ribbon, scissors, and optional glue or hooks. These basic supplies help you create a festive, charming garland easily.
How Do I Assemble A Christmas Candy Cane Garland?
Tie or glue candy canes together by their hooks along a string. Space them evenly for a neat, attractive garland that’s perfect for holiday décor.
Can I Use Plastic Candy Canes For The Garland?
Yes, plastic candy canes are durable and reusable. They work well if you want a long-lasting, mess-free holiday decoration option.
How Long Does It Take To Make A Candy Cane Garland?
It usually takes 20-30 minutes, depending on garland length. The process is simple, making it a fun and quick holiday craft.
Conclusion
Creating a candy cane garland is fun and simple. It adds a bright, festive touch to any room. You can customize it with your favorite colors and sizes. Kids and adults both enjoy making this craft. It brings holiday cheer and a cozy feeling.
Try making one for your home this Christmas. It’s a great way to spread joy and decorate with love. Give it a go and watch your space transform beautifully. Crafting together creates lasting holiday memories.