Are you ready to transform your clay into the perfect, smooth canvas for your next masterpiece? Wedge clay at home with simple steps that anyone can follow.
Whether you’re a beginner or looking to improve your craft, mastering this essential skill will save you time and frustration. Keep reading, and you’ll discover easy techniques to get your clay ready to shape, mold, and create like a pro.
Your creative journey starts now—let’s get your hands working with clay that’s just right.
Credit: potterycrafters.com
Why Wedge Clay Matters
Wedge clay is an important step before shaping your pottery. It helps prepare the clay for better results. Proper wedging makes the clay easier to work with.
Without wedging, your clay may have problems that affect your final piece. Let’s look at why wedging matters.
Removing Air Bubbles
Air bubbles can cause cracks or explosions during firing. Wedging pushes out trapped air. This makes the clay safer and stronger.
Achieving Consistent Texture
Wedge clay to mix the moisture evenly. This creates a smooth texture. A good texture helps the clay shape well and hold details.
- Break up lumps in the clay
- Mix water evenly throughout
- Create a soft but firm feel
- Prepare clay for shaping or throwing
Improving Clay Workability
Wedging makes the clay easier to shape. It helps the clay stretch without cracking. The process also warms the clay, making it more flexible.
| Benefit | Effect on Clay |
| Even moisture | Smooth texture |
| Air removal | Stronger pieces |
| Warming clay | Better flexibility |
| Mixing clay | Consistent workability |
Tools Needed For Wedging
Wedging clay is an important step before shaping pottery. It removes air bubbles and makes the clay smooth. Having the right tools helps you wedge clay easily at home.
This guide explains the basic tools for wedging and some optional accessories you might find useful.
Basic Wedging Tools
You need a few simple tools to start wedging clay. These tools help you work the clay evenly and safely.
- Clay Wedging Table:A flat, sturdy surface to work on. It should be smooth and easy to clean.
- Wire Clay Cutter:Used to cut large blocks of clay into smaller pieces for wedging.
- Hands:Your hands are the most important tool for wedging. Use your palms and fingers to knead the clay.
- Spray Bottle:Keeps the clay moist during wedging to prevent cracking.
Optional Accessories
Some tools are not necessary but can make wedging easier and more comfortable. These accessories can improve your experience.
- Rubber or Canvas Mat:Placed on the wedging table to stop clay from sticking and protect the surface.
- Wooden Wedging Board:A smaller board to wedge clay on, which you can move easily.
- Bench Scraper:Helps lift and turn clay during wedging and keeps your hands clean.
- Apron and Towels:Protect your clothes and clean your hands quickly.
Preparing Your Workspace
Wedge clay properly by setting up a clean and organized workspace. This helps you work faster and avoid problems.
Focus on choosing a good surface and keeping your clay moist. Both are key to good wedging.
Choosing The Right Surface
Select a surface that is flat, sturdy, and easy to clean. Avoid rough or soft surfaces that can damage the clay.
- Use a wooden board or canvas-covered board for good grip.
- A smooth concrete slab works well if it is clean.
- Plastic boards can be slippery but are easy to wipe down.
- Cover your surface with a damp cloth to keep clay from sticking.
Keeping Clay Moist
Clay dries out fast while you work. Keep it moist so it stays soft and easy to wedge.
| Method | Details |
| Plastic Wrap | Wrap clay tightly to hold in moisture between sessions. |
| Damp Cloth | Cover clay with a wet towel while working to prevent drying. |
| Water Spray | Lightly mist clay if it feels too dry during wedging. |
| Storage Bucket | Store clay in a sealed container with a damp sponge inside. |
Step-by-step Wedging Techniques
Wedging clay is important before shaping it. It removes air bubbles and makes clay smooth. This helps avoid cracks and weak spots.
There are different wedging ways. Each way helps prepare clay for throwing or hand-building. Learn simple wedging styles below.
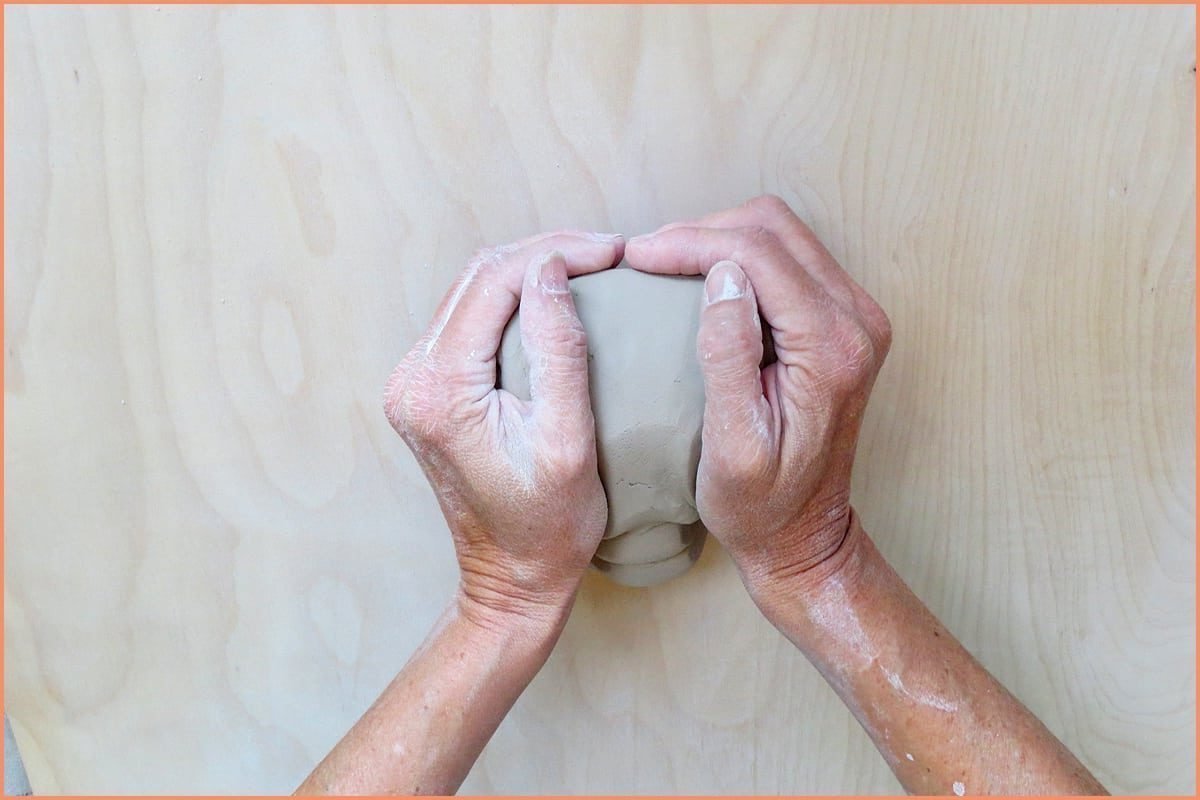
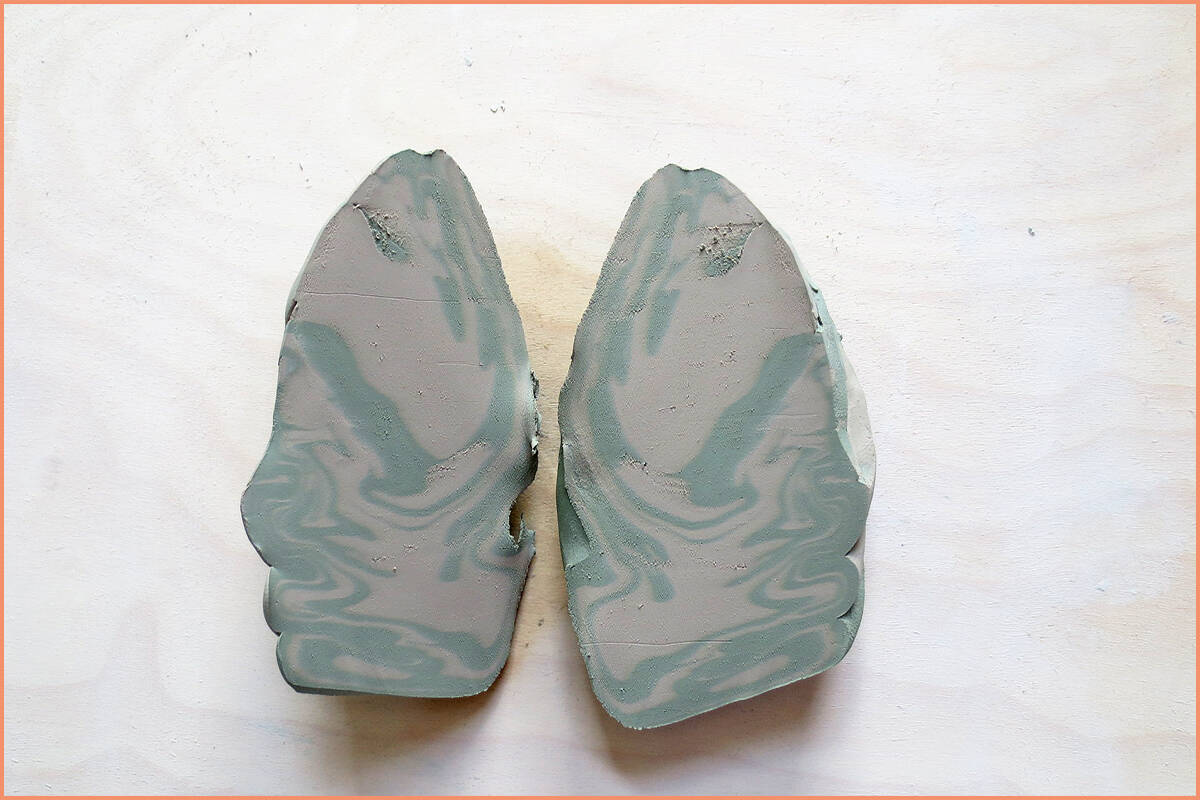
Spiral Wedging
Spiral wedging shapes clay by pushing it in a spiral motion. It helps mix clay evenly and remove air pockets.
Start by pressing the clay down and forward. Then rotate it slightly as you push. Repeat this motion in a circle until clay feels smooth.
- Press clay down and forward
- Rotate clay slightly with each press
- Keep the spiral motion steady
- Stop when clay feels soft and even
Ram’s Head Wedging
Ram’s head wedging uses a folding and pressing action. It helps align clay particles and remove air bubbles well.
Push the clay down with your palm. Then fold the clay over itself. Turn the clay 90 degrees and repeat the process. Keep folding and pressing until smooth.
- Press clay down flat
- Fold clay in half or thirds
- Turn clay 90 degrees
- Repeat until clay is smooth
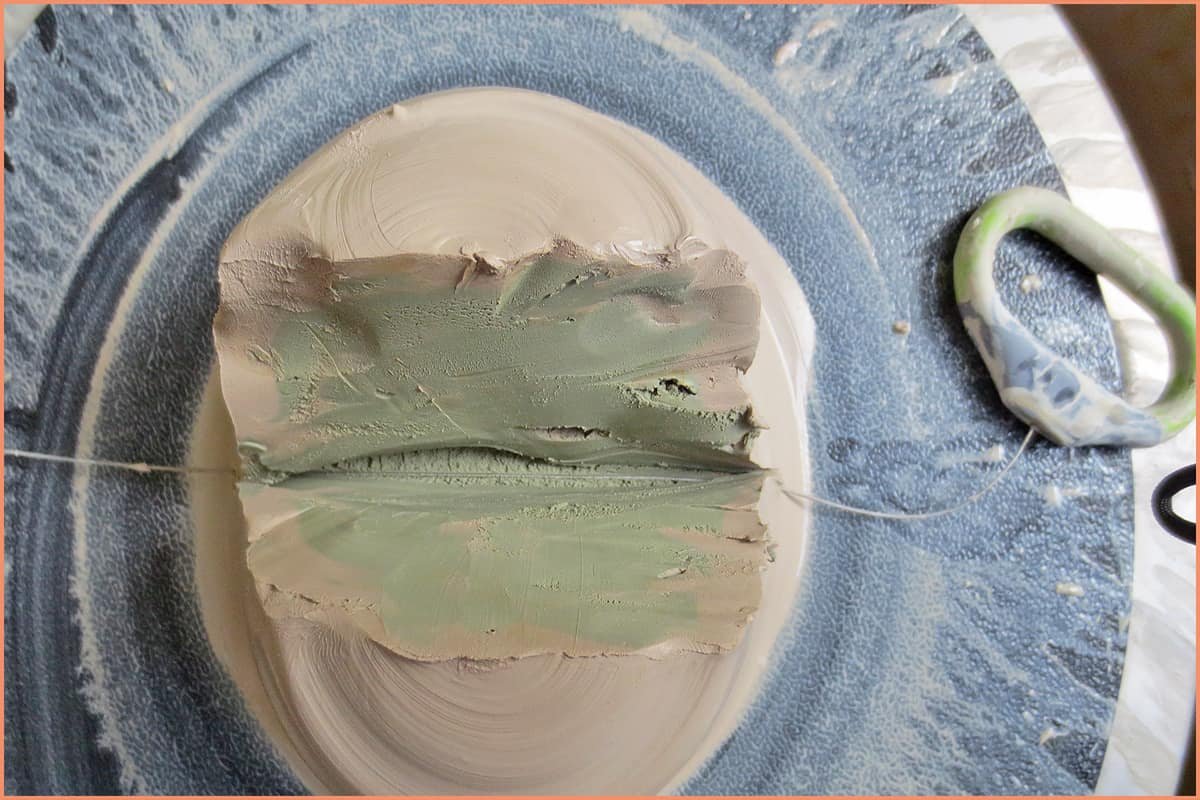
Cutting And Slamming
Cutting and slamming breaks up lumps and mixes clay quickly. Use a wire tool to cut clay into pieces.
Cut the clay into smaller chunks. Slam each piece down on the wedging surface hard. This removes air pockets and blends clay well.
- Cut clay into smaller parts with wire
- Slam pieces on the board firmly
- Repeat cutting and slamming as needed
- Finish by spiral or ram’s head wedging
Common Mistakes To Avoid
Wedging clay is an important step to make your clay smooth and ready to use. Many beginners make simple mistakes that cause problems in their projects.
Knowing what to avoid helps you prepare your clay better and get good results.
Overworking The Clay
Wedging too much can make the clay dry and hard to shape. It can also create cracks later when the clay dries.
Stop wedging once the clay feels smooth and soft. Doing it longer does not help.
- Clay becomes stiff if overworked
- Cracks can appear during drying
- Surface may lose its natural texture
Insufficient Wedging
Not wedging enough leaves air bubbles in the clay. These bubbles can cause the clay to explode in the kiln.
Proper wedging removes air and mixes moisture evenly. This makes the clay safer and easier to work with.
- Air bubbles cause cracks during firing
- Clay may be uneven and weak
- Surface can have lumps or holes
Ignoring Clay Condition
Using clay that is too wet or too dry makes wedging harder. Wet clay sticks and feels sticky. Dry clay cracks and breaks.
Check the clay before wedging. Adjust moisture by adding water or letting it dry slightly for best results.
- Wet clay is sticky and hard to wedge
- Dry clay cracks and crumbles easily
- Good clay feels soft and smooth

Credit: www.youtube.com
Tips For Perfect Wedging Every Time
Wedging clay is an essential step in pottery. It removes air bubbles and aligns clay particles. This guide helps you wedge clay perfectly at home.
Follow these tips to ensure your clay is ready for crafting. Proper wedging makes your pottery projects easier and more successful.
Maintaining Consistency
Consistency is key in clay preparation. It ensures even texture and structure. Use these tips to maintain consistent clay.
- Use a flat, clean surface for wedging.
- Apply even pressure with your hands.
- Repeat the process until the clay feels uniform.
Recognizing Ready Clay
Knowing when your clay is ready is crucial. Well-wedged clay feels smooth and elastic. Here’s how to check its readiness.
| Sign | Ready | Not Ready |
| Texture | Smooth | Rough |
| Feel | Elastic | Sticky |
| Appearance | No cracks | Visible cracks |
Storing Wedged Clay
Proper storage keeps your clay workable. Store it correctly to prevent drying. Follow these tips to store wedged clay effectively.
Wrap the clay tightly in plastic wrap to retain moisture. Store it in a cool, dark place. For best results, place it in a sealed container.
Credit: potterycrafters.com
Frequently Asked Questions
What Is The Purpose Of Wedging Clay At Home?
Wedging clay removes air bubbles and creates uniform consistency. It ensures better workability and prevents cracks during drying and firing. This process is essential for strong, durable pottery and sculptures.
How Do I Properly Wedge Clay By Hand?
Use a spiral or ram’s head technique. Knead the clay on a clean surface, folding and pressing repeatedly. This mixes moisture evenly and expels trapped air for smooth texture.
Can I Wedge Clay Without Special Tools?
Yes, wedging clay only requires a clean, flat surface and your hands. You can use a sturdy table or board to knead and fold the clay effectively.
How Long Should I Wedge Clay Before Use?
Wedging typically takes 5 to 10 minutes. Continue until the clay feels uniform, soft, and free of air pockets, ensuring optimal plasticity for shaping.
Conclusion
Wedge clay well to remove air bubbles and make it smooth. This helps clay hold shape and last longer. Use firm, even pressure and fold the clay often. Keep your workspace clean to avoid dirt in the clay. Practicing these steps will improve your pottery work.
Wedge clay at home anytime to prepare for your next project. Simple, steady work leads to better results and more fun.