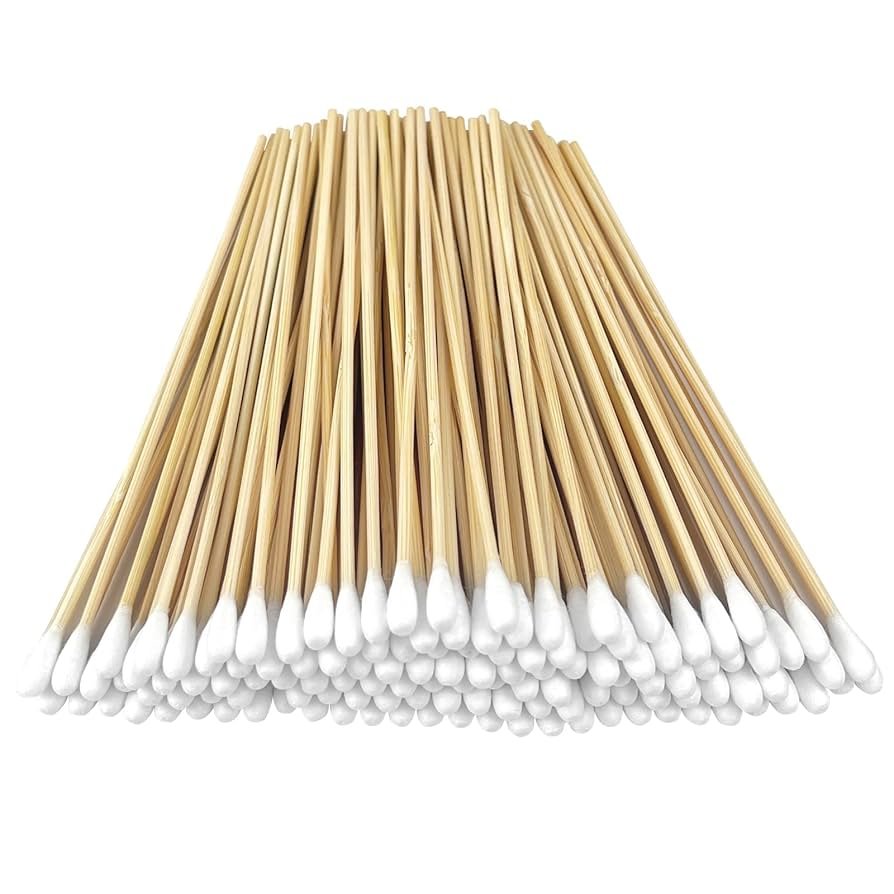
You use cotton swabs for so many things—cleaning small wounds, applying ointments, or even crafting. But have you ever stopped to think about how clean they really are?
Using unsterilized swabs can cause infections or irritations. The good news is, you don’t need fancy equipment or expensive tools to make your cotton swabs safe. You’ll learn simple, effective ways to sterilize cotton swabs right at home. Keep reading, because these easy tips could protect your health and save you money.
Why Sterilize Cotton Swabs
Cotton swabs are common tools used for cleaning and applying products. They often touch sensitive areas like wounds or ears.
Sterilizing cotton swabs removes harmful germs. This helps prevent infections and keeps you safe.
Risks Of Unsterilized Swabs
Using unsterilized cotton swabs can cause many problems. Dirt and bacteria on the swab can enter your body.
- Infections in wounds or ears
- Skin irritation and redness
- Spread of harmful bacteria
- Delayed healing of cuts
- Possible allergic reactions
Benefits Of Sterilization
Sterilizing cotton swabs kills germs and makes them safe to use. It lowers the chance of infections.
| Benefit | Explanation |
| Reduces Infections | Kills bacteria and viruses on the swab |
| Improves Healing | Prevents germs from slowing wound recovery |
| Safe for Sensitive Skin | Removes irritants that cause redness |
| Reusable Option | Allows safe reuse after sterilizing |

Credit: www.amazon.com
Preparation Before Sterilizing
Sterilizing cotton swabs at home requires some preparation. This helps make sure they are clean and safe to use.
Start by choosing the right swabs and cleaning them well. These steps improve the sterilization results.
Choosing The Right Cotton Swabs
Use cotton swabs made from natural cotton and a strong stick. Avoid swabs with plastic sticks or added chemicals.
- Pick swabs with 100% pure cotton tips
- Choose sticks made of wood or paper
- Avoid scented or colored swabs
- Use sterile, individually wrapped swabs if possible
Cleaning The Swabs
Before sterilizing, clean the swabs to remove dust and dirt. This step prepares them for effective sterilization.
| Cleaning Method | Description | Notes |
| Warm Soapy Water | Gently wash swabs in mild soap and warm water | Rinse well to remove soap |
| Rinse with Clean Water | Use running water to wash off any residues | Helps remove soap and dirt |
| Air Dry | Let swabs dry on a clean towel | Do not use towels that shed fibers |
Boiling Method
Sterilizing cotton swabs at home is simple and safe using boiling. Boiling kills germs and bacteria on the swabs.
This method works well for cotton swabs without plastic parts. You need only water and a pot.
Steps To Boil Swabs
- Fill a pot with enough water to cover the cotton swabs.
- Bring the water to a rolling boil on the stove.
- Place the cotton swabs carefully into the boiling water.
- Let the swabs boil for at least 10 minutes to ensure sterilization.
- Use tongs to remove the swabs from the water.
- Place the swabs on a clean, dry surface to cool and dry completely.
Safety Tips
| Tip | Description |
|---|---|
| Use Clean Water | Always start with clean, fresh water to avoid contamination. |
| Handle Carefully | Use tongs or a spoon to avoid burns when removing swabs. |
| Avoid Plastic Handles | Boiling can melt or deform plastic parts on swabs. |
| Dry Properly | Let swabs dry fully on a clean surface to prevent mold growth. |
| Do Not Overboil | Boiling too long may weaken the cotton fibers. |
Steam Sterilization
Sterilizing cotton swabs at home is important for cleanliness. Steam sterilization is an effective method to ensure they are germ-free.
This method uses heat from steam to kill bacteria and other pathogens. Here’s how you can use a steam sterilizer or create a DIY steam setup.
Using A Steam Sterilizer
Steam sterilizers are devices that make sterilization easy. They are often used for baby bottles and medical instruments.
Place the cotton swabs inside the sterilizer. Ensure they are arranged neatly to allow even steam circulation.
- Fill the sterilizer with water as per instructions.
- Set the timer to the recommended duration.
- Wait for the cycle to complete, then remove the swabs carefully.
Diy Steam Setup
If you don’t have a steam sterilizer, you can make a DIY setup. This method requires items commonly found in the kitchen.
Use a large pot with a lid and a steaming rack or metal strainer. This setup will create a steam environment similar to a sterilizer.
- Fill the pot with a small amount of water.
- Place the rack inside, ensuring it is above the water.
- Arrange the cotton swabs on the rack.
- Cover the pot and bring the water to a boil.
- Steam for about 10-15 minutes, then turn off the heat.
- Let the swabs cool before removing them.
Alcohol Soaking Method
Sterilizing cotton swabs at home is easy and safe with alcohol. Using the right method ensures cleanliness and hygiene for various needs.
This guide will help you sterilize cotton swabs using the alcohol soaking method. Let's explore the steps to choose the right alcohol and determine the soaking duration.
Choosing The Right Alcohol
Not all alcohols are suitable for sterilization. Choose the type that kills germs effectively and is safe for use.
Isopropyl alcohol is the most common choice for sterilizing. It is effective and widely available. Aim for a concentration of 70% for the best results.
- Isopropyl alcohol (70%) is ideal for sterilization
- Avoid using scented or colored alcohols
- Ensure the alcohol is not expired
Soaking Duration
The time you soak cotton swabs in alcohol is crucial. A proper soak ensures all germs are killed.
Generally, soaking for 10-15 minutes is enough. This duration allows the alcohol to penetrate and sterilize the cotton thoroughly.
- Soak cotton swabs for 10-15 minutes
- Ensure complete immersion in alcohol
- Allow swabs to air dry before use
Microwave Sterilization
Microwave sterilization is a quick way to clean cotton swabs at home. It uses microwave heat to kill germs and bacteria.
This method is safe and easy if you follow the right steps. It saves time and avoids harsh chemicals.
Preparing Swabs For Microwave
Before microwaving, prepare the cotton swabs correctly to avoid damage and ensure cleanliness.
- Place swabs in a microwave-safe container with a lid.
- Add enough water to cover the swabs completely.
- Do not overcrowd the container; leave space for steam.
- Use only swabs without metal or plastic parts.
- Seal the container loosely to allow steam to escape.
Microwave Settings And Time
Set your microwave correctly to sterilize cotton swabs without causing damage.
| Power Level | Time | Notes |
|---|---|---|
| High (100%) | 1 to 2 minutes | Use for small batches only |
| Medium (50-70%) | 3 to 4 minutes | Better for larger amounts |
| Allow to cool | 5 minutes | Let swabs cool before removing |
Dry Heat Sterilization
Dry heat sterilization uses hot air to kill germs on cotton swabs. It is a safe way to clean swabs at home without water.
This method works well for items that can tolerate heat. Using an oven is the most common way to apply dry heat sterilization.
Using An Oven
First, preheat your oven to the right temperature. Place the cotton swabs on a clean baking tray. Spread them out so air can move around each swab.
Do not let the swabs touch any metal or plastic parts. Keep the oven door closed during the process to keep the heat steady.
Temperature And Timing
Dry heat kills germs better at certain temperatures and times. Use the chart below to know how long to heat cotton swabs safely.
| Temperature (°F) | Temperature (°C) | Time |
| 320 | 160 | 2 hours |
| 340 | 170 | 1 hour |
| 360 | 180 | 30 minutes |
Choose a time and temperature that fits your oven. After heating, let the swabs cool inside the oven before removing them.
Storing Sterilized Swabs
Keeping cotton swabs sterile after cleaning is very important. Proper storage stops germs from reaching the swabs.
Choosing the right container and handling the swabs carefully helps keep them clean until use.
Best Storage Containers
Use containers that close tightly to keep out dust and bacteria. Plastic or glass containers with lids work well.
- Glass jars with screw-on lids
- Plastic boxes with snap-on covers
- Metal tins with tight seals
- Small airtight containers designed for medical use
Make sure to clean the container before placing sterilized swabs inside. Dry the container completely to avoid moisture.
Avoiding Contamination
Touch the swabs only with clean hands or sterile tools. Avoid opening the container too often to keep germs away.
| Tip | Reason |
| Wash hands before handling | Reduces transfer of germs |
| Use tweezers or sterile gloves | Prevents direct contact |
| Store in a dry place | Stops mold and bacteria growth |
| Keep container sealed | Blocks dust and airborne germs |
Common Mistakes To Avoid
Sterilizing cotton swabs at home helps keep them safe to use. Many people make simple errors that reduce effectiveness.
Avoid these mistakes to ensure your cotton swabs are properly sterilized every time.
Using Dirty Containers For Sterilization
People often use containers that are not clean. This spreads germs back onto the swabs after sterilizing.
Always clean and dry containers before placing cotton swabs inside for sterilization.
Not Using Enough Heat Or Time
Some try to sterilize swabs too quickly or at low heat. This leaves bacteria alive on the swabs.
Make sure to follow recommended heat levels and sterilization time to kill germs properly.
Sterilizing Cotton Swabs With Plastic Tips
Not all cotton swabs handle heat well. Plastic tips can melt or release chemicals when heated.
Check the swabs’ material before sterilizing. Use only cotton tips that tolerate heat safely.
Reusing Cotton Swabs Multiple Times
Some people reuse cotton swabs after sterilizing several times. This reduces cleanliness and safety.
Use sterilized swabs only once. Throw them away after use to avoid infection risks.
Skipping Drying After Sterilization
Wet cotton swabs can grow bacteria quickly. Many skip drying them properly after sterilizing.
Allow swabs to dry fully in a clean place before storing or using them.
Using Contaminated Hands During Handling
Handling sterilized swabs with dirty hands adds germs back to them. This defeats sterilization efforts.
Wash your hands well before and after handling sterilized cotton swabs.
Credit: www.amazon.com

Credit: www.safetyandhealthmagazine.com
Frequently Asked Questions
How Can I Sterilize Cotton Swabs At Home Safely?
Boil cotton swabs in water for 10 minutes to kill germs. Let them air dry on a clean surface before use. This method is effective and safe for home sterilization.
Is Using Alcohol Effective For Sterilizing Cotton Swabs?
Yes, soaking cotton swabs in 70% isopropyl alcohol for a few minutes disinfects them well. Allow swabs to dry completely to ensure safety and avoid irritation.
Can I Reuse Sterilized Cotton Swabs?
Reusing sterilized cotton swabs is not recommended for hygiene reasons. It’s best to use a new swab after sterilizing to prevent contamination and infections.
What Household Items Help Sterilize Cotton Swabs?
Boiling water, isopropyl alcohol, and steam from a kettle are common household items for sterilizing cotton swabs. Each method effectively eliminates bacteria when used properly.
Conclusion
Sterilizing cotton swabs at home is simple and safe. Clean swabs help prevent infections and keep you healthy. Use boiling water or alcohol to kill germs quickly. Always handle swabs with clean hands for best results. Store sterilized swabs in a clean, dry place.
Regularly sterilizing swabs saves money and reduces waste. Try these easy steps to keep your cotton swabs safe to use. Stay careful, stay healthy!