Are you ready to turn your clay creations into lasting masterpieces right at home? Knowing how to set clay properly can make all the difference between a fragile piece and a durable work of art.
Whether you're a beginner or looking to improve your skills, this guide will walk you through easy, effective steps to set clay without needing a professional kiln. By the end, you'll have the confidence to bring your ideas to life and keep them strong for years to come.
Let’s dive in and discover how you can make your clay projects stand the test of time!

Credit: www.youtube.com
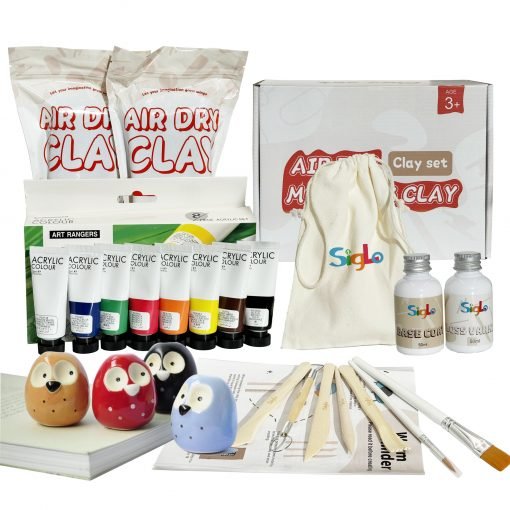
Choosing The Right Clay
Choosing the right clay is important for good results when working at home. Different clays have different uses and qualities.
This guide helps you pick the right clay based on your project and what tools you need.
Types Of Clay For Home Use
There are many types of clay you can use at home. Each type has unique features.
- Air-dry clay: Dries without baking, easy to use for crafts.
- Polymer clay: Hardens in a home oven, good for small models.
- Natural clay: Needs kiln firing, used for pottery.
- Paper clay: Lightweight and cracks less when dry.
Selecting Based On Project Needs
Think about what you want to create before choosing clay. Different projects need different clays.
| Project Type | Best Clay | Drying or Firing |
| Simple crafts | Air-dry clay | Air dry |
| Miniature models | Polymer clay | Bake in oven |
| Pottery and bowls | Natural clay | Fire in kiln |
| Decorative items | Paper clay | Air dry or low heat |
Tools And Materials Required
Having the right tools makes working with clay easier and neater.
- Clay sculpting tools like knives and shaping sticks
- Rolling pin or slab roller for flat surfaces
- Water spray bottle to keep clay moist
- Work mat or board to protect surfaces
- Oven or kiln if your clay needs firing
- Storage containers to keep clay fresh
Credit: potterycrafters.com
Preparing Your Workspace
Setting clay at home needs a well-prepared workspace. A clean and organized area helps you work better.
Good ventilation and proper tools keep your clay project safe and easy to complete.
Setting Up A Clean Surface
Choose a flat surface free from dust and dirt. Clean it well before starting your clay work.
Use a plastic mat or a smooth board to protect your table and make cleaning easy.
Organizing Tools And Supplies
Gather all tools before you begin. Keep them close to avoid searching while working.
- Clay blocks or pieces
- Clay sculpting tools
- Water container for smoothing
- Plastic wrap or bags
- Paper towels or cloth
Arrange these items neatly on your workspace to save time and stay focused.
Ensuring Proper Ventilation
Work in a well-ventilated room to avoid breathing in dust or fumes. Open windows or use a fan.
If your clay needs baking, keep the oven area clear and ventilated to reduce smells and heat.
Shaping And Sculpting Clay
Working with clay at home can be very enjoyable. It allows you to create unique shapes and designs. Learning the basics of shaping and sculpting helps you make beautiful clay pieces.
Start by choosing the right type of clay. Some clays are easier to shape than others. You can use your hands or tools to create different forms.
Techniques For Smooth Finishes
Smooth finishes make your clay creations look professional. One way to achieve this is by using water. Wet your fingers and gently rub the surface of the clay.
Another technique is to use a soft cloth. Gently polish the clay until it feels smooth. You can also use fine sandpaper after the clay dries.
- Use water for a quick smooth finish
- Polish with a soft cloth for extra shine
- Sandpaper is useful for dry clay
Common Mistakes To Avoid
Working with clay can be tricky. Avoid using too much water. It can make the clay too soft and hard to shape.
Another mistake is not wedging the clay. This helps remove air bubbles. Air bubbles can cause cracks when the clay dries.
- Do not use excessive water
- Always wedge the clay to remove air
- Dry clay evenly to prevent cracks
Using Molds And Stencils
Molds and stencils can help create detailed designs. They are great for beginners. Choose a mold that fits your project.
Press the clay into the mold and gently remove it. For stencils, lay them on the clay and cut around the edges. This gives precise shapes.
- Select molds that suit your design
- Press clay firmly into molds
- Use stencils for clean edges
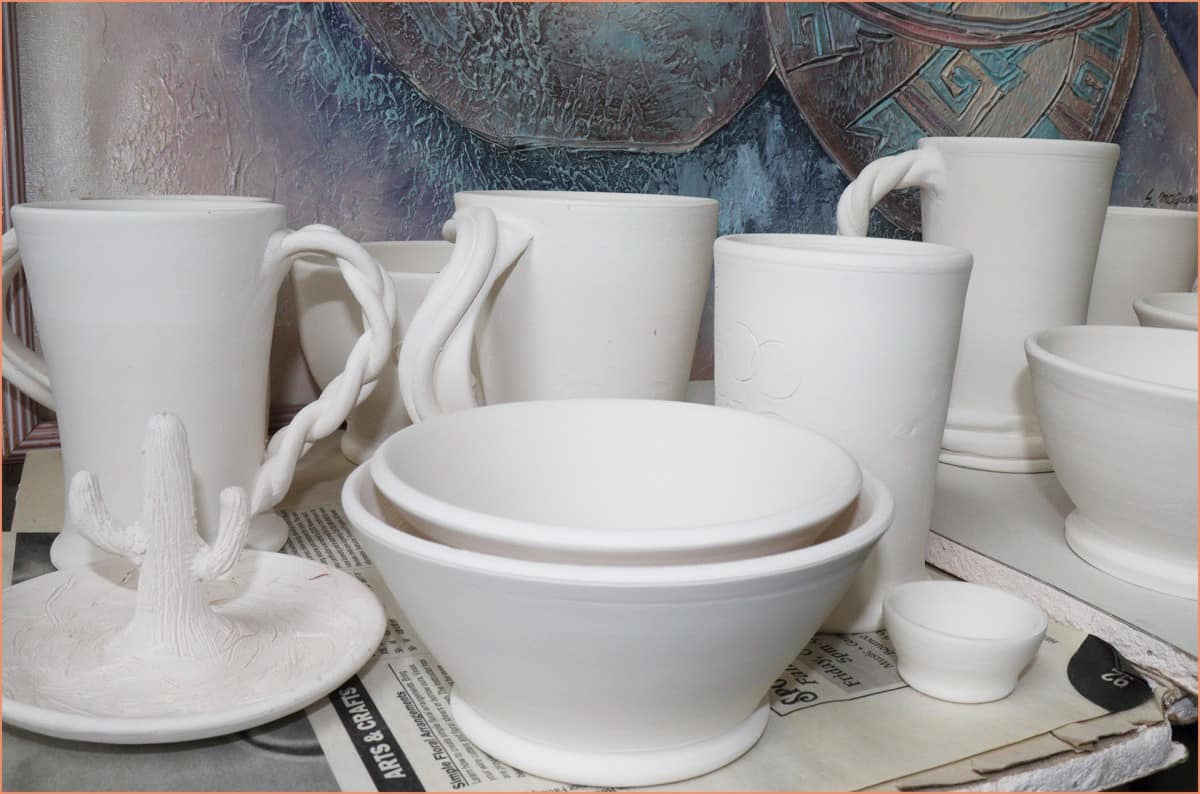
Drying Clay At Home
Drying clay correctly is important to keep your project strong. It stops cracks and breaks during use.
You can dry clay at home using air or an oven. Each way has its good points and things to watch.
Air-drying Vs Oven-drying
Air-drying is the easiest way to dry clay. You leave your clay piece in a dry spot until it hardens. Oven-drying uses heat to dry clay faster.
- Air-Drying:Takes longer but is gentle on clay.
- Oven-Drying:Speeds up drying but may cause cracks if too hot.
- Choice:Use air-drying for thick pieces and oven-drying for thin items.
Optimal Drying Conditions
| Condition | Ideal Range |
| Temperature | 65°F to 75°F (18°C to 24°C) |
| Humidity | Low (30% to 50%) |
| Airflow | Good but not direct wind |
| Surface | Flat and non-stick |
Keep clay away from direct sunlight. It dries clay too fast and may cause cracks.
Tips To Prevent Cracking
- Dry clay slowly in a cool, dry place.
- Cover pieces loosely with plastic for the first day.
- Turn or flip clay pieces to dry evenly.
- Use thin layers for faster and safer drying.
- Smooth edges and surfaces before drying.
Firing Clay Without A Kiln
Firing clay is important to harden and finish your project. Not everyone has access to a kiln. You can fire clay at home using other ways.
This guide explains how to fire clay without a kiln safely. It also shows how to check if your clay is hard enough.
Alternative Heating Methods
You can use different heat sources to fire clay at home. These methods need careful control of temperature and time.
- Oven firing: Use a regular kitchen oven. Heat slowly to about 2000°F (1093°C).
- Grill firing: Use a charcoal or gas grill. Place clay inside with heat spread evenly.
- Campfire firing: Bury clay in hot coals. Turn it often to avoid burning one side.
- Electric stove: Heat metal container with clay inside. Keep temperature steady for hours.
Safety Precautions
Firing clay without a kiln can be risky. Follow safety rules to protect yourself and your home.
- Work in a well-ventilated area to avoid smoke and fumes.
- Use heat-resistant gloves to handle hot items.
- Keep a fire extinguisher nearby.
- Do not leave the firing process unattended.
- Wear a mask to avoid breathing dust from dry clay.
- Keep children and pets away from the firing area.
Testing For Hardness
After firing, check if the clay is hard and fully fired. This step shows if your project is ready.
- Tap the clay lightly with a fingernail. It should sound solid, not hollow.
- Try scratching a small hidden area with a sharp object. Fired clay resists scratches.
- Check if the clay feels cool and firm. Soft or warm spots mean it needs more firing.
- Look for cracks or breaks. These can mean uneven firing or too fast heating.

Credit: www.amazon.com
Finishing Touches
Setting clay at home is a fun process. The last steps make your piece look great and last longer.
These finishing touches include sanding, painting, sealing, and caring for your clay creations.
Sanding And Smoothing
Sanding helps remove rough spots on your clay piece. Use fine sandpaper for best results.
Gently smooth the surface to prepare it for painting or sealing. Take your time for a clean finish.
- Start with 220 grit sandpaper
- Use circular motions to avoid marks
- Wipe dust off with a soft cloth
- Repeat with finer grit if needed
Painting And Sealing
Paint your clay piece with acrylic paints for bright colors. Let each layer dry before adding more.
Seal the paint with a clear varnish or sealer. This protects your work from moisture and scratches.
- Use thin paint layers to avoid clumps
- Choose a matte or glossy sealer based on your look
- Apply sealer in a well-ventilated area
- Allow full drying time before handling
Maintaining Your Clay Creations
Keep your clay items clean by dusting them gently with a soft cloth. Avoid water on sealed pieces.
Store your clay art in a dry place, away from direct sunlight. This helps prevent fading and damage.
- Dust regularly to keep colors bright
- Avoid dropping or hitting the piece
- Do not expose to extreme heat or cold
- Handle with clean hands to avoid stains
Frequently Asked Questions
How Long Does It Take For Clay To Set At Home?
Clay typically takes 24 to 48 hours to set at room temperature. Drying time varies with thickness and humidity. Thinner pieces dry faster, while thicker ones may need more time. Proper ventilation helps speed up the drying process and prevents cracking.
What Is The Best Way To Dry Clay Quickly?
To dry clay quickly, place it in a warm, dry area with good airflow. Avoid direct sunlight, which can cause cracks. Using a fan can help circulate air and speed up drying evenly without damaging the clay’s surface.
Can I Use An Oven To Set Clay At Home?
Yes, you can bake certain types of clay, like polymer clay, at home. Follow the manufacturer’s instructions for temperature and time. Avoid high heat to prevent burning or melting. Not all clays are oven-safe, so check before baking.
How Do I Prevent Cracks When Setting Clay?
To prevent cracks, dry clay slowly and evenly. Avoid rapid drying or direct heat. Keeping clay covered with plastic during initial drying helps retain moisture. Also, work clay evenly thick to reduce stress points that cause cracks.
Conclusion
Setting clay at home is easy with the right steps. Dry the clay slowly to avoid cracks. Use a warm, dry place for best results. Keep the clay covered to stop dust and dirt. Patience helps the clay set strong and smooth.
Try these tips to enjoy your clay projects more. Practice makes your skills better every time. Now, your clay creations can last longer and look great.