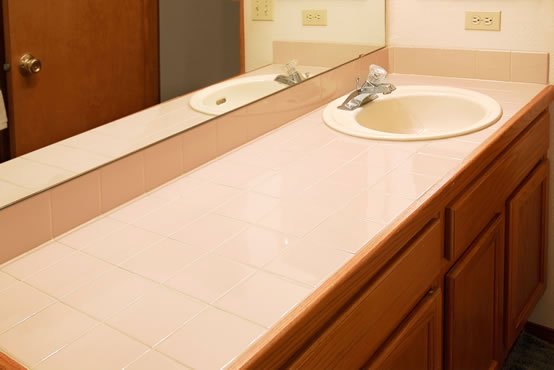
Is your bathroom vanity looking worn out or outdated? You don’t need to replace it to give your bathroom a fresh, new look.
Refinishing your bathroom vanity is a simple and affordable way to transform your space without breaking the bank. Imagine turning your old vanity into a stylish centerpiece that makes you proud every time you walk in. In this guide, you’ll discover easy, step-by-step tips to refinish your vanity like a pro—saving you time, money, and stress.
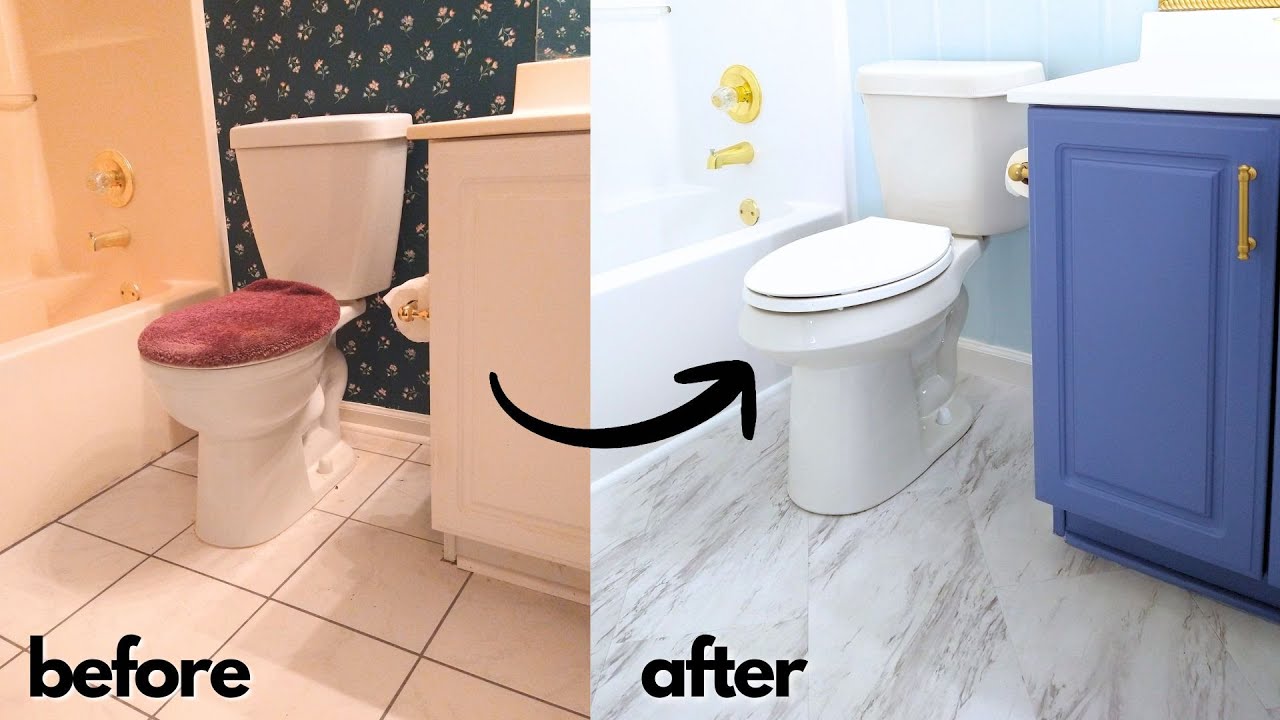
Ready to see your bathroom in a whole new light? Let’s get started!

Credit: www.ftworthrefinishing.com
Preparing Your Workspace
Refinishing a bathroom vanity needs a clean and organized workspace. This helps you work safely and finish faster.
Before you start, prepare your area well. This makes the job easier and prevents damage.
Clearing The Area
Remove all items from the vanity and nearby counters. This gives you space to work freely.
Cover the floor and walls with drop cloths or plastic sheets. This protects surfaces from paint or dust.
- Take away toiletries and decorations
- Move rugs and mats from the floor
- Use painter’s tape to cover edges
- Keep the area tidy to avoid accidents
Gathering Tools And Materials
Collect all tools and materials before starting. This prevents interruptions during your work.
Check you have everything to sand, clean, paint, and seal the vanity.
- Sandpaper or electric sander
- Cleaning cloths and mild cleaner
- Primer and paint suitable for bathrooms
- Paintbrushes and rollers
- Sealer or topcoat for protection
- Gloves and safety goggles
- Drop cloths and painter’s tape
Ensuring Proper Ventilation
Open windows and doors to let fresh air in. Good airflow helps remove fumes from paint and cleaners.
If your bathroom has a fan, turn it on during the project. This lowers harmful chemicals in the air.
- Open all available windows
- Keep the bathroom door open
- Use exhaust fans if available
- Avoid working in closed, stuffy rooms
Removing The Vanity Hardware
Removing the hardware is the first step in refinishing your bathroom vanity. This process makes it easier to work on the surface and avoid damage to fixtures.
Take your time to carefully remove each part. Keep the hardware safe if you plan to reuse it later.
Taking Off Handles And Knobs
Start by unscrewing the handles and knobs from the vanity doors and drawers. Most handles have screws on the inside of the door or drawer.
- Use a screwdriver that fits the screw head well.
- Turn the screw counterclockwise to loosen it.
- Hold the handle or knob as you remove the screw to prevent it from falling.
- Place all screws and hardware in a container to avoid losing them.
Detaching Faucets And Fixtures
Next, remove the faucets and other fixtures attached to the vanity top. These parts often connect tightly and may need tools.
| Tool | Use |
| Adjustable Wrench | Loosen nuts under the sink |
| Basin Wrench | Reach hard-to-access faucet nuts |
| Plumber’s Putty | Remove old sealant around fixtures |
Turn off the water supply before removing fixtures. Carefully disconnect each fixture to avoid damage.
Disconnecting Plumbing
After removing faucets, disconnect the plumbing pipes below the vanity. This step prevents water leaks during refinishing.
- Turn off the main water valve.
- Place a bucket under the pipes to catch any water.
- Use a wrench to loosen the drain pipe connections.
- Disconnect the water supply lines from the faucet.
- Remove the drain assembly from the sink.
Keep all parts labeled and stored. This helps when putting everything back after refinishing.
Cleaning And Sanding The Surface
Refinishing your bathroom vanity starts with a clean and smooth surface. This step helps paint or finish stick well. Cleaning removes dirt and grime. Sanding smooths the surface and fixes problems.
Spend time on this step to get the best results. A good base makes your vanity look fresh and new.
Removing Dirt And Grime
Use a mild cleaner to remove dirt and grime from the vanity. Avoid harsh chemicals that can damage the surface. Clean all areas, including corners and edges.
After cleaning, wipe the surface with a damp cloth to remove any leftover cleaner. Let it dry completely before sanding.
Sanding For Smoothness
Sand the vanity surface with fine-grit sandpaper. This step removes old finish and smooths rough spots. Sand in the direction of the wood grain for best results.
After sanding, wipe away the dust with a tack cloth. This cleans the surface and helps the new finish stick better.
Fixing Imperfections
Check the vanity for cracks, holes, or dents. Use wood filler to fix these imperfections. Apply it with a putty knife and smooth it out.
Let the filler dry fully, then sand the area smooth again. This ensures a flat surface for painting or staining.
Choosing The Right Paint Or Finish
Refinishing a bathroom vanity needs careful paint and finish choices. The right products protect the wood and look great in moist spaces.
This guide covers paint types, color choices, and protective coatings for a lasting result.
Types Of Paint Suitable For Vanities
Choose paint that handles moisture and cleaning. Common options include latex, oil-based, and acrylic paints. Each type has pros and cons.
- Latex Paint:Dries fast and cleans with water. Good for a smooth finish.
- Oil-Based Paint:Very durable and glossy. Takes longer to dry and needs solvents for cleanup.
- Acrylic Paint:Water-based and flexible. Resists cracking and fading.
Selecting Colors
Pick colors that match your bathroom style and size. Light colors make small rooms feel bigger. Dark colors add warmth and richness.
| Color Type | Effect |
| White or Off-white | Brightens and opens space |
| Soft Pastels | Creates a calm, clean look |
| Dark Shades | Adds depth and elegance |
| Bold Colors | Gives a fresh, modern feel |
Considering Protective Coatings
Protective coatings keep your paint safe from water and stains. Choose clear finishes that suit your paint type and use.
- Polyurethane:Durable and water-resistant. Available in gloss or matte.
- Polycrylic:Water-based and less smelly. Good for light colors.
- Varnish:Adds shine and extra protection.
Applying Primer And Paint
Refinishing a bathroom vanity starts with the right primer and paint. These layers protect the wood and give your vanity a fresh look.
Choosing the right products and applying them well helps the finish last longer and look smooth.
Priming Techniques
Use a high-quality primer made for bathrooms or kitchens. These primers resist moisture and mold.
Apply the primer with a brush or small roller. Cover all surfaces evenly, including corners and edges.
- Lightly sand the vanity before priming to remove old finish.
- Clean dust and grease from the surface.
- Use thin coats of primer to avoid drips.
- Let the primer dry fully before painting.
Painting Tips For Even Coverage
Choose paint that works well in humid areas. Satin or semi-gloss finishes are good for vanities.
Use a high-quality brush or foam roller for smooth application. Paint in long, even strokes.
| Common Painting Mistakes | How to Avoid Them |
|---|---|
| Thick paint layers | Apply thin, even coats |
| Skipping edges | Paint all sides and corners |
| Not sanding between coats | Lightly sand for smooth finish |
Drying Times And Multiple Coats
Let each coat of primer or paint dry completely. This usually takes four to six hours.
Apply two to three coats for the best coverage and durability. Sand lightly between coats to remove bumps.
- Apply primer and let it dry fully.
- Paint the first coat and wait until dry.
- Sand lightly and clean dust off.
- Apply the next coat and repeat.
Sealing And Protecting The Vanity
Refinishing a bathroom vanity involves sealing it to protect from water and wear. The sealant acts as a barrier, keeping the surface looking new.
Proper sealing ensures longevity and maintains the vanity's appearance. Here are steps to apply sealant and tips for maintaining its durability.
Applying Sealant
Applying sealant is crucial for protecting the vanity surface. A good sealant prevents moisture and stains from damaging the finish.
Maintaining Finish Durability
Maintaining the sealant ensures the vanity stays protected over time. Regular care keeps the finish durable and long-lasting.
- Wipe spills immediately to prevent water damage.
- Use mild cleaners to avoid wearing down the sealant.
- Check for any chips or cracks and reapply sealant as needed.
| Task | Frequency |
| Reapply Sealant | Every 6–12 months |
| Check for Damage | Monthly |
| Clean Surface | Weekly |
Reattaching Hardware And Fixtures
Refinishing your bathroom vanity can be a rewarding project. The last steps involve reattaching all hardware and fixtures.
These steps will ensure everything is securely in place and functioning correctly.
Installing New Or Cleaned Hardware
After cleaning or replacing, reattach the hardware. Use a screwdriver to secure handles and knobs.
- Align each handle to its original position.
- Ensure screws are tight but not over-tightened.
- Check that all knobs turn smoothly.
Reconnecting Plumbing
Make sure to reconnect the plumbing carefully. This prevents leaks and ensures proper water flow.
| Task | Tool Required |
| Reattach pipes | Wrench |
| Seal connections | Teflon tape |
| Check for leaks | Flashlight |
Testing Functionality
Finally, test all fixtures to ensure they work. Turn on taps and ensure water flows without leaks.
Inspect the vanity for any loose parts. Tighten if necessary.
Credit: www.youtube.com
Final Touches And Maintenance Tips
Refinishing your bathroom vanity is not complete without adding final touches. These details make your vanity look polished and unique. Proper maintenance keeps your vanity looking fresh for years.
Taking time to decorate and clean your vanity will protect your hard work. Small habits help prevent damage and wear over time.
Adding Decorative Elements
Decorative elements add personality to your vanity. Choose hardware and accessories that match your bathroom style. These details create a custom look without much effort.
Try adding new knobs or handles made of metal, glass, or ceramic. You can also use stencils or decals to add patterns on drawer fronts.
- Install stylish knobs or pulls to update the look
- Add a decorative backsplash behind the vanity
- Use waterproof decals for subtle patterns
- Place small plants or candles on the countertop
- Apply a clear protective topcoat for shine and durability
Cleaning And Upkeep Advice
Keep your vanity clean to maintain its fresh appearance. Use gentle cleaners that do not damage paint or finish. Avoid harsh chemicals and rough scrubbing.
Wipe spills immediately to stop stains. Regular dusting helps keep surfaces smooth. Check for signs of water damage or peeling paint and fix quickly.
- Clean with mild soap and warm water
- Dry surfaces after cleaning to avoid water spots
- Use a soft cloth or sponge, not abrasive pads
- Check and tighten hardware every few months
- Touch up chips or scratches with matching paint
Credit: www.routerforums.com
Frequently Asked Questions
How Long Does It Take To Refinish A Bathroom Vanity?
Refinishing a bathroom vanity typically takes 2 to 3 days. This includes sanding, priming, painting, and drying time. Proper drying ensures a durable finish. Time may vary based on vanity size and paint type used.
What Materials Are Needed To Refinish A Vanity?
You need sandpaper, primer, paint, paintbrushes, and a clear sealant. Clean cloths and painter’s tape also help. These materials ensure a smooth, long-lasting finish for your vanity.
Can I Refinish A Vanity Without Removing It?
Yes, you can refinish a vanity without removing it. Cover surrounding areas to protect from paint. Sand, prime, and paint carefully for best results. This saves time and effort during the project.
Is Sanding Necessary Before Refinishing A Bathroom Vanity?
Sanding is crucial to remove old finishes and create a smooth surface. It helps the primer and paint adhere better. Skipping sanding may lead to peeling or uneven paint.
Conclusion
Refinishing your bathroom vanity can refresh your space at low cost. Take your time to sand and clean well before painting. Choose paint that resists moisture to keep it looking good longer. Small details, like new knobs, make a big difference.
Enjoy the pride of updating your bathroom yourself. A fresh vanity can brighten your whole room. Simple steps can lead to great results. Start your project with confidence and patience. Your bathroom deserves a fresh, clean look.