Have you ever wanted to create your own pottery with that rich, natural clay right from your backyard? Learning how to pit fire clay at home can be a rewarding experience that brings your creative projects to life.
Imagine the satisfaction of shaping your clay and then firing it using simple techniques you can do yourself. In this guide, you’ll discover easy steps to pit fire clay safely and effectively, unlocking new possibilities for your art or craft.
Keep reading, and you’ll soon be ready to turn raw clay into beautiful, durable pieces right at home.
Materials Needed
Pitting fire clay at home requires some basic materials. These items help you prepare and work with the clay safely and effectively.
Gathering the right materials before you start will make the process smoother and more enjoyable.
Types Of Fire Clay
There are different kinds of fire clay you can use. Each type has unique properties that affect the pitting process.
- High-alumina fire clay - best for high heat resistance
- Ball clay - soft and easy to shape
- Plastic fire clay - good for detailed work
- Refractory fire clay - withstands very high temperatures
Tools And Equipment
You will need a few simple tools and equipment for pitting fire clay at home. These help you shape, smooth, and dry the clay properly.
| Tool | Purpose |
| Clay knife | Cut and shape the clay |
| Sponge | Smooth the surface and remove excess water |
| Wire cutter | Slice clay blocks cleanly |
| Plastic or wooden modeling tools | Create textures and details |
| Bucket of water | Keep clay moist and clean tools |
| Work surface | Flat area to work on the clay |
Preparing The Clay
Pit firing clay at home starts with good preparation. Mixing and wedging the clay helps remove air bubbles. This makes the clay strong and easy to shape.
Checking the clay’s consistency ensures it is ready for shaping and firing. Proper consistency prevents cracks and breaks during the firing process.
Mixing And Wedging
Mix dry clay with water slowly. Add small amounts until the clay feels soft but not sticky. Then wedge the clay by folding and pressing it on a clean surface.
- Start with dry clay in a bowl or on a board.
- Add water little by little to avoid making it too wet.
- Mix well to distribute the water evenly.
- Press and fold the clay to push out air bubbles.
- Repeat wedging until the clay feels smooth and elastic.
Checking Consistency
Test the clay by squeezing it gently. The right consistency feels firm but bends without cracking. If it cracks, add a little water and wedge again.
| Condition | Clay Feel | Action |
| Too Dry | Cracks when bent | Add water and wedge more |
| Too Wet | Sticky and soft | Let dry or add dry clay |
| Just Right | Firm and smooth | Ready to shape and fire |
Setting Up The Pit
Pit firing fire clay at home needs a safe and well-prepared space. Setting up the pit properly helps control heat and protects the environment.
Start by choosing the right location and then build the pit structure carefully. These steps make firing successful and safe.
Choosing The Location
Select a place that is far from buildings and trees. The location must be open and free from flammable materials.
- Pick a flat, level ground for stability.
- Ensure good airflow around the pit.
- Avoid windy spots to keep the fire steady.
- Check local rules about outdoor fires.
Building The Pit Structure
Build the pit with fireproof materials like bricks or stones. The pit should hold heat evenly and keep the fire contained.
| Material | Purpose | Notes |
|---|---|---|
| Fire bricks | Line the pit walls | Withstand high heat |
| Clay or sand base | Support and insulation | Protect the ground below |
| Metal grate | Hold the clay pieces | Optional but helpful |
| Cover (metal sheet or tiles) | Control airflow | Use to close pit during firing |

Credit: ancientpottery.how
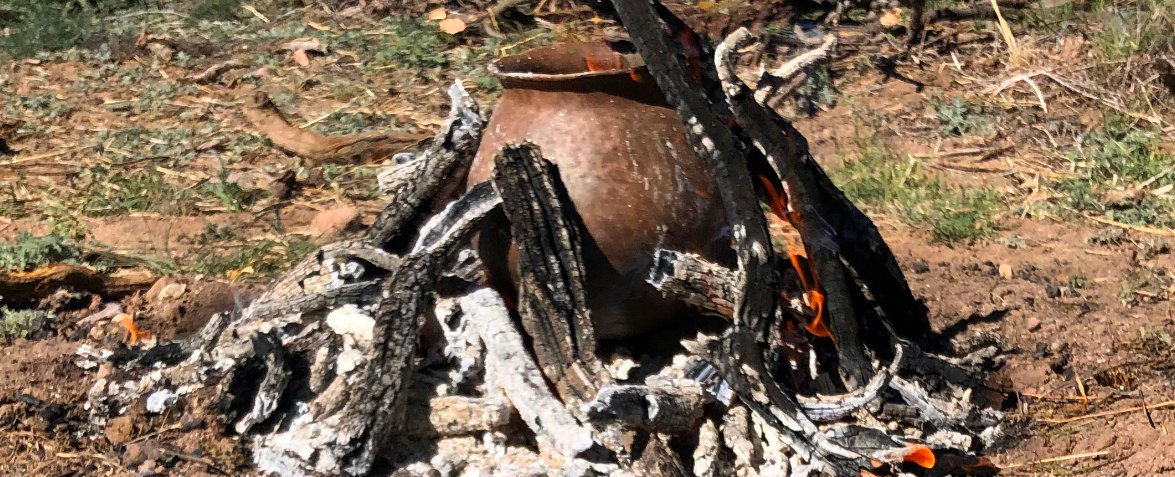
Firing Process
Firing clay is a key step to make it hard and durable. You can pit fire clay at home with care. The firing process changes the clay from soft to strong.
This guide explains the main parts of firing: loading, controlling temperature, and timing the fire. Follow these steps for good results.
Loading The Clay Pieces
Place your clay pieces carefully in the pit. Avoid touching pieces together to prevent sticking. Use sand or sawdust to separate them if needed.
Make sure the pit is deep enough to hold all pieces with space for burning materials. Arrange pieces so heat can reach them evenly.
Controlling The Temperature
Keep the fire hot but steady during firing. Too much heat can crack the clay. Too little heat will not harden it properly.
Use dry wood or charcoal as fuel. Add small amounts at a time to keep the temperature stable. Watch the fire closely to avoid sudden changes.
- Start with small flames to warm the clay
- Increase fire slowly to reach high heat
- Maintain heat for the right time
- Use a thermometer if possible
Timing The Fire
Firing time depends on clay size and type. Small pieces need less time, usually 1 to 2 hours. Larger pieces may take longer.
Keep the fire going until the clay is fully fired. Let the fire die down slowly to cool the pieces. Quick cooling can cause cracks.
- Check pieces after 1 hour for small items
- Keep larger items in fire for 3-4 hours
- Let clay cool inside the pit naturally
- Do not remove pieces while hot
Cooling And Unloading
After firing fire clay at home, you must cool it properly before unloading. Cooling helps prevent cracks and damage to your pieces. Unloading too soon can cause breaks or warping.
This guide covers safe cooling practices and how to remove fired clay carefully from your kiln or pit.
Safe Cooling Practices
Cooling fire clay slowly is key to keeping your work intact. Sudden temperature changes cause stress and cracks. Keep the following points in mind during cooling:
- Turn off the heat source and let the clay cool naturally.
- Do not open the kiln or pit until the temperature drops below 100°C (212°F).
- Keep the area free of drafts or sudden air flows that may cool the clay unevenly.
- Allow at least 12 to 24 hours for cooling, depending on the size of your pieces.
- Use a thermometer if possible to monitor the temperature inside the kiln or pit.
Removing Fired Clay
Once the clay is cool, remove it carefully to avoid damage. Use tools and follow these steps for safe unloading:
| Action | Details |
| Check temperature | Ensure the clay is fully cool before touching. |
| Wear gloves | Protect your hands from rough surfaces and residual heat. |
| Use proper tools | Use tongs or paddles to lift heavier items safely. |
| Lift gently | Handle pieces carefully to prevent cracks or chips. |
| Place on soft surface | Set clay on padded areas to avoid damage. |
Troubleshooting Common Issues
Pit firing clay at home can be rewarding. But sometimes, issues arise during the process. Understanding common problems helps you achieve better results.
In this guide, we will discuss how to address cracking, warping, and uneven firing. These are frequent challenges in pit firing.
Cracking And Warping
Cracking and warping are common in pit-fired clay. They often result from uneven drying or rapid temperature changes.
To reduce these issues, ensure the clay is evenly dried. Gradual temperature changes during firing also help.
- Dry clay slowly and evenly
- Avoid rapid temperature changes
- Use consistent clay thickness
Uneven Firing
Uneven firing occurs when parts of the clay receive different amounts of heat. This can cause color variations and weak spots.
Arrange the clay pieces uniformly in the pit. Ensure even heat distribution by managing the placement of fuel.
| Tips for Even Firing |
| Arrange pieces uniformly |
| Distribute fuel evenly |
| Monitor heat levels |
Tips For Best Results
Pit firing clay at home is an ancient art. It requires patience and skill. Follow these tips for successful results.
Ensure safety and quality by maintaining consistent heat and using protective gear. These factors are crucial for your pottery.
Maintaining Consistent Heat
Consistent heat is key for successful pit firing. Uneven heat can cause cracks in clay.
Arrange wood evenly around the pit. This helps distribute heat uniformly during the firing process.
- Use dry wood to maintain steady heat.
- Monitor the fire regularly to adjust wood placement.
- Keep the fire burning for several hours for best results.
Using Protective Gear
Safety is important when pit firing clay. Use protective gear to prevent injuries.
Wear gloves and goggles to protect your hands and eyes from heat and smoke.
- Wear heat-resistant gloves for handling hot items.
- Use goggles to shield eyes from smoke and sparks.
- Keep a fire extinguisher nearby in case of emergencies.

Credit: ancientpottery.how

Credit: www.youtube.com
Frequently Asked Questions
What Materials Are Needed To Pit Fire Clay At Home?
You need fire clay, combustible materials, a pit, and safety gear. Use dry wood, sawdust, or leaves as fuel. Prepare the pit with proper ventilation to ensure even firing.
How Long Does The Pit Firing Process Take?
Pit firing typically takes 4 to 8 hours, depending on clay thickness. After firing, allow the clay to cool naturally for 12 to 24 hours before handling.
Can I Pit Fire Any Type Of Clay?
Not all clays are suitable for pit firing. Use high-fire stoneware or fire clay that withstands high temperatures without cracking or melting.
How Do I Control Temperature In A Pit Firing?
Control temperature by adjusting combustible materials and airflow. Add or remove fuel gradually and monitor heat to avoid overheating or underfiring your clay pieces.
Conclusion
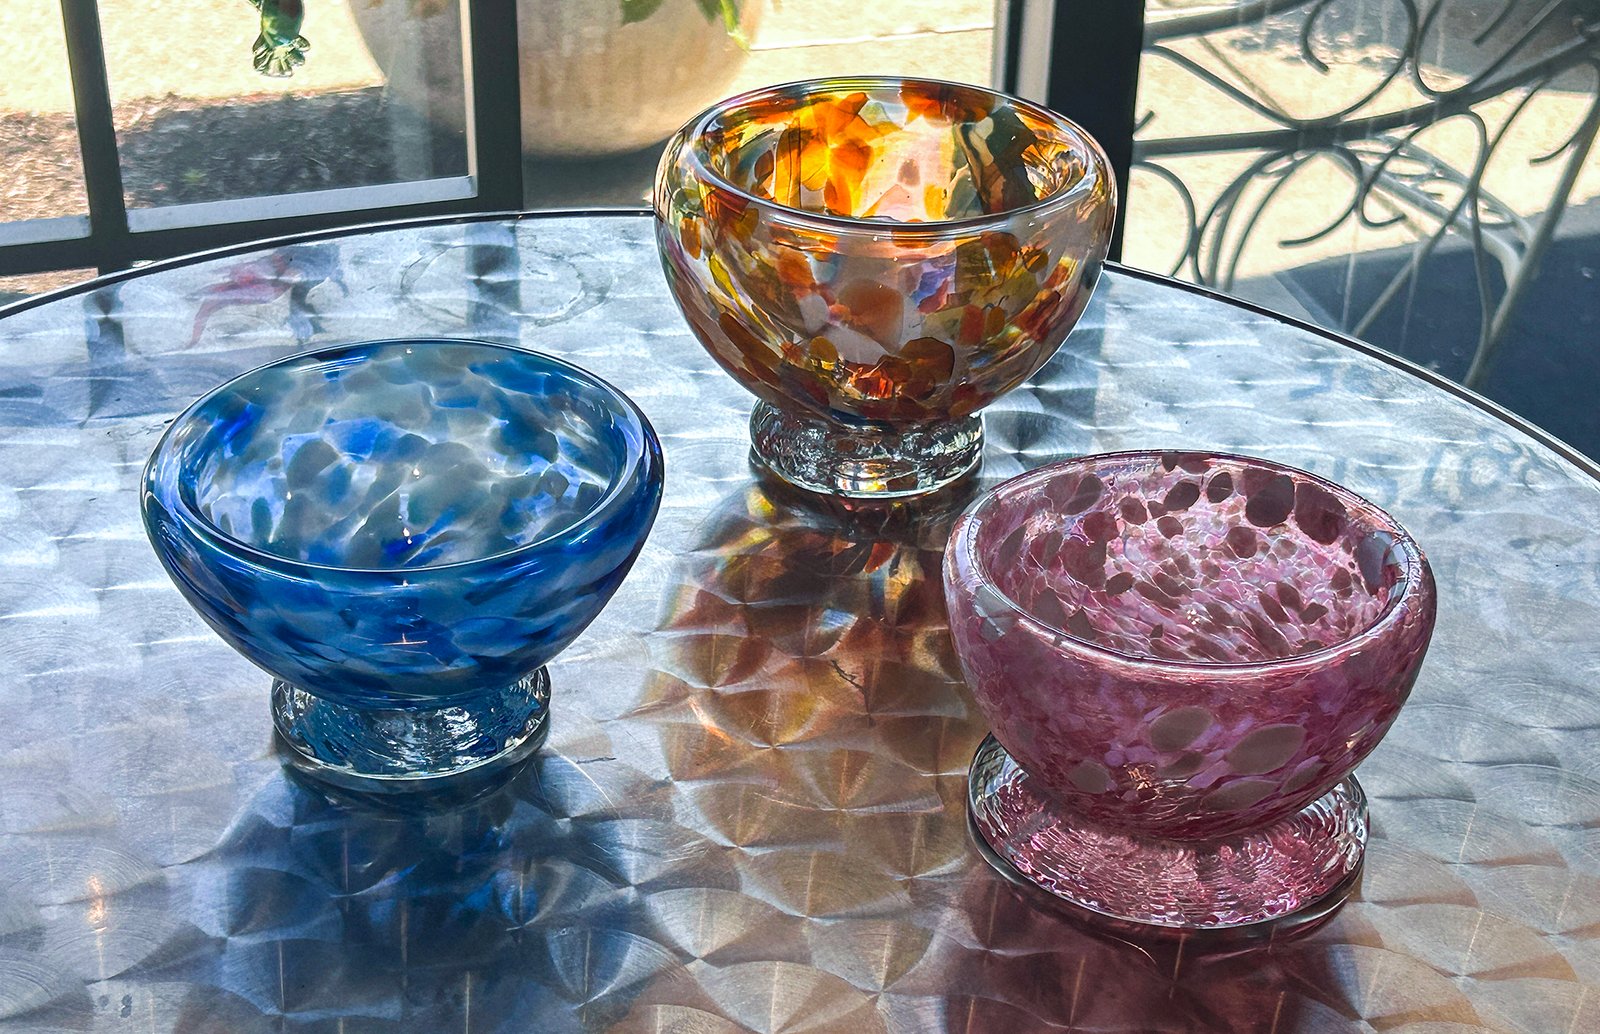
Pit firing fire clay at home is a fun and creative process. It needs patience and careful steps. Using safe materials and open space keeps you safe. This method gives unique textures and colors to your clay. Each piece will look different and special.
Practice often to improve your skills. Enjoy the craft and share your art with others. Keep trying new techniques to see what works best. Pit firing can bring joy and creativity to your home projects.