Have you ever wanted to give your walls a fresh, artistic look without spending a fortune? Painting a watercolor effect on your wall is a simple way to add a soft, dreamy vibe to any room.
Imagine turning your plain space into a gentle wash of colors that brighten your mood every time you walk in. In this guide, you’ll discover easy steps and insider tips to create that beautiful watercolor look yourself. Ready to transform your walls and impress everyone who sees them?
Let’s get started!
Materials Needed
Painting a watercolor effect on your wall creates a soft, artistic look. You need the right materials to achieve this style.
This guide covers the basic supplies to get started with your watercolor wall painting.
Types Of Paint
Choose paint that works well for a watercolor effect. Thin paints help create soft, flowing colors.
- Water-based acrylic paints are easy to dilute and blend.
- Liquid watercolor paints offer bright, transparent colors.
- Tempera paints can also work but may need extra thinning.
- Use primer or base coat to prepare the wall surface.
Brushes And Tools
Picking the right brushes and tools helps you create smooth watercolor effects on walls.
- Large flat brushes cover big areas softly.
- Round brushes help with details and blending.
- Sponge brushes add texture and soften edges.
- Spray bottles can mist water for blending paint.
- Palette or mixing tray for diluting paints.
Protective Gear
Protect yourself and your space while painting your wall with a watercolor effect.
- Wear old clothes or a painting apron to avoid stains.
- Use gloves to keep paint off your hands.
- Cover floors and furniture with drop cloths or plastic sheets.
- Use painter’s tape to protect edges and trim.
Preparing The Wall
Painting a watercolor effect on a wall looks beautiful. It needs a good wall surface first. Preparing the wall helps the paint stick and last longer.
This guide explains how to clean, fix, and choose the right surface before painting.
Cleaning And Priming
Start by cleaning the wall to remove dust and dirt. A clean wall helps paint stick better. Use a mild detergent and water. Rinse well and let the wall dry fully.
Priming the wall creates a smooth base. It also seals the wall to prevent paint from soaking in. Choose a primer suitable for your wall type.
- Wash the wall with soap and water
- Rinse and dry completely
- Apply a coat of primer evenly
- Let the primer dry as per instructions
Fixing Imperfections
Check the wall for cracks, holes, or bumps. These imperfections can ruin the watercolor effect. Fill small holes with spackle. For bigger cracks, use joint compound.
After filling, sand the area smooth. Clean dust before priming or painting. A smooth surface gives the best watercolor look.
- Fill holes and cracks with spackle or compound
- Let the filler dry fully
- Sand the filled areas smooth
- Remove dust with a clean cloth
Choosing The Right Surface
Not all walls are good for watercolor effects. Smooth walls like drywall or plaster work best. Avoid rough or textured surfaces.
If your wall is too rough, consider adding a smooth panel or board. This helps the watercolor paint spread evenly.
- Use smooth drywall or plaster walls
- Avoid rough or heavily textured walls
- Add smooth panels if needed
- Ensure the surface is clean and dry
Color Selection Tips
Painting a watercolor effect on your wall needs careful color selection. The right colors create a soft, flowing look.
Choosing colors that blend well helps achieve a natural, artistic feel. Use gentle tones for a calm space.
Creating A Color Palette
Start by picking a few main colors that match your room’s style. Use soft pastels or muted shades for a watercolor look.
Limit your palette to three or four colors to keep the wall simple and balanced. This helps colors flow well together.
- Choose base colors that are light and calming
- Add one or two accent colors for depth
- Use neutral tones like white or beige to blend
Blending Colors
Watercolor effects need smooth color transitions. Blend colors while the paint is still wet to avoid harsh lines.
Use a damp brush or sponge to soften the edges between colors. This creates a natural flow like real watercolor art.
- Work quickly to blend wet paints
- Use light strokes for gentle mixing
- Layer colors gradually for depth
Using Light And Shade
Light and shade add dimension to your watercolor wall. Use lighter colors to highlight and darker tones for shadows.
Place lighter colors where light hits the wall most. Darker colors go where natural shadows fall to add depth.
- Highlight areas with soft, pale tones
- Use darker colors for depth and contrast
- Blend light and dark smoothly for a natural look

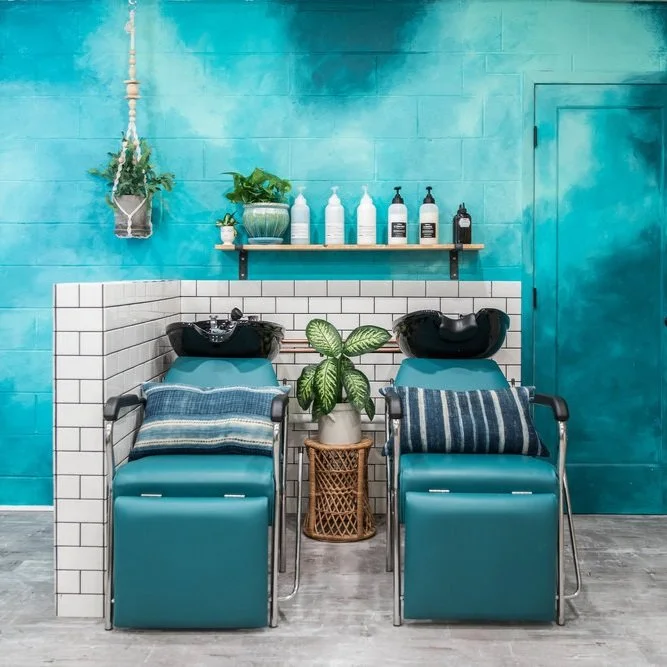
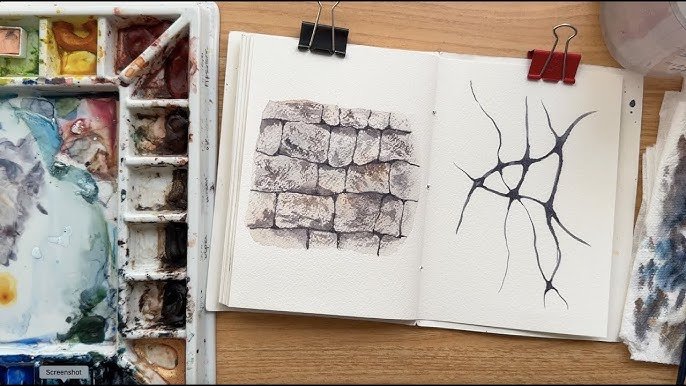
Credit: www.thepigeonletters.com
Basic Watercolor Techniques
Painting a watercolor effect on a wall brings soft, beautiful colors into any space. This style uses light brush strokes and blending to create a gentle look.
Understanding a few basic watercolor techniques helps you get smooth and natural results on your wall.
Wet-on-wet Application
Wet-on-wet means applying wet paint on a wet surface. It allows colors to blend and flow freely. This creates soft edges and smooth color transitions.
To use this technique on a wall, first wet the wall with clean water. Then apply watercolor paint while the wall is still wet.
- Use a large brush to wet the wall evenly
- Work quickly before the wall dries
- Apply paint gently to avoid harsh lines
Layering Colors
Layering means painting one color over another after it dries. This builds depth and richness in the colors. Each layer adds new tones and shapes.
Wait for the first layer to dry completely. Then add more paint on top. Use light brush strokes to keep colors soft and transparent.
- Start with light colors and add darker shades on top
- Use thin layers to avoid thick paint buildup
- Let each layer dry fully for best results
Creating Gradients
Gradients show smooth changes from one color to another. This effect adds flow and interest to your wall painting. You can blend colors from light to dark or from one shade to another.
Use a wet brush to pull paint from one area to another. Blend the edges while the paint is still wet for smooth transitions.
- Apply the first color on one side of the wall
- Add the second color next to it, overlapping slightly
- Use a clean, wet brush to blend the colors together
- Work quickly before the paint dries
Step-by-step Painting Process
Painting a watercolor effect on a wall can add a soft and artistic touch to any room. This process uses simple steps that anyone can follow.
Each step builds on the last to create a smooth and beautiful wall design. Take your time and enjoy painting.
Sketching The Design
Start by lightly drawing your design on the wall with a pencil. Use simple shapes and soft lines to plan your watercolor effect.
Keep the sketch faint so it will not show through the paint. This guide helps you apply paint in the right places.
Applying Base Layers
Use a large brush to apply a thin wash of color as the base layer. Water down your paint to make it light and transparent.
Cover the entire area of your design with this first layer. Let it dry before adding more layers for depth.
- Mix paint with water for a soft look
- Use broad strokes to cover large areas
- Allow each layer to dry completely
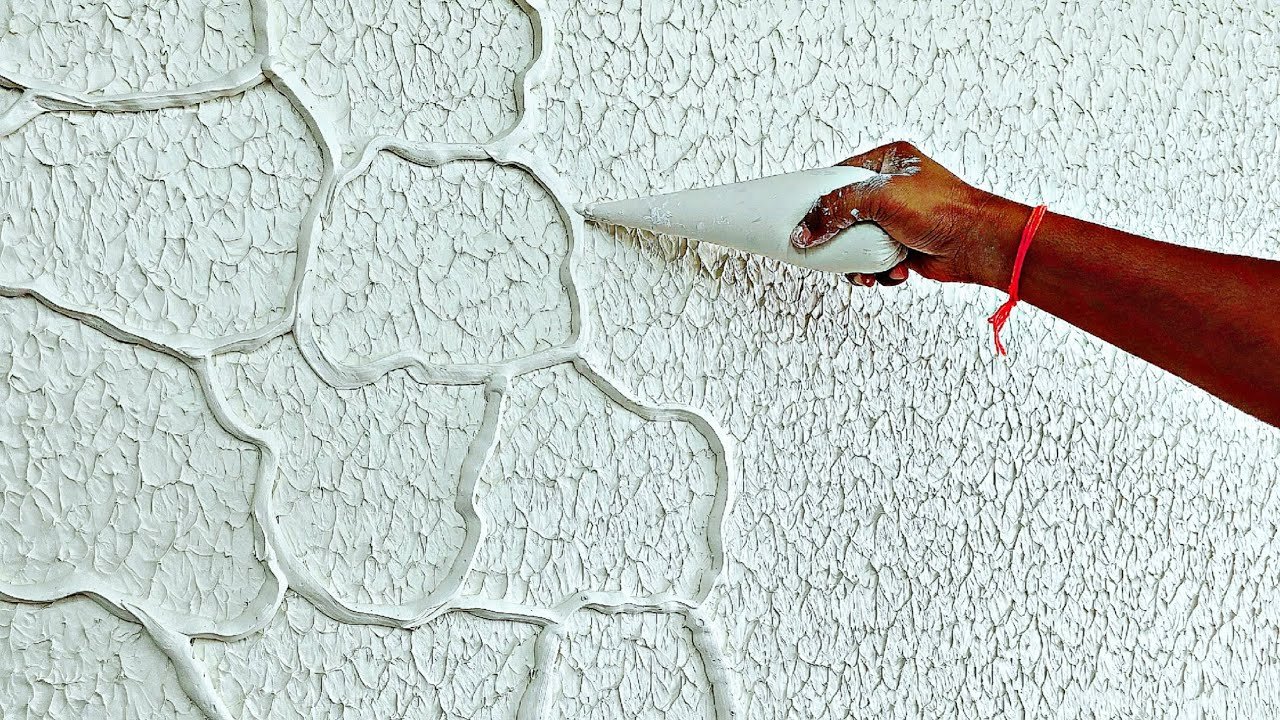
Adding Details And Texture
Add more color layers using a smaller brush for details. Use less water to make colors stronger and sharper.
Create texture by dabbing the brush or using sponges. Blend edges softly to keep the watercolor style.
- Use smaller brushes for fine lines
- Dab paint lightly for texture
- Blend colors while still wet

Credit: www.youtube.com
Common Mistakes To Avoid
Painting a watercolor effect on your wall can be a beautiful and unique way to add some personality to your space. However, it can also be a bit tricky, and there are some common mistakes to avoid if you want to achieve the best results.
Overworking The Paint
One of the most common mistakes people make when painting a watercolor effect is overworking the paint. This means adding too many layers or trying to achieve too much detail, which can result in a muddy, uneven finish.
- Use light, gentle strokes to build up layers
- Avoid overmixing or over-saturating the paint
- Let each layer dry before adding the next
Ignoring Drying Times
Watercolor paint dries quickly, but it's still important to let each layer dry completely before adding the next. If you try to add layers too quickly, you'll end up with a sticky, uneven finish.
Make sure to read the instructions on your paint and follow the recommended drying times. This will help ensure that your paint sets properly and you get the best results.
Using Incorrect Tools
Using the right tools is essential for achieving a smooth, even watercolor effect. Using the wrong tools can result in a rough, uneven finish or even damage to the paint.
- Use a high-quality watercolor brush
- Avoid using sponges or other porous materials
- Choose the right paintbrush size for the job
Finishing Touches
Now that you have applied the watercolor paint to your wall, it's time to add the finishing touches. This final step will ensure that your artwork looks professional and long-lasting.
Sealing The Paint
Sealing the paint will protect it from fading, cracking, and damage from moisture. You can use a water-based or oil-based varnish, depending on the type of paint you used.
| Types of Varnish | Description |
|---|---|
| Water-Based Varnish | Dries quickly and is easy to clean up |
| Oil-Based Varnish | Provides a hard, durable finish |
Cleaning Up
- Use a soft cloth to wipe away any excess paint or varnish
- Remove any masking tape or drop cloths
- Clean your brushes and tools with soap and water
Maintaining The Wall Art
To keep your watercolor wall art looking its best, avoid placing it in direct sunlight or near heat sources. You can also dust it regularly with a soft cloth to prevent dirt from building up.
Creative Ideas For Watercolor Walls
Watercolor walls add a soft and artistic touch to any space. They create a dreamy look with gentle color blends.
Painting walls with a watercolor effect allows for unique designs that brighten rooms in subtle ways.
Abstract Patterns
Abstract watercolor patterns bring a modern art feel to your walls. Use soft washes of color and flowing shapes.
- Blend pastel colors for a calm atmosphere
- Use circular or wavy brush strokes for movement
- Mix bright and muted tones for contrast
- Layer colors while wet for smooth transitions
Nature-inspired Designs
Nature themes work well with watercolor effects. Leaves, flowers, and skies look soft and fresh on walls.
| Design | Colors | Effect |
| Leaf silhouettes | Green and blue | Calm and peaceful |
| Floral washes | Pink and purple | Fresh and lively |
| Sunset gradients | Orange and red | Warm and cozy |
| Ocean waves | Blue and turquoise | Cool and relaxing |
Accent Wall Concepts
Accent walls with watercolor effects highlight a room’s character. Pick one wall to focus your colors and patterns.
Tips for a Stunning Watercolor Accent Wall:
- Choose a wall visible from the main living area
- Use soft colors to keep the room light
- Try ombre effects for gradual color changes
- Combine watercolor with simple stenciled shapes

Credit: www.youtube.com
Frequently Asked Questions
What Materials Are Needed For Watercolor Wall Painting?
You need watercolor paints, brushes, water, primer, painter’s tape, and a sealant. Use high-quality paints for vibrant effects. Prepare the wall with primer to ensure paint adhesion and durability. Painter’s tape helps create clean edges. Finish with a sealant to protect the design.
How To Prepare The Wall For Watercolor Effect?
Clean the wall thoroughly to remove dust and grease. Apply a smooth, even coat of primer. Let it dry completely before painting. A well-prepared surface ensures better paint absorption and a flawless watercolor effect. Avoid glossy finishes for better paint adherence.
What Techniques Create A Realistic Watercolor Effect On Walls?
Use wet-on-wet painting to blend colors softly. Layer translucent washes for depth. Dab with a sponge or cloth to add texture. Vary brush strokes to mimic natural watercolor flow. These techniques replicate the soft, fluid look of watercolor paintings.
How Long Does Watercolor Wall Paint Take To Dry?
Watercolor wall paint usually dries within 1 to 2 hours. Drying time depends on humidity and paint thickness. Allow at least 24 hours before applying a sealant or touching up. Proper drying ensures vibrant colors and a lasting finish.
Conclusion
Creating a watercolor effect on your wall adds soft beauty to any room. It brings a gentle, artistic touch without needing much skill. Take your time with each step and enjoy the process. Experiment with colors and let them blend naturally on your wall.
This technique makes your space feel calm and unique. Anyone can try this with simple tools and patience. Start small, and watch your walls transform with subtle, lovely shades. Painting this way turns a plain wall into a charming piece of art.