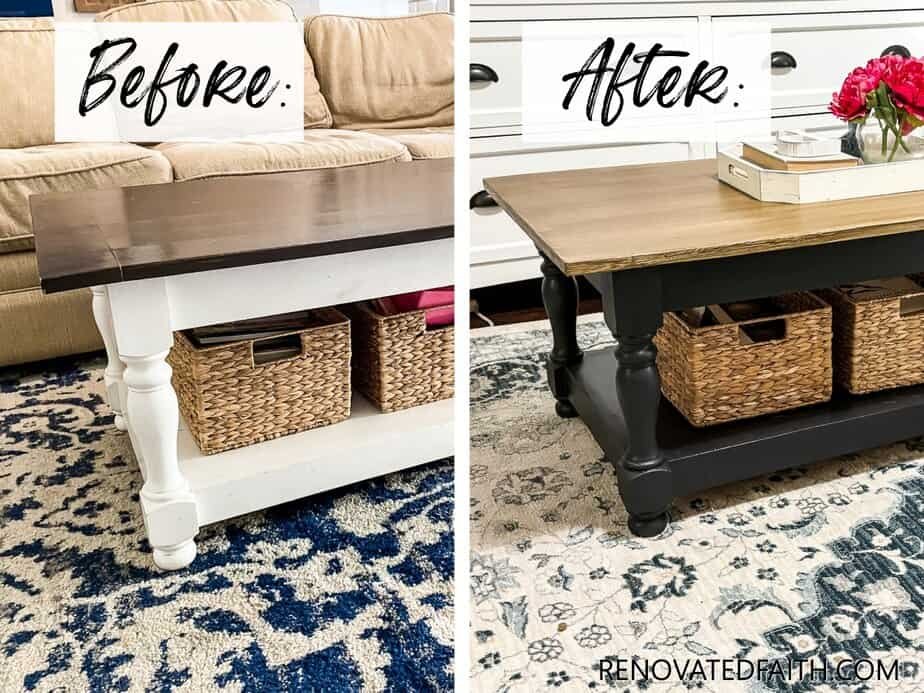
Are your living room end tables looking tired or outdated? You don’t have to buy new furniture to refresh your space.
Painting over your end tables is a simple and affordable way to give them a brand-new look. In this guide, you’ll discover easy steps that anyone can follow, even if you’ve never picked up a paintbrush before. By the end, your tables will look stylish and feel like they belong in a magazine.
Ready to transform your living room with just a little paint? Let’s get started!

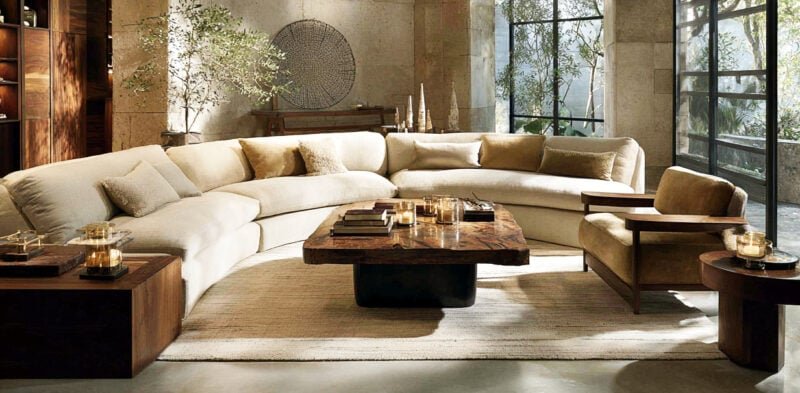
Credit: renovatedfaith.com
Choosing The Right Paint
Painting your living room end tables can refresh their look. Picking the right paint is key for a smooth finish and long-lasting result.
This guide covers types of paint, color choices, and the best finishes for your wood tables.
Types Of Paint For Wood
Choosing the right paint type helps your tables look good and last long. Here are common paint types for wood furniture:
- Latex Paint:Water-based and easy to clean. Dries quickly and has low odor.
- Chalk Paint:Gives a matte, vintage look. Good for a shabby chic style.
- Oil-Based Paint:Durable and smooth finish. Takes longer to dry and has strong odor.
- Acrylic Paint:Water-based with bright colors. Dries fast and is flexible on wood.
Selecting The Perfect Color
Color sets the mood of your living room. Choose a shade that matches your decor and style.
| Color Type | Effect | Best Use |
|---|---|---|
| Neutral | Calm and classic | Fits any style or room color |
| Bold | Bright and lively | Adds a pop of color and interest |
| Pastel | Soft and soothing | Great for light, airy spaces |
| Dark | Elegant and dramatic | Works well in cozy rooms |
Finishes That Work Best
The finish protects the paint and changes the look. Pick one that fits your table use and style.
- Matte:No shine, hides flaws well.
- Satin:Soft shine, easy to clean.
- Semi-Gloss:Noticeable shine, durable surface.
- Glossy:High shine, shows every detail.

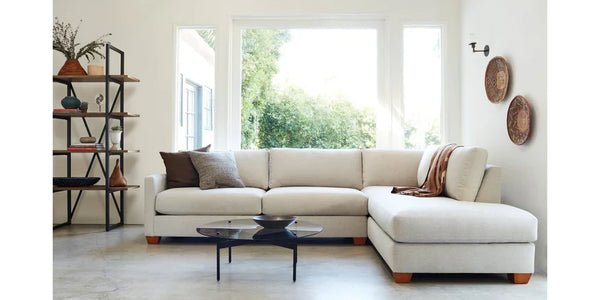
Credit: oakandgrainrefinishing.com
Preparing The End Tables
Before painting your living room end tables, it is important to prepare them well. Proper preparation helps the paint stick better and last longer.
Preparing includes cleaning, fixing any damage, and priming the surface. Each step makes the final look smooth and even.
Cleaning And Sanding
Start by cleaning the tables to remove dust, dirt, and grease. Use a mild soap and water solution with a soft cloth.
After cleaning, let the tables dry completely. Then, lightly sand the surface with fine-grit sandpaper to make it smooth and rough enough for paint to stick.
- Use a soft cloth and mild soap
- Rinse and dry the tables fully
- Sand with 120- to 220-grit sandpaper
- Wipe off sanding dust with a clean cloth
Repairing Imperfections
Look for scratches, dents, or cracks on the tables. Fix these flaws before painting for a smooth finish.
Use wood filler to fill holes or deep scratches. Apply it with a putty knife and let it dry well. Then sand the filled areas until smooth.
- Check all surfaces carefully
- Fill holes with wood filler
- Let filler dry completely
- Sand filled spots smooth
Priming The Surface
Priming helps paint stick better and prevents stains from showing. Choose a primer that works with your paint type.
Apply a thin, even coat of primer with a brush or roller. Let it dry fully before painting. Lightly sand the primer if the surface feels rough.
- Select the right primer for wood
- Apply a thin coat evenly
- Allow primer to dry completely
- Sand gently if needed
Painting Techniques
Painting over living room end tables can give them a fresh new look. Using the right painting techniques helps the paint last longer and look better.
This guide covers how to choose between brushes and spray paint, how to apply even coats, and tips to avoid drips.
Brush Vs. Spray Painting
Brush painting uses a paintbrush to apply paint directly on the table. It works well for small areas and detailed spots.
Spray painting uses a spray can or sprayer to cover large surfaces quickly. It creates a smooth finish but needs careful setup.
- Brush painting is good for control and detail.
- Spray painting covers faster and smoother.
- Brush leaves brush marks; spray gives even texture.
- Spray needs proper ventilation and protection for surroundings.
Applying Even Coats
Apply paint in thin, even layers to avoid clumps and uneven color. Let each coat dry before adding the next one.
Use long, steady strokes with a brush or smooth, sweeping motions with spray paint for the best coverage.
- Start painting at the edges, then move to large flat areas.
- Keep the brush or sprayer moving to prevent thick spots.
- Apply 2-3 thin coats instead of one thick coat.
- Allow drying time between each coat as directed on paint label.
Tips For Avoiding Drips
Drips happen when too much paint is applied at once. Use less paint and spread it evenly to avoid runs.
Check your work often and smooth out drips before the paint dries completely.
- Do not overload the brush or spray can.
- Hold the spray can 8 to 12 inches from the surface.
- Use light coats and build up layers slowly.
- Keep a clean cloth handy to wipe drips immediately.

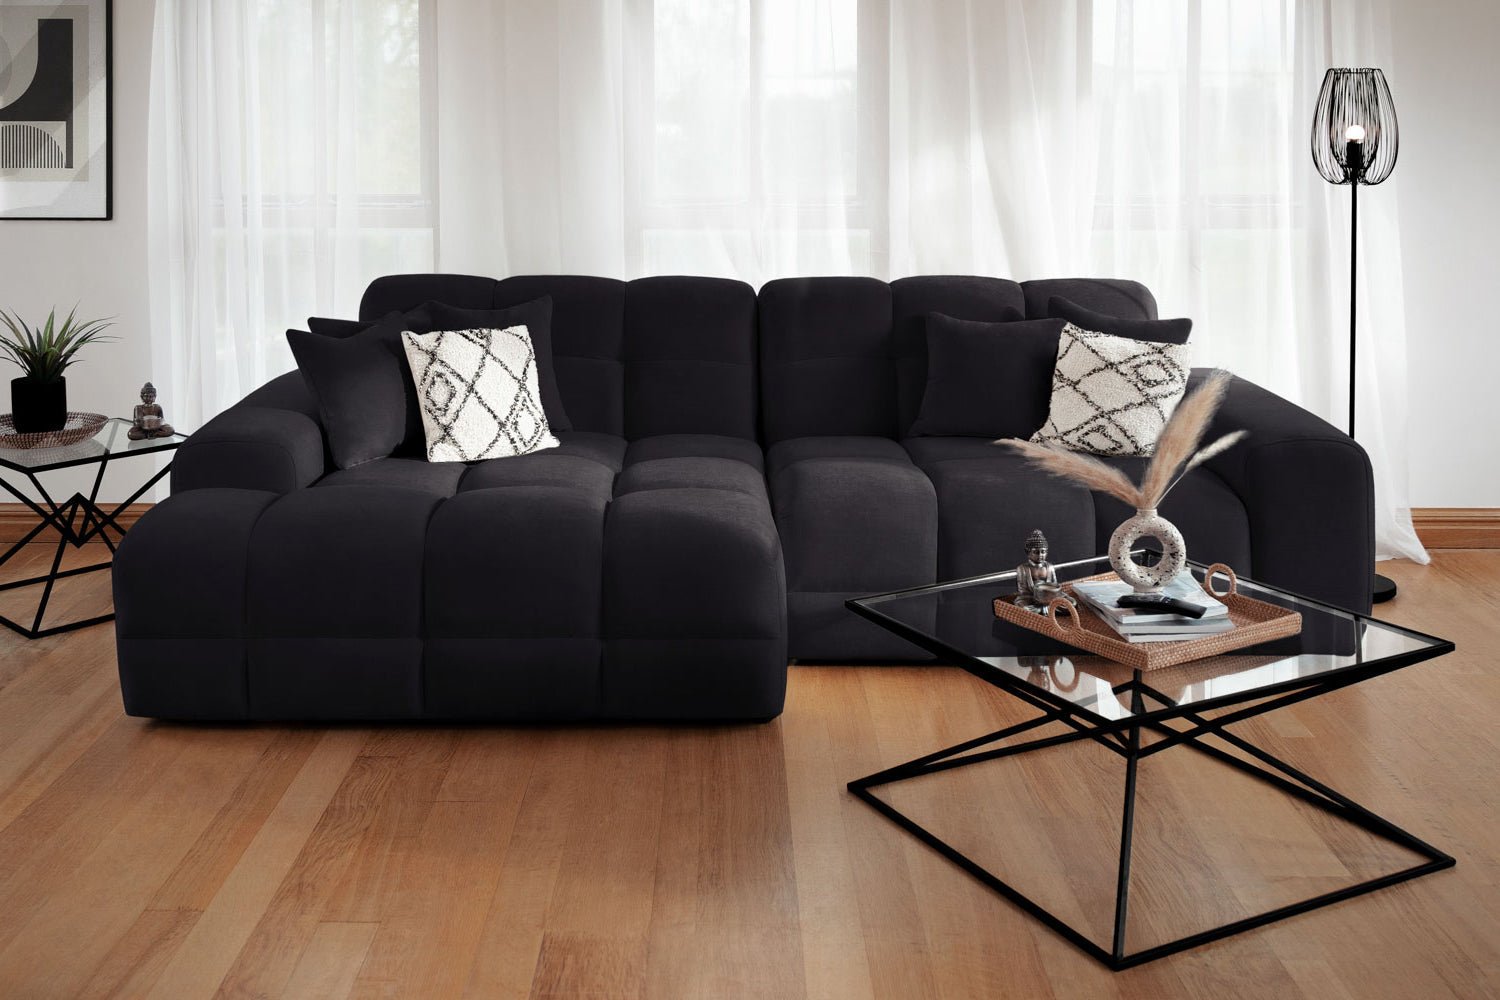
Credit: renovatedfaith.com
Adding Finishing Touches
Painting your living room end tables gives them new life. Finishing touches protect your work and add style.
This guide covers sealing for durability, decorative details, and curing time to complete your project.
Sealing For Durability
Sealing your painted tables keeps the finish safe from scratches and stains. Choose a clear sealer that fits your paint type.
- Use polyurethane for a tough, glossy finish.
- Try wax for a softer, matte look.
- Apply thin coats with a brush or cloth.
- Let each coat dry fully before applying the next.
- Lightly sand between coats for smoothness.
Decorative Details
Add small decorative touches to make your tables unique. Use stencils, decals, or hand-painted designs.
- Geometric patterns with painter’s tape
- Floral stencils for a soft look
- Metallic paint accents on edges
- Decoupage with printed paper or fabric
- Distressing edges for a vintage style
Curing And Drying Time
Patience is key for a durable finish. Allow paint and sealer to cure fully before use.
| Material | Drying Time | Curing Time |
| Latex Paint | 1 hour to touch | 7 days |
| Acrylic Paint | 30 minutes to touch | 3 days |
| Polyurethane Sealer | 4 hours to touch | 30 days |
| Wax Finish | 1 hour to touch | 24 hours |
Maintaining Painted Tables
Painted living room end tables add color and style to your space. Keeping them clean and cared for helps them last longer. Simple habits protect your painted surfaces.
Learn easy ways to clean, handle damage, and fix small paint issues. These tips keep your tables looking fresh and new.
Cleaning Tips
Use soft cloths to clean painted tables. Avoid harsh chemicals that can damage the paint. A damp cloth with mild soap works well for daily cleaning.
- Dust tables regularly with a microfiber cloth
- Wipe spills immediately to prevent stains
- Use mild soap and water for sticky spots
- Dry the surface fully after cleaning
- Avoid abrasive scrubbers or rough sponges
Handling Wear And Tear
Living room tables face daily use and can get scratches or chips. Prevent damage by using coasters and felt pads under items. Handle tables gently when moving.
| Common Damage | Prevention Tip |
|---|---|
| Scratches | Use felt pads under decorations |
| Water Rings | Always use coasters for drinks |
| Chips | Lift tables carefully, avoid dragging |
| Fading | Keep tables out of direct sunlight |
Touch-up Ideas
Small paint chips or scratches can be fixed easily at home. Keep some matching paint and a small brush nearby. Clean the area before applying paint for best results.
- Lightly sand damaged spots with fine sandpaper
- Apply thin coats of matching paint
- Let each coat dry before adding another
- Seal with clear varnish for protection
- Use a soft cloth to blend edges after drying
Frequently Asked Questions
How Do I Prepare End Tables Before Painting?
Clean the tables thoroughly to remove dirt and grease. Sand the surface lightly to ensure paint adhesion. Fill any holes or scratches with wood filler. Wipe off dust with a damp cloth before priming. Proper preparation guarantees a smooth, lasting finish.
What Type Of Paint Works Best For End Tables?
Use acrylic latex paint for durability and easy cleanup. Chalk paint is also popular for a matte, vintage look. Avoid oil-based paints as they take longer to dry and emit strong fumes. Choose paint based on your desired finish and table material.
How Many Coats Of Paint Should I Apply?
Apply two to three thin coats of paint for even coverage. Let each coat dry completely before applying the next. Thin coats prevent drips and ensure a smooth, professional appearance. Multiple coats enhance durability and color richness on your end tables.
Should I Use A Primer Before Painting End Tables?
Yes, priming is essential for better paint adhesion and durability. Primer seals the surface and prevents stains or tannins from bleeding through. It also helps the paint color appear more vibrant and true. Always choose a primer compatible with your paint type.
Conclusion
Painting over living room end tables can refresh your space easily. Choose the right paint and prepare the surface well. Take your time for smooth, even coats. Let each layer dry before adding the next. Small steps lead to great results.
Enjoy the new look and feel of your room. A simple project can make a big difference. Try it and see how your tables transform. Painting is fun and affordable. Your living room will thank you.