Are you ready to transform your home with a fresh coat of paint but worried about getting a professional finish? Painting your interior walls like a pro is easier than you think.
With the right tips and simple techniques, you can avoid common mistakes and achieve smooth, flawless results that will impress everyone. Keep reading, and you’ll discover how to save time, money, and frustration while making your space look brand new.
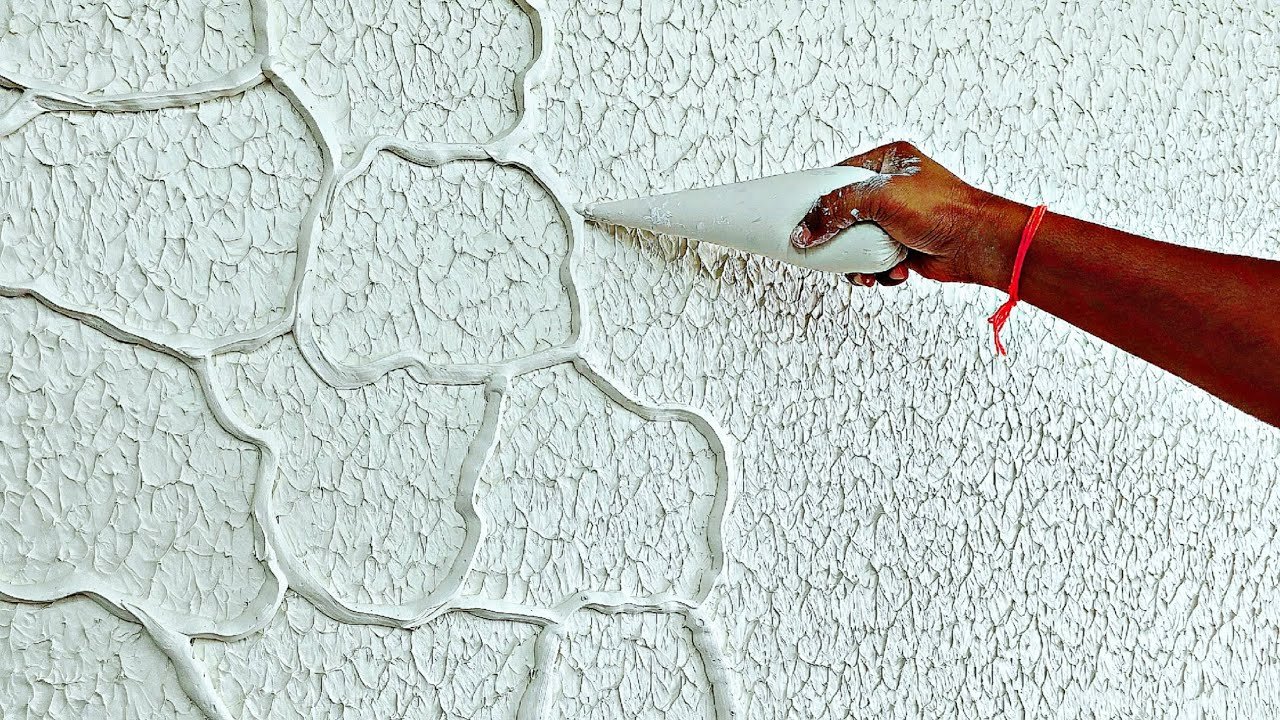
Your walls are about to become the highlight of your home!

Credit: www.youtube.com
Choosing The Right Paint
Painting interior walls needs careful paint choice. The right paint affects look and durability.
Learn about paint types, color selection, and finishes to get great results.
Types Of Interior Paints
There are three main interior paint types: latex, oil-based, and acrylic. Each suits different needs.
- Latex Paint:Water-based, easy to clean, dries fast, low odor.
- Oil-based Paint:Durable, smooth finish, longer drying time, strong smell.
- Acrylic Paint:Water-based, flexible, resists cracking and fading.
Selecting The Perfect Color
Pick colors that fit your room’s mood and lighting. Light colors make spaces look bigger.
| Room Type | Recommended Colors |
| Living Room | Warm neutrals, soft blues |
| Bedroom | Calming greens, light purples |
| Kitchen | Bright whites, cheerful yellows |
| Bathroom | Cool blues, soft grays |
Understanding Paint Finishes
Paint finish affects shine and wall protection. Choose finish based on room use.
- Matte:No shine, hides wall flaws, best for low-traffic areas.
- Eggshell:Slight shine, easy to clean, good for living rooms.
- Satin:Smooth finish, durable, works well in kitchens and bathrooms.
- Semi-gloss:Shiny, very durable, ideal for trim and doors.
- Glossy:High shine, easiest to clean, highlights details.

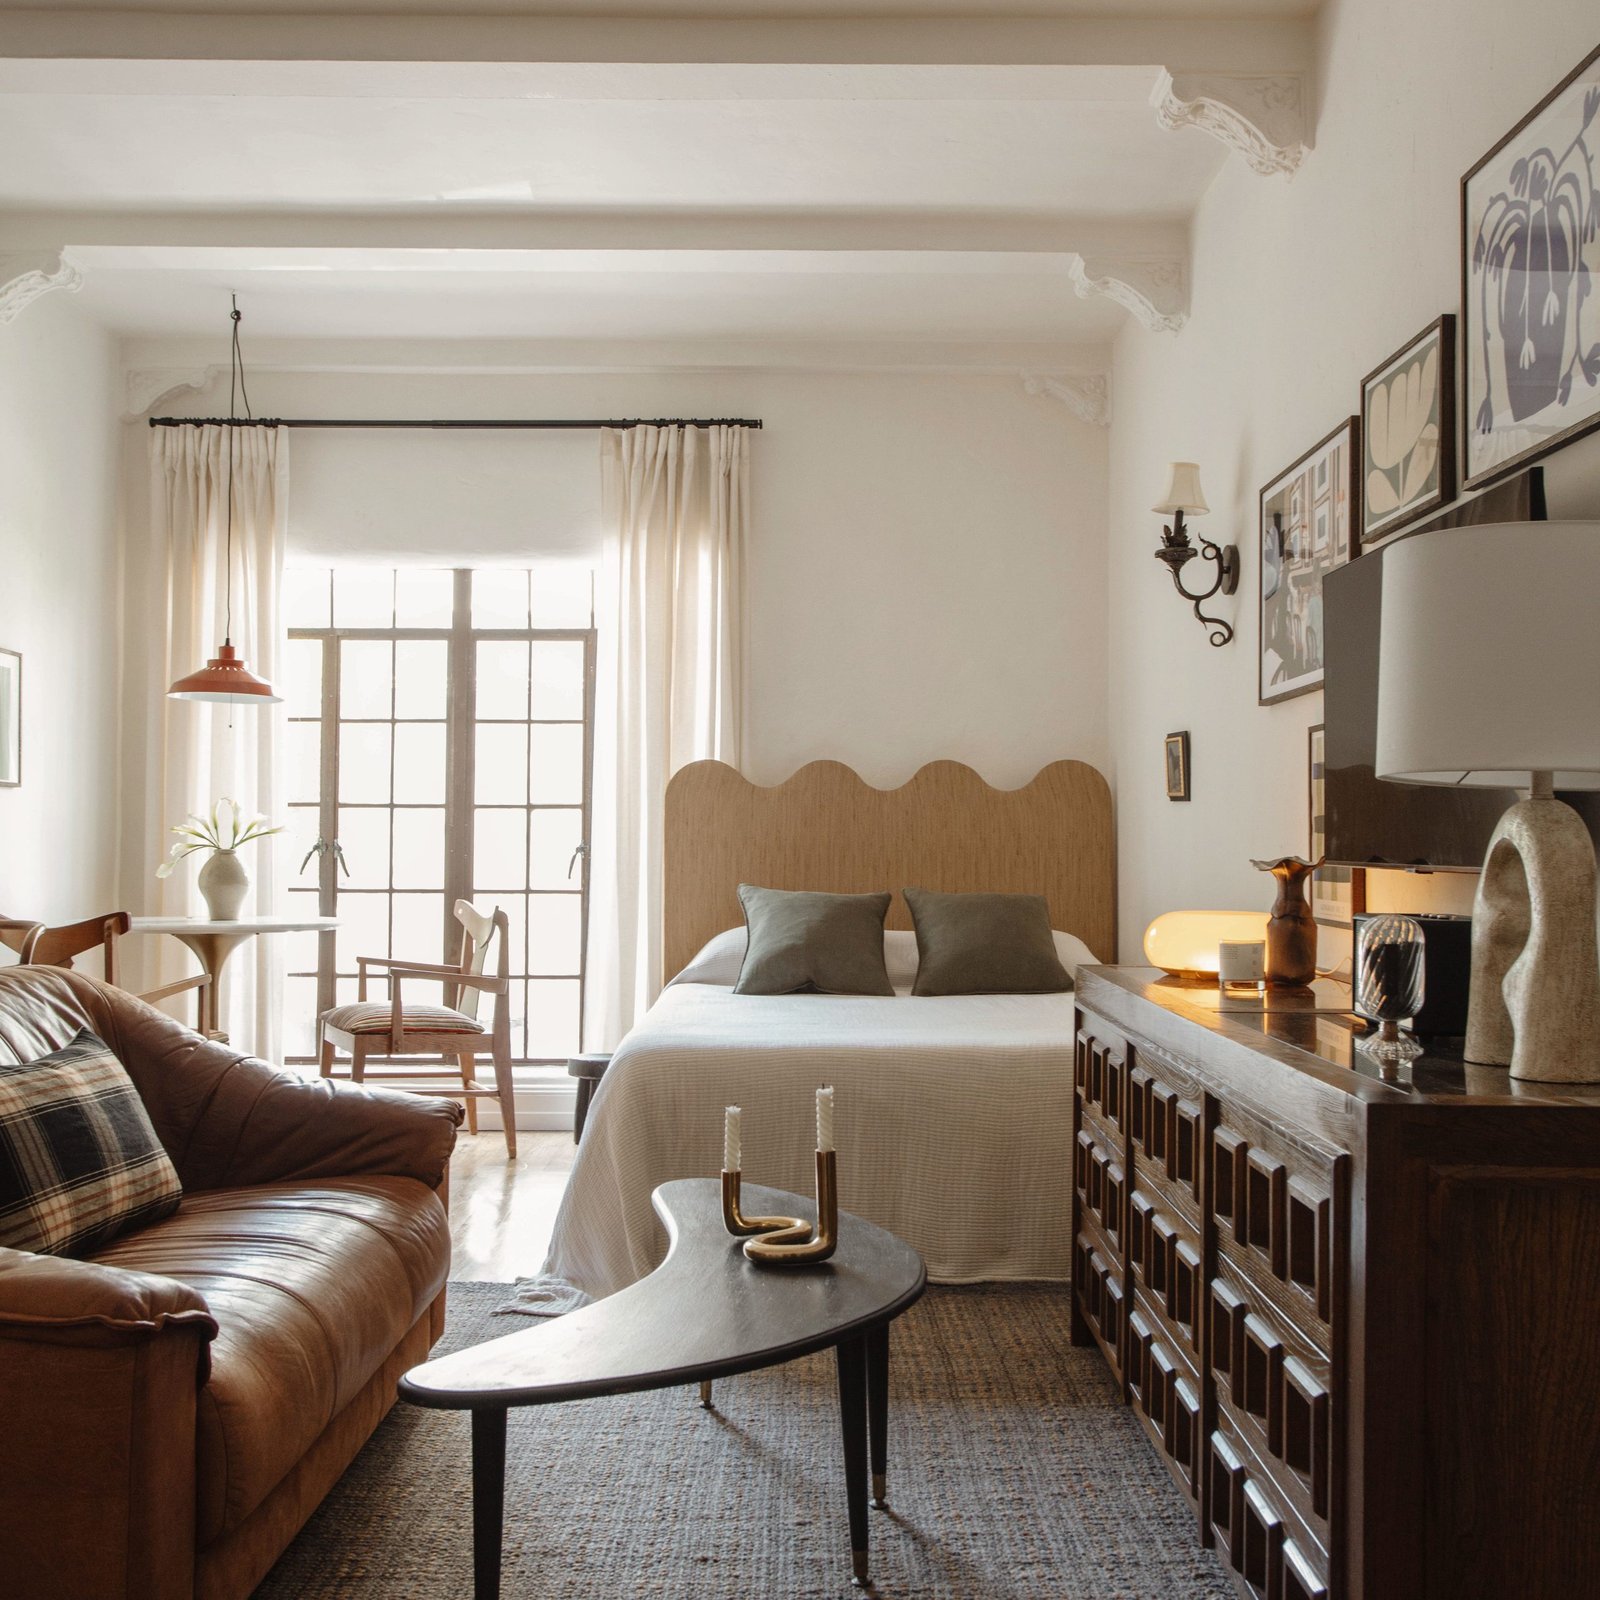
Credit: paintbrushguard.com
Gathering Essential Tools
Painting interior walls is easier when you have the right tools. Good tools help you work faster and get better results.
Before you start painting, gather all the supplies you will need. This saves time and avoids mistakes.
Brushes And Rollers
Brushes and rollers apply paint smoothly on walls. Choose the right type for your project.
Use brushes for edges and corners. Rollers cover large flat areas quickly.
- Use angled brushes for trim and corners
- Select roller nap size based on wall texture
- Choose synthetic brushes for water-based paint
- Use natural bristle brushes for oil-based paint
- Buy several sizes to handle different areas
Drop Cloths And Tape
Drop cloths protect floors and furniture from paint spills. Use plastic or fabric cloths.
Painters tape helps create clean edges. It keeps paint off trim and ceilings.
- Cover floors with large drop cloths
- Use smaller cloths to protect furniture
- Apply tape along trim and ceiling edges
- Press tape firmly to avoid paint bleeding
- Remove tape before paint fully dries
Ladders And Paint Trays
Ladders help you reach high walls and ceilings safely. Choose one that fits your room height.
Paint trays hold paint for easy roller loading. Use disposable liners to clean quickly.
- Use a sturdy ladder with slip-resistant steps
- Check ladder height before buying
- Use paint trays with ridges to remove excess paint
- Disposable liners save cleanup time
- Have extra trays for multiple paint colors
Preparing Walls For Painting
Good painting starts with well-prepared walls. Cleaning and fixing the surface helps paint stick better.
Protecting your space keeps the job clean and safe. Follow these steps to get ready.
Cleaning And Repairing Surfaces
Remove dust, dirt, and grease from the walls. Use mild soap and water with a sponge. Fix holes and cracks with spackle or filler.
- Wash walls with warm soapy water
- Rinse and let dry fully
- Fill holes and cracks using spackle
- Sand the patched areas smooth
- Remove loose or peeling paint
Sanding And Priming Walls
Sanding creates a smooth surface for paint. Use fine-grit sandpaper to sand the whole wall. Clean dust off before priming.
| Task | Purpose | Tools Needed |
| Sanding | Smooth surface and remove bumps | Fine-grit sandpaper, sanding block |
| Priming | Seal surface and improve paint grip | Primer paint, brush or roller |
| Drying | Let primer dry fully before painting | Time, good ventilation |
Protecting Floors And Furniture
Cover floors and furniture to avoid paint spills. Use drop cloths and painter’s tape to shield edges.
- Move furniture away from walls
- Cover floors with plastic or cloth drop cloths
- Use painter’s tape on baseboards and trim
- Remove outlet covers and light switch plates
Mastering Painting Techniques
Painting interior walls takes skill and care. Using the right techniques helps you get smooth, even results.
Learn how to cut in edges, roll walls efficiently, and apply multiple coats for a professional finish.
Cutting In Edges
Cutting in means painting the edges and corners with a brush. This helps avoid missed spots when rolling.
Use a high-quality angled brush. Start by painting a 2-3 inch line along corners, ceilings, and trim.
- Load the brush lightly to avoid drips
- Steady your hand by resting it on the wall
- Paint slow, smooth strokes for sharp lines
- Overlap slightly with the area you will roll
Rolling Walls Efficiently
Use a roller to cover large wall areas quickly. Choose the right nap length for your wall texture.
Start by loading the roller evenly with paint. Use a “W” or “M” motion to spread paint smoothly.
- Do not press too hard to avoid streaks
- Work in small sections to keep edges wet
- Blend each new section with the last
- Use a roller tray to control paint amount
Applying Multiple Coats
Most walls need two or more coats for full coverage. Let each coat dry before applying the next.
Lightly sand between coats to remove bumps. Clean dust before painting again for a smooth finish.
- Check for thin spots or uneven color
- Apply thin coats to avoid drips
- Allow proper drying time as per paint instructions
- Use a good quality paint for better coverage
Avoiding Common Mistakes
Painting interior walls can be simple, but mistakes can spoil the job. Knowing how to avoid these errors helps you get smooth, even results.
This guide covers key tips for preventing drips and streaks, dealing with uneven coverage, and managing drying times.
Preventing Drips And Streaks
Drips and streaks make walls look messy. Use the right tools and paint carefully to avoid them.
- Use a high-quality brush or roller made for your paint type.
- Do not overload your brush or roller with paint.
- Apply paint in thin, even coats.
- Start painting from the top and move downwards slowly.
- Keep a wet edge to blend paint smoothly.
- Check walls often and smooth drips immediately with your brush.
Dealing With Uneven Coverage
Uneven paint makes walls look blotchy. Sometimes the paint soaks into the wall more in some spots.
| Cause | Solution |
|---|---|
| Old or unprimed walls | Apply a primer before painting |
| Using low-quality paint | Choose good-quality paint for better coverage |
| Uneven roller pressure | Roll paint with even, consistent pressure |
| Painting in direct sunlight | Paint in shade or cooler times of day |
Managing Drying Times
Drying times affect how smooth your paint looks. Rushing can cause marks and uneven texture.
Follow these tips for proper drying:
- Allow each coat to dry fully before applying the next.
- Keep windows open for good airflow.
- Avoid touching or cleaning walls too soon.
- Use a fan or dehumidifier in humid rooms.
- Check paint can for exact drying times.
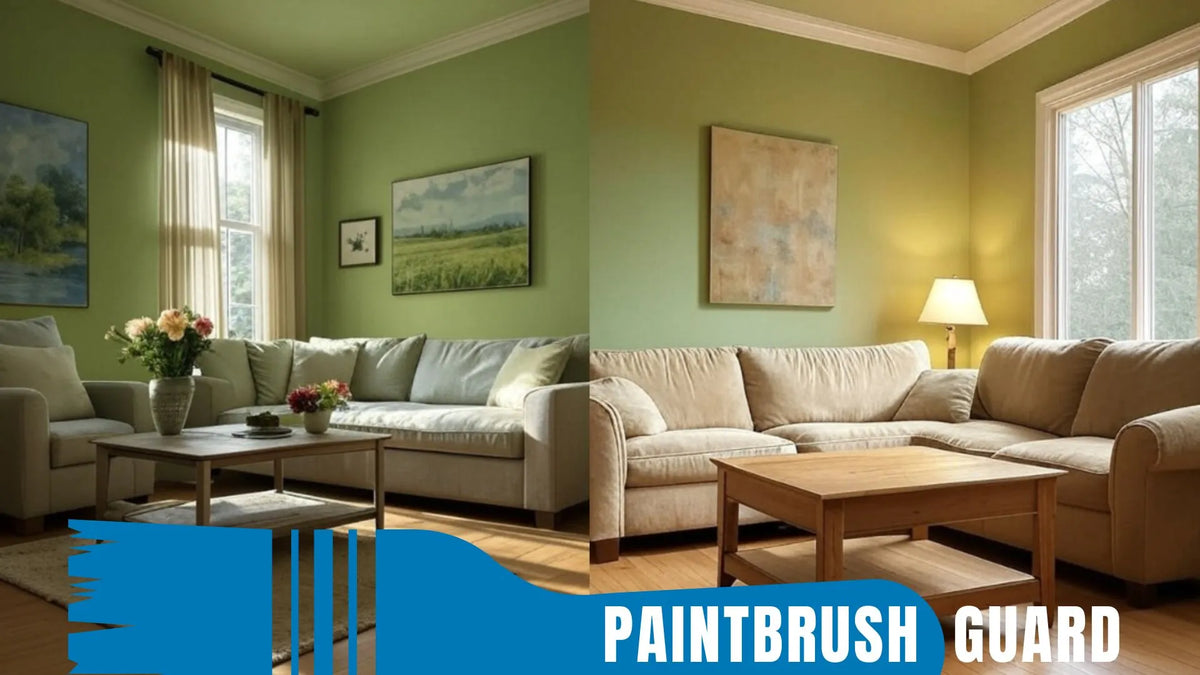
Credit: paintbrushguard.com
Finishing Touches
After painting your interior walls, the final steps are crucial. They ensure a clean and professional look.
These finishing touches will help you achieve a neat and polished result. Let's explore each step in detail.
Removing Tape Cleanly
Peeling off tape without damaging the paint is important. It keeps your edges smooth and straight.
- Wait for the paint to dry completely before removing the tape.
- Pull the tape back on itself slowly and gently.
- Maintain a 45-degree angle for best results.
Touching Up Imperfections
Small imperfections can occur during painting. Fixing them ensures a flawless finish.
Use a small brush for touch-ups. Match the paint color exactly to avoid visible differences.
Cleaning Tools Properly
Properly cleaning your tools extends their life and maintains their effectiveness for future projects.
| Tool | Cleaning Method |
| Brushes | Wash with warm soapy water |
| Rollers | Rinse thoroughly under running water |
| Trays | Scrub with a brush and detergent |
Frequently Asked Questions
What Are The Essential Tools For Painting Interior Walls?
Essential tools include paint rollers, brushes, painter’s tape, drop cloths, and a paint tray. These help achieve smooth, even coverage and protect surfaces. Using quality tools ensures professional results and saves time during prep and cleanup.
How Do I Prepare Walls Before Painting?
Clean walls thoroughly to remove dust and grease. Fill holes and cracks with spackle, then sand smooth. Apply painter’s tape to edges for clean lines. Proper preparation ensures paint adheres well and results in a flawless finish.
What Type Of Paint Is Best For Interior Walls?
Latex or acrylic paints are best for interior walls. They dry quickly, clean easily with water, and offer good durability. Choose matte or eggshell finishes for living areas, and semi-gloss for kitchens or bathrooms to resist moisture.
How Many Coats Of Paint Are Needed For Walls?
Two coats are typically recommended for even coverage and vibrant color. The first coat seals the surface; the second enhances color depth and durability. Allow sufficient drying time between coats to avoid streaks and uneven texture.
Conclusion
Painting interior walls can change a room’s look quickly. Take time to prepare walls and use the right tools. Apply paint with steady, even strokes for a smooth finish. Clean up spills and let paint dry fully before adding furniture.
Practice makes painting easier and more fun each time. Enjoy the fresh, new feel of your painted space. Now, you can paint like a pro with simple steps.