

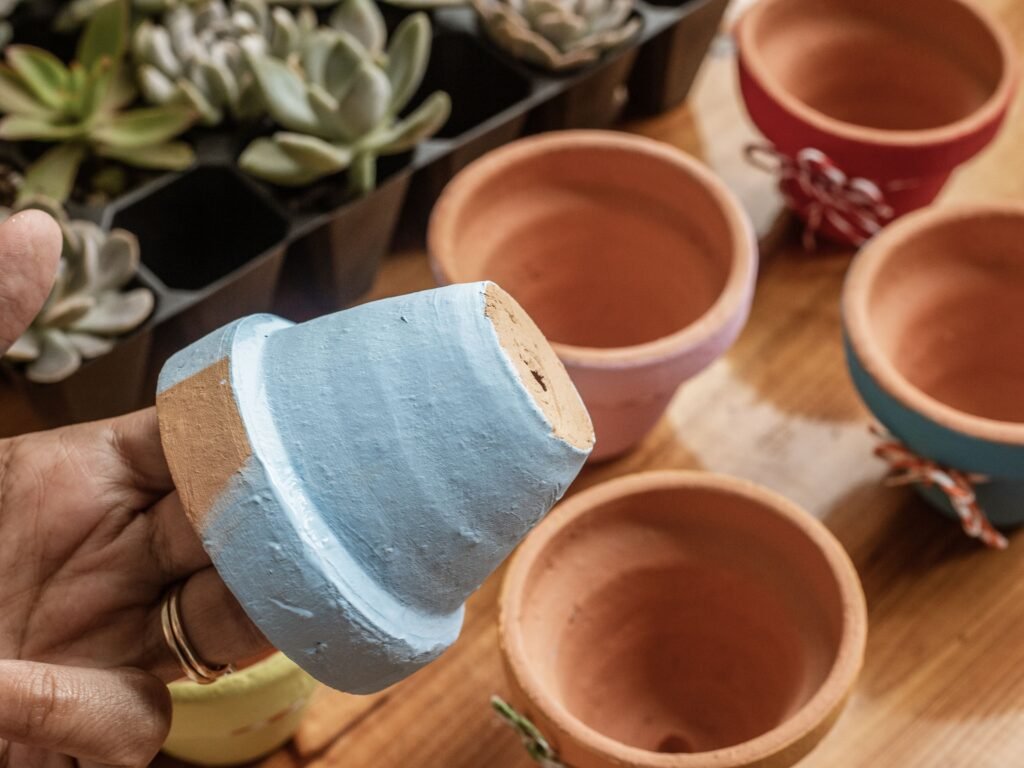
Are you looking to give your plain clay pots a fresh, colorful makeover? Painting your clay pots at home is easier than you think, and it’s a great way to add a personal touch to your garden or indoor plants.
Imagine turning simple pots into eye-catching pieces that brighten up any space. In this guide, you’ll discover easy steps and expert tips to transform your pots quickly and beautifully. Ready to unleash your creativity and make your plants stand out?
Keep reading, and you’ll be painting like a pro in no time!
Choosing The Right Clay Pots
Painting clay pots is a fun way to add color to your garden or home. Picking the right pot is the first step. The right clay pot makes your painting look better and lasts longer.
This guide helps you choose the best clay pots by explaining types and sizes. You will learn how to pick pots that fit your style and plants.
Types Of Clay Pots
Clay pots come in many types. Each type has a different look and feel. Knowing the types helps you pick a pot that works for your painting project.
- Terracotta Pots:These pots are reddish-brown and classic. They are porous and let air reach the roots.
- Unglazed Pots:These have no shiny coating. They absorb water and dry fast, good for some plants.
- Glazed Pots:These have a glassy surface. The glaze adds color and stops water from leaking out.
- Handmade Pots:Each is unique with small imperfections. They add a personal touch to your painting.
Selecting Pot Size And Shape
Choosing the right size and shape matters. The pot should fit your plant and the space where it will sit. It also should work well with your paint design.
| Size | Use | Painting Tips |
|---|---|---|
| Small | Herbs, small flowers | Use fine details and bright colors |
| Medium | Houseplants, medium flowers | Mix patterns and solid colors |
| Large | Trees, large plants | Use bold, simple designs |
| Round | Most plants | Use circular or wrap-around designs |
| Square | Modern decor | Use geometric patterns |
Gathering Your Supplies
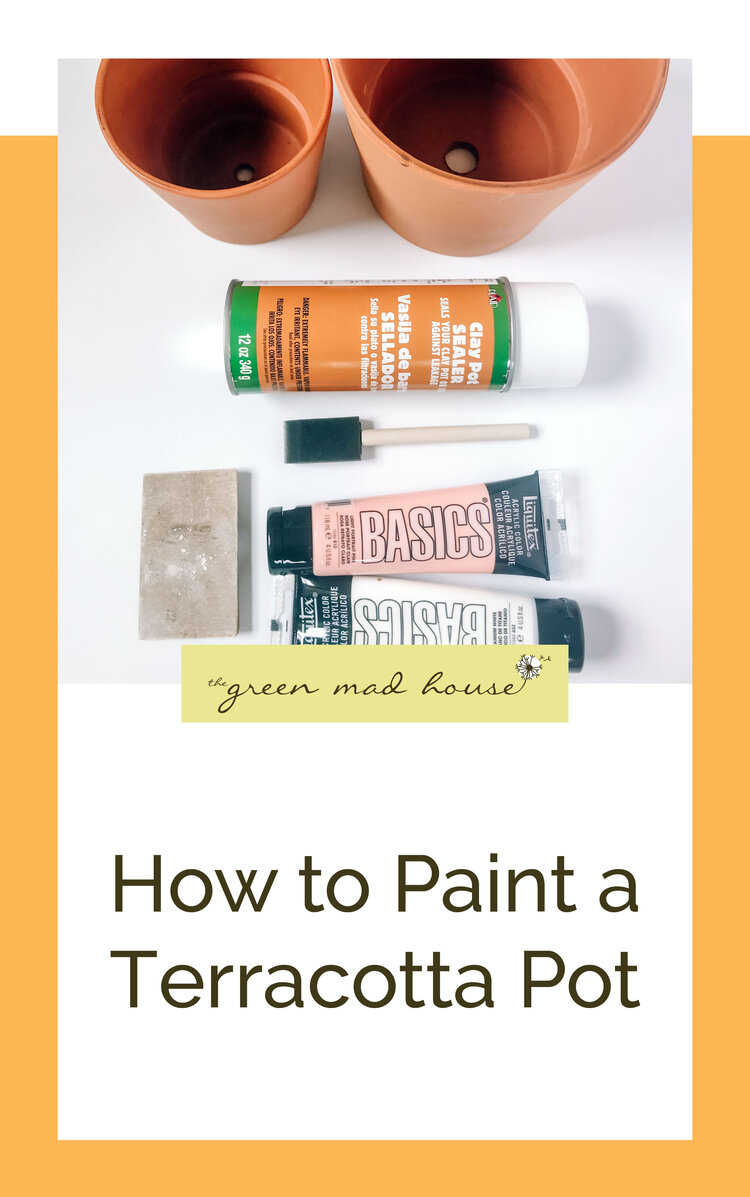
Painting clay pots at home is a fun and creative activity. Before you start, you need to gather all the supplies. This helps you work smoothly and enjoy the process.
Having the right materials makes your painted pots look great. It also protects your work and makes it last longer.
Essential Paints And Brushes
Choosing the right paints is important. Acrylic paints work well because they stick to clay and dry fast. You can find many colors to use.
Use brushes that fit your design. Small brushes help with details. Bigger brushes cover large areas quickly.
- Acrylic paints in various colors
- Small detail brushes (1/4 inch or smaller)
- Medium flat brushes for broad strokes
- Foam brushes for smooth coverage
Additional Tools And Materials
Besides paints and brushes, other tools help your project. You need to prepare the pot surface before painting.
These materials help you clean, protect, and finish your pots for the best look.
- Sandpaper to smooth the pot surface
- Primer to help paint stick better
- Water container to rinse brushes
- Paper towels or cloth for cleaning
- Sealant spray to protect the paint
- Newspaper or plastic sheet to cover your workspace
Preparing Pots For Painting
Painting clay pots at home is a fun project. The key to good results is in the preparation. Getting the pots ready helps the paint stick well and last longer.
Before you start painting, you need to clean, dry, sand, and prime the pots. These steps create a smooth surface for your paint.
Cleaning And Drying
Clay pots often have dirt and dust. Cleaning removes all this and any old paint. Drying is important to avoid moisture that can spoil your paint job.
- Use a soft brush to remove loose dirt.
- Wash the pot with warm water and mild soap.
- Rinse well to remove soap residue.
- Let the pot air dry completely in a sunny place.
- Make sure no water stays inside or on the surface.
Sanding And Priming
Sanding smooths the pot’s surface. It helps paint stick better and hides rough spots. Priming seals the pot and creates a base for paint.
| Step | Purpose | Tools Needed |
| Light sanding | Remove rough texture | Fine-grit sandpaper (120-220 grit) |
| Wipe dust | Clean surface after sanding | Damp cloth |
| Apply primer | Seal and prepare surface | Brush or spray primer for clay pots |
| Dry primer | Ready pot for painting | Drying time as per product instructions |
Painting Techniques For Clay Pots
Painting clay pots is a fun way to add color and life to your garden or home. Using the right techniques helps your design last longer and look better.
This guide covers tips for base coating, creating patterns, and using stencils or tape for neat designs.
Base Coating Tips
Base coating prepares the pot surface and helps paint stick well. Clean the pot before painting. Use a primer or white acrylic paint as a base coat. Let it dry completely.
- Remove dirt and dust with a damp cloth
- Apply one or two thin coats of primer or white paint
- Allow each coat to dry for at least 30 minutes
- Sand lightly between coats for a smooth finish
- Use a wide brush for even coverage
Creating Patterns And Designs
Patterns make your pots unique. You can paint stripes, dots, or freehand shapes. Plan your design before painting. Use a pencil to draw light guides on the pot. Paint slowly and let each color dry before adding another.
| Pattern Type | Technique | Tip |
| Stripes | Use a ruler or tape | Keep lines straight and even |
| Dots | Use the end of a paintbrush | Vary dot sizes for interest |
| Freehand Shapes | Draw outlines first | Use small brushes for details |
| Geometric | Use shapes like triangles or squares | Keep shapes consistent in size |
Using Stencils And Tape
Stencils and tape help create clean, sharp designs. Choose stencils with simple shapes. Use painter’s tape to mark off areas. Press tape edges firmly to stop paint from bleeding.
- Secure the stencil or tape firmly on the pot
- Use a sponge or brush with little paint to avoid drips
- Paint over the stencil carefully
- Remove stencil or tape before paint fully dries
- Touch up edges with a fine brush if needed
Adding Finishing Touches
Painting clay pots is fun and creative. The last steps help protect your work and add style. These finishing touches make your pot last longer and look great.
Two important parts are sealing the paint and adding decorations. Both help your pot stand out and stay safe from weather or damage.
Sealing The Paint
Sealing keeps the paint safe from water, dirt, and fading. Use a clear sealer made for outdoor use if you plan to place the pot outside.
- Choose a water-based sealer for easy cleanup.
- Apply thin, even coats with a soft brush or spray.
- Let each coat dry fully before applying the next.
- Apply at least two coats for good protection.
- Seal both inside and outside of the pot if you want full coverage.
Decorative Enhancements
Decorative touches add charm and personality. You can use simple tools or materials to create unique looks on your painted pot.
| Enhancement | Description |
| Glitter | Sprinkle on wet paint or sealer for sparkle. |
| Stencils | Use shapes or patterns to paint designs. |
| Decoupage | Glue paper cutouts for texture and images. |
| Ribbons | Tie around the pot for a colorful band. |
| Beads | Attach small beads with glue for detail. |
Caring For Painted Clay Pots
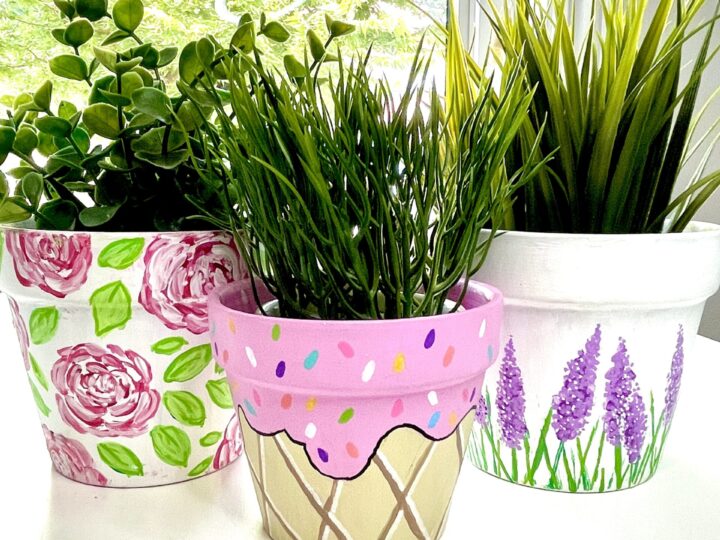
Painted clay pots add beauty to your home and garden. Proper care keeps them vibrant and long-lasting.
Follow simple steps to maintain their appearance and protect them from damage.
Cleaning Painted Surfaces
Cleaning helps preserve the paint on your clay pots. Gentle methods are best to avoid scratches.
Use soft cloths and mild soap. Avoid harsh scrubbing tools.
- Rinse with water to remove dust
- Wipe with a damp cloth and mild soap
- Let them dry naturally
Protecting From Weather Damage
Weather can harm painted surfaces. Protecting them ensures they last longer.
Keep pots indoors during extreme weather. Seal them for extra protection.
- Use a clear sealant for added durability
- Place pots under cover during rain
- Store indoors in freezing temperatures
Creative Ideas For Inspiration
Painting clay pots at home is a fun and creative activity. It allows you to express yourself while adding beauty to your space.
In this guide, we explore how to paint clay pots with seasonal themes and personalized gifts. Let's get inspired!
Seasonal Themes
Seasonal themes bring a fresh look to your clay pots. They can reflect the time of year and enhance your home decor.
- Spring: Use pastel colors and flower motifs.
- Summer: Bright colors and beach scenes create a lively vibe.
- Autumn: Earth tones with leaves and pumpkins add warmth.
- Winter: Cool blues and whites with snowflakes are calming.
Personalized Gifts
Personalized gifts make your clay pots unique. They are perfect for special occasions and show you care.
| Occasion | Personalization Ideas |
| Birthday | Add names and birth dates |
| Anniversary | Include initials and wedding dates |
| New Home | Paint house numbers or welcome messages |
Frequently Asked Questions
How Do I Prepare Clay Pots Before Painting?
Clean the pot with soap and water to remove dirt. Let it dry completely. Sand rough areas gently for a smooth surface. This ensures better paint adhesion and a long-lasting finish.
What Type Of Paint Works Best For Clay Pots?
Acrylic paint is ideal for clay pots. It is water-based, non-toxic, and dries quickly. Acrylic paint adheres well and resists fading, making it perfect for indoor and outdoor pots.
Should I Seal The Painted Clay Pot?
Yes, sealing protects your design. Use a clear acrylic sealer spray after painting. It prevents chipping, fading, and water damage, extending the pot’s life and vibrant look.
How Long Does Painted Clay Pot Paint Last?
With proper preparation and sealing, paint lasts several years. Outdoor pots may fade faster due to weather. Regular maintenance helps keep colors bright and fresh longer.
Conclusion
Painting clay pots at home is simple and fun. You just need a few basic supplies and some creativity. Each pot can become a unique decoration for your garden or home. Take your time and enjoy the process. Try different colors and patterns to see what you like best.
This project is great for beginners and kids too. Keep your pots dry and clean before painting. With practice, your skills will improve. Bright, colorful pots add charm to any space. Start painting and bring new life to plain clay pots today!






