

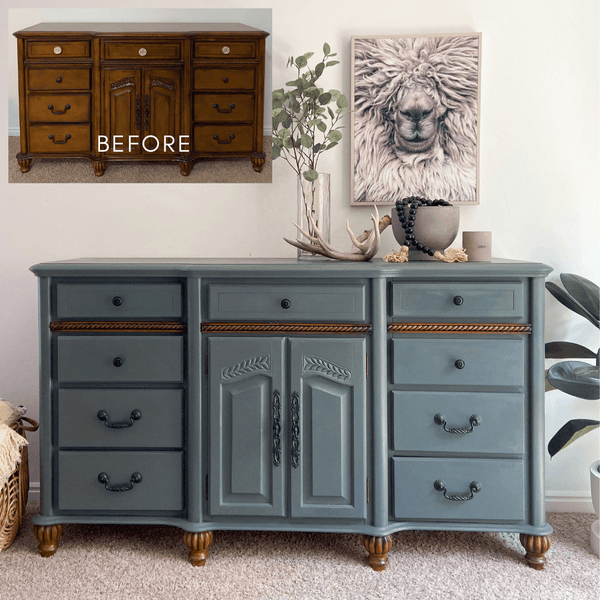
Looking to give your bedroom a fresh new look without spending a fortune? Painting your bedroom dresser is one of the easiest and most rewarding ways to transform your space.
Whether your dresser is old and worn or just needs a style update, you can turn it into a stunning focal point with just a few simple steps. In this guide, you’ll discover everything you need to know to paint your bedroom dresser like a pro—no experience required.
Ready to bring new life to your furniture and make your room feel brand new? Let’s get started!

Choosing The Right Paint
Painting a bedroom dresser can change the room’s look. Choosing the right paint is key for a good finish. Different paints work best on furniture.
Consider the paint type, color, and finish. These choices affect durability and style. Let’s explore these important points.
Types Of Paint For Furniture
Not all paints suit furniture. Some paints stick better and last longer on wood. Here are common types:
- Chalk Paint:Easy to use and dries fast. Gives a matte, vintage look.
- Acrylic Paint:Water-based and cleans up easily. Good for bright colors.
- Oil-Based Paint:Durable and smooth finish. Takes longer to dry.
- Milk Paint:Natural and non-toxic. Creates a worn or antique style.
Color Selection Tips
Picking the right color sets the tone of your room. Think about your style and existing decor. Light colors make a space feel bigger. Dark colors add depth and warmth.
| Color | Effect | Best For |
| White | Brightens and opens space | Small rooms, modern style |
| Blue | Calming and cool | Relaxing bedrooms |
| Gray | Neutral and sophisticated | Any style, easy to match |
| Bold Colors | Vibrant and lively | Accent pieces, kids’ rooms |
Finishes And Sheens
Finish changes how paint looks and wears. Choose a sheen that fits the dresser use and style.
- Matte:No shine. Hides surface flaws. Easy to touch up.
- Satin:Soft shine. Durable and smooth. Good for dressers.
- Semi-Gloss:Shiny and tough. Resists scratches and stains.
- Glossy:Very shiny. Shows details but highlights flaws.
Preparing The Dresser
Before painting your bedroom dresser, you need to prepare it well. Proper preparation helps the paint stick better and last longer.
This guide covers cleaning, sanding, fixing damage, and removing hardware from your dresser.
Cleaning And Sanding
Start by cleaning the dresser to remove dust and dirt. Use a mild soap and warm water with a soft cloth. Let it dry fully before sanding.
Sanding smooths the surface and helps the paint stick. Use fine-grit sandpaper and sand in the direction of the wood grain.
- Clean with soap and water
- Dry completely before sanding
- Sand lightly with fine-grit paper
- Wipe dust off with a clean cloth
Repairing Imperfections
Check the dresser for scratches, dents, or holes. Use wood filler to fix these spots. Apply it with a putty knife and let it dry well.
After the filler dries, sand the repaired areas smooth. This creates an even surface for painting.
- Identify scratches and dents
- Apply wood filler smoothly
- Allow filler to dry completely
- Sand repaired spots until smooth
Removing Hardware
Take off all knobs, handles, and other hardware. Use a screwdriver to remove screws carefully. Keep hardware in a safe place.
Removing hardware helps you paint the dresser evenly and prevents paint from getting on metal parts.
- Use a screwdriver to remove hardware
- Store screws and knobs safely
- Remove all removable parts
- Check for any hidden hardware
Priming The Surface
Painting a bedroom dresser starts with preparing the surface. Priming helps the paint stick well and last longer.
Skipping primer can cause paint to peel or look uneven. Let’s see how to prime the dresser properly.
Why Priming Matters
Primer creates a smooth base for paint. It covers old stains and blocks knots in the wood.
It also helps paint stick better. This makes your dresser look fresh and keeps paint from chipping.
Selecting The Best Primer
Choose a primer that matches your dresser’s material. Wood, laminate, and metal need different primers.
Use a stain-blocking primer if the dresser has old marks or water stains. This stops marks from showing through.
- Use wood primer for wooden dressers
- Use bonding primer for laminate surfaces
- Use metal primer for metal dressers
- Choose stain-blocking primer for tough stains
Applying Primer Correctly
Start by cleaning the dresser. Remove dust and grease with a damp cloth. Let it dry fully.
Use a brush or roller to apply primer evenly. Cover all surfaces and edges with a thin coat.
- Work in a well-ventilated area
- Apply primer in thin, even layers
- Let primer dry as per instructions
- Lightly sand after drying for smoothness
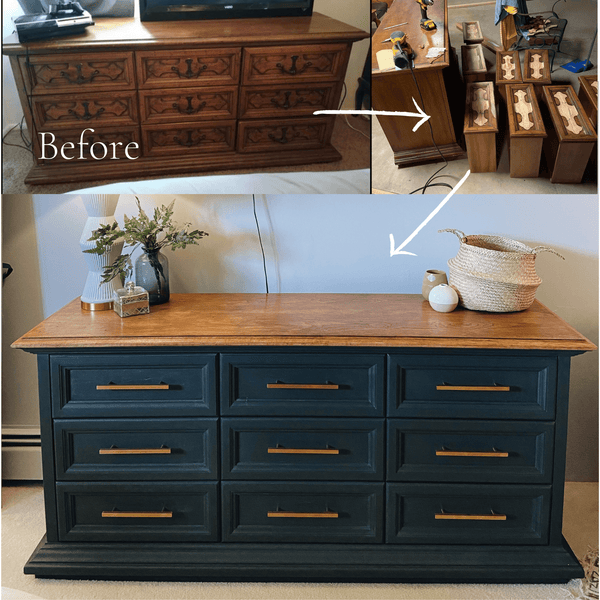
Painting Techniques
Painting a bedroom dresser can change its look and brighten your room. Choosing the right technique makes the job easier and the finish better.
This guide covers key painting techniques to help you get smooth, even results on your dresser.
Brush Vs. Spray Painting
Using a brush or a spray method affects how your dresser looks and how long the job takes. Brushes give control but can leave strokes. Sprayers cover quickly but need more space and protection.
- Brush Painting:Best for small areas and detailed work.
- Spray Painting:Good for smooth, even layers on large surfaces.
- Brush Tips:Use a high-quality brush to avoid marks.
- Spray Tips:Spray in thin coats, keeping the nozzle moving.
Layering And Drying Times
Applying paint in layers gives a strong, clean finish. Each layer must dry before adding the next. Too much paint at once can cause drips and uneven texture.
| Layer | Drying Time | Notes |
| Primer | 1 to 2 hours | Prepares surface and helps paint stick |
| First Coat | 2 to 4 hours | Apply thin, even layer |
| Second Coat | 2 to 4 hours | Builds color and coverage |
| Final Coat | 4 to 6 hours | Ensures durability and smooth finish |
Avoiding Common Mistakes
Many painting problems happen from simple mistakes. Avoid these to get a neat dresser finish.
- Don’t skip sanding. Smooth surfaces hold paint better.
- Clean the dresser before painting to remove dust and grease.
- Use painter’s tape to protect areas you don’t want painted.
- Apply paint in a well-ventilated area to help drying.
- Avoid thick coats that drip or crack as they dry.
Adding Finishing Touches
After painting your bedroom dresser, adding finishing touches makes it look complete. These steps protect the paint and improve the dresser’s style.
Take your time with these final tasks to ensure your dresser stays beautiful for a long time.
Sealing And Protecting Paint
Seal the paint with a clear finish to protect it from scratches and stains. Use a paint sealer or clear coat made for furniture.
Apply thin, even layers with a brush or spray. Let each layer dry before adding the next one.
- Choose a water-based polyurethane for a clear, non-yellowing finish
- Use a satin or matte finish for less shine
- Apply two to three coats for strong protection
- Sand lightly between coats for smoothness
Reattaching Hardware
Put the dresser’s handles, knobs, and other hardware back in place after the paint is fully dry. This helps keep the hardware clean and neat.
Check if the screws and fittings are tight. Replace any damaged hardware for a fresh look.
- Use a screwdriver to attach handles carefully
- Align hardware holes with the dresser’s pre-drilled spots
- Clean hardware before attaching to remove dust
- Consider new hardware for updated style
Decorative Enhancements
Add small details to make your dresser unique. These can be stickers, stencils, or decorative trims.
Choose decorations that match your room’s style and colors for a nice touch.
- Use stencils to paint patterns or shapes
- Apply adhesive decals for easy decoration
- Add fabric or ribbon trims on edges
- Use a small brush for fine details
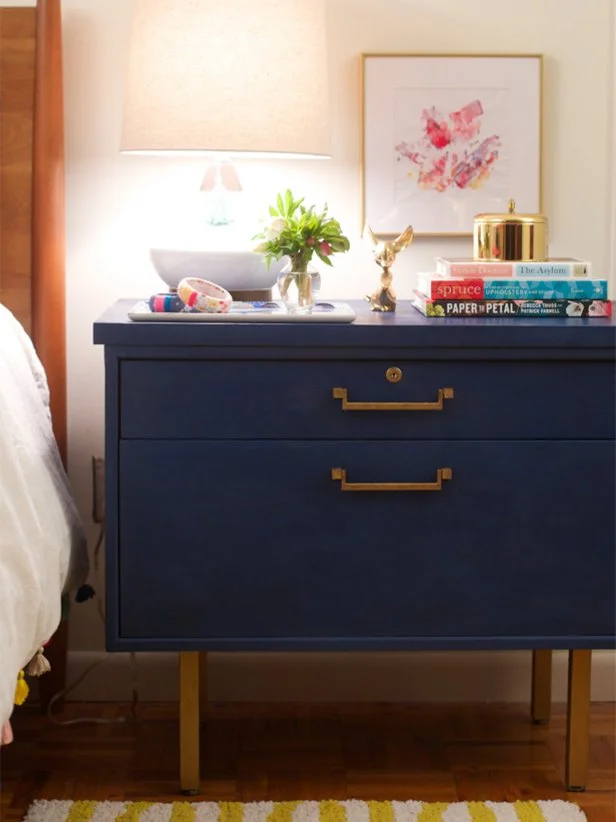
Maintenance Tips
Maintaining a painted bedroom dresser keeps it looking fresh. Proper care can extend its life.
Here are tips to ensure your dresser stays in great condition. Follow these steps for long-lasting results.
Cleaning Painted Furniture
Regular cleaning prevents dust and grime build-up. Use gentle methods to protect the paint.
- Wipe with a soft, damp cloth weekly
- Avoid harsh chemicals that can damage the paint
- Use mild soap for stubborn stains
Touch-up Strategies
Scratches and chips can happen over time. Quick touch-ups keep your dresser looking new.
Keep a small paint supply for minor fixes. Match the original paint color closely.
- Clean the area before applying paint
- Use a small brush for precision
- Allow touch-up paint to dry completely
Extending Paint Life
Proper care extends the life of your dresser's paint. Protect it from damage and wear.
Position furniture away from direct sunlight. Sunlight can cause fading over time.
- Use coasters to prevent water rings
- Avoid placing heavy objects that may dent
- Apply furniture polish for added protection
Frequently Asked Questions
How Do I Prepare A Dresser For Painting?
Start by removing hardware and cleaning the surface. Sand the dresser lightly to remove old finish and smooth imperfections. Wipe off dust with a damp cloth before painting for best results.
What Type Of Paint Is Best For Bedroom Dressers?
Use water-based acrylic or latex paint for durability and easy cleanup. Chalk paint is popular for a matte, vintage look. Avoid oil-based paints to prevent strong odors in bedrooms.
How Many Coats Of Paint Should I Apply?
Apply two to three thin coats of paint for even coverage. Allow each coat to dry completely before applying the next. This ensures a smooth, professional finish on your dresser.
Should I Use A Primer Before Painting A Dresser?
Yes, use a primer to improve paint adhesion and durability. Primer also helps block stains and hides previous colors. Always let the primer dry fully before painting.
Conclusion
Painting your bedroom dresser can refresh your space easily. Choose the right paint and tools for best results. Take your time to prepare and sand the surface well. Apply paint in thin, even coats to avoid drips. Let each layer dry fully before adding the next.
A new color can brighten your room and show your style. Simple steps, great results. Enjoy your painted dresser every day.




