Have you ever wanted to create your own stylish jewelry that lasts? Making stainless steel jewelry at home is easier than you think.
Imagine wearing pieces you made yourself—unique, durable, and shining just the way you like. In this guide, you’ll discover simple steps and tips to turn raw materials into beautiful accessories. Whether you’re a beginner or looking to try something new, this article will give you the confidence to start crafting your own stainless steel jewelry today.
Keep reading, and unlock the secrets to making jewelry that stands out and lasts forever.

Credit: klassicstatement.com
Materials Needed
Making stainless steel jewelry at home is fun and creative. You need the right materials to start crafting your pieces.
This guide lists the types of stainless steel, tools, and safety gear you need for your project.
Types Of Stainless Steel
Stainless steel comes in different grades for jewelry making. Each type has unique features and looks.
- 304 Stainless Steel: Common and affordable, good for simple jewelry.
- 316L Stainless Steel: Higher quality, resistant to rust and corrosion.
- 430 Stainless Steel: Magnetic and less expensive, used for fashion pieces.
- 310 Stainless Steel: Heat resistant, less common in jewelry.
Essential Tools
Having the right tools helps you shape and finish your stainless steel jewelry. These tools are basic but important.
- Jewelry saw or metal snips to cut the steel
- Files for smoothing edges
- Pliers for bending and shaping
- Hammer and anvil or metal block for shaping
- Sandpaper or polishing cloth for finishing
- Drill or rotary tool to make holes
Safety Gear
Safety is important when working with metal. Use protective gear to avoid injuries and harm.
- Safety glasses to protect your eyes
- Work gloves to protect your hands
- Dust mask to avoid breathing metal dust
- Hearing protection if using loud tools
- Wear long sleeves to protect your arms

Credit: www.amazon.co.uk
Preparing Your Workspace
Making stainless steel jewelry at home needs a clean and organized space. This helps you work safely and finish your projects well.
Preparing your workspace saves time and reduces mistakes. It lets you focus on creating your jewelry pieces.
Setting Up A Clean Area
Choose a flat and sturdy table for your work. Make sure it is free from dust and dirt before you start.
Good lighting is important. Use a bright lamp or sit near a window to see small details clearly.
- Clear the table of all clutter
- Wipe the surface with a clean cloth
- Keep a small trash bin nearby
- Use a mat to protect the table
- Ensure good lighting for your work area
Organizing Tools And Materials
Gather all tools and materials before you begin. Keep them within easy reach to avoid interruptions.
Sort your tools by type and size. Store small items in containers or trays to keep them from getting lost.
- Group pliers, cutters, and files together
- Use small boxes for beads and findings
- Keep polishing cloths and cleaning sprays handy
- Label containers to find items quickly
- Arrange tools so you can grab them fast
Basic Techniques
Making stainless steel jewelry at home requires some simple skills. You can create beautiful pieces using basic tools and techniques.
This guide covers cutting, shaping, bending, sanding, and polishing stainless steel for jewelry making.
Cutting Stainless Steel
Cutting stainless steel is the first step in jewelry making. Use a jeweler’s saw or metal snips to cut your design.
Always wear safety glasses and gloves to protect yourself from sharp edges and metal shards.
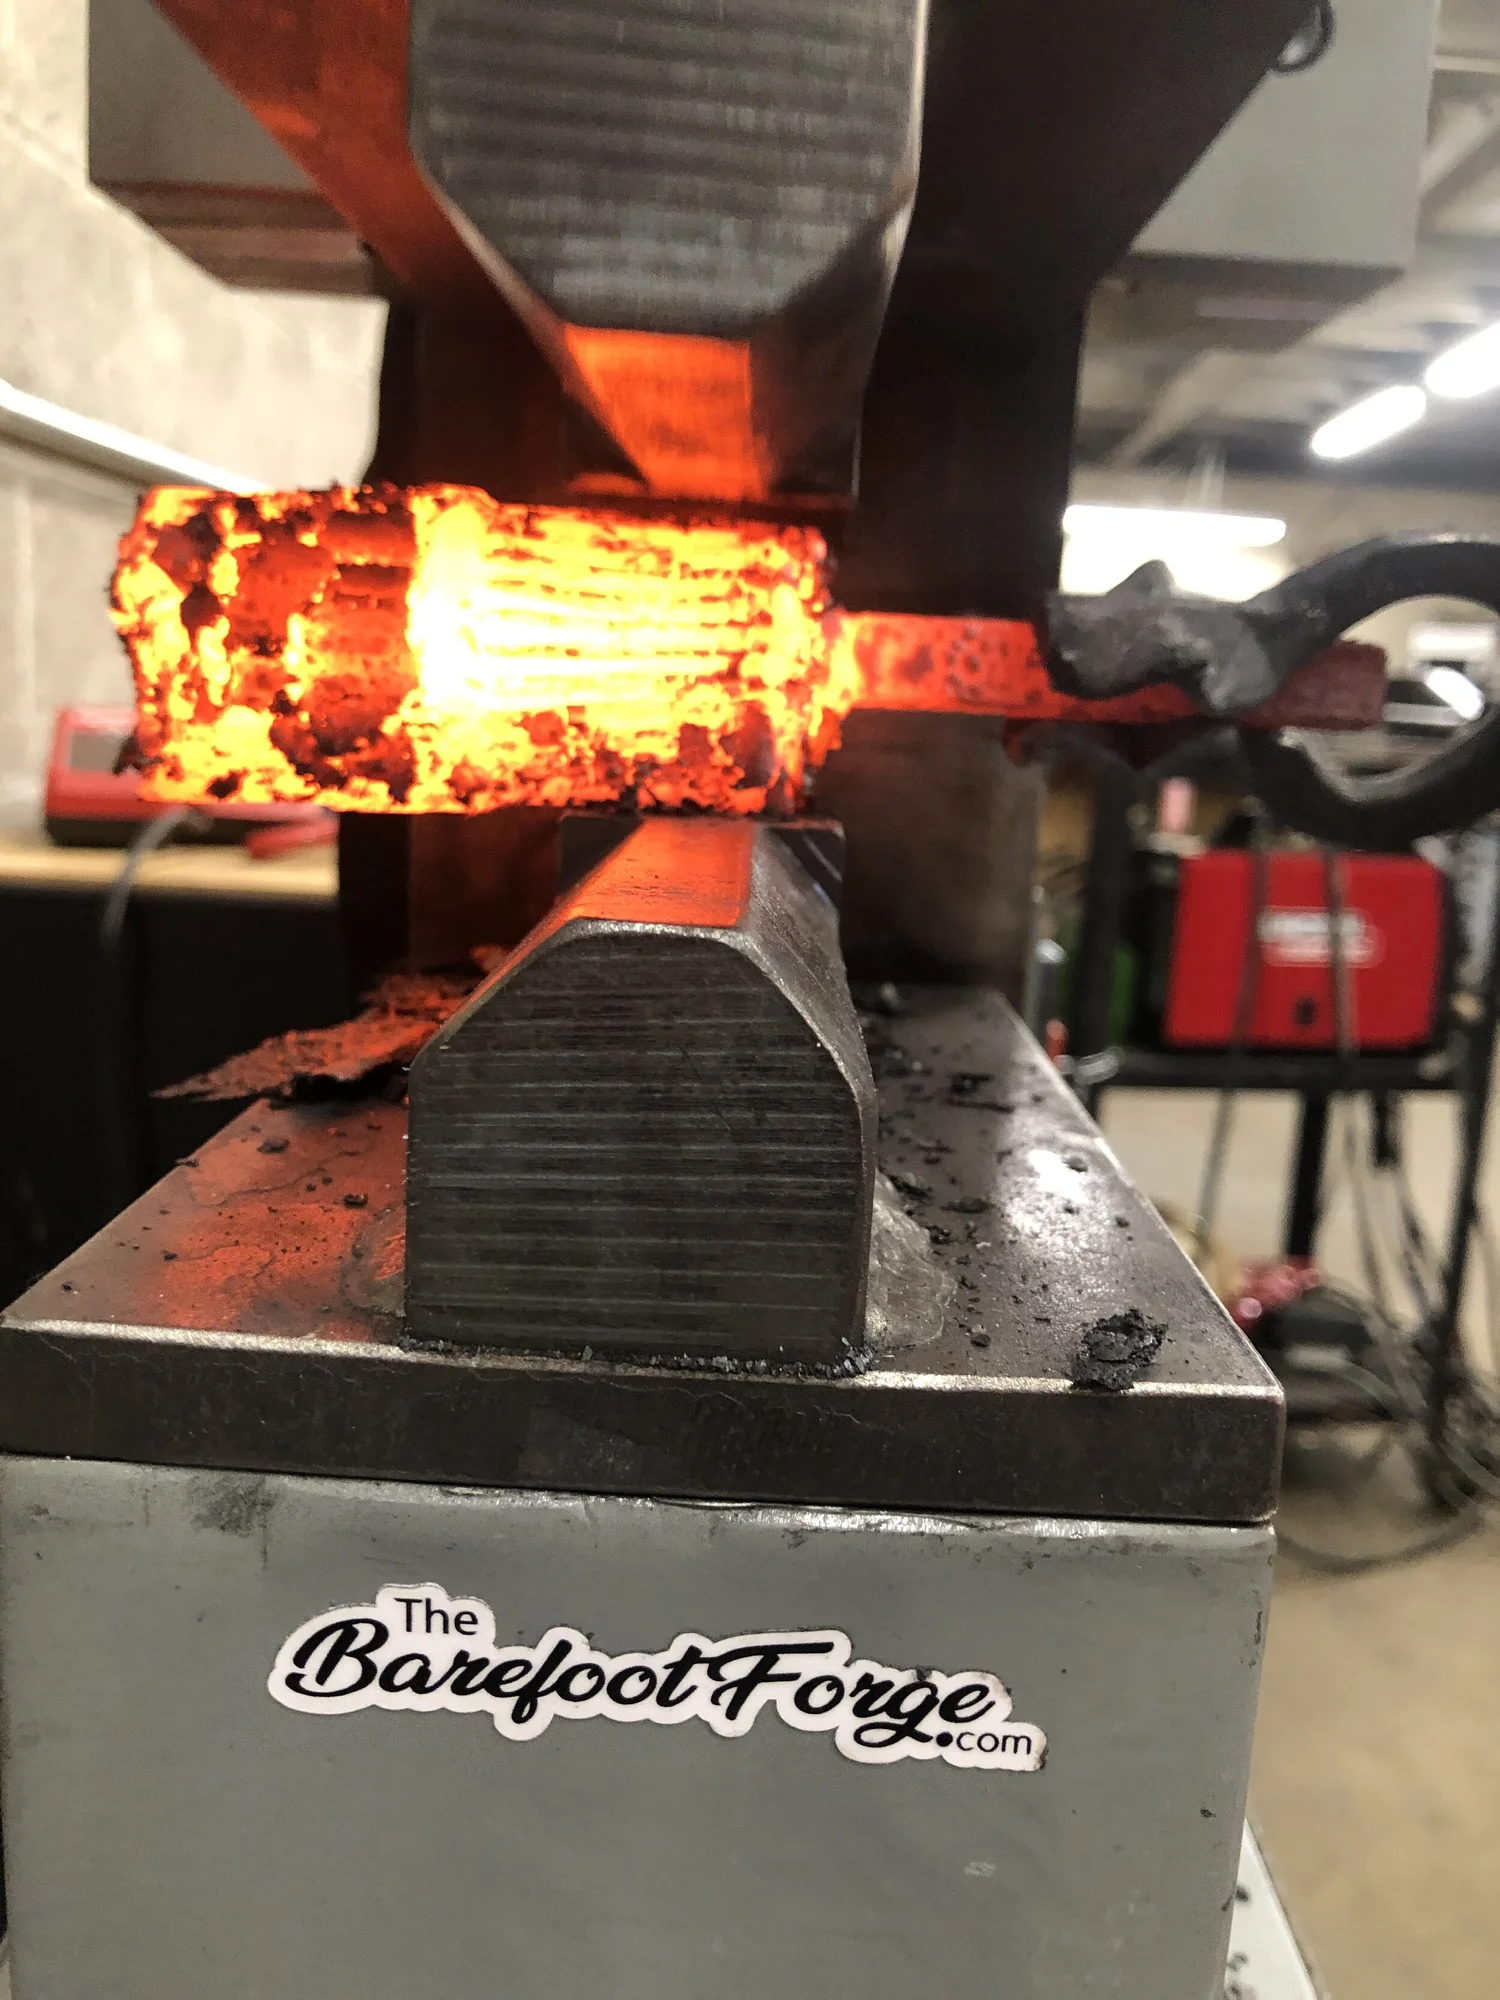
Shaping And Bending
After cutting, shape and bend your metal to form the jewelry piece. Use pliers, mandrels, or a hammer for this step.
- Use flat-nose pliers for sharp bends and corners.
- Round-nose pliers help create curves and loops.
- A mandrel is good for shaping rings and bracelets.
- Hammer gently on a steel block to flatten or texture metal.
Sanding And Polishing
Sanding smooths rough edges and surfaces. Polishing makes your jewelry shine and look professional.
| Tool | Use | Tip |
| Coarse sandpaper | Remove large scratches | Start with 400 grit |
| Fine sandpaper | Smooth surface | Use 800 to 1200 grit |
| Polishing cloth | Bring shine | Use with polishing compound |
| Buffing wheel | High shine finish | Use low speed |
Creating Simple Jewelry Pieces
Making stainless steel jewelry at home is fun and easy. You can create simple pieces with basic tools.
Stainless steel is strong and looks shiny. It does not rust or lose color quickly.
Making Rings
Start by choosing a stainless steel strip or wire. Cut it to fit your finger size.
Use a ring mandrel to shape the steel into a circle. Smooth edges with a file to avoid scratches.
- Measure your finger size carefully
- Cut the steel strip slightly longer than needed
- Bend the strip around the mandrel for a round shape
- File the ends to make a smooth joint
- Polish the ring to a shiny finish
Crafting Bracelets
Use stainless steel wire or flat strips for bracelets. Choose a style that fits your wrist.
Bend the metal to form a circle or a cuff shape. Add simple designs by hammering or engraving.
- Measure wrist size before cutting steel
- Bend metal slowly to avoid cracks
- Use hammer to add texture or patterns
- File any sharp edges for comfort
- Finish with polishing cloth for shine
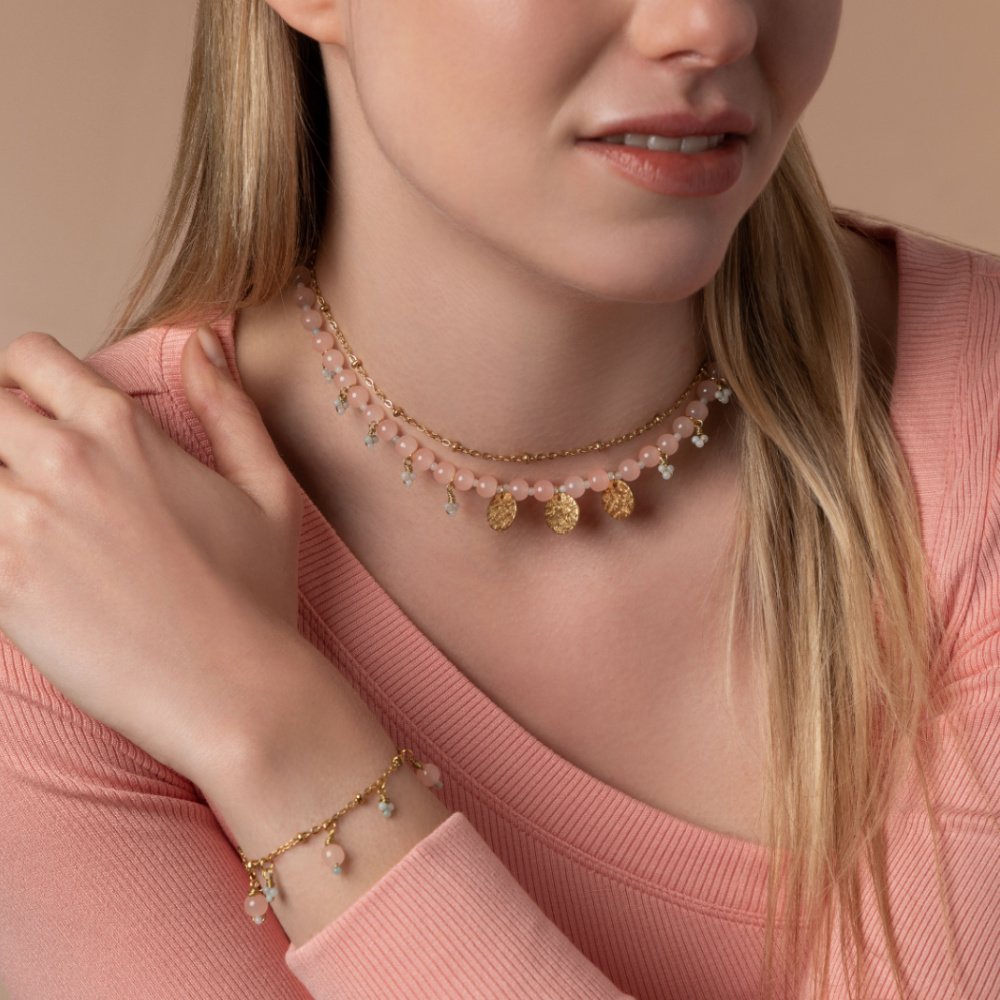
Designing Necklaces
Create pendants from small stainless steel pieces. Attach them to a simple chain or cord.
Use basic shapes like circles or rectangles. Add holes for jump rings to connect pendants to chains.
- Cut metal into small shapes for pendants
- Drill small holes for attaching jump rings
- Choose a chain or cord that fits your style
- Connect pendants to chains using jump rings
- Polish pendants for a smooth, shiny look
Adding Decorative Elements
Stainless steel jewelry can be beautiful and unique. Adding decorative elements makes it special. Learn how to enhance your jewelry at home.
Use simple tools and techniques to create stunning designs. Discover ways to engrave, attach charms, and use finishes effectively.
Engraving Designs
Engraving is a simple way to add detail. Use a handheld engraver or a set of engraving tools. Draw your design first to guide you.
Practice on scrap metal before engraving your jewelry. This helps you gain confidence and precision in your work.
- Choose simple designs for beginners
- Use stencils for consistent patterns
- Engrave lightly at first
Attaching Charms And Beads
Charms and beads add personality to your jewelry. Use jump rings to attach them securely. Select charms and beads that match your style.
Open jump rings with pliers and slide the charm or bead onto the ring. Then, close the ring tightly to secure them.
| Tool | Purpose |
| Pliers | Open and close jump rings |
| Jump rings | Connect charms and beads |
Using Patinas And Finishes
Patinas change the color of your jewelry, adding depth. Finishes can make it shiny or matte. Choose a patina or finish that suits your design.
Apply patinas with a brush for even coverage. Use a soft cloth to polish for a shiny finish or leave it matte for a natural look.
- Test patinas on scrap pieces first
- Work in a well-ventilated area
- Seal the finish to protect your jewelry
/filters:format(webp)/product/2026/8/15/1956276962188201984/Handmade-DIY-Stainless-Steel-18K-Gold-Plated-Twisted-Closed-Ring-Seamless-Round-Jewelry-Connector-For-Necklace-Bracelet-1.jpg)
Credit: ca.nihaojewelry.com
Care And Maintenance
Stainless steel jewelry is durable and stylish. Proper care keeps it looking new. Learn how to clean and store it right.
Follow these tips to ensure your jewelry remains sparkling and scratch-free.
Cleaning Tips
Regular cleaning prevents tarnish and keeps your jewelry shiny. Use mild solutions to avoid damage.
- Mix warm water with mild dish soap in a bowl.
- Soak the jewelry for a few minutes.
- Gently scrub with a soft toothbrush.
- Rinse with clean water and pat dry with a soft cloth.
Storing Jewelry Safely
Proper storage prevents scratches and tangling. Use the right methods to protect your pieces.
| Storage Method | Benefits |
| Jewelry Box | Keeps pieces separate |
| Pouches | Prevents scratches |
| Hanging Organizer | Avoids tangling |
Troubleshooting Common Issues
Making stainless steel jewelry at home can sometimes lead to small problems. Fixing these issues helps keep your pieces looking nice.
This guide shows how to fix common issues like scratches and broken parts on your jewelry.
Fixing Scratches
Scratches on stainless steel jewelry are common after wearing it for a while. You can smooth small scratches using simple tools at home.
Use a soft cloth and a mild abrasive cleaner to gently buff the surface. Avoid harsh chemicals that can damage the metal.
- Clean the jewelry with warm water and soap before fixing.
- Use a polishing cloth made for stainless steel.
- Apply gentle pressure while rubbing the scratched area.
- Repeat the process until the scratch fades.
- Rinse and dry the jewelry thoroughly after polishing.
Repairing Broken Pieces
Broken pieces can happen if your jewelry catches on something or falls. Small breaks can be fixed with the right tools.
Use stainless steel glue or a jeweler’s epoxy for minor breaks. For bigger damage, soldering might be needed but requires special skills.
- Clean both broken parts before repair.
- Apply glue carefully on the broken edges.
- Press the parts together and hold firmly.
- Let the glue dry as per the instructions.
- If soldering, use a low heat to avoid damage.
- Test the repair gently before wearing again.
Frequently Asked Questions
What Tools Are Essential For Making Stainless Steel Jewelry?
Basic tools include a jeweler’s saw, files, pliers, a hammer, and a polishing cloth. These help cut, shape, and finish the jewelry pieces efficiently.
How Do I Safely Cut Stainless Steel At Home?
Use a jeweler’s saw or rotary tool with a metal cutting blade. Always wear safety goggles and gloves to protect yourself during cutting.
Can I Solder Stainless Steel Jewelry Myself?
Yes, but stainless steel requires special high-temperature solder and flux. Proper ventilation and practice are important to achieve strong, clean joints.
How Do I Polish Stainless Steel Jewelry For Shine?
Use a fine polishing compound and a soft cloth or rotary tool attachment. Buff in circular motions until the jewelry shines uniformly.
Conclusion
Making stainless steel jewelry at home is fun and rewarding. You can create unique pieces that show your style. Practice the steps carefully and use the right tools. Start with simple designs and grow your skills over time. Enjoy the process of crafting something special with your own hands.
Keep experimenting to find what you like best. Handmade jewelry always carries a personal touch. Try it today and see how creative you can be!