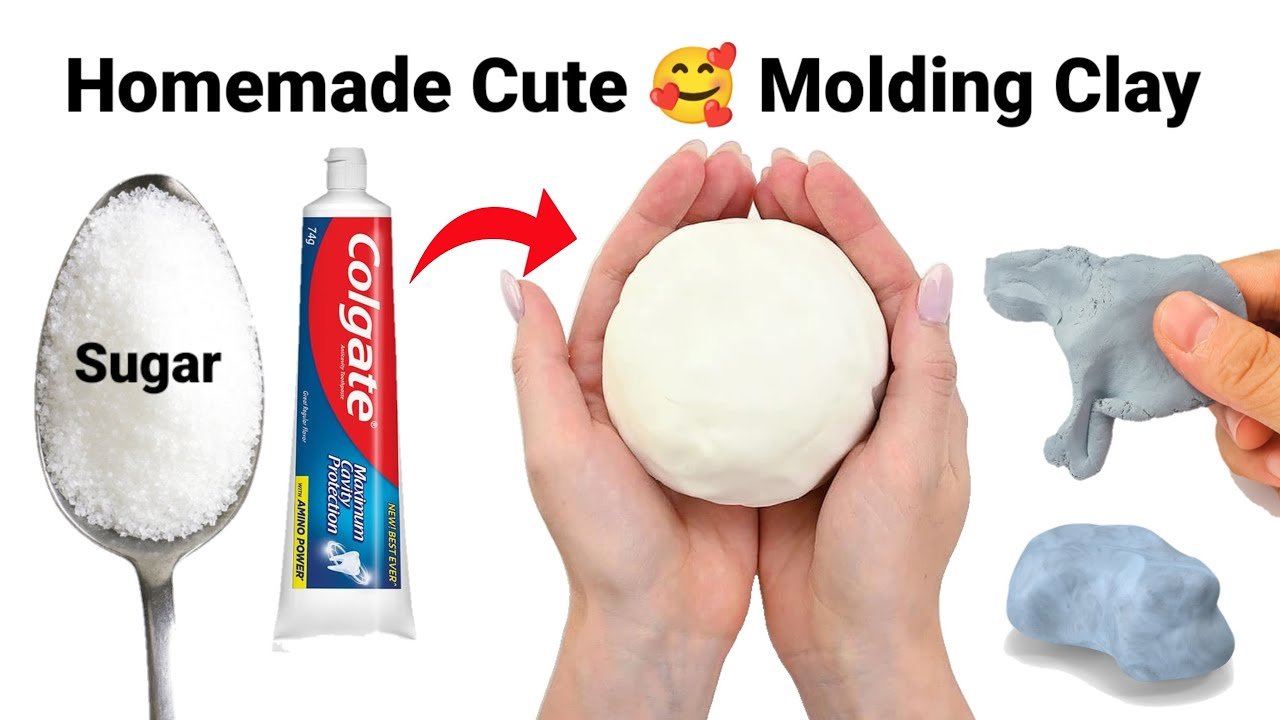
Looking for a fun and creative activity you can do right at home? Making sand clay is a simple, exciting way to turn ordinary materials into something amazing.
Imagine the joy of molding soft, colorful clay that feels just right in your hands. You don’t need fancy tools or ingredients—just a few things you probably already have. Keep reading, and you’ll discover easy steps to create your own sand clay.
By the end, you’ll be ready to make endless shapes, sculptures, and memories with your homemade clay. Ready to get started? Let’s dive in!

Credit: www.youtube.com
Materials Needed
Making sand clay at home is simple and fun. You only need a few basic materials.
Gathering the right items helps you create soft and moldable sand clay.
Play Sand
Use clean, fine play sand. Avoid sand with dirt or large rocks.
Play sand is soft and easy to shape. It is the main base for sand clay.
Cornstarch
Cornstarch helps bind the sand together. It makes the clay smoother.
You can find cornstarch in most kitchens or stores. Use regular, plain cornstarch.
Water
Water mixes the sand and cornstarch. It helps form the clay texture.
Use clean, fresh water. Add small amounts to avoid making the clay too wet.
Cooking Oil
Cooking oil makes the clay soft and less sticky. It also helps it last longer.
Use a small amount of vegetable or olive oil. Too much oil can make the clay greasy.
Mixing Bowl And Spoon
You need a bowl to mix the ingredients. A spoon helps to stir them well.
Choose a bowl large enough to hold all materials. A plastic or glass bowl works fine.
Choosing The Right Sand
Sand is the main ingredient in sand clay. Picking the right type helps make strong, smooth clay.
Not all sand works well. Some sands have big grains or dirt. This affects how the clay feels and holds together.
Grain Size And Texture
Choose sand with fine grains. Small grains mix better with other ingredients. The clay will feel soft and easy to shape.
Avoid sand with large or sharp grains. These can make the clay rough and crumbly.
Cleanliness Of Sand
Clean sand is free from dirt, clay, and organic matter. Dirt can change the color and texture of your clay.
- Use washed or play sand from a store
- Avoid beach sand because of salt and debris
- Rinse river or garden sand before use
Color Of Sand
The color of sand affects the final look of your clay. Light-colored sand makes brighter clay. Dark sand results in duller clay.
| Sand Color | Effect on Clay |
|---|---|
| White or light tan | Bright, clean color |
| Gray or dark brown | Dull, earthy tone |
| Red or orange | Warm, rusty look |
Mixing Ingredients
Making sand clay at home is simple if you mix the ingredients right. The key is to balance sand, clay, and water well.
This guide covers how to measure, combine, and add water to get the best texture.
Measuring Proportions
Using the correct amount of sand and clay ensures your mixture holds together. Too much sand makes it crumbly. Too much clay makes it sticky.
| Ingredient | Ratio (by volume) |
| Sand | 2 parts |
| Clay | 1 part |
Combining Sand And Clay
Mix sand and clay well before adding water. This helps the mixture become even and ready for shaping.
- Pour sand into a large bowl.
- Add clay to the sand.
- Stir the dry ingredients together until evenly mixed.
Adding Water Gradually
Add water slowly to control the texture. Too much water makes it runny. Too little water makes it dry.
- Start with a small amount of water.
- Mix thoroughly with sand and clay.
- Keep adding water bit by bit until the mixture holds shape.
- Stop when the clay feels firm but not sticky.

Credit: www.youtube.com
Kneading The Dough
Kneading sand clay dough is an important step in making it at home. It helps mix all ingredients well.
Good kneading makes the dough soft and easy to shape for crafts or play.
Achieving The Perfect Texture
The dough should feel smooth but not sticky. It must hold together without falling apart.
Press the dough with your hands to check the texture. Add a little water if it is dry.
- Soft enough to shape easily
- Not too wet or sticky
- Holds its form well
Tips For Smooth Consistency
Knead the dough on a clean surface for about 5 to 10 minutes. Use your palms and fingers.
Break up lumps while kneading. Add small amounts of water or sand to balance texture.
- Work slowly and evenly
- Keep dough slightly moist
- Stop adding water once dough is soft
Storing Sand Clay
Proper storage keeps sand clay fresh and soft for longer use. It stops the clay from drying out or getting dirty.
Good storage also saves you time by avoiding the need to remake the clay often. Let’s look at the best ways to store sand clay.
Best Containers
Use airtight containers to keep air and moisture out. This helps the sand clay stay soft and ready to use.
Plastic containers with tight lids work well. Ziplock bags can also keep the clay fresh if sealed properly.
- Plastic containers with snap or screw lids
- Glass jars with airtight seals
- Ziplock or resealable plastic bags
- Keep containers clean and dry before use
Shelf Life And Maintenance
Sand clay can last for weeks if stored well. Check it often to see if it dries out or changes texture.
If the clay becomes hard, add a little water and knead it to soften. Store it in a cool, dry place away from sunlight.
- Check clay every week for dryness
- Add a few drops of water to soften if needed
- Avoid storing near heat or direct sun
- Keep containers sealed tightly after each use

Credit: www.youtube.com
Creative Uses
Sand clay is a fun material to make at home. It's great for crafting and decorating. Let's explore some creative uses for sand clay.
You can involve kids in making and using sand clay. It's a perfect opportunity for creative projects.
Craft Ideas For Kids
Sand clay is perfect for kids to create fun shapes. They can use cookie cutters or mold it with their hands.
- Make small animals like turtles or birds
- Create handprint keepsakes
- Form letters and numbers for learning
Home Decoration Projects
Use sand clay to craft unique home decor items. It's easy and adds a personal touch to your space.
| Project | Materials Needed |
| Coasters | Sand clay, paint, sealant |
| Wall Art | Sand clay, frame, paint |
| Candle Holders | Sand clay, mold, paint |
Troubleshooting Common Issues
Making sand clay at home can be fun and creative. Sometimes, the clay may not turn out right. Here are solutions for common problems.
These tips will help you fix issues with your sand clay. Follow the steps for the best results.
Dry Or Crumbly Clay
If your clay is dry or crumbly, it can be hard to work with. This often happens when there is not enough water in the mix.
Try adding small amounts of water. Mix it well until the clay feels smooth and soft.
- Add one teaspoon of water at a time
- Knead the clay thoroughly
- Check the texture frequently
- Store in a sealed bag to keep moisture
Sticky Or Too Wet Clay
Clay that is sticky or too wet is difficult to shape. This usually means there is too much water.
To fix this, add more dry ingredients. This will balance the moisture level.
- Add a small amount of sand or flour
- Mix until the clay is less sticky
- Use a clean, dry surface to knead
- Let the clay air-dry slightly if needed
Frequently Asked Questions
What Ingredients Are Needed To Make Sand Clay At Home?
You need fine sand, all-purpose flour, water, and salt. These simple ingredients combine to create a moldable, non-toxic sand clay suitable for crafts and kids’ play.
How Do You Mix Sand Clay For Best Results?
Mix flour and salt, then gradually add water. Stir until smooth, then fold in sand. Adjust water to achieve a firm, pliable dough that holds its shape well.
Can Sand Clay Be Stored For Future Use?
Yes, store sand clay in an airtight container. Keep it in a cool, dry place to prevent drying out. Proper storage maintains its texture for weeks.
Is Homemade Sand Clay Safe For Children To Use?
Homemade sand clay uses non-toxic ingredients, making it safe. Always supervise young children during play to avoid ingestion. It’s a fun, safe sensory activity for kids.
Conclusion
Making sand clay at home is simple and fun. You only need a few basic ingredients. Mix them well, and you get soft, moldable clay. Kids and adults both enjoy crafting with it. It saves money and avoids store chemicals.
Try different shapes and let your creativity flow. Keep the clay in an airtight container to stay fresh. Enjoy hours of play and learning with your homemade sand clay. Easy, safe, and perfect for creative projects. Give it a try today and see the fun!