Have you ever wanted to create your own pottery but felt held back by the cost or hassle of buying clay? What if you could make your own pottery clay right at home, using simple ingredients you probably already have?
Making pottery clay at home is easier than you think, and it gives you full control over the texture and quality. You’ll discover step-by-step how to make your own clay quickly and easily. By the end, you’ll be ready to start shaping your unique creations without spending a fortune.
Keep reading to unlock the secret to homemade pottery clay that works just as well as store-bought!

Credit: potterycrafters.com
Materials Needed
Making pottery clay at home is simple and fun. You only need a few basic materials. These ingredients help you create smooth and workable clay.
Besides the ingredients, some tools make the process easier. These tools help mix and shape the clay better.
Essential Ingredients
Start with these main ingredients to make your own pottery clay. Each plays an important role in the clay's texture and workability.
- All-purpose flour – serves as the base for the clay
- Salt – helps preserve the clay and adds strength
- Water – binds the ingredients into a smooth mixture
- Cream of tartar – improves elasticity and prevents cracking
Optional Tools
Using these tools can make your clay-making easier and more enjoyable. They help with mixing, shaping, and storing the clay.
| Tool | Purpose |
| Mixing bowl | To combine ingredients evenly |
| Spoon or spatula | To stir and mix the clay |
| Rolling pin | To flatten the clay for shaping |
| Plastic wrap | To cover and store clay to keep it moist |
| Clay tools (optional) | To carve and decorate pottery pieces |

Credit: potterycrafters.com
Preparing The Workspace
Making pottery clay at home is fun and rewarding. A clean and organized workspace helps you work better and avoid messes.
Before you start, prepare your area to keep tools and materials safe and easy to reach.
Choosing A Clean Surface
Select a flat surface that is easy to clean. It should be large enough for your supplies and clay work.
- Use a table or countertop with a smooth finish
- Avoid carpet or fabric-covered surfaces
- Choose a spot near a sink if possible
- Clear away any clutter before starting
Protecting Your Area
Protect your workspace from clay stains and water damage. Cover the surface with a material that is easy to clean.
| Protective Material | Benefits | Notes |
| Plastic Sheet | Waterproof and easy to wipe | Use a thick sheet to avoid tears |
| Silicone Mat | Non-slip and reusable | Good for detailed work |
| Newspaper Layers | Cheap and disposable | Change often to avoid wet spots |
Mixing The Clay
Making pottery clay at home is fun and rewarding. Mixing the clay is a key step in the process. It involves combining materials to get the perfect texture.
This guide will help you mix clay easily. Follow the steps to achieve the right consistency for your pottery projects.
Combining Dry Ingredients
Start by gathering your dry ingredients. These usually include clay powder, sand, and grog. Each ingredient plays a role in the final product.
- Measure the clay powder carefully.
- Add sand for structure and support.
- Include grog to prevent cracking.
Adding Water Gradually
Water is essential for binding the dry ingredients. Add it slowly to control the moisture level. Stir as you pour to ensure even distribution.
Achieving The Right Texture
The right texture is key for workable clay. It should be smooth yet firm. Test the clay by pressing it between your fingers.
| Texture Test | Description |
| Too Dry | Crumbles easily |
| Too Wet | Sticks to fingers |
| Just Right | Smooth and pliable |
Kneading The Clay
Kneading clay is a key step in making pottery clay at home. It helps mix the ingredients well and removes air bubbles. Proper kneading makes the clay soft and ready for shaping.
This process takes some time and effort but improves the quality of the clay. Let’s explore techniques to soften the clay and check its consistency before use.
Techniques For Softening
Clay can be stiff after mixing. Use these techniques to make it soft and easy to work with.
- Warm the clay slightly by hand to increase flexibility.
- Add a small amount of water if the clay feels dry.
- Fold the clay repeatedly to spread moisture evenly.
- Use a plastic bag to cover the clay and let it rest for 10-15 minutes.
- Continue kneading until the clay feels smooth and pliable.
Checking Consistency
Good clay should be soft but not sticky. Check its texture before you start shaping.
| Consistency Test | What to Look For |
| Touch | Clay feels smooth and slightly moist |
| Stretch | Clay stretches without cracking |
| Shape | Clay holds shape but is easy to mold |
| Stickiness | Clay does not stick too much to hands |
Storing Homemade Clay
Keeping your homemade pottery clay fresh is important. Proper storage stops it from drying out and cracking.
Use simple methods to keep the clay soft and ready to use anytime you want.
Preventing Drying Out
Clay dries quickly if it is left in open air. Wrap your clay well to keep moisture inside.
- Cover clay tightly with plastic wrap
- Store wrapped clay inside a sealed plastic bag
- Keep clay in a cool place, away from direct sunlight
- If clay feels dry, add a small amount of water and knead it
Best Containers To Use
Choose containers that keep air out and hold moisture well. Good containers help your clay last longer.
| Container Type | Advantages | Disadvantages |
| Plastic containers with tight lids | Keeps air out, easy to seal | Can trap too much moisture sometimes |
| Glass jars with rubber seals | Air-tight and durable | Can break if dropped |
| Plastic zip-lock bags | Flexible and easy to use | Can tear or leak if not handled carefully |
| Reusable silicone bags | Eco-friendly and air-tight | More expensive than plastic bags |

Credit: www.youtube.com
Tips For Using Homemade Clay
Making pottery clay at home is fun and easy. Using homemade clay needs some care to get good results.
These tips will help you work with fresh clay and fix common problems you may find.
Working With Fresh Clay
Fresh clay is soft and moist. It feels sticky but easy to shape. Keep it covered to stop it from drying out.
Before you start, knead the clay well to make it smooth and remove air bubbles. This helps clay hold its shape better.
- Always work on a clean, damp surface to stop the clay from sticking.
- Use water sparingly to keep the clay soft without making it too wet.
- Keep your hands wet or lightly dusted with clay powder to shape the clay easily.
- Cover unused clay with plastic wrap or a damp cloth to keep moisture.
Troubleshooting Common Issues
Homemade clay can have problems like cracking, drying too fast, or being too sticky. You can fix many issues by adjusting the clay or working method.
- Clay Cracks:Add a little water and knead it more. Keep your clay covered when not in use.
- Clay Too Sticky:Sprinkle some dry clay powder or fine sand to reduce stickiness.
- Clay Dries Fast:Work in a cool, shaded area. Cover clay with damp cloth between uses.
- Air Bubbles:Wedge the clay by folding and pressing to remove air pockets.
Frequently Asked Questions
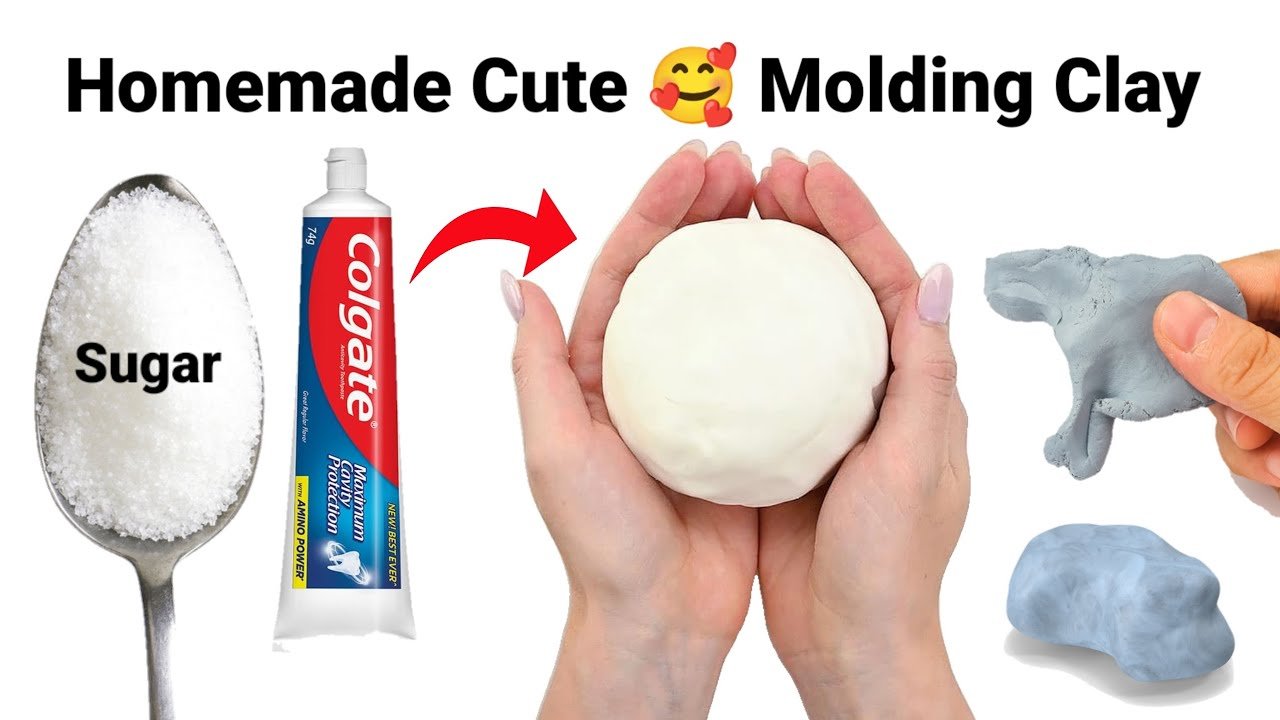
How Can I Make Pottery Clay At Home Easily?
To make pottery clay at home, mix all-purpose flour, salt, and water. Knead until smooth. This simple recipe creates a workable, non-toxic clay for crafting.
What Ingredients Do I Need For Homemade Pottery Clay?
You need all-purpose flour, salt, water, and optional cream of tartar. These ingredients combine to form soft, moldable clay suitable for pottery projects.
How Long Does Homemade Pottery Clay Last?
Homemade pottery clay lasts up to two weeks if stored in an airtight container. Keep it in a cool, dry place to prevent drying out or mold growth.
Can I Paint Or Glaze Homemade Pottery Clay?
Yes, you can paint or glaze homemade pottery clay after it dries. Use acrylic paints or water-based glazes for best results on air-dried clay.
Conclusion
Making pottery clay at home is simple and fun. You need only a few basic ingredients. Mix them well and you get soft, workable clay. This saves money and lets you create anytime. Try different textures and colors for unique pieces.
Practice often to improve your skills. Enjoy the process as much as the result. Homemade clay opens many creative doors. Start your pottery journey today with this easy method.