Have you ever wanted to create your own pottery but felt held back by the cost or availability of clay? What if you could make pottery clay right at home, using simple ingredients you probably already have?
Imagine the satisfaction of crafting your own clay from scratch and turning it into beautiful, unique pieces. In this guide, you’ll discover easy steps to make your own pottery clay that’s perfect for beginners and experts alike. Ready to unlock your creativity and start molding your ideas into reality?
Keep reading, because making your own clay is easier than you think.
Materials Needed
Making pottery clay at home is simple and fun. You only need a few basic materials to start.
Gathering the right materials helps you create strong and smooth clay for your projects.
Essential Ingredients
The main ingredients for homemade pottery clay are easy to find. These help give the clay the right texture and strength.
- All-purpose flour – acts as the base for the clay
- Salt – helps preserve the clay and add firmness
- Water – mixes the ingredients and controls clay softness
- Vegetable oil – adds smoothness and prevents cracking
- Cream of tartar – improves elasticity and durability
Tools Required
You need a few simple tools to mix and shape your pottery clay at home. These tools make the process easier and cleaner.
- Mixing bowl – to combine ingredients
- Spoon or spatula – for stirring the mixture
- Measuring cups and spoons – to get the right amounts
- Stove or heat source – to warm the mixture
- Rolling pin – to flatten the clay
- Plastic wrap or airtight container – to store the clay

Credit: potterycrafters.com
Preparing The Workspace
Making pottery clay at home needs a clean and organized space. Preparing your workspace helps keep the process smooth.
A good workspace protects your home from mess and makes your work easier.
Choosing The Right Area
Pick a place with enough room to work comfortably. The area should be flat and sturdy for mixing clay.
Choose a spot that can handle dust and water spills without damage. A garage or a kitchen counter works well.
- Find a flat, stable surface
- Choose a well-ventilated area
- Avoid carpeted floors
- Pick a spot near water source
Setting Up For Cleanup
Have cleaning supplies ready before you start. This saves time and keeps your space tidy.
Use containers for water and cloths for wiping spills quickly. Cover surfaces with plastic or newspaper for easy cleanup.
- Keep a bucket of water nearby
- Use old rags or paper towels
- Cover tables with plastic sheets
- Have a broom and dustpan ready
Step-by-step Clay Recipe
Making pottery clay at home is simple and fun. You can create your own clay with a few basic ingredients.
This guide will show you how to mix dry ingredients, add water and binding agents, and knead the clay properly.
Mixing Dry Ingredients
Start by gathering the dry materials needed for your clay. The main ingredients are commonly found at home or in craft stores.
- 2 cups of all-purpose flour
- 1 cup of fine sand or pottery grog
- 1 cup of baking soda
- ½ cup of cornstarch
Adding Water And Binding Agents
Next, add water and a binding agent to hold the clay together. Mix these slowly to avoid lumps and get a smooth texture.
| Ingredient | Amount |
| Warm water | 1 ½ cups |
| White glue (PVA) | 2 tablespoons |
| Vegetable oil | 1 tablespoon |
Pour the water into the dry mix slowly. Stir while adding glue and oil to help bind the clay.
Kneading The Clay
Once mixed, knead the clay on a clean surface. This step makes the clay soft and ready for shaping.
- Lightly flour your work surface.
- Press and fold the clay repeatedly.
- Keep kneading until the clay feels smooth.
- If sticky, add a little flour and knead more.
- Store the clay in a sealed bag to keep it moist.
Testing Clay Consistency
Testing the clay consistency is important for good pottery. It helps you know if the clay is ready to shape and mold.
Too wet or too dry clay can cause problems. You need to check the texture and moisture before using the clay.
Checking Texture
Feel the clay in your hands to check its texture. It should be smooth and soft without lumps.
If the clay feels gritty or crumbly, it needs more water or kneading. Smooth clay is easier to work with.
- Press the clay gently with fingers
- Look for even texture without cracks
- Clay should not stick too much to your hands
- It should hold shape when pressed
Adjusting Moisture Levels
If the clay is too dry, add small amounts of water. Mix well and test again.
Too wet clay feels sticky and soft. Let it dry a little before using. Kneading helps spread moisture evenly.
- Add water slowly to avoid making clay too wet
- Knead the clay to mix moisture well
- Cover clay with plastic to keep moisture
- Let clay rest if it feels too soft or sticky
Storing Homemade Clay
Making pottery clay at home is fun and easy. After crafting your clay, storing it properly keeps it fresh.
Good storage helps prevent drying and cracking. It also makes your clay ready for use anytime.
Proper Containers
Use airtight containers to store homemade clay. This stops air from drying out the clay.
- Plastic containers with tight lids work well.
- Seal the clay in plastic wrap before placing it in the container.
- Glass jars with screw lids also keep clay moist.
- Avoid containers that let air pass through.
- Label containers with the date you made the clay.
Shelf Life Tips
Homemade clay usually lasts for a few weeks if stored correctly. Check it often for dryness or mold.
| Storage Condition | Approximate Shelf Life | Signs of Spoilage |
|---|---|---|
| Airtight container at room temperature | 2 to 3 weeks | Cracks, hard spots |
| Refrigerated airtight container | Up to 2 months | Discoloration, mold |
| Frozen, well wrapped | 3 to 6 months | Texture changes, freezer burn |
Basic Pottery Techniques
Making pottery clay at home is fun and creative. You can shape the clay into many forms. Let's explore the basic techniques.
These techniques will help you create beautiful pottery pieces. With practice, you will improve your skills.
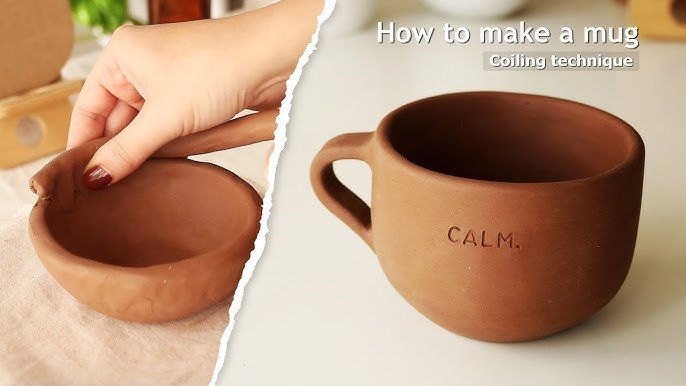
Shaping And Molding
Shaping is the first step in pottery. You can use your hands to mold the clay. Start with a small piece and form it into a ball.
Press and pull the clay to shape it. You can make bowls, cups, or any form you like. Use simple tools to help create details.
- Use your palms to flatten the clay
- Roll it into a cylinder for cups
- Pinch edges to form a bowl
Smoothing And Finishing
Smoothing the clay makes it look nice. Wet your fingers and gently rub the surface. This removes bumps and lines.
After smoothing, let the clay dry. You can also add designs with a small tool. Keep the surface even for the best results.
- Use a sponge for a smooth finish
- Add water to soften rough spots
- Let the clay dry completely
Drying And Firing Options
Making pottery clay at home can be a fun and rewarding experience. Choosing the right drying and firing method is important for your pottery's durability and finish.
Understanding different options will help you decide what works best for your project. Here, we explore air drying tips and kiln alternatives.
Air Drying Tips
Air drying is a simple method that doesn’t require special equipment. It is ideal for beginners and small projects.
- Place pottery in a well-ventilated area.
- Keep the clay away from direct sunlight to prevent cracking.
- Turn pieces occasionally for even drying.
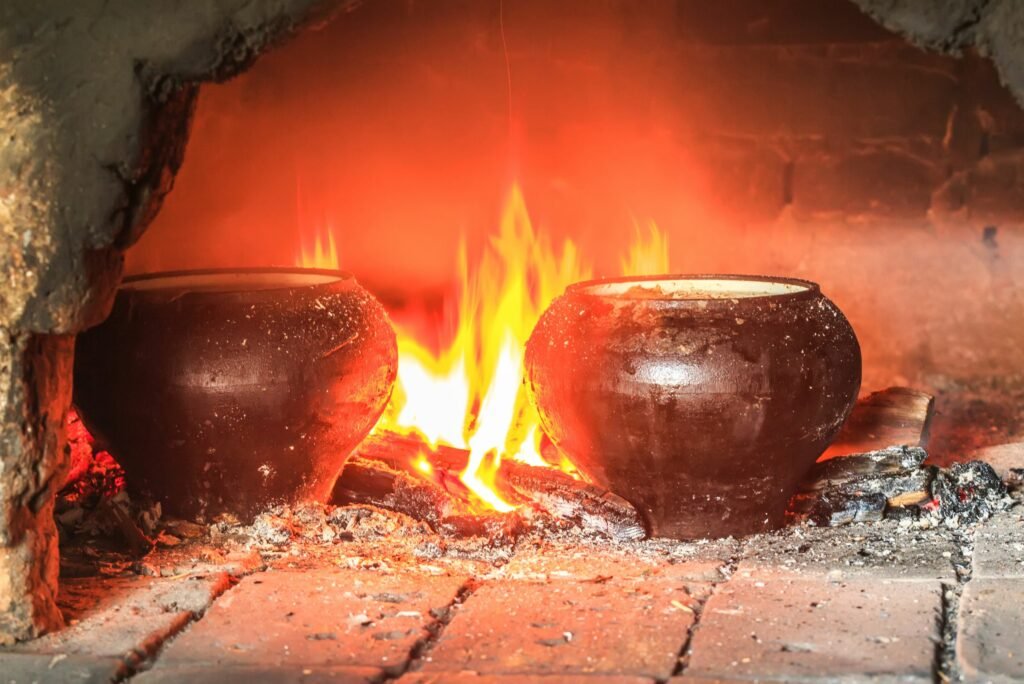
Kiln Alternatives
If a kiln is not available, there are other ways to fire pottery. These methods can work well for small and medium-sized items.
| Method | Considerations |
| Oven Firing | Good for small pieces, use a low temperature. |
| Bonfire Firing | Requires outdoor space, watch for uneven heating. |
| Barbecue Grill | Control temperature carefully, suitable for small items. |

Credit: potterycrafters.com
Troubleshooting Common Issues
Making pottery clay at home can be fun but also tricky at times. Some common problems may appear while mixing or drying your clay.
Knowing how to fix these issues helps you get better results and enjoy your pottery work more.
Cracking Problems
Cracks often form when the clay dries too fast or is too thin in some areas. Uneven drying causes stress and breaks.
- Keep your clay covered with plastic to slow drying.
- Use even thickness for your pottery pieces.
- Dry your clay in a cool, shaded place.
- Smooth the surface to reduce weak spots.
If cracks appear after firing, it may mean the clay had air bubbles or was not wedged well before shaping.
Clay Too Sticky Or Dry
Clay that is too sticky sticks to your hands and tools. Clay that is too dry cracks and breaks easily.
| Problem | Cause | Solution |
| Sticky clay | Too much water | Mix in dry clay or let air dry briefly |
| Sticky clay | Warm temperature | Work in cooler room and use water sparingly |
| Dry clay | Too little water | Add small amounts of water and knead well |
| Dry clay | Left out uncovered | Store in airtight container or wrap in plastic |
Credit: potterycrafters.com
Frequently Asked Questions
What Ingredients Do I Need To Make Pottery Clay At Home?
You need flour, salt, water, and cream of tartar to make pottery clay. These simple ingredients mix to create a soft, moldable clay suitable for crafting and drying.
How Long Does Homemade Pottery Clay Last?
Homemade pottery clay lasts for about one week if stored properly. Keep it airtight and refrigerated to prevent drying and cracking.
Can I Use Homemade Clay For Kiln Firing?
No, homemade clay is not suitable for kiln firing. It is best used for air-dry projects and decorative crafts only.
How To Prevent Homemade Clay From Cracking?
To prevent cracking, knead clay thoroughly and keep it moist. Dry your creations slowly and evenly to avoid stress cracks.
Conclusion
Making pottery clay at home is simple and fun. You only need a few ingredients and some patience. This process lets you create your own clay anytime you want. It saves money and helps you learn about pottery. Try different textures and shapes with your homemade clay.
Enjoy crafting unique pieces and improving your skills. Homemade clay opens many creative doors for you. Start your pottery journey today with this easy method.