Have you ever wanted to create your own model clay but didn’t know where to start? Making model clay at home is easier than you think, and it gives you full control over the ingredients and texture.
Imagine having soft, moldable clay ready whenever your creativity strikes—without spending money on store-bought packs. In this guide, you’ll discover simple steps to make your own model clay with items you probably already have in your kitchen. Keep reading, and you’ll soon be crafting amazing shapes and figures with your very own homemade clay.
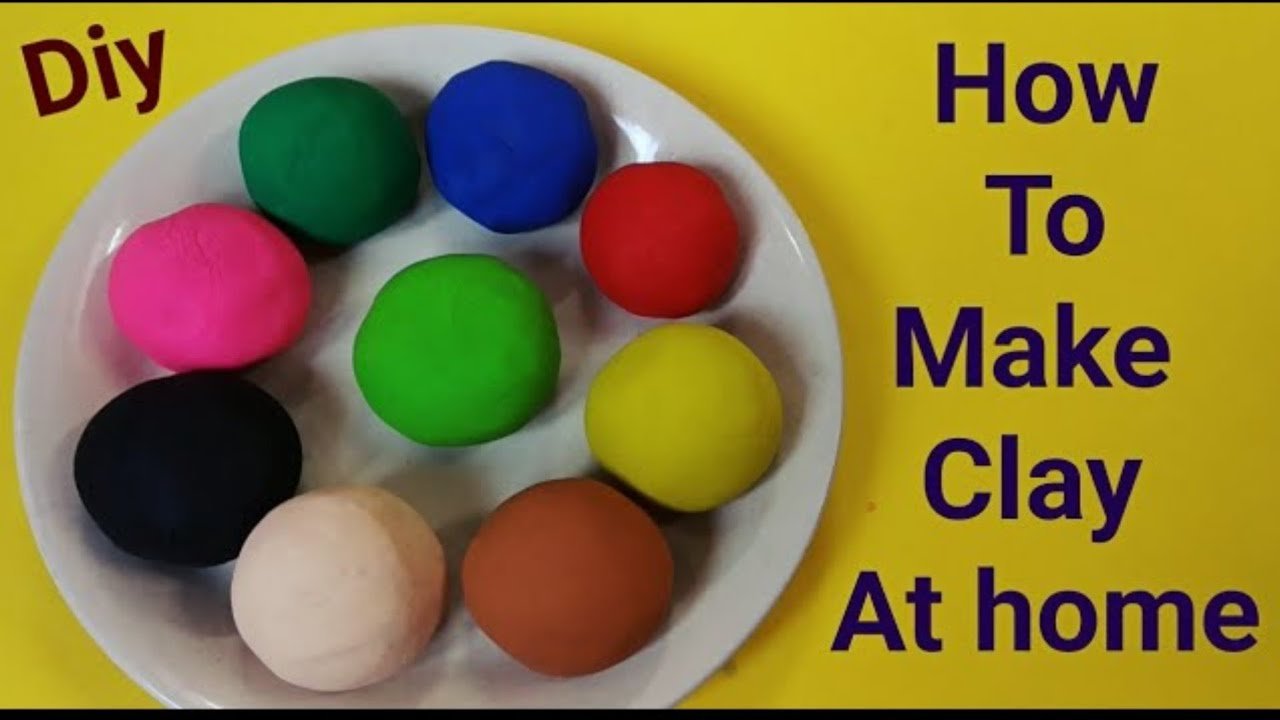
Ingredients Needed
Making model clay at home is simple and fun. You only need a few ingredients found in your kitchen.
These ingredients mix easily to create soft clay you can shape and mold.
Common Household Items
You can use items you already have to make your clay. These items are safe and easy to find.
- 1 cup all-purpose flour
- 1/2 cup salt
- 1/2 cup water
- 1 tablespoon vegetable oil
- Optional: food coloring for color
Flour and salt form the base of the clay. Water helps to bind them together. Oil keeps the clay soft.
Optional Additives
You can add other ingredients to improve your clay’s texture or color. These are not necessary but can help.
- Food coloring to make colored clay
- Lemon juice to prevent mold
- Cornstarch to make clay smoother
- Essential oils for a nice smell
Add these ingredients little by little while mixing. This helps you control the clay’s feel and look.

Credit: www.youtube.com
Step-by-step Recipe
Making model clay at home is easy and fun. You can create many shapes and figures with simple ingredients.
This guide shows you how to mix, cook, and prepare the clay for use.
Mixing The Ingredients
Start by gathering all the materials you need. Mixing the right amounts is important for good clay texture.
- 1 cup of baking soda
- 1/2 cup of cornstarch
- 3/4 cup of water
- Optional: food coloring for color
Cooking The Clay
Cook the mixture on low heat. Stir constantly to prevent lumps and burning.
- Mix baking soda and cornstarch in a pot.
- Add water and stir well.
- Place pot on low heat.
- Keep stirring until the mixture thickens.
- Remove from heat when it forms a dough.
Cooling And Kneading
Let the dough cool before you touch it. Knead it well to make it smooth and soft.
| Cooling Time | Approximate Texture |
| 0-5 minutes | Too hot to handle |
| 5-10 minutes | Warm and pliable |
| 10+ minutes | Cool and ready to use |
Tips For Best Results
Making model clay at home is fun and easy. Using the right tips helps you get soft, smooth clay every time.
Follow simple steps to mix ingredients well and keep your clay fresh. This will make your clay better to shape and last longer.
Storage Suggestions
Store your model clay in a cool, dry place. Keep it airtight to stop it from drying out or getting hard.
Use plastic containers or zip-lock bags. Label the container with the date to track freshness.
- Wrap clay tightly in plastic wrap before placing in containers
- Store away from sunlight and heat sources
- If clay hardens, add a few drops of water and knead gently
Troubleshooting Common Issues
If your clay cracks or feels dry, it needs more moisture. Add water little by little and knead well.
Sticky clay can be fixed by dusting with a small amount of flour or cornstarch. Mix it in gently.
- Cracking: Add water and knead clay
- Sticky texture: Use flour or cornstarch
- Too soft: Chill clay in fridge for 10 minutes
- Hard clay: Warm and knead with a bit of oil
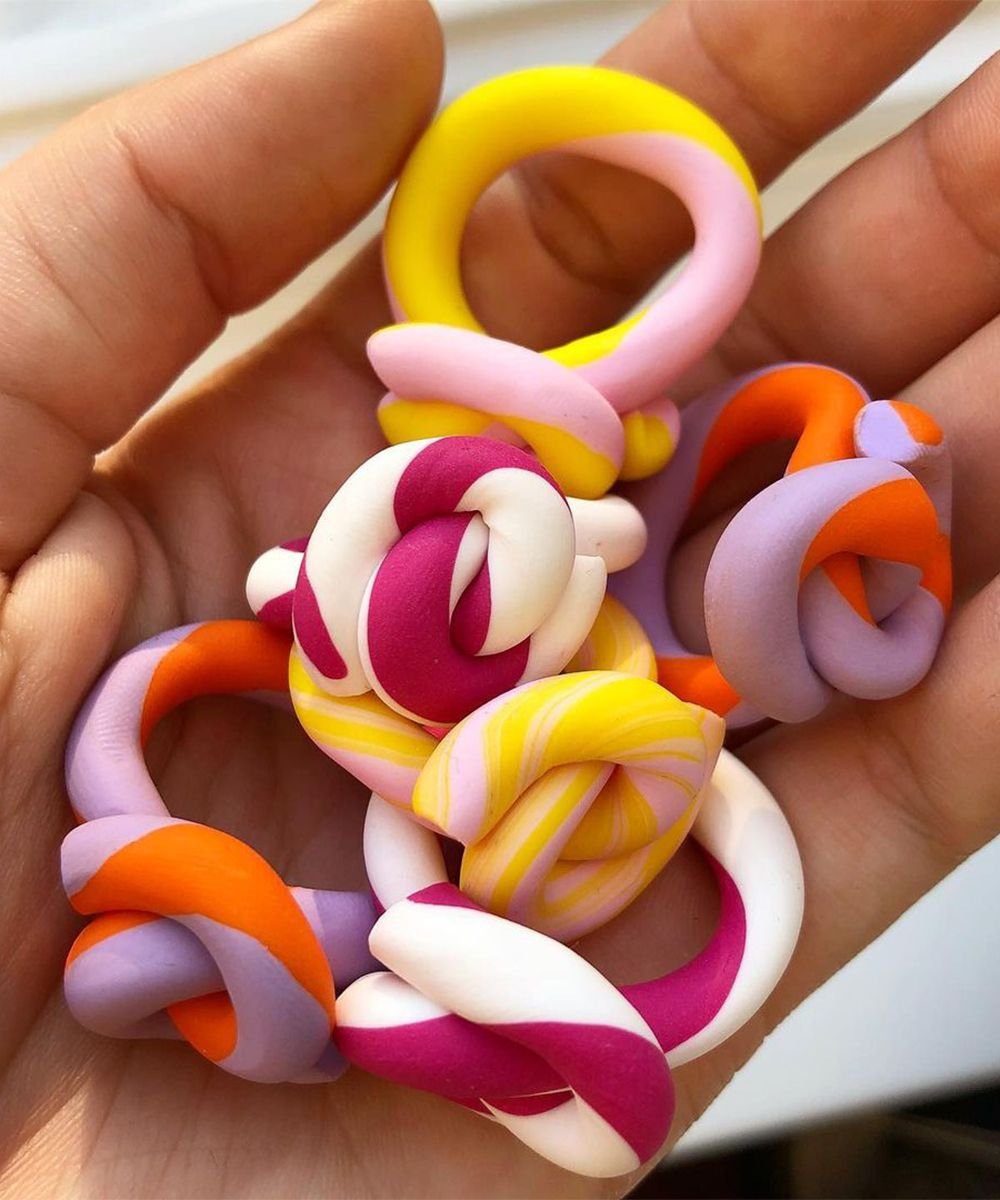
Creative Ideas For Use
Making model clay at home opens many fun ways to be creative. You can shape it into anything you imagine. It is a great material for art and play.
This guide shares ideas to use your homemade clay for crafts and decoration. Each idea is simple and fun for all ages.
Fun Craft Projects
Homemade clay works well for many craft projects. You can make small toys, jewelry, or decorations. It is soft and easy to shape.
- Create animal figures using clay molds or by hand.
- Make beads and string them into bracelets or necklaces.
- Shape letters and numbers for educational play.
- Build tiny food models for dollhouses or displays.
- Design custom fridge magnets with fun shapes.
Decorating And Painting
After your clay shapes dry, you can decorate them. Painting adds color and life to your creations. You can use simple tools and materials to decorate.
| Decoration Method | Materials Needed | Tips |
| Painting | Acrylic paints, brushes | Use thin layers for smooth finish |
| Glazing | Clear varnish or glue | Add shine and protect paint |
| Texturing | Toothpicks, forks, stamps | Create patterns before drying |
| Adding Details | Markers, glitter, small beads | Apply after painting for accents |
Safety Precautions
Making model clay at home is fun and creative. It is important to stay safe while making and using clay. Follow simple safety rules to keep everyone safe.
Safety helps avoid accidents and keeps your work area clean. Use these tips for a safe and happy clay-making experience.
Child-friendly Practices
Children need extra care when making model clay. Use only safe, non-toxic ingredients. Always watch children closely to stop them from tasting or putting clay in their mouth.
- Choose non-toxic, food-safe ingredients like flour and salt.
- Keep small tools out of reach to avoid choking hazards.
- Make sure children wash their hands before and after handling clay.
- Work on a clean surface to keep dirt away from the clay.
- Store clay in an airtight container when not in use.
Safe Handling And Clean-up
Handle clay carefully to avoid mess and stains. Clean up right after use to keep your space tidy and safe. Use safe tools and wash hands well.
| Task | Safety Tip |
| Mixing Ingredients | Use a clean bowl and spoon. Avoid inhaling flour dust. |
| Using Tools | Use child-safe tools with no sharp edges. |
| After Use | Wash hands with soap and water thoroughly. |
| Cleaning Surface | Wipe down tables and floors to remove residue. |
| Storage | Keep clay in sealed containers away from pets and small children. |

Credit: www.youtube.com

Credit: www.youtube.com
Frequently Asked Questions
What Ingredients Are Needed To Make Model Clay At Home?
To make model clay at home, you need flour, salt, water, and oil. Optional ingredients include cream of tartar and food coloring for better texture and color.
How Long Does Homemade Model Clay Last?
Homemade model clay lasts about 1 to 2 weeks when stored in an airtight container. Refrigeration can extend its life by a few days.
Is Homemade Model Clay Safe For Children?
Yes, homemade model clay is non-toxic and safe for children. Always supervise young kids to prevent accidental ingestion or choking hazards.
Can You Store Homemade Model Clay For Later Use?
Yes, store homemade model clay in an airtight container. Keep it in a cool, dry place to maintain softness and prevent drying out.
Conclusion
Making model clay at home is simple and fun. You need only a few common ingredients. This DIY clay saves money and lets you customize colors and textures. Kids and adults both enjoy shaping and creating with it. Try different recipes to find the best one for you.
Store the clay in an airtight container to keep it fresh. Handmade clay inspires creativity and brings joy to any project. Start making your own clay today and see where your imagination goes.