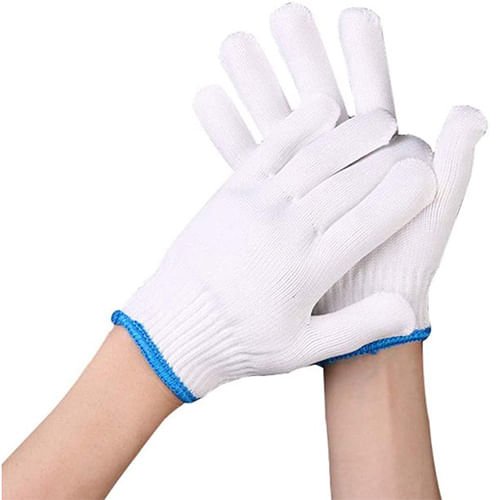
Have you ever needed a pair of cotton gloves but didn’t want to buy them? What if you could make your own, right at home?
Making cotton gloves yourself is easier than you think. Not only will you save money, but you’ll also get a perfect fit tailored just for your hands. In this guide, you’ll discover simple steps and tips to create comfortable, breathable cotton gloves that you’ll love to wear.
Ready to turn a few basic materials into something useful and cozy? Let’s get started!
Materials Needed
Making cotton gloves at home is simple and fun. You need the right materials to start your project.
This guide helps you pick the best cotton fabric and tools for making your gloves.
Choosing The Right Cotton Fabric
Choose soft and breathable cotton fabric for comfort. Thick cotton works well for warmth and protection.
Look for fabrics that are easy to sew and wash. Avoid fabrics that stretch too much or feel rough.
- 100% cotton fabric is best for gloves
- Use woven cotton for durability
- Pick light to medium weight fabric
- Avoid knit or stretchy cotton
- Choose plain colors or simple patterns
Essential Tools And Supplies
You need a few basic tools to make cotton gloves at home. These tools help you cut, sew, and finish your gloves.
Gather these supplies before you start to make the process easier and faster.
- Fabric scissors or rotary cutter for cutting fabric
- Measuring tape or ruler for sizing
- Fabric chalk or pencil to mark patterns
- Needle and thread for hand sewing
- Sewing machine (optional) for faster sewing
- Pins to hold fabric pieces together
- Glove or hand pattern for cutting shapes
Credit: www.amazon.com
Preparing The Fabric
Making cotton gloves at home starts with preparing the fabric. You need clean, soft cotton for comfort and durability.
Prepare your fabric by washing and ironing it. This makes cutting easier and shapes better.
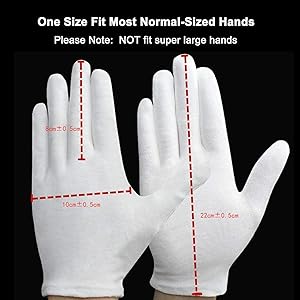
Measuring Your Hand
Measure your hand to get the right glove size. Use a tape measure or a piece of string and a ruler.
Measure across the widest part of your palm. Then, measure from your wrist to the tip of your middle finger.
- Palm width
- Hand length
Cutting The Cotton Pieces
Use your hand measurements to draw the glove shape on the cotton fabric. Leave extra space for sewing.
Cut two pieces for each glove: one for the palm side and one for the back. Make sure the edges are smooth.
- Draw glove outline with seam allowance
- Cut fabric carefully along lines
- Cut equal pieces for both hands
Sewing The Gloves
Sewing cotton gloves at home requires patience and care. This guide explains how to sew the fingers and join the palm with the back.
Follow each step slowly to make your gloves fit well and last longer.
Stitching The Fingers
Start by sewing each finger separately. This helps the gloves fit your fingers comfortably.
Use small, even stitches along the edges of each finger piece. This prevents gaps and makes the gloves stronger.
- Place two finger pieces together, right sides facing each other.
- Sew along the edges with a ¼ inch seam allowance.
- Turn the finger inside out to hide the stitches.
- Repeat for all fingers.
Joining The Palm And Back
After stitching the fingers, connect the palm and back pieces of the gloves. This forms the main body of the gloves.
Align the palm and back with the right sides together. Sew around the edges, leaving the wrist open.
- Match the edges of the palm and back pieces.
- Sew with a ¼ inch seam allowance, starting at the wrist opening.
- Make sure the fingers align properly.
- Leave the wrist edge open for putting on the gloves.
Finishing Touches
Finishing touches make your cotton gloves look neat and complete. These steps give your gloves a polished, professional feel.
Take your time with each detail to ensure your gloves are both comfortable and attractive.
Trimming Excess Threads
Cut off all loose threads carefully. This keeps the gloves clean and avoids unraveling.
Use small, sharp scissors for precise trimming. Make sure not to cut any stitches that hold the glove together.
- Check inside and outside of gloves for loose threads
- Cut threads close to the fabric but avoid damaging it
- Use a lint roller to remove small thread pieces
Adding Decorative Elements
Decorations add a personal touch to your cotton gloves. You can sew or glue small items like buttons or patches.
Choose simple decorations that do not affect glove comfort. Keep them light and secure to last through use.
- Sew on small buttons near the wrist for style
- Add fabric patches with fun shapes or colors
- Use fabric glue to attach lightweight beads or sequins
Tips For Better Fit
Making cotton gloves at home is fun and useful. A good fit makes the gloves comfortable and easy to wear.
These tips help you adjust the gloves to fit your hands well and keep them in good shape.
Adjusting Size And Comfort
Use soft cotton fabric that stretches a little. This helps the gloves fit your hands better.
Measure your hand before cutting the fabric. Make sure to include a little extra for sewing.
- Wrap a measuring tape around your palm.
- Measure from wrist to the tip of your middle finger.
- Add 1 to 2 cm for seams and comfort.
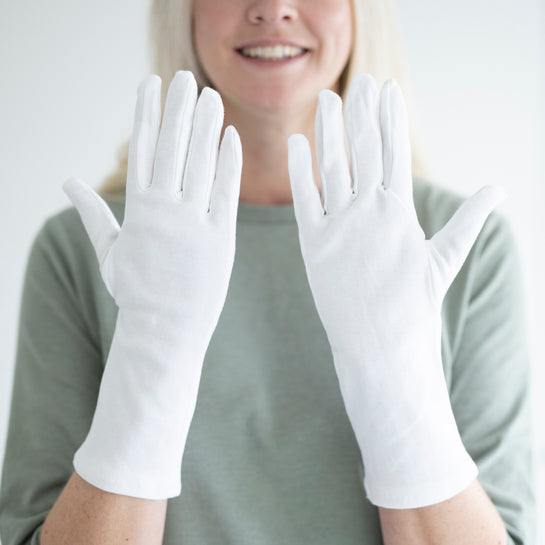
- Try the glove on before finishing the sewing.
Maintaining The Gloves
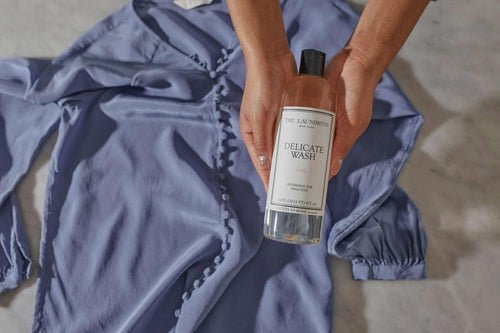
Keep your cotton gloves clean and soft by washing them gently.
Store gloves flat in a dry place. Avoid folding them tightly to keep their shape.
- Hand wash with mild soap in cold water.
- Do not use bleach or strong detergents.
- Air dry on a flat surface away from direct sun.
- Iron on low heat if needed to remove wrinkles.

Credit: www.happy-skin.com
Credit: www.allergybestbuys.co.uk
Frequently Asked Questions
How Do I Choose Fabric For Cotton Gloves?
Select 100% cotton fabric that is soft and breathable. Choose tightly woven cotton for durability and comfort. Avoid synthetic blends to ensure gloves remain absorbent and skin-friendly.
What Tools Are Needed To Make Cotton Gloves?
You need cotton fabric, scissors, needle, thread, pins, and a glove pattern. A sewing machine helps but hand stitching works too. Marking tools and measuring tape improve accuracy.
How To Size Cotton Gloves Correctly At Home?
Measure your hand circumference and length with a tape measure. Use a glove pattern that matches your measurements. Add seam allowances to ensure a comfortable fit.
Can I Customize Cotton Gloves For Different Uses?
Yes, you can adjust thickness and length based on use. Add lining for warmth or extra padding for protection. Customize colors and patterns for style or identification.
Conclusion
Making cotton gloves at home is simple and fun. You need basic materials and a little patience. Follow each step carefully for the best result. Handmade gloves fit well and last long. They also save money and reduce waste. Try different sizes and colors to match your style.
Enjoy the process and feel proud of your work. Keep practicing, and your skills will improve. Now, you have a useful item made by your own hands. Give it a try today!