Have you ever wanted to create your own unique jewelry without spending a fortune? Making clay rings at home is a fun and easy way to express your creativity and add a personal touch to your style.
Imagine wearing a ring that you made yourself—something no one else has. In this guide, you’ll discover simple steps to craft beautiful clay rings right in your own space. Ready to turn your ideas into stunning accessories? Keep reading, and you’ll be surprised at how quickly you can start making your own masterpieces.

Credit: www.hobbycraft.co.uk
Choosing The Right Clay
Making clay rings at home starts with picking the right clay. The clay you choose affects how easy it is to shape and how your ring looks.
Different clays have unique qualities. You should know these to find the best one for your project.
Types Of Clay For Jewelry
There are several types of clay used for jewelry making. Each type has its own benefits and uses.
- Polymer Clay:Easy to shape and bake at home. It stays lightweight and comes in many colors.
- Air-Dry Clay:No baking needed. It hardens by air but can be fragile.
- Metal Clay:Contains tiny metal particles. After firing, it becomes real metal.
- Cold Porcelain:Smooth and flexible. It dries hard but is not waterproof.
Choose clay based on your skill level, tools, and the ring style you want.
Selecting Colors And Textures
Colors and textures make your clay ring unique. Pick colors that fit your style and mood.
You can mix clays to create new colors or add textures for a special look.
- Use bright colors for a fun, bold ring.
- Choose soft colors for a simple, elegant ring.
- Add texture by pressing objects into the clay before it dries.
- Mix different clay colors to make patterns like stripes or swirls.
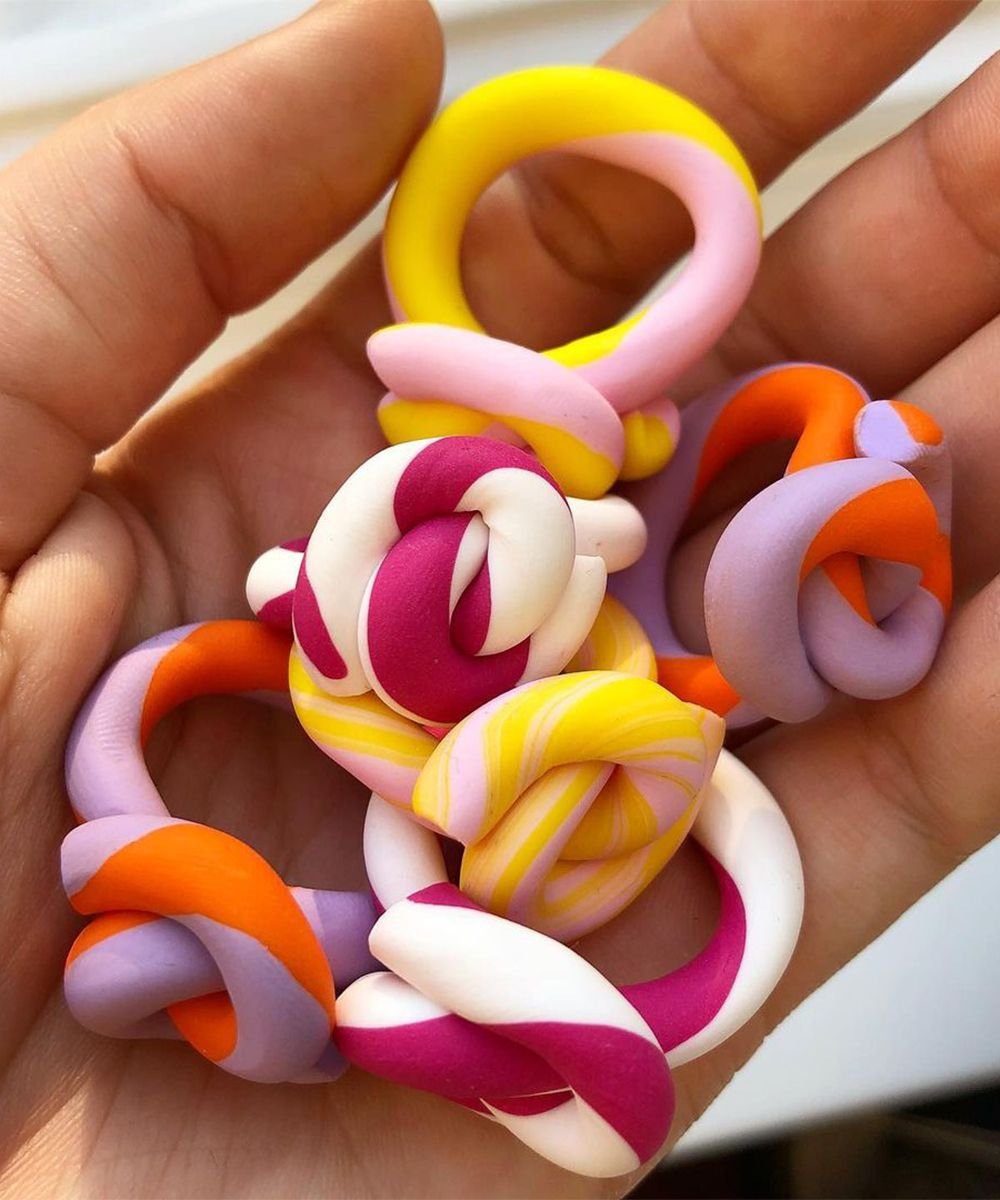
Credit: www.nssgclub.com
Gathering Essential Tools
Making clay rings at home is a fun and creative activity. To start, you need some basic tools. These tools help shape and finish your clay rings nicely.
Besides the basic tools, some accessories can add detail and polish to your rings. These are optional but useful for a better look.
Basic Tools Needed
Begin with simple tools that help you shape and smooth the clay. These are easy to find and use at home or craft stores.
- Polymer clay or air-dry clay
- Clay shaping tools or toothpicks
- Rolling pin or smooth bottle
- Cutting blade or craft knife
- Sandpaper or nail file
- Oven (for baking polymer clay)
- Ruler or ring size guide
Optional Accessories For Detailing
These accessories help add fine details and a polished finish to your clay rings. They are great for making unique designs.
- Stamping tools or texture sheets
- Small paintbrushes for painting or glazing
- Gloss varnish or sealant spray
- Fine-tipped sculpting tools
- Metal ring blanks for support
- Clay extruder for thin shapes
Preparing The Clay
Making clay rings at home starts with preparing the clay properly. Good preparation helps the clay stay soft and easy to shape.
This step also ensures the clay does not crack or break after drying or baking.
Conditioning The Clay
Conditioning means softening the clay by kneading it. This makes the clay smooth and flexible.
Start by cutting the clay into small pieces. Then press and fold the clay repeatedly until it feels soft.
- Cut clay into small chunks
- Press and fold the clay with your hands
- Keep kneading until the clay is soft and smooth
- Avoid over-conditioning or the clay may become sticky
Mixing Colors For Custom Shades
Mixing clay colors lets you create unique shades for your rings. Use small amounts of clay to test colors first.
Blend colors by rolling and folding them together. Keep mixing until you get the color you want.
- Choose two or more clay colors
- Cut small pieces from each color
- Roll colors into ropes and twist them
- Fold and knead to blend colors well
- Test the color by shaping a small sample
Shaping The Ring Base
Making clay rings at home is a fun and creative project. The first important step is shaping the ring base. This part must fit your finger well and feel comfortable.
Pay close attention to the size and shape. These details help your ring look nice and wear well over time.
Measuring Your Finger Size
Knowing your finger size is key to making a ring that fits. You can measure your finger using simple tools at home.
- Use a strip of paper or a thin string.
- Wrap it around the finger where the ring will go.
- Mark the spot where the paper or string overlaps.
- Measure the length with a ruler in millimeters.
- Compare the length to a ring size chart.
Forming The Ring Band
After you know your size, start shaping the clay into a ring band. Make sure the band is smooth and even.
| Action | Details |
|---|---|
| Roll the clay | Make a long, even coil about 5 mm thick |
| Measure the coil | Wrap the coil around a ring mandrel or your finger |
| Adjust the length | Cut the coil to match your finger size |
| Join the ends | Smooth the ends together to form a circle |
| Refine the shape | Use your fingers or tools to smooth and shape the band |
Adding Decorative Elements
Decorating clay rings makes them look unique and personal. You can use different techniques to add style.
Adding patterns, textures, or small decorations can make your ring stand out. These details bring charm to simple clay rings.
Creating Patterns And Textures
Use tools to press designs into the clay before it dries. Patterns can be simple or complex.
Textures add a natural feel and make the ring more interesting to touch and see.
- Use a toothpick to draw lines or shapes
- Press leaves or fabric for natural textures
- Roll the clay with a textured roller
- Use stamps or textured objects to imprint designs
Incorporating Embellishments
Add small items to your clay ring to make it special. Attach beads, tiny stones, or metal pieces.
Press these embellishments gently into the clay before it hardens. Make sure they stick well.
- Use small glass beads for color
- Attach tiny shells for a beach look
- Add metal charms for shine
- Embed glitter carefully for sparkle
Baking And Curing The Clay
Making clay rings at home is a fun activity. You need to bake and cure the clay properly for strong rings.
This process ensures your rings are durable and long-lasting. Follow these steps for the best results.
Setting Oven Temperature And Time
The right oven temperature is crucial for curing clay. Set your oven to 275°F (135°C) for polymer clay.
Bake the clay rings for about 15 to 30 minutes. Check the package for specific times as they can vary by brand.
- Preheat the oven before placing the clay inside
- Use a timer to avoid over-baking
- Place rings on a baking sheet lined with parchment paper
Cooling And Handling Tips
After baking, let the clay rings cool down completely. Do not touch them immediately as they will be hot.
Allow the rings to cool on the baking sheet. This helps them maintain their shape and strength.
- Wait at least 30 minutes before handling
- Store cooled rings in a safe place to prevent damage
- Avoid dropping them as they can crack easily
Finishing Touches
Creating clay rings at home is a fun project. After shaping your ring, it's important to finish it properly.
The final steps ensure your ring is smooth and durable. Let's dive into the details.
Sanding And Smoothing
Sanding the clay ring gives it a smooth finish. Use fine-grit sandpaper for best results.
- Start with 400-grit sandpaper.
- Move to 800-grit for finer smoothing.
- Finish with 1000-grit for a polished look.
Sealing And Protecting The Ring
Sealing your ring helps protect it from moisture. This step is crucial for longevity.
Choose a sealant that suits your clay type. Acrylic sealants are popular for polymer clay.
Apply the sealant in thin layers. Let each layer dry completely before adding the next.
| Sealant Type | Best For |
| Acrylic | Polymer Clay |
| Varnish | Natural Clay |
| Epoxy | High Gloss Finish |
Caring For Your Clay Rings
Clay rings are delicate and need gentle care to keep their beauty. Proper cleaning and storage can help your rings last longer.
Follow simple steps to protect your clay rings from damage and wear. This guide covers cleaning methods and storage tips.
Cleaning Methods
Cleaning clay rings requires soft tools and mild products. Avoid harsh chemicals that can harm the clay's surface.
- Use a soft cloth or brush to gently remove dirt.
- Wash with warm water and mild soap if needed.
- Do not soak the ring for a long time.
- Dry the ring completely with a soft towel after cleaning.
- Avoid using abrasive materials or strong cleaners.
Storage Recommendations
Store clay rings in a safe, dry place away from direct sunlight. Proper storage prevents cracks and fading.
| Storage Tip | Reason |
| Keep rings in a soft pouch | Protects from scratches |
| Store in a cool, dry area | Prevents moisture damage |
| Avoid stacking rings | Stops pressure and breakage |
| Use a jewelry box with compartments | Keeps rings organized and safe |

Credit: www.youtube.com
Frequently Asked Questions
How Do I Start Making Clay Rings At Home?
Begin by choosing air-dry or polymer clay. Condition the clay by kneading it until soft. Shape it into a ring using your fingers or tools.
What Tools Are Needed To Make Clay Rings?
Basic tools include a rolling pin, clay shaping tools, and a ring mandrel or finger size guide. Optional: sandpaper and sealant for finishing.
How Long Does It Take To Make A Clay Ring?
Shaping takes about 10-20 minutes. Drying or baking time depends on the clay type, usually 24 hours for air-dry and 15-30 minutes for polymer.
Can I Customize Clay Rings With Colors And Designs?
Yes, you can mix clay colors or add paint and embellishments. Use tools to carve patterns or apply glazes after baking.
Conclusion
Making clay rings at home is simple and fun. You need only basic tools and clay. Shape the clay gently and let it dry well. Personalize your rings with colors and designs. Practice helps you improve your skills fast. Handmade rings show your style and creativity.
Enjoy the process and wear your art proudly. Try making different shapes and sizes next time. Keep experimenting and have fun with each ring. Crafting at home brings joy and a sense of pride.